Robotics Club

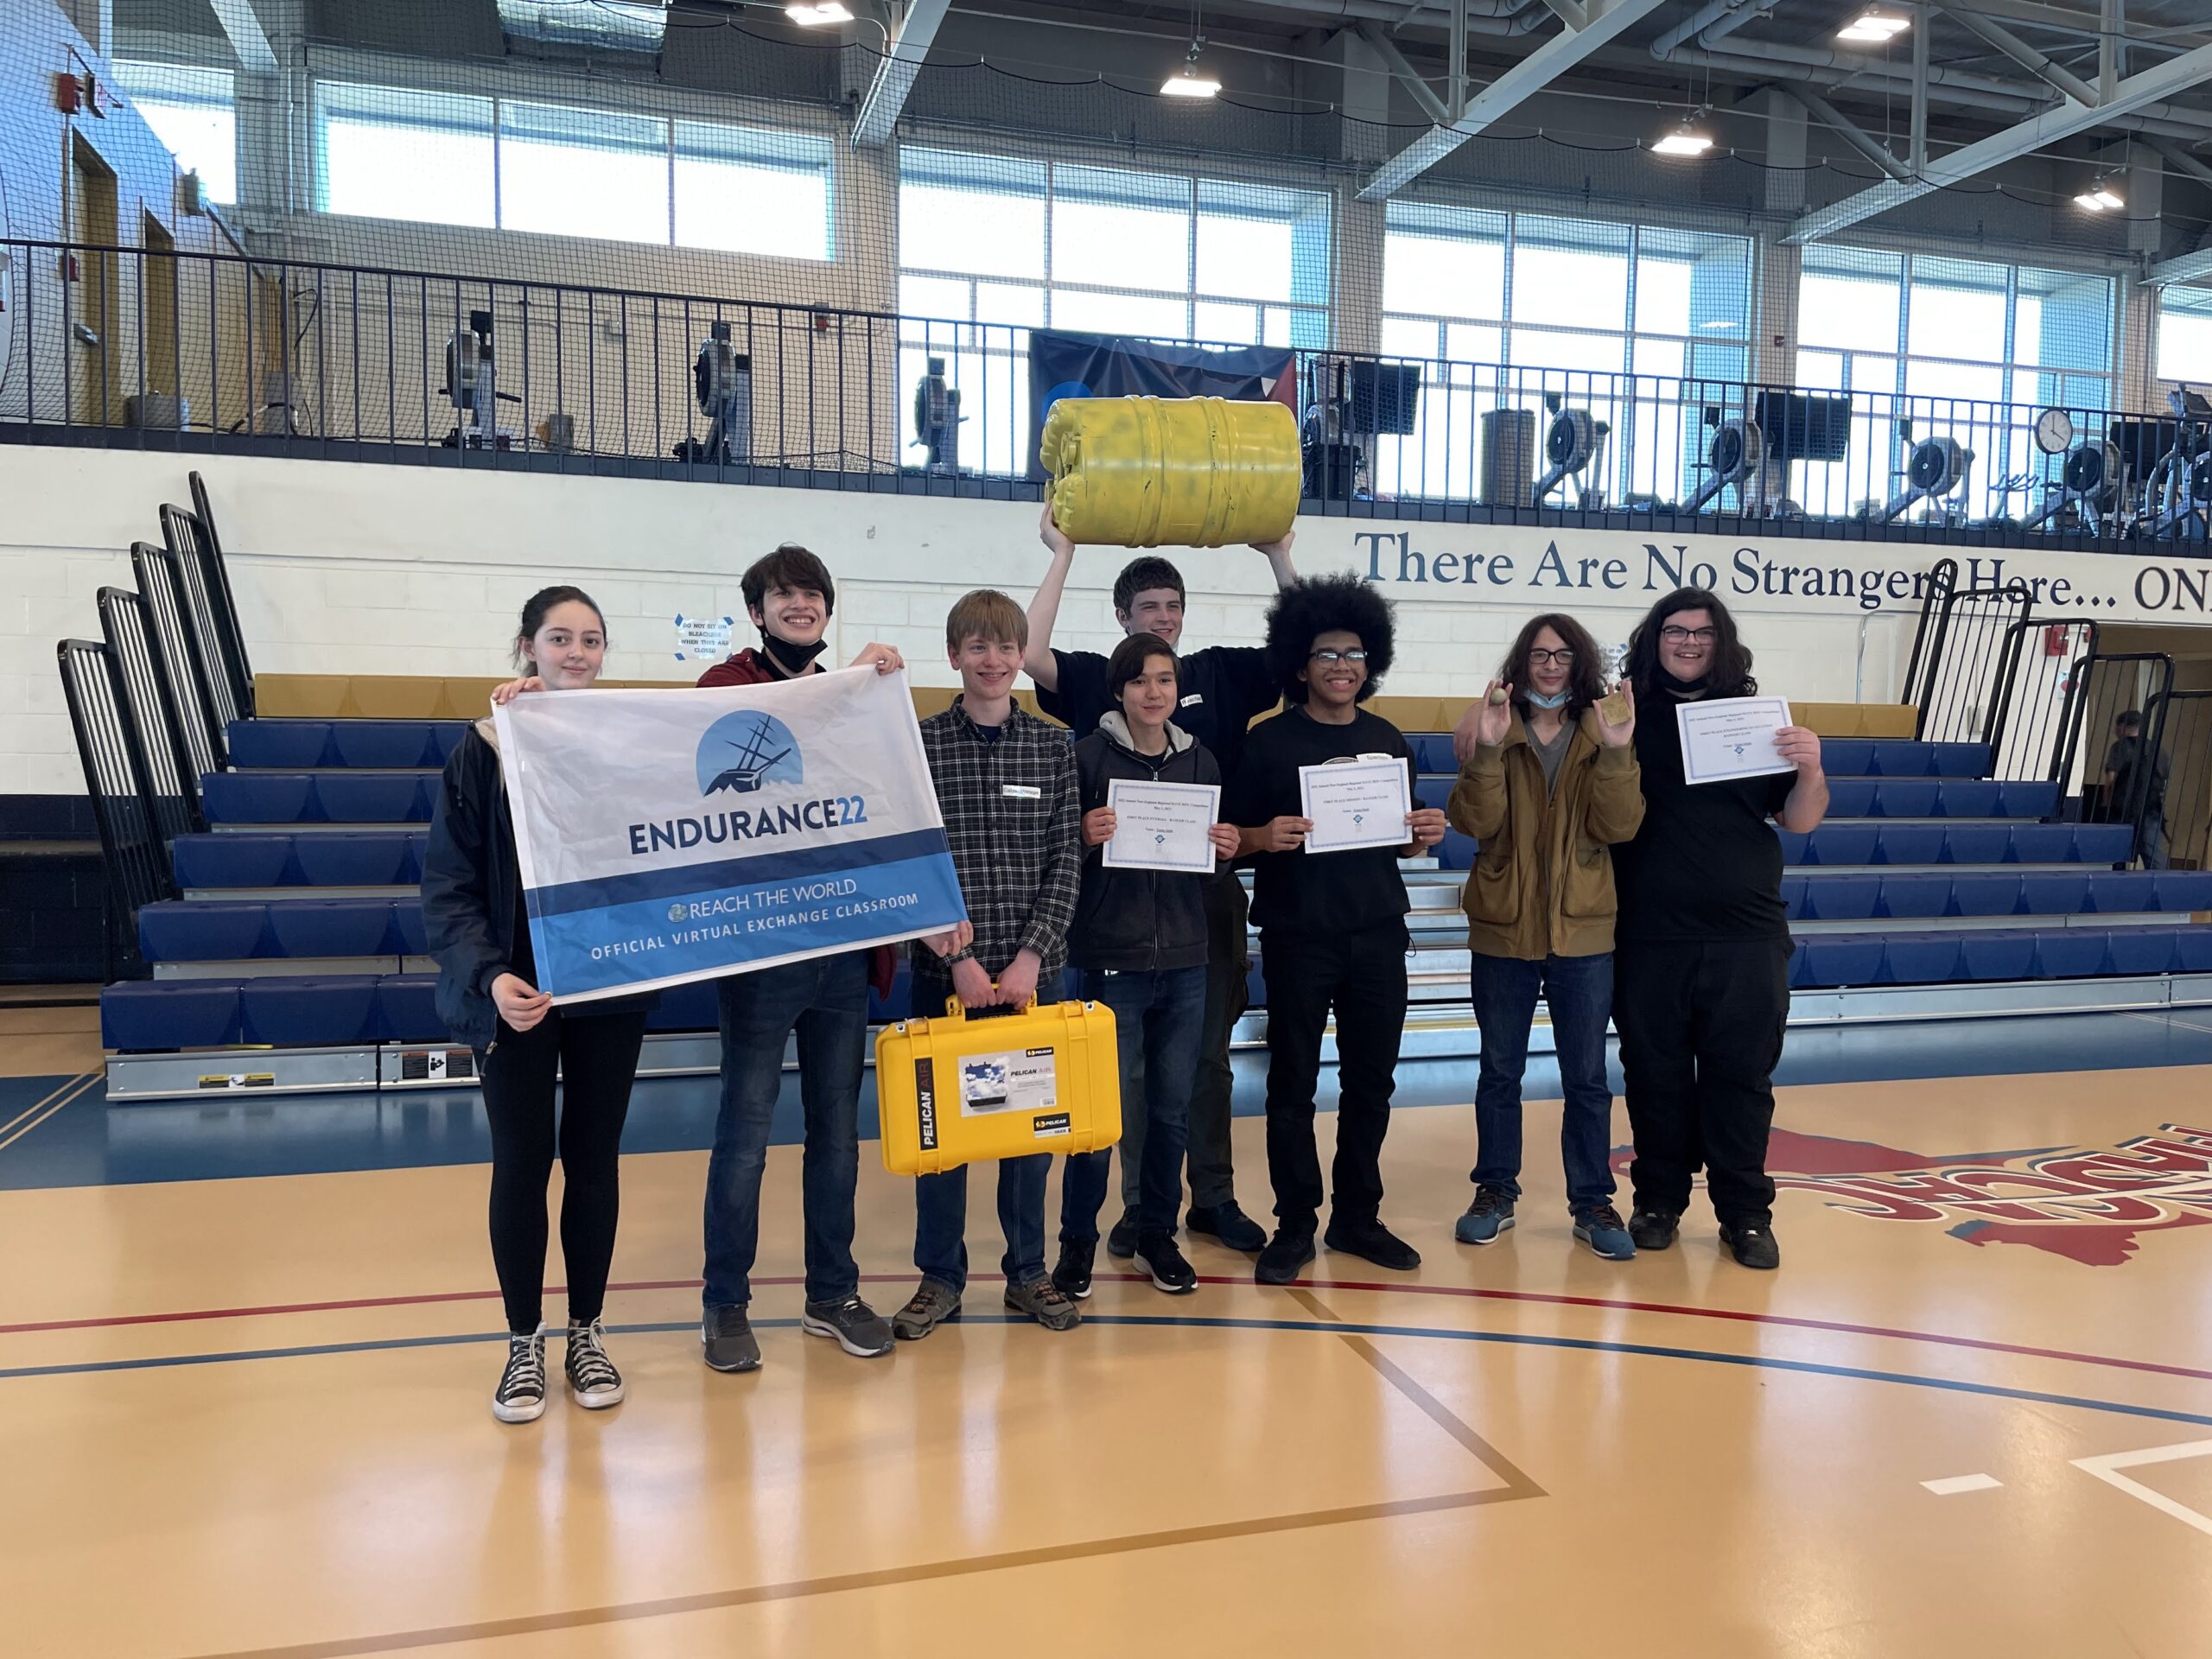
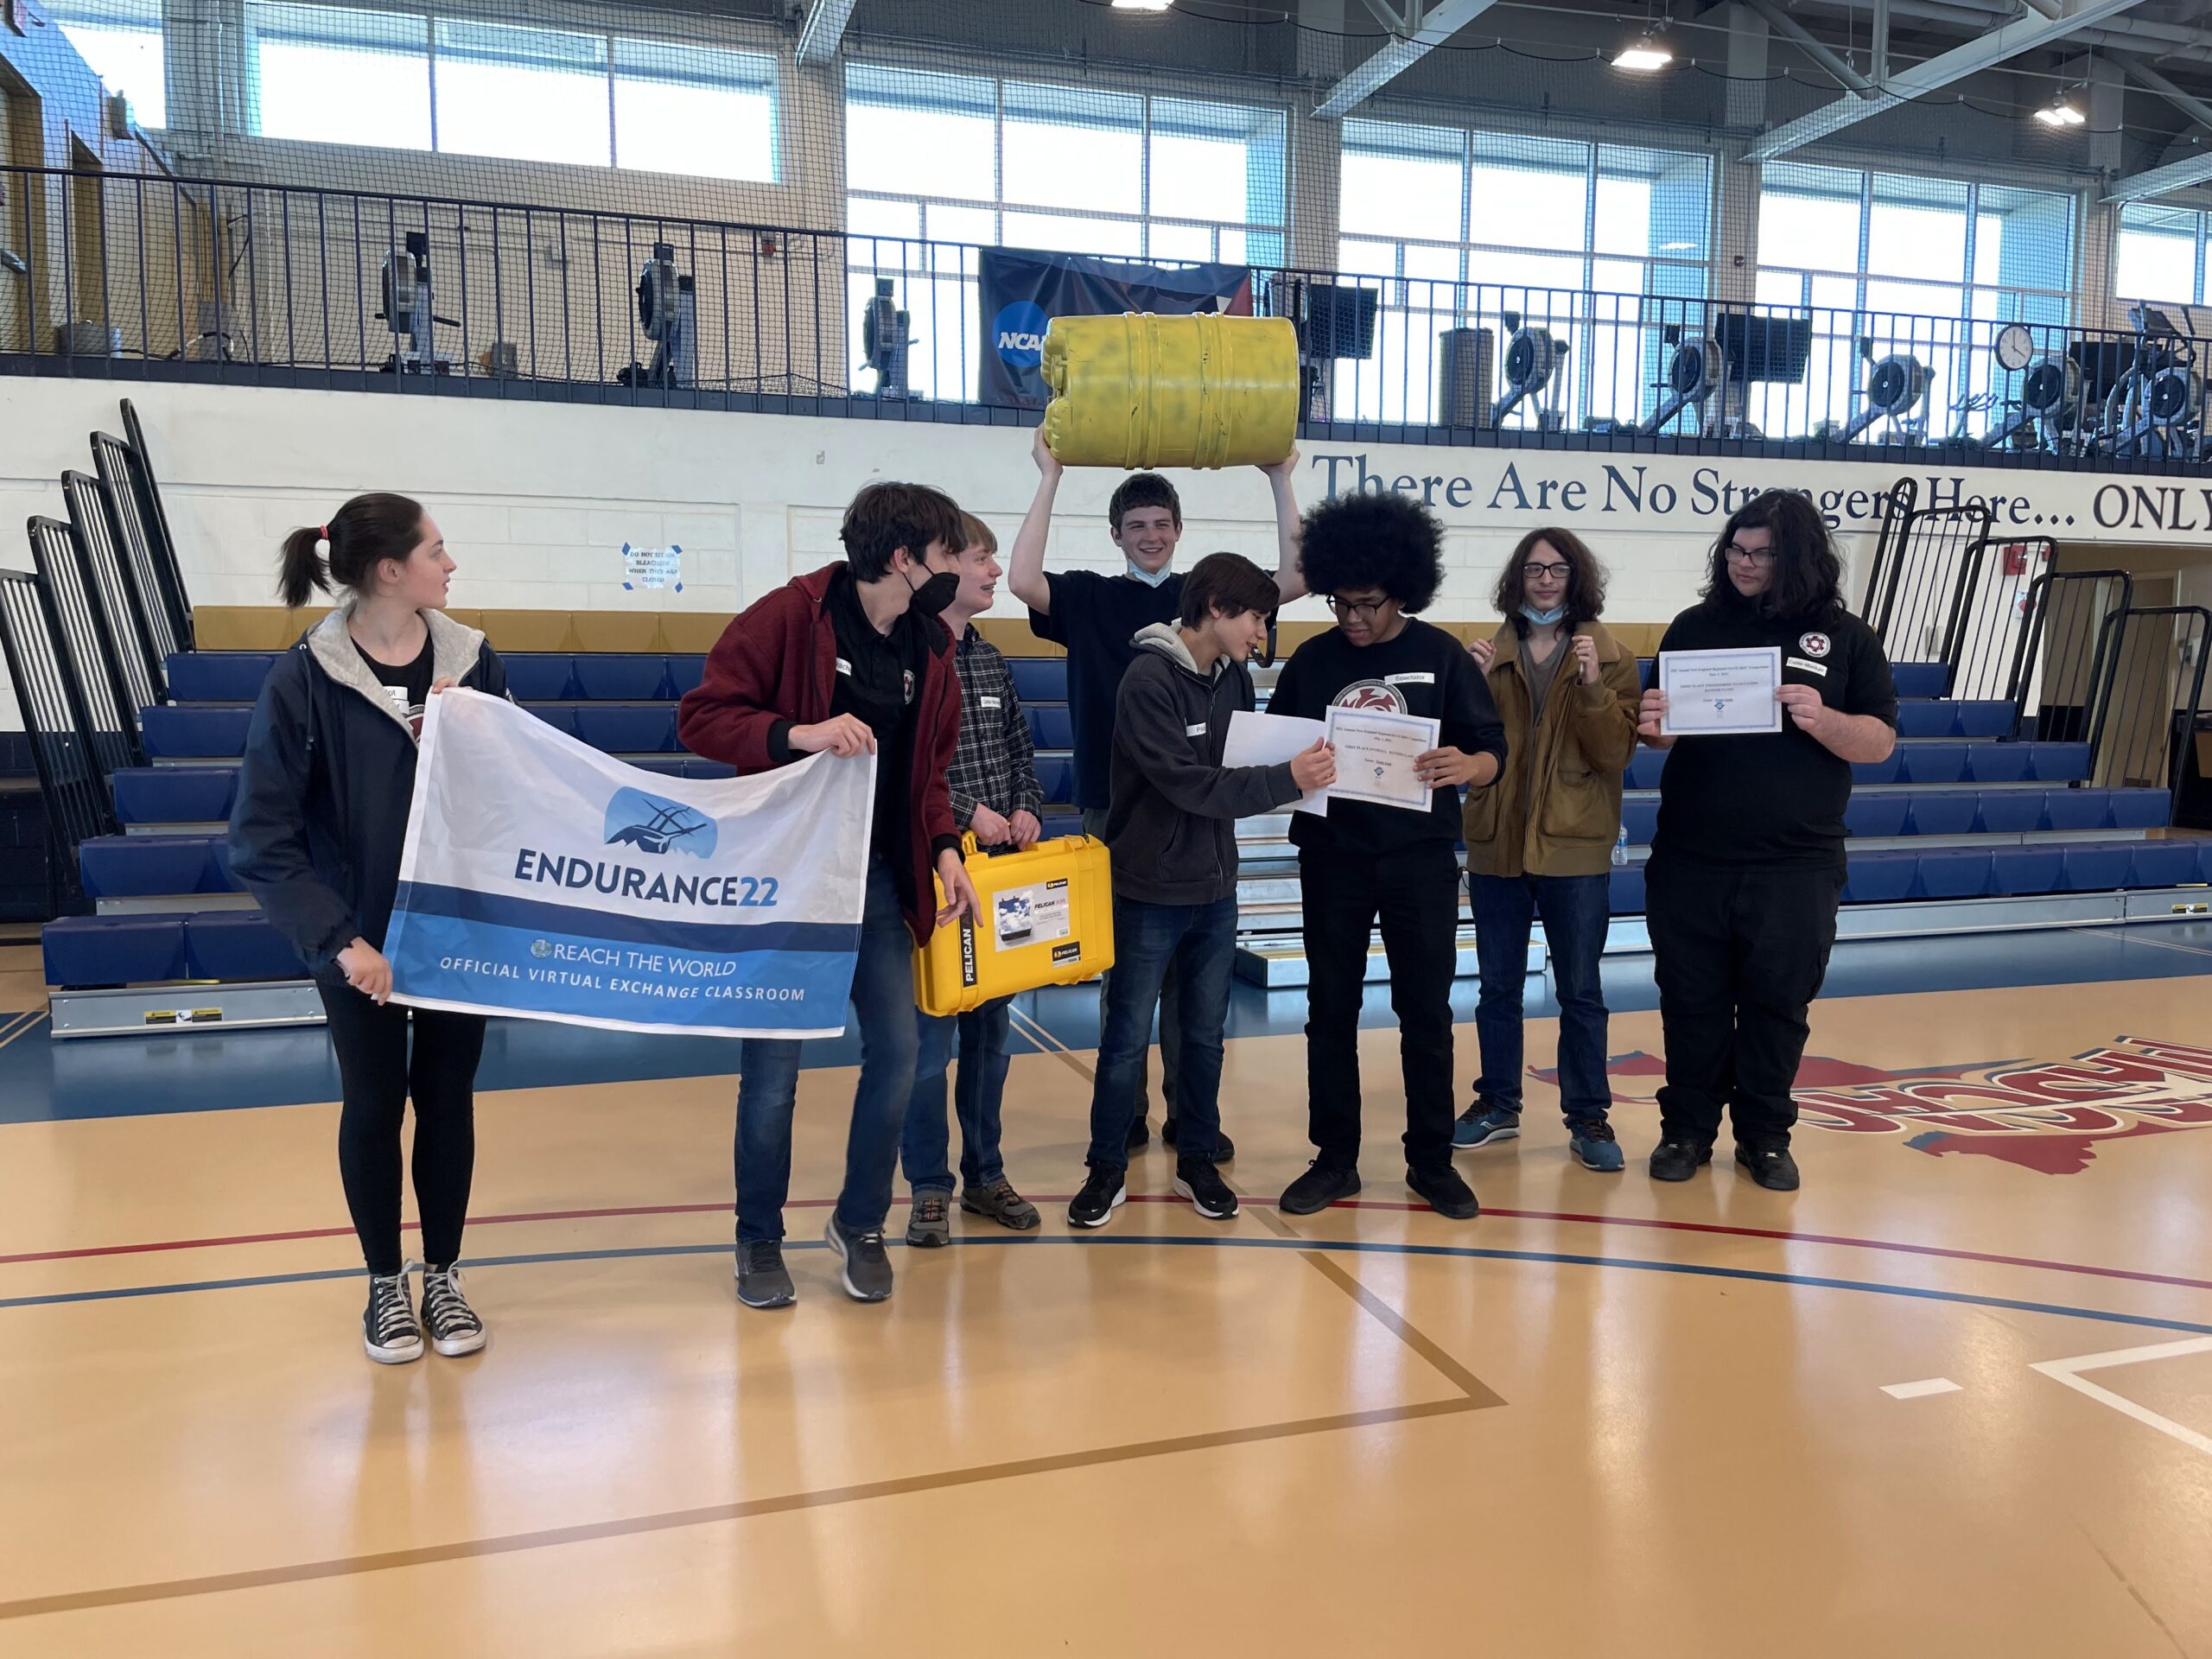
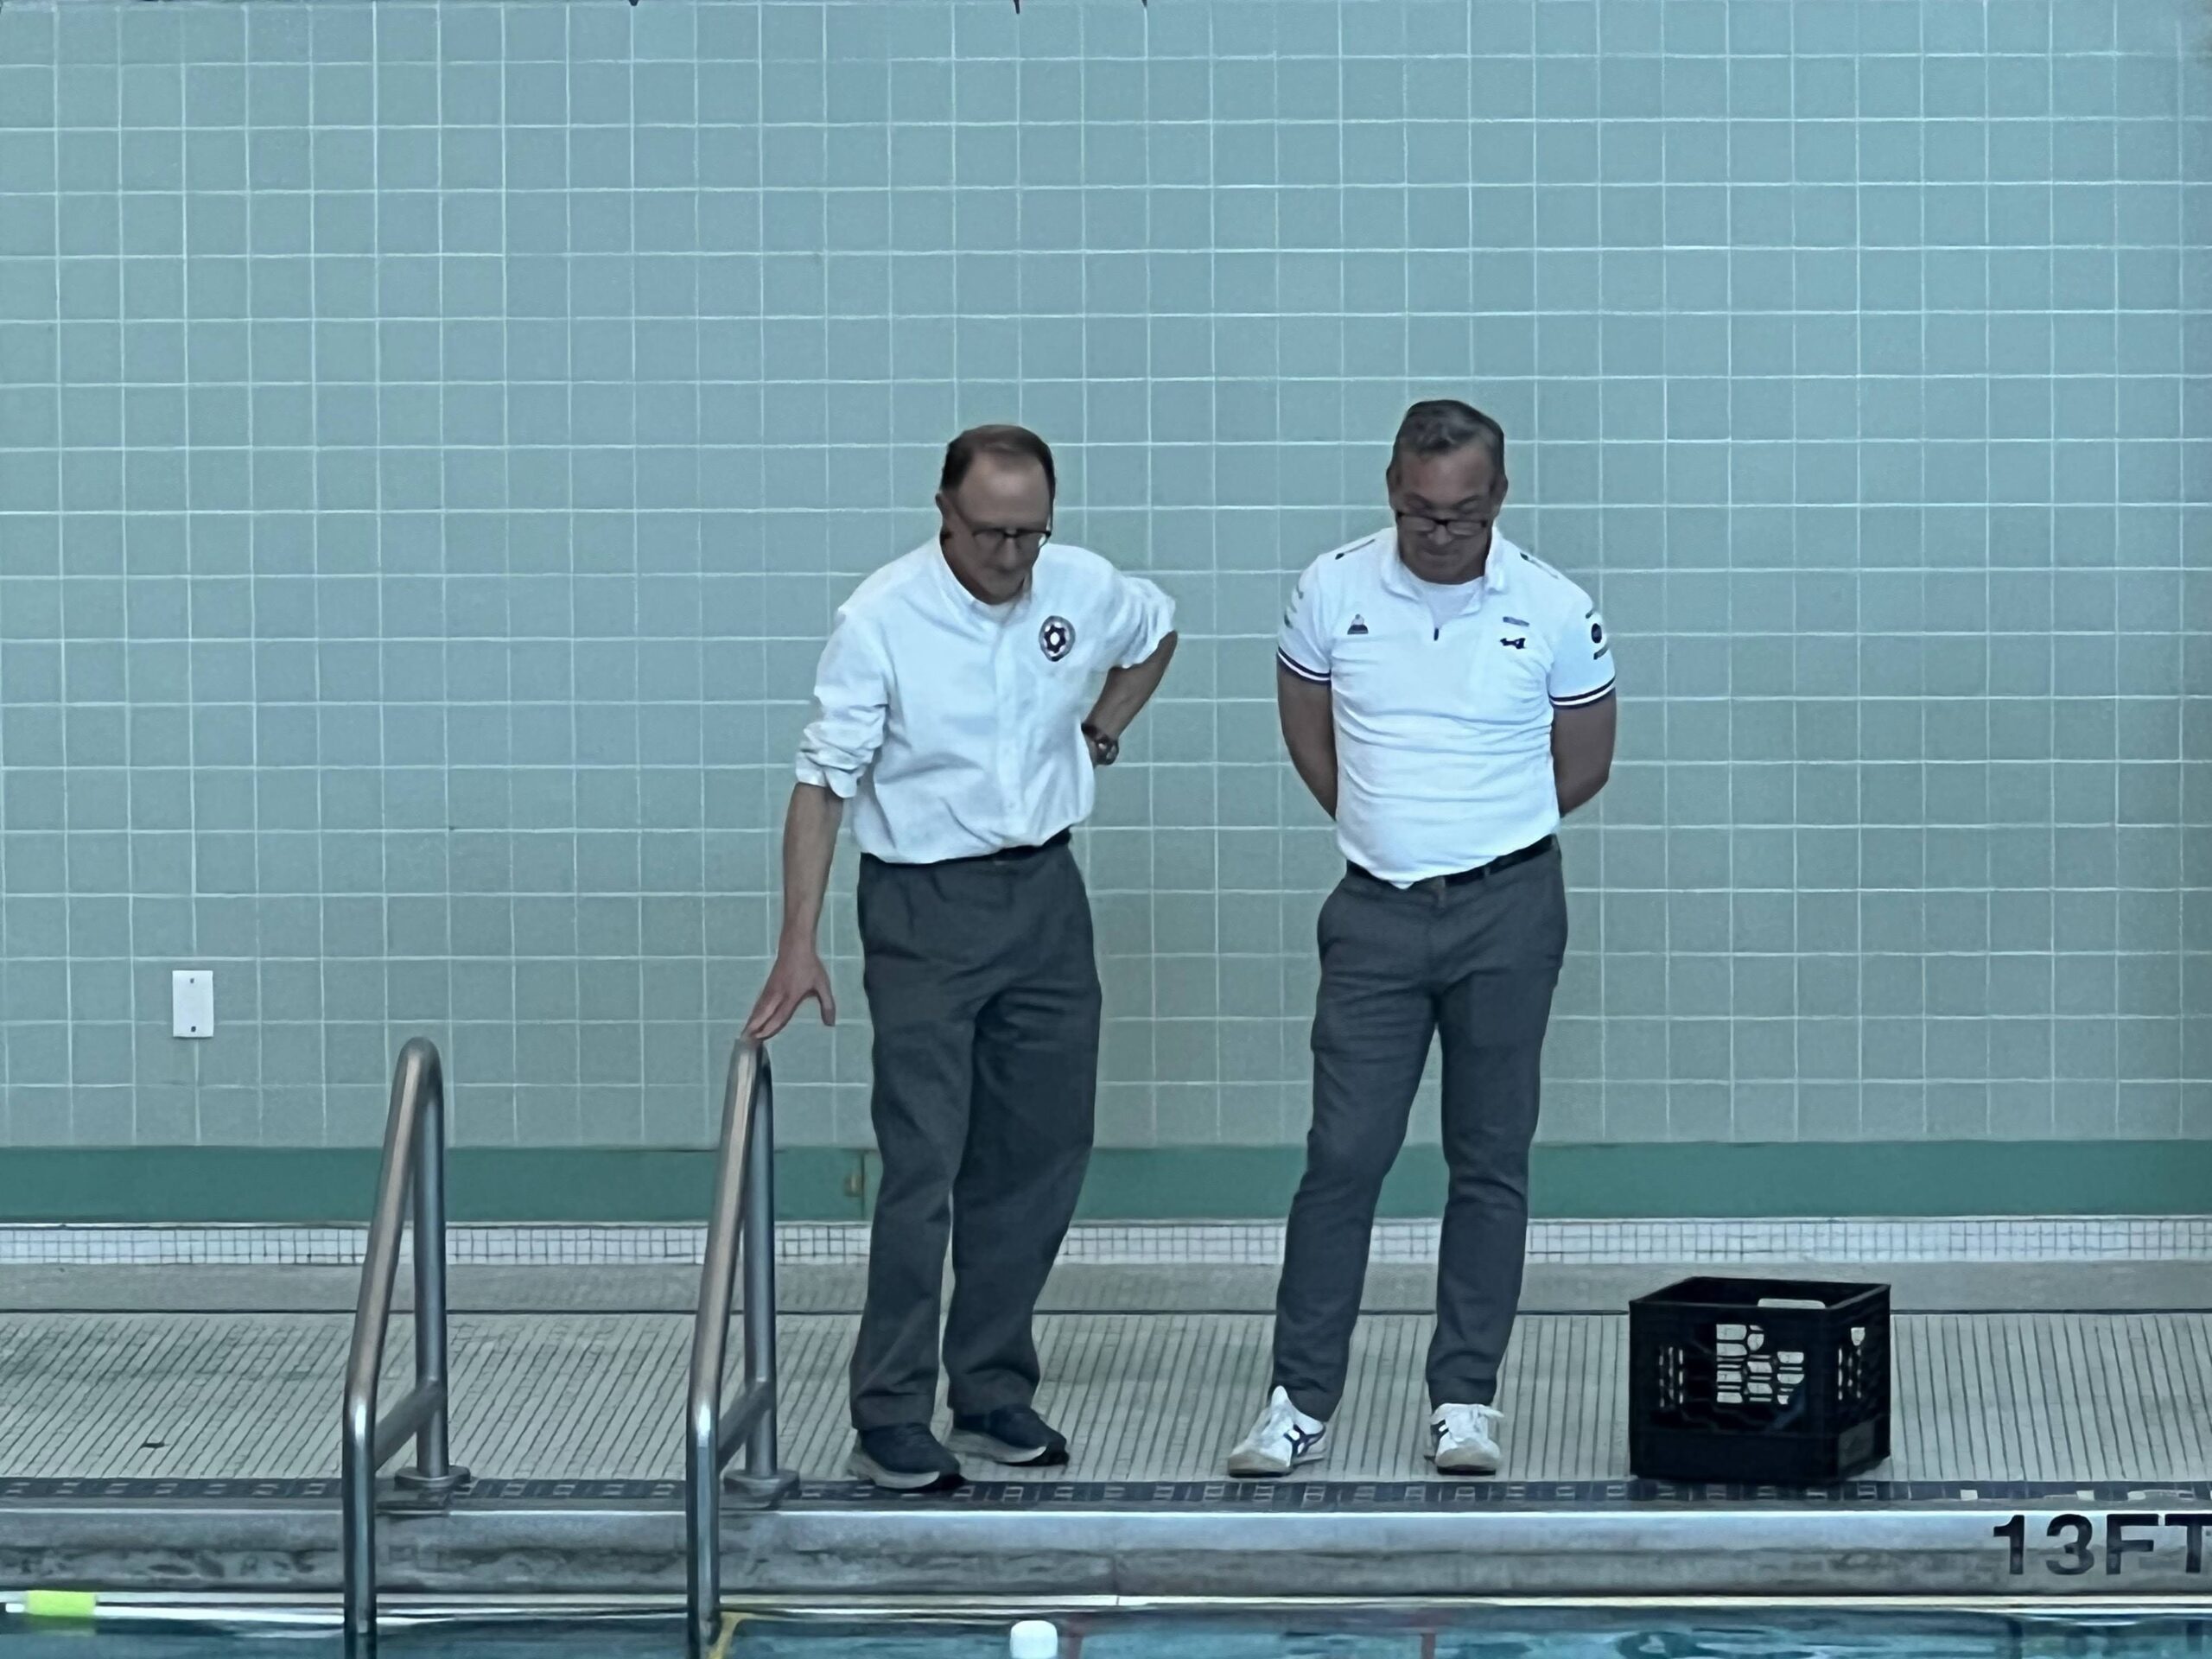
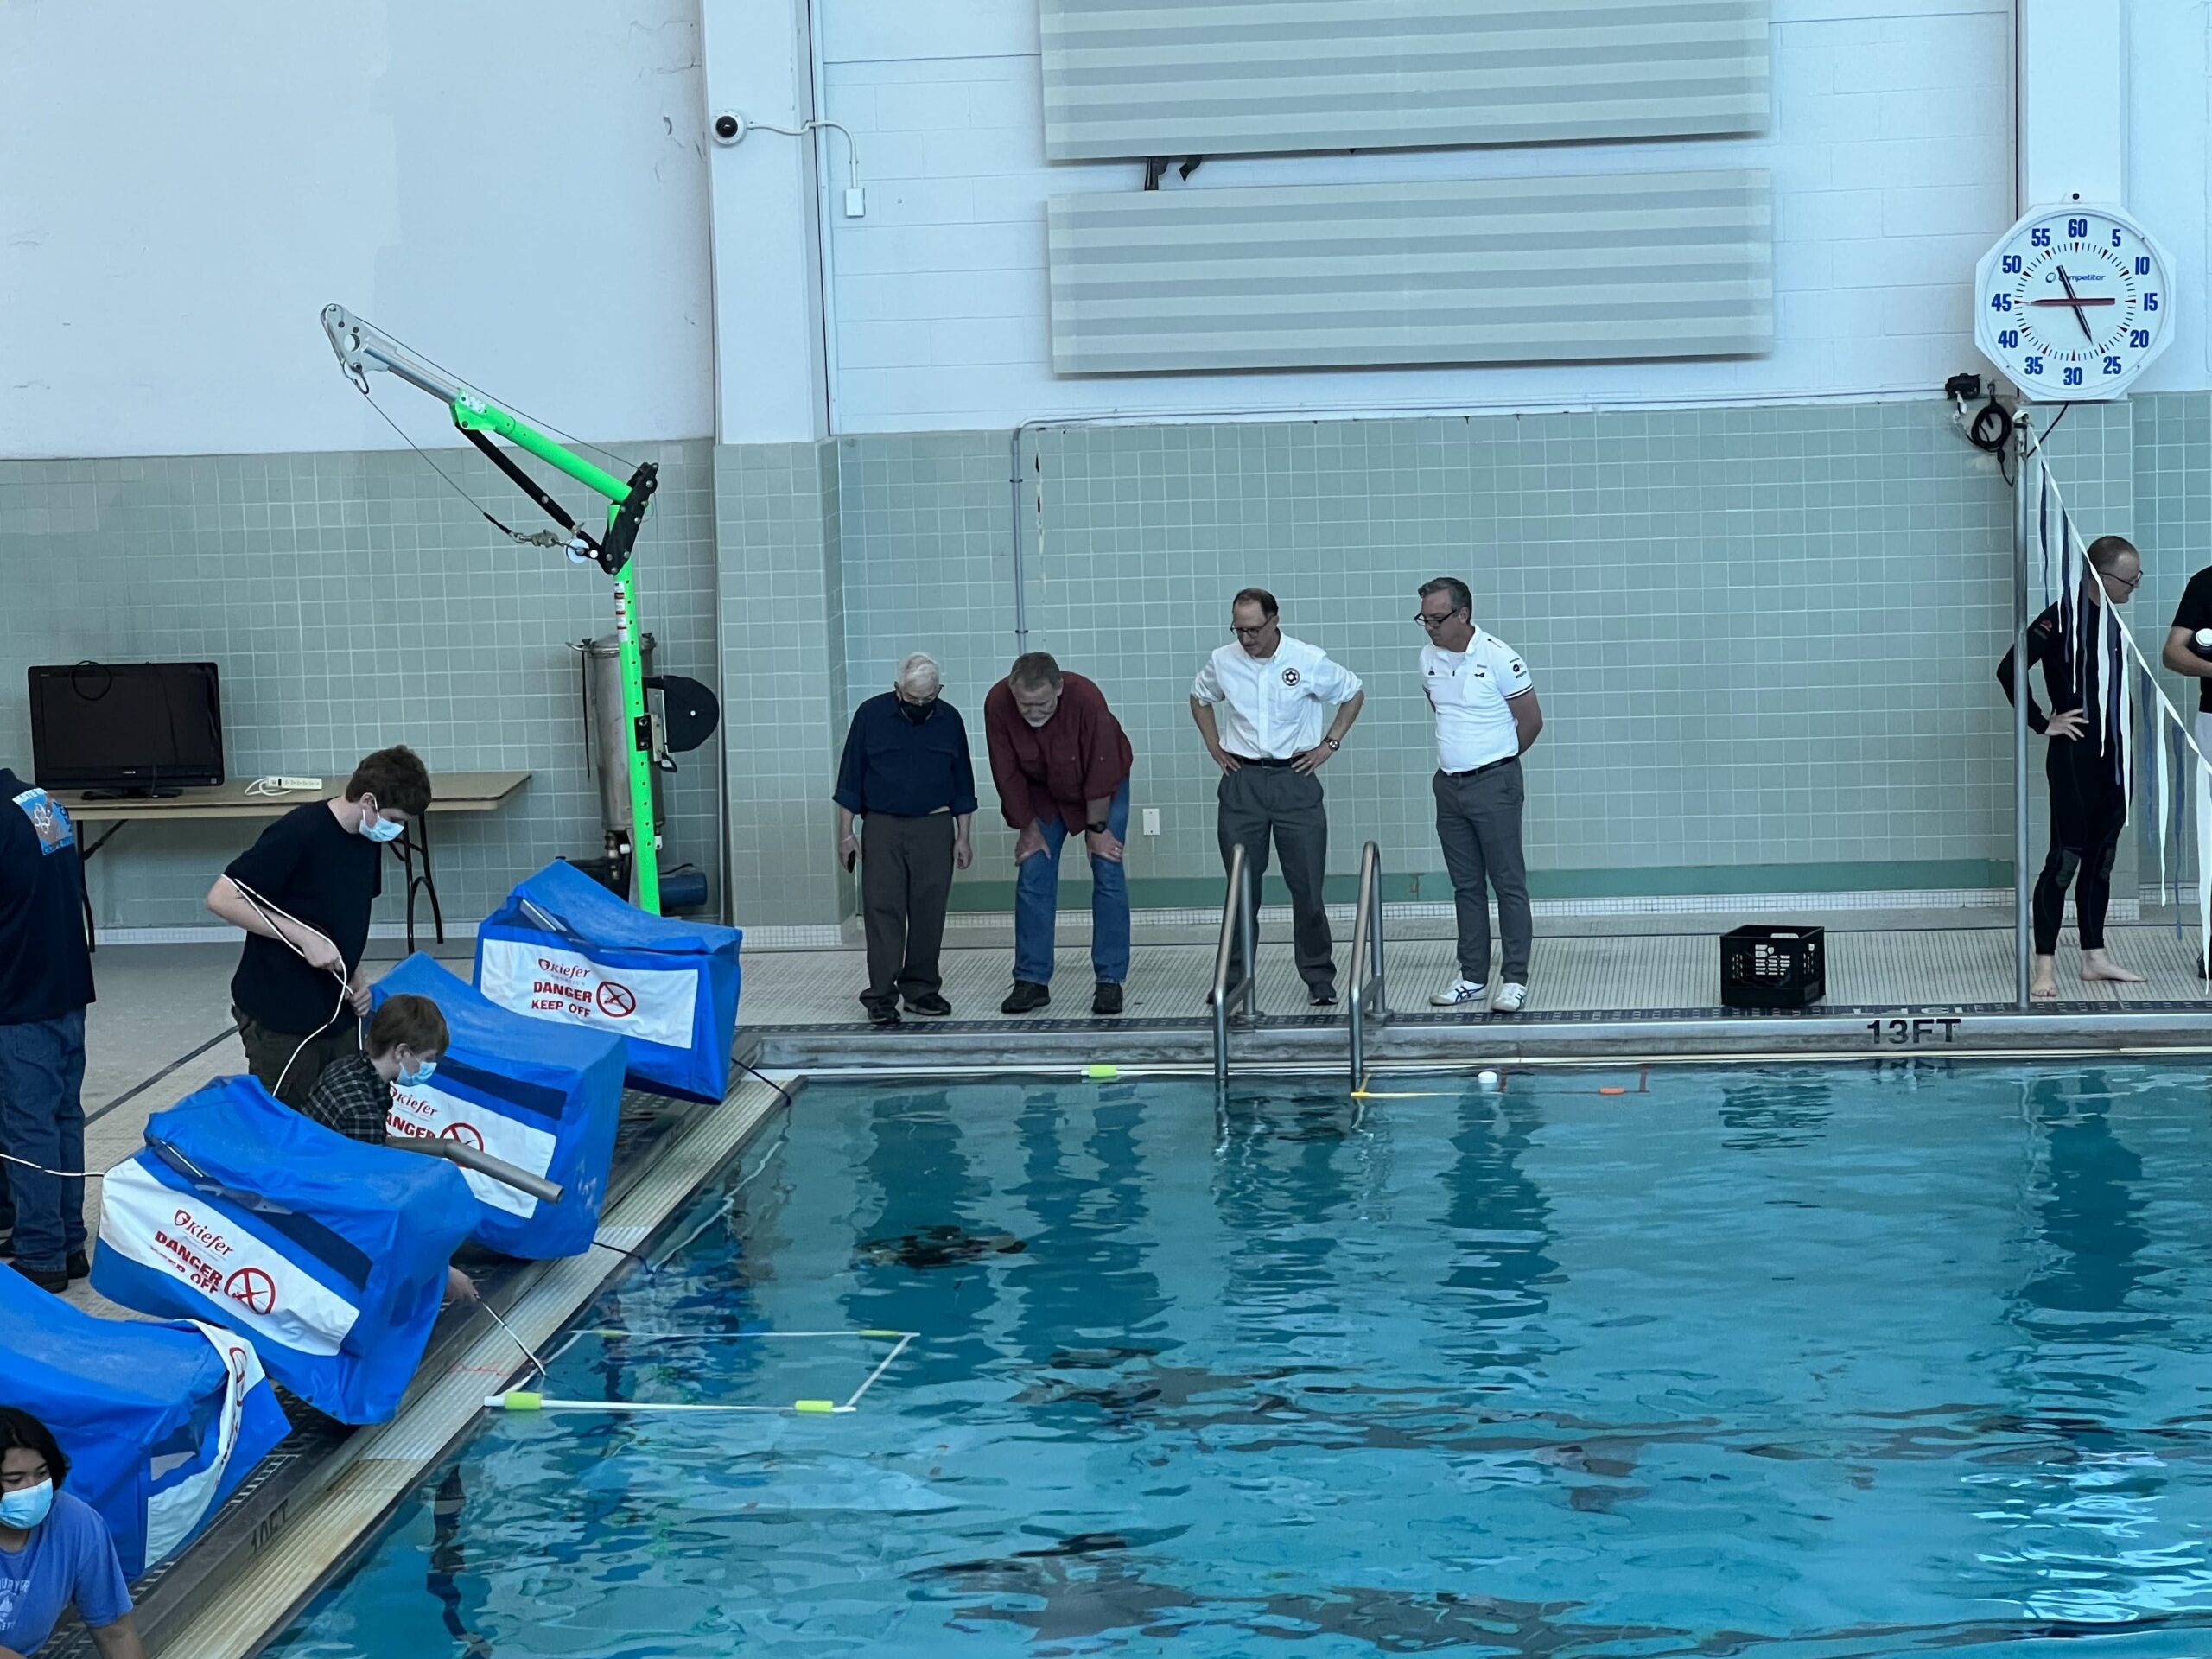
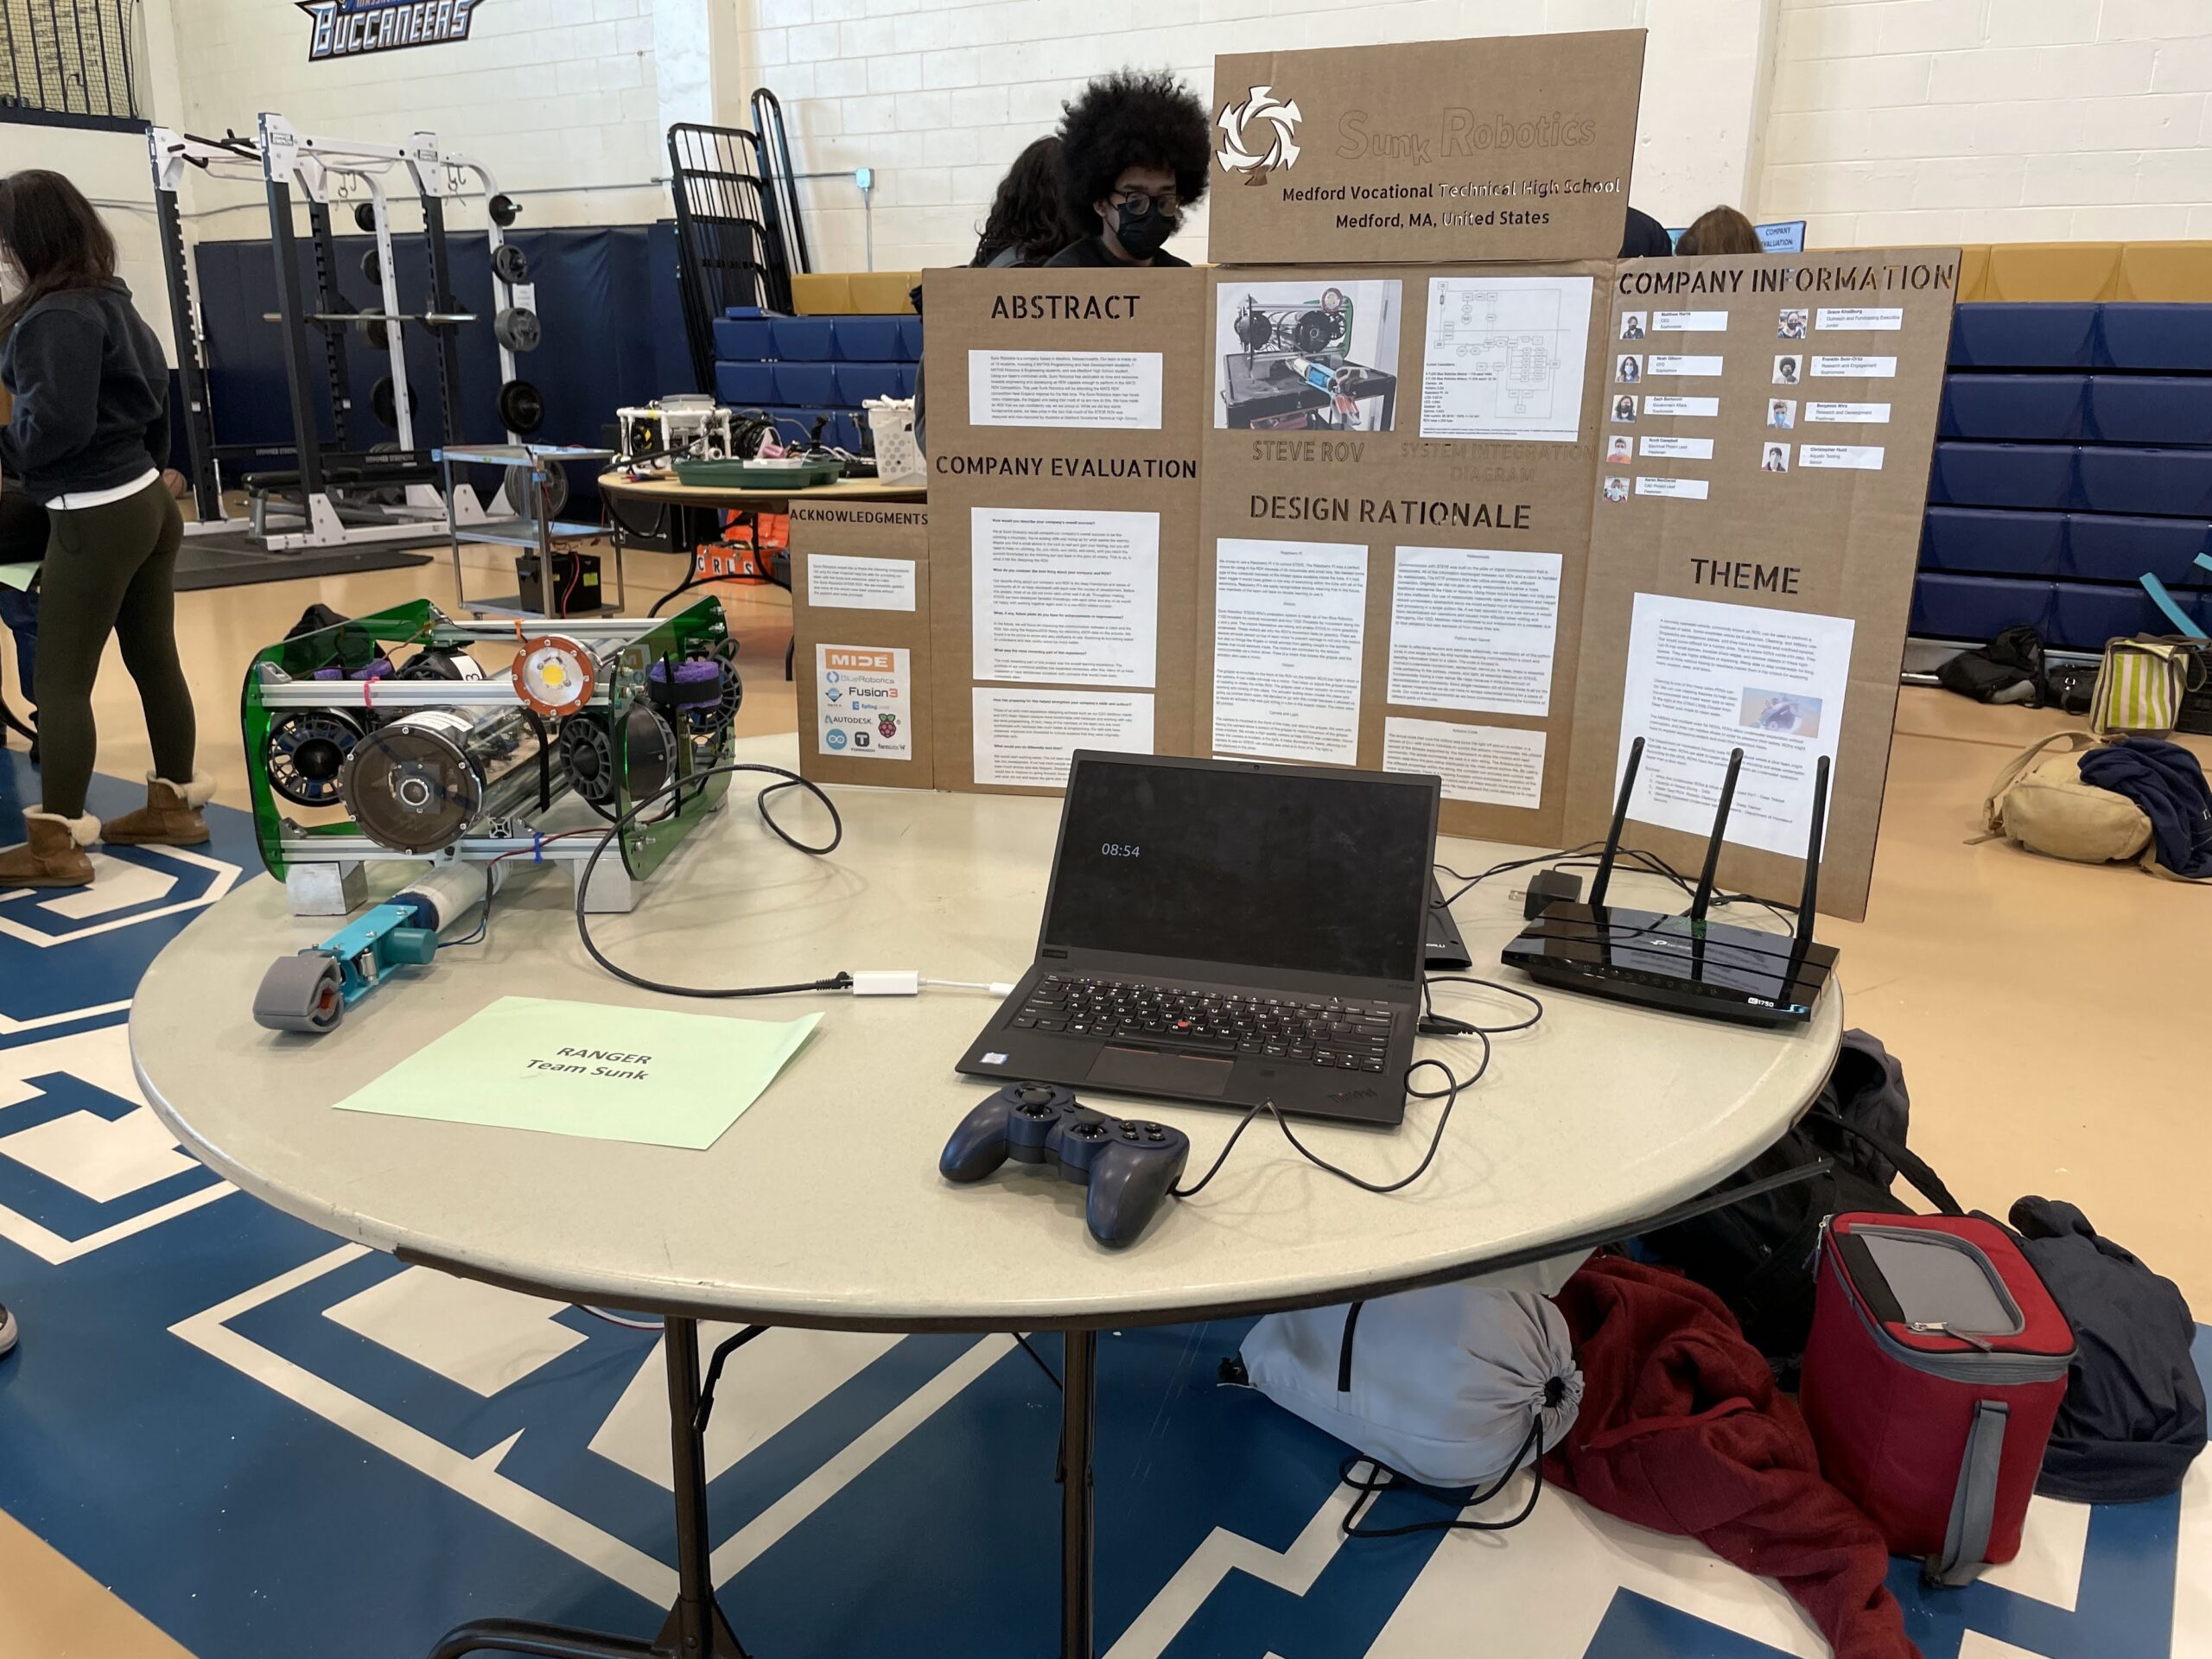
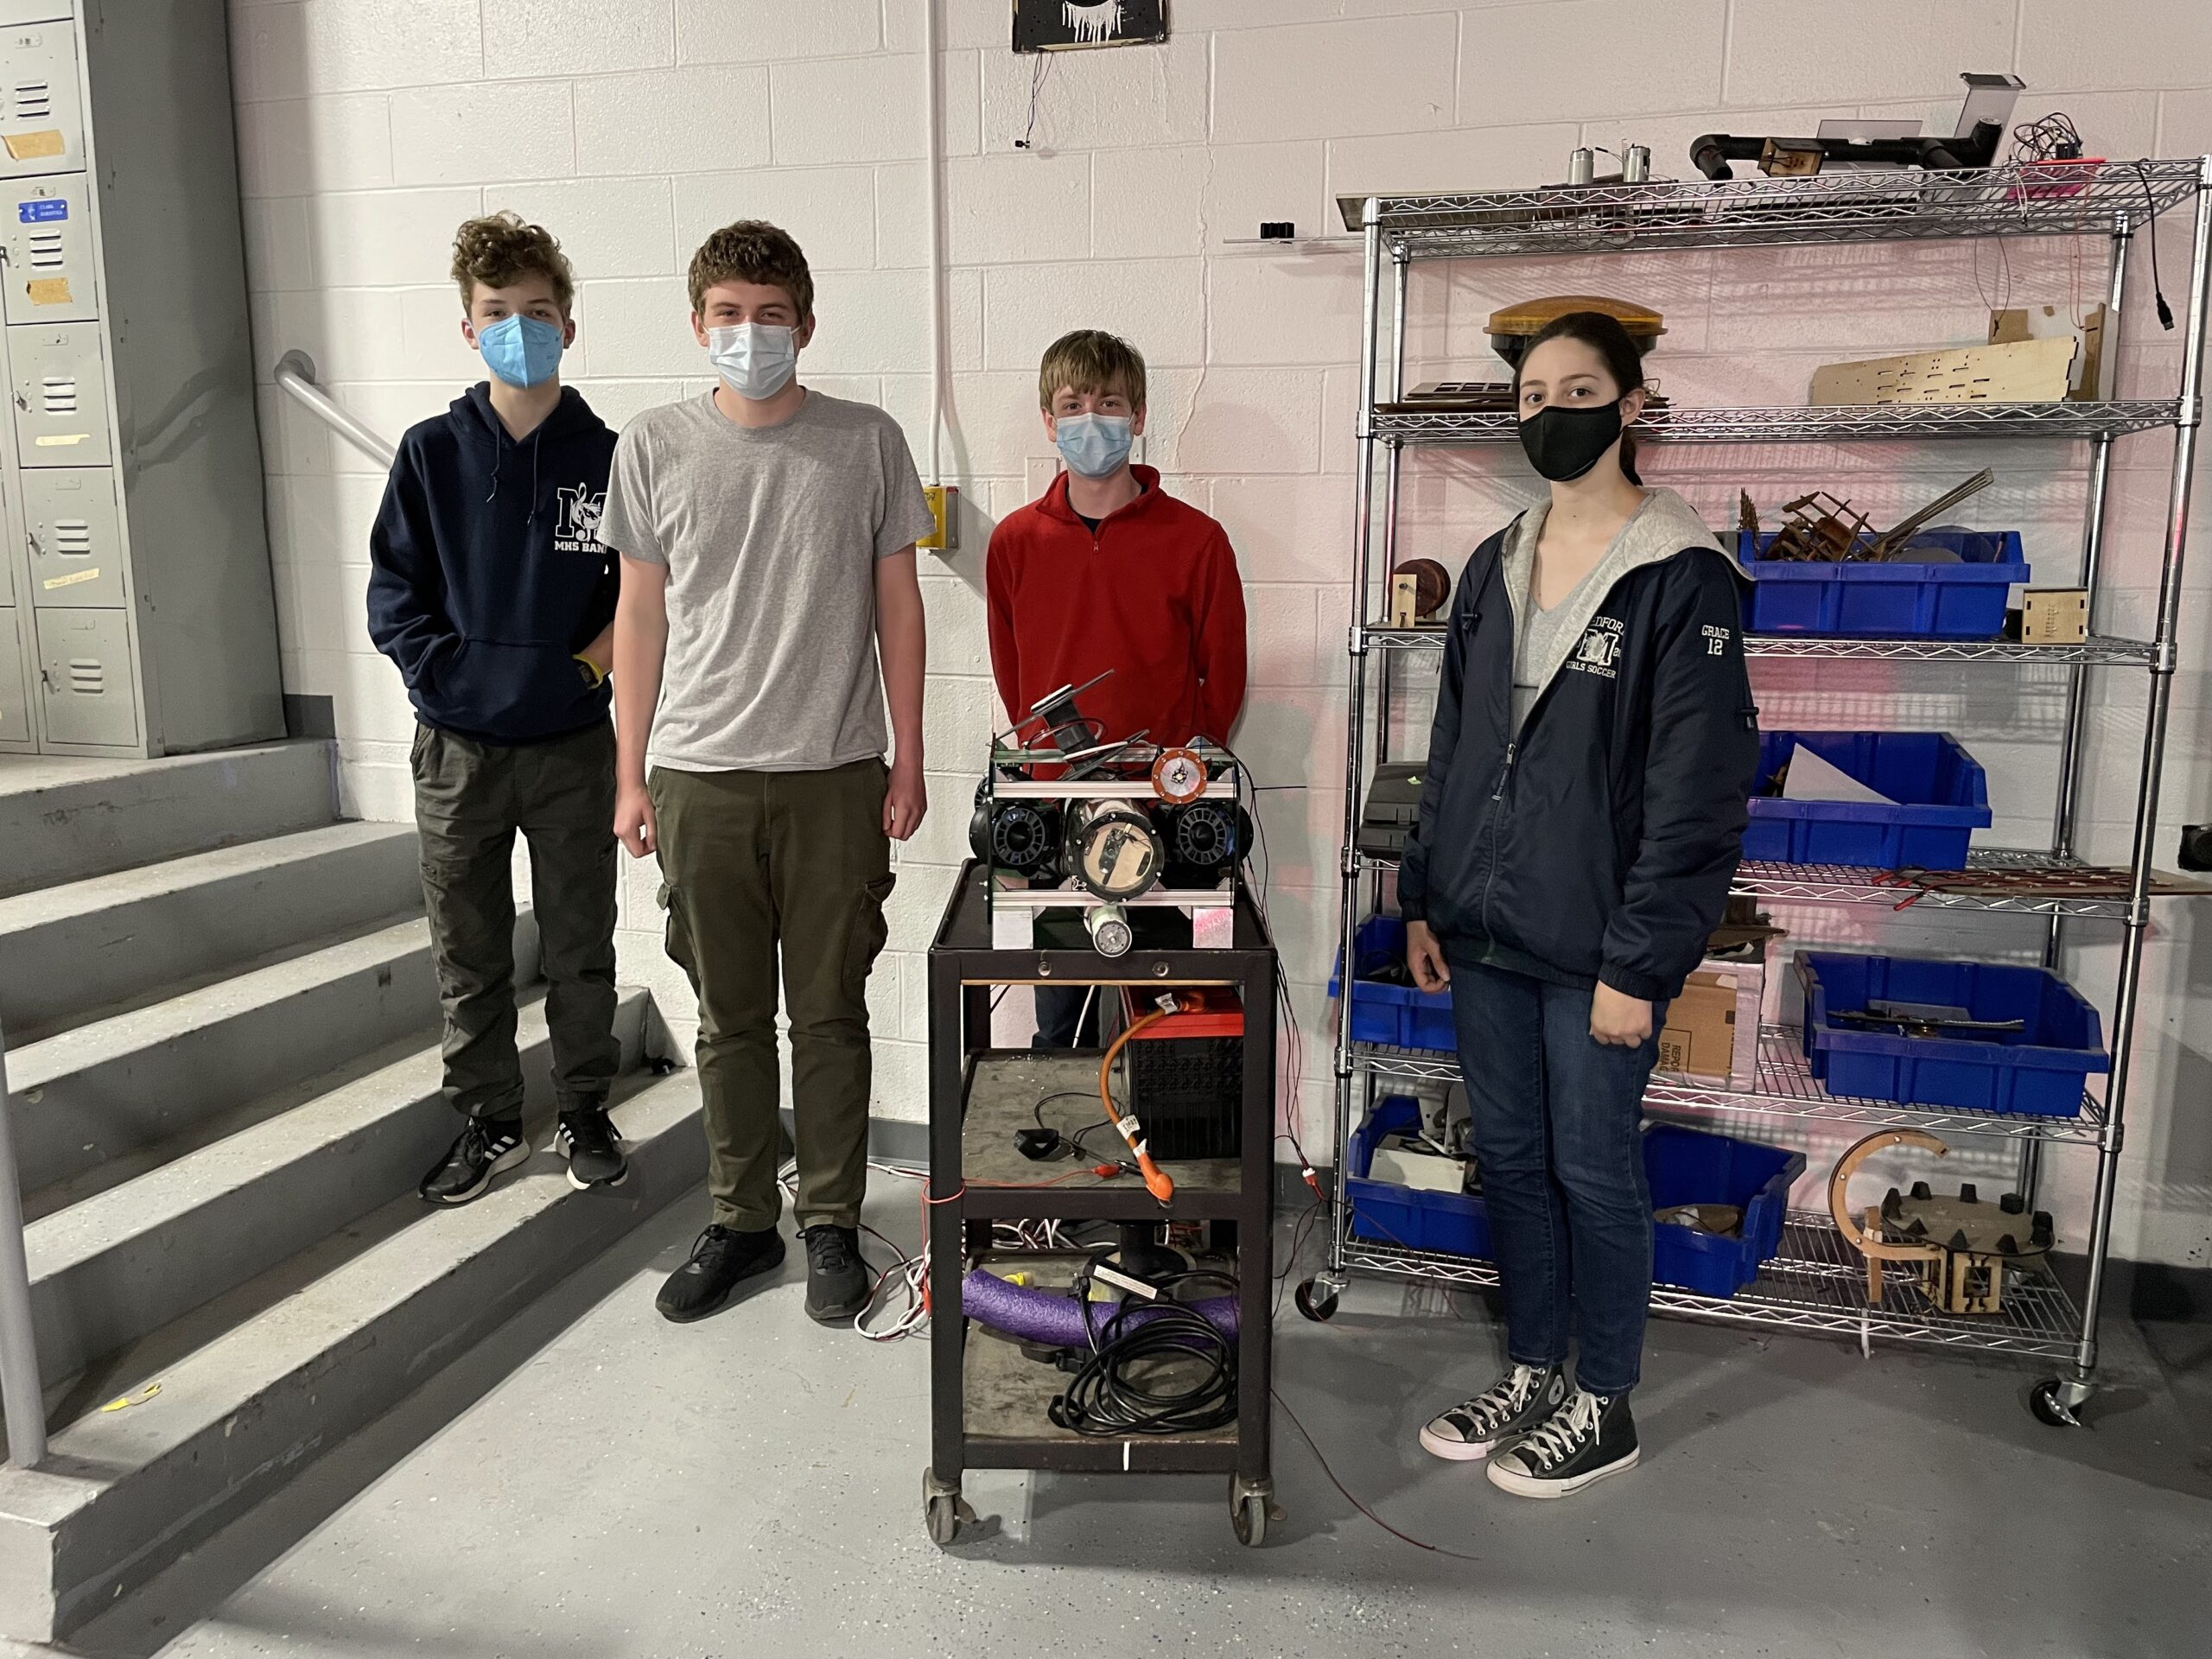
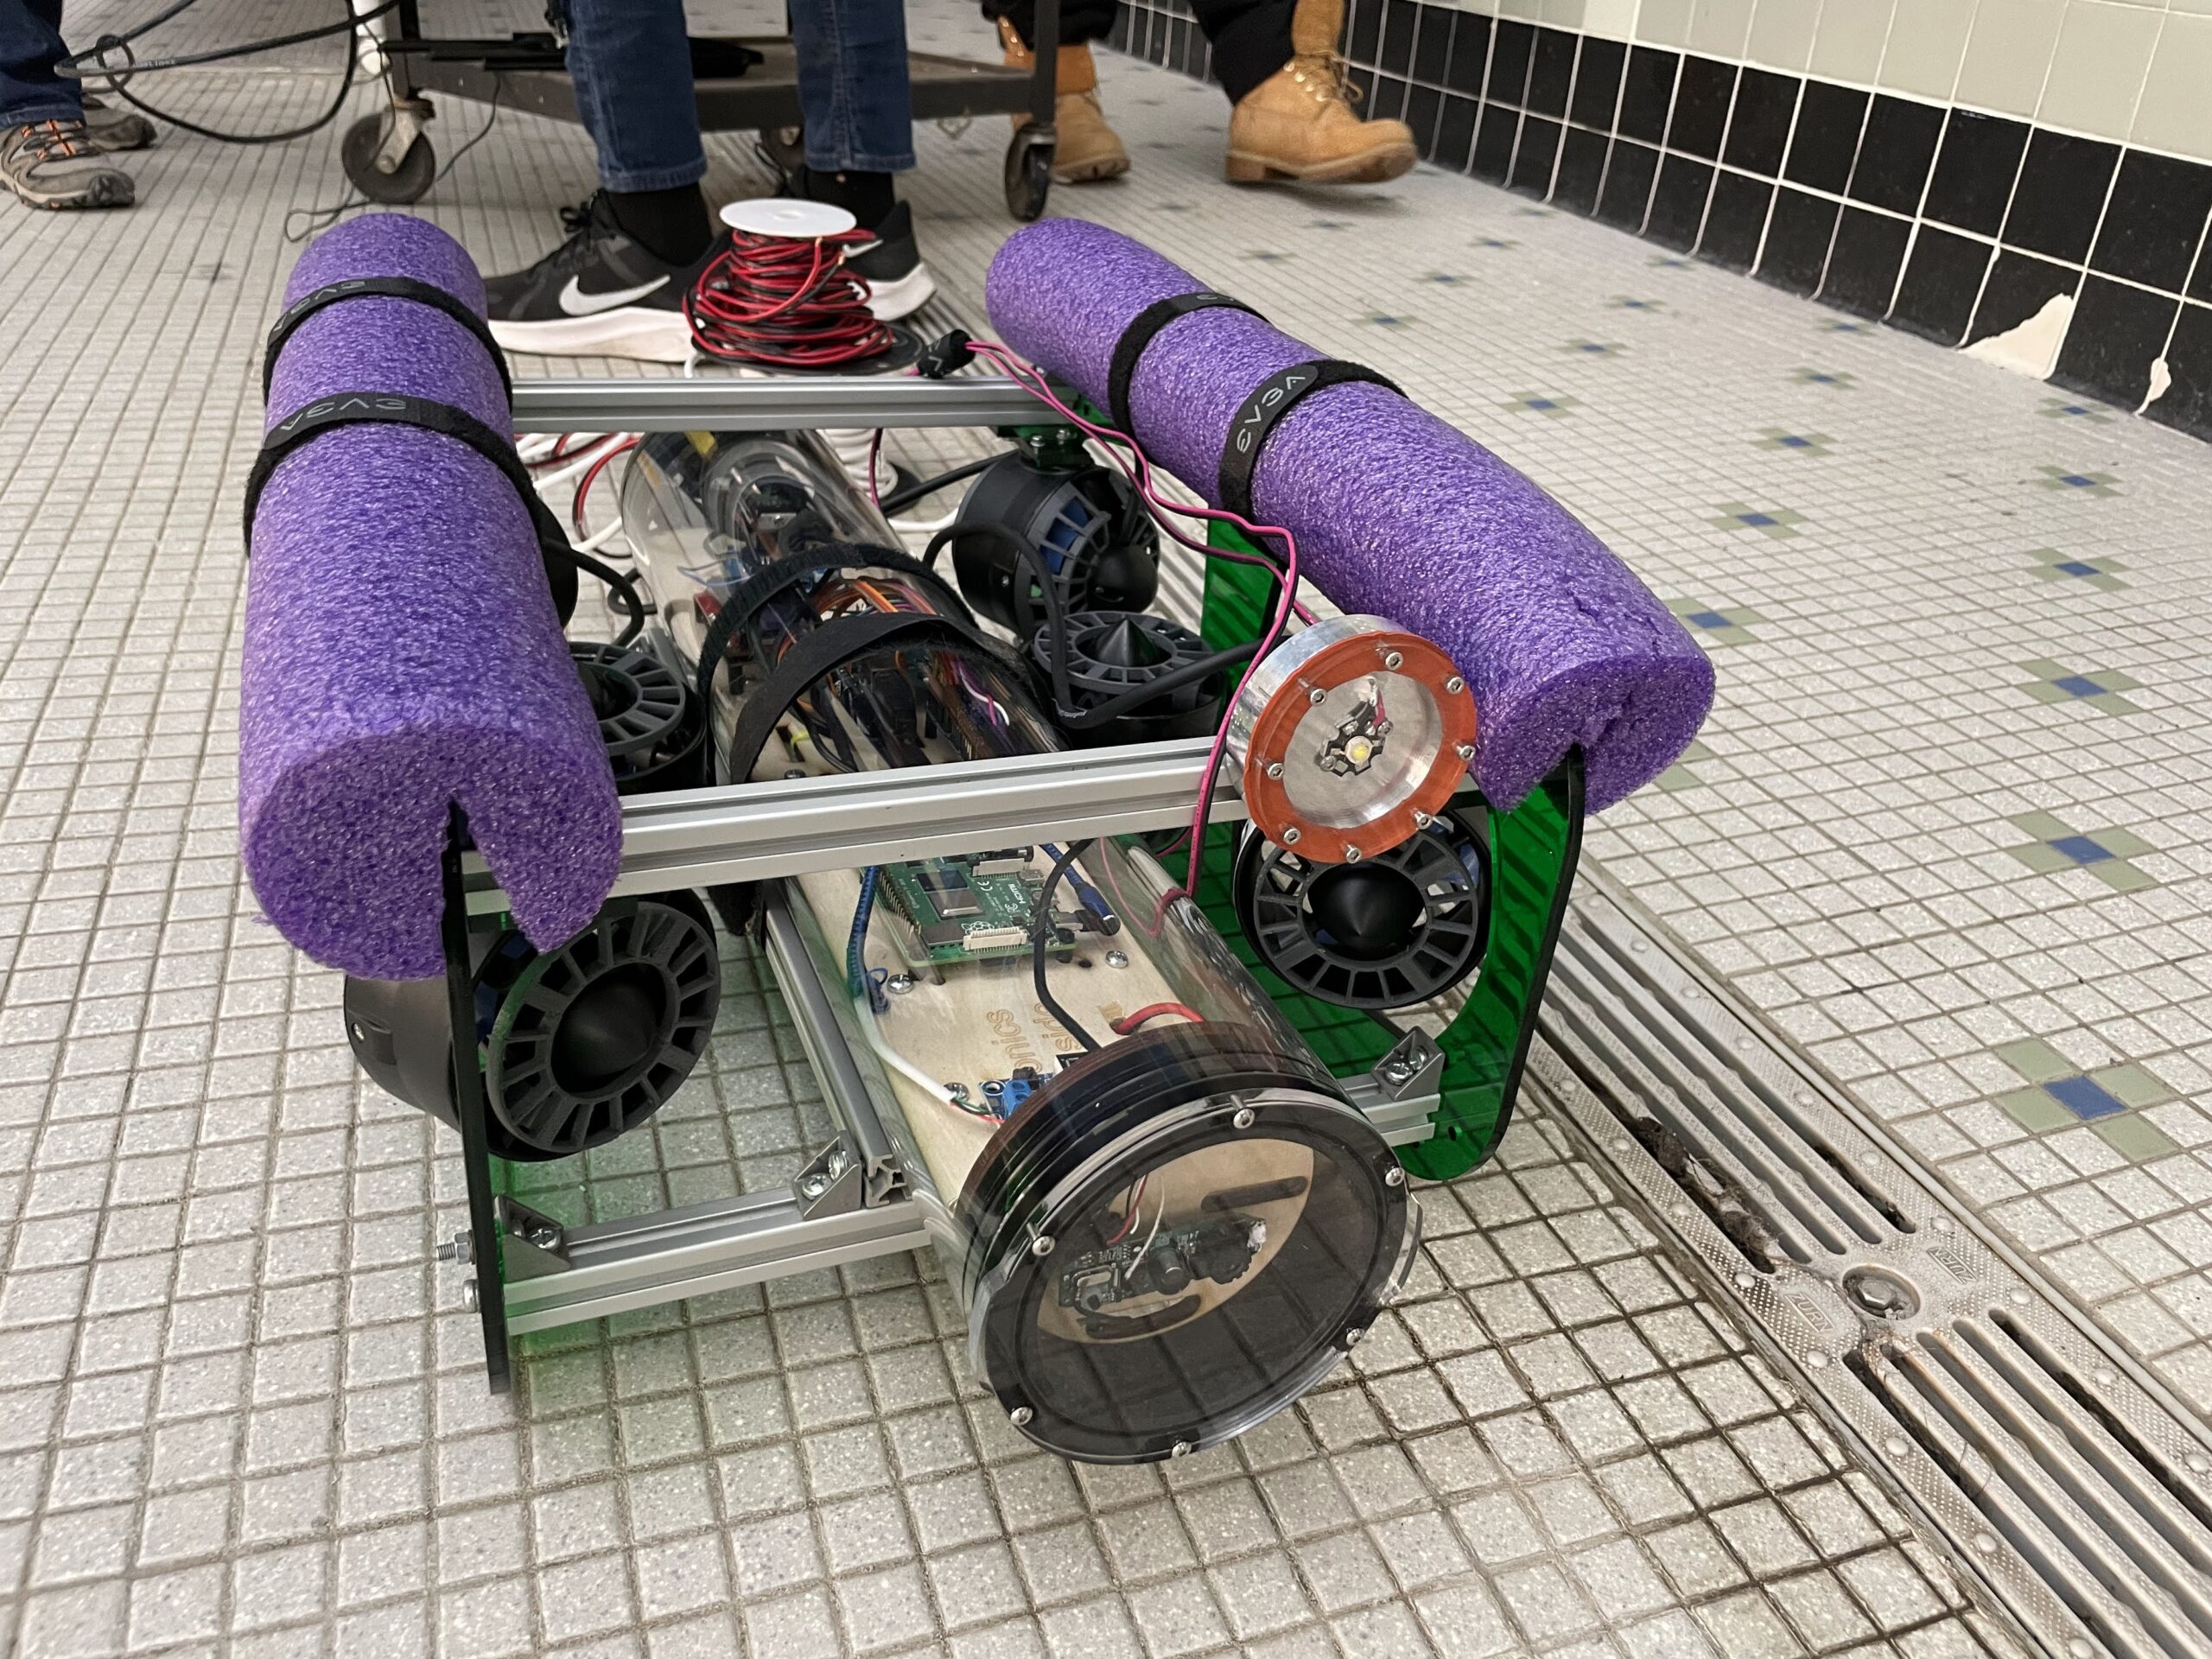
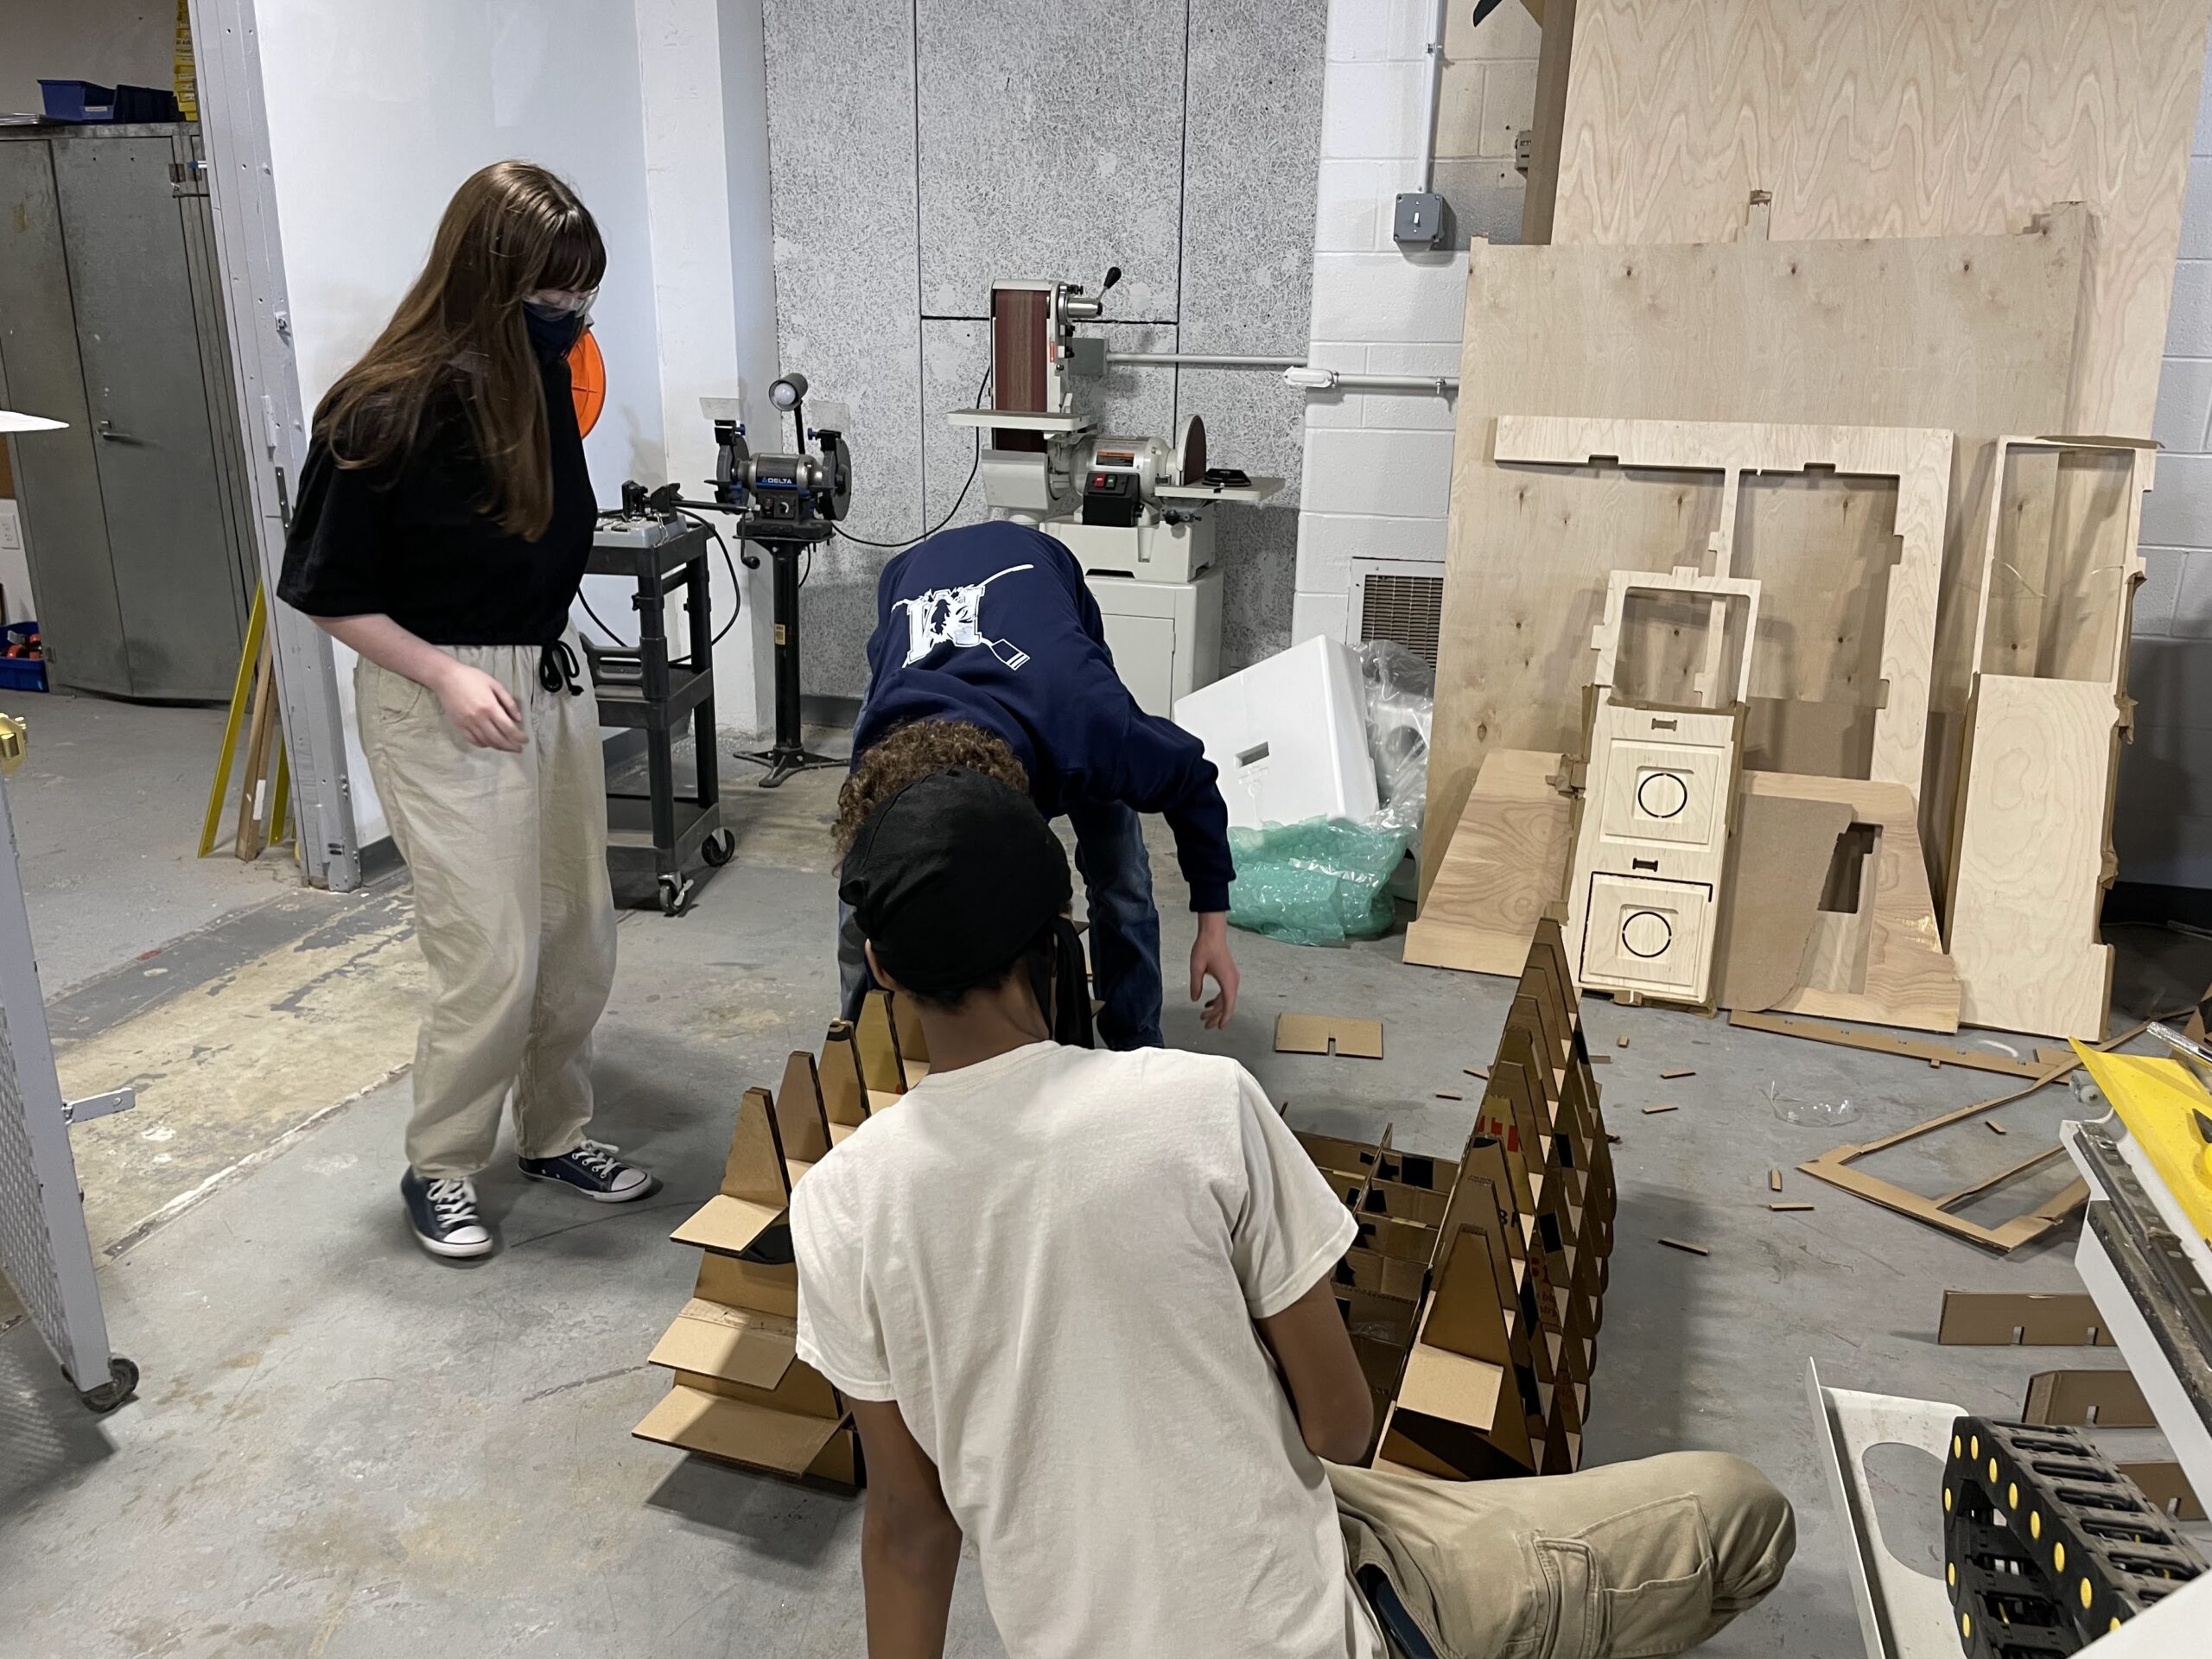
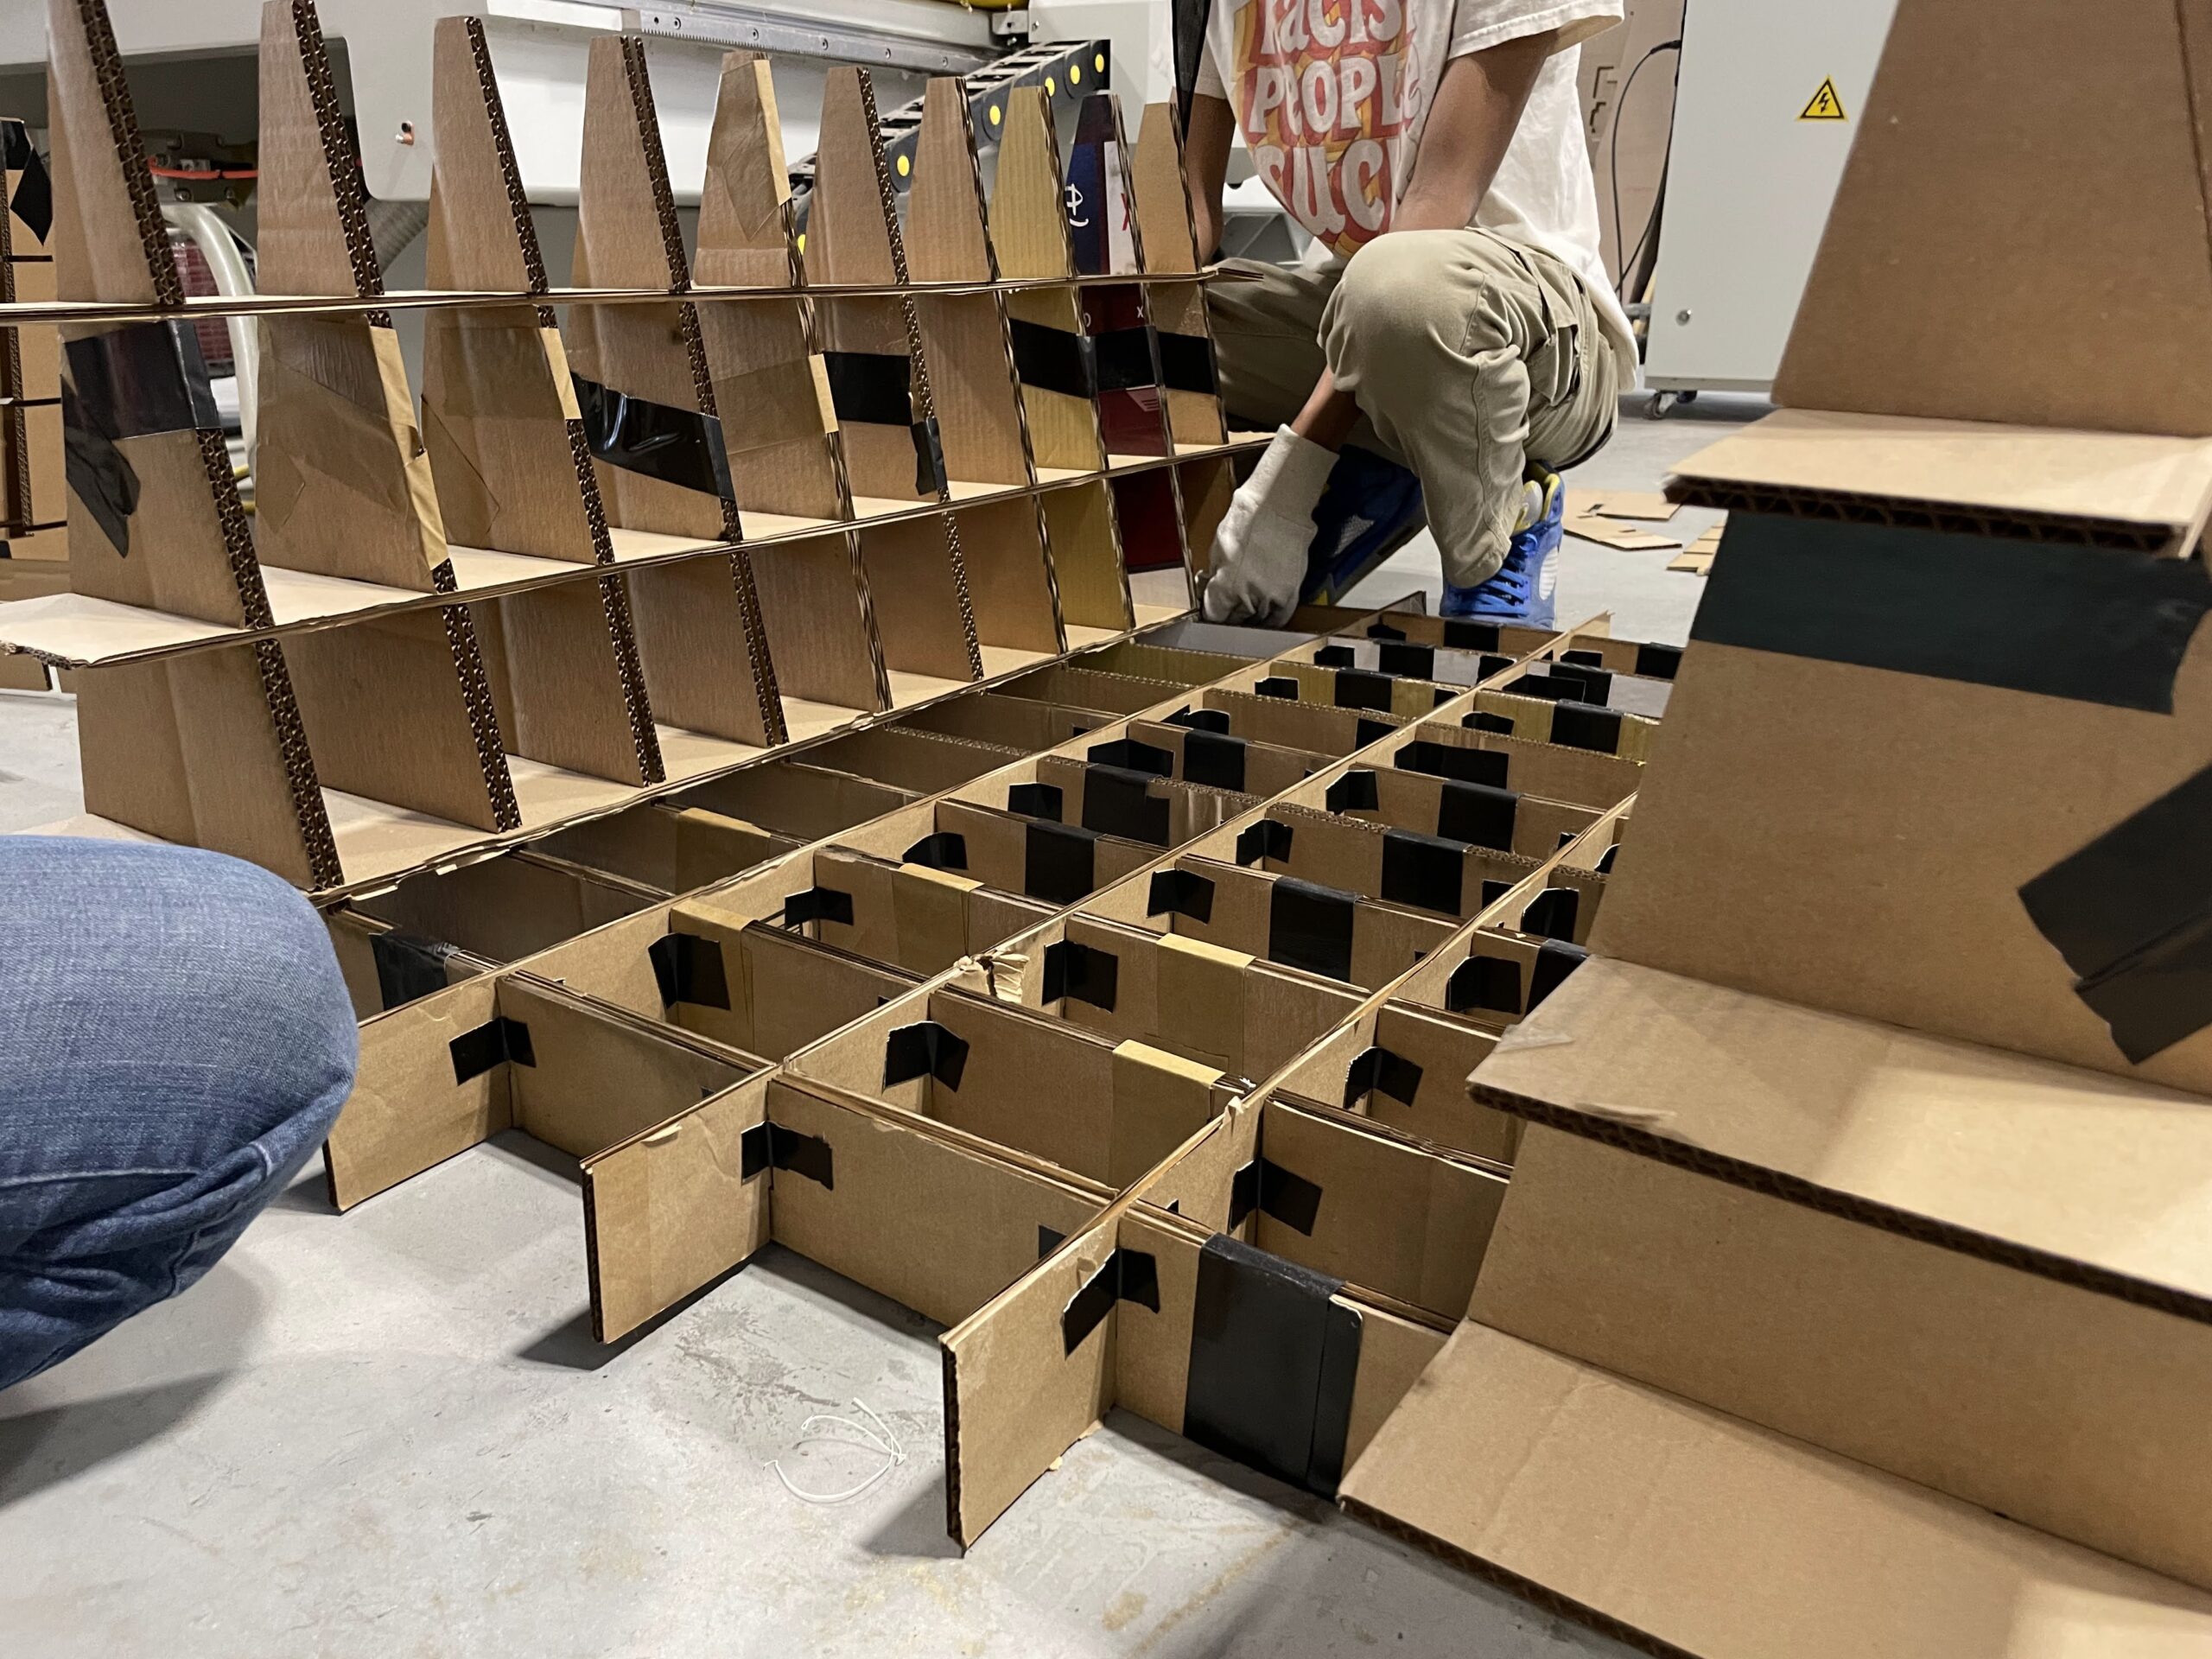
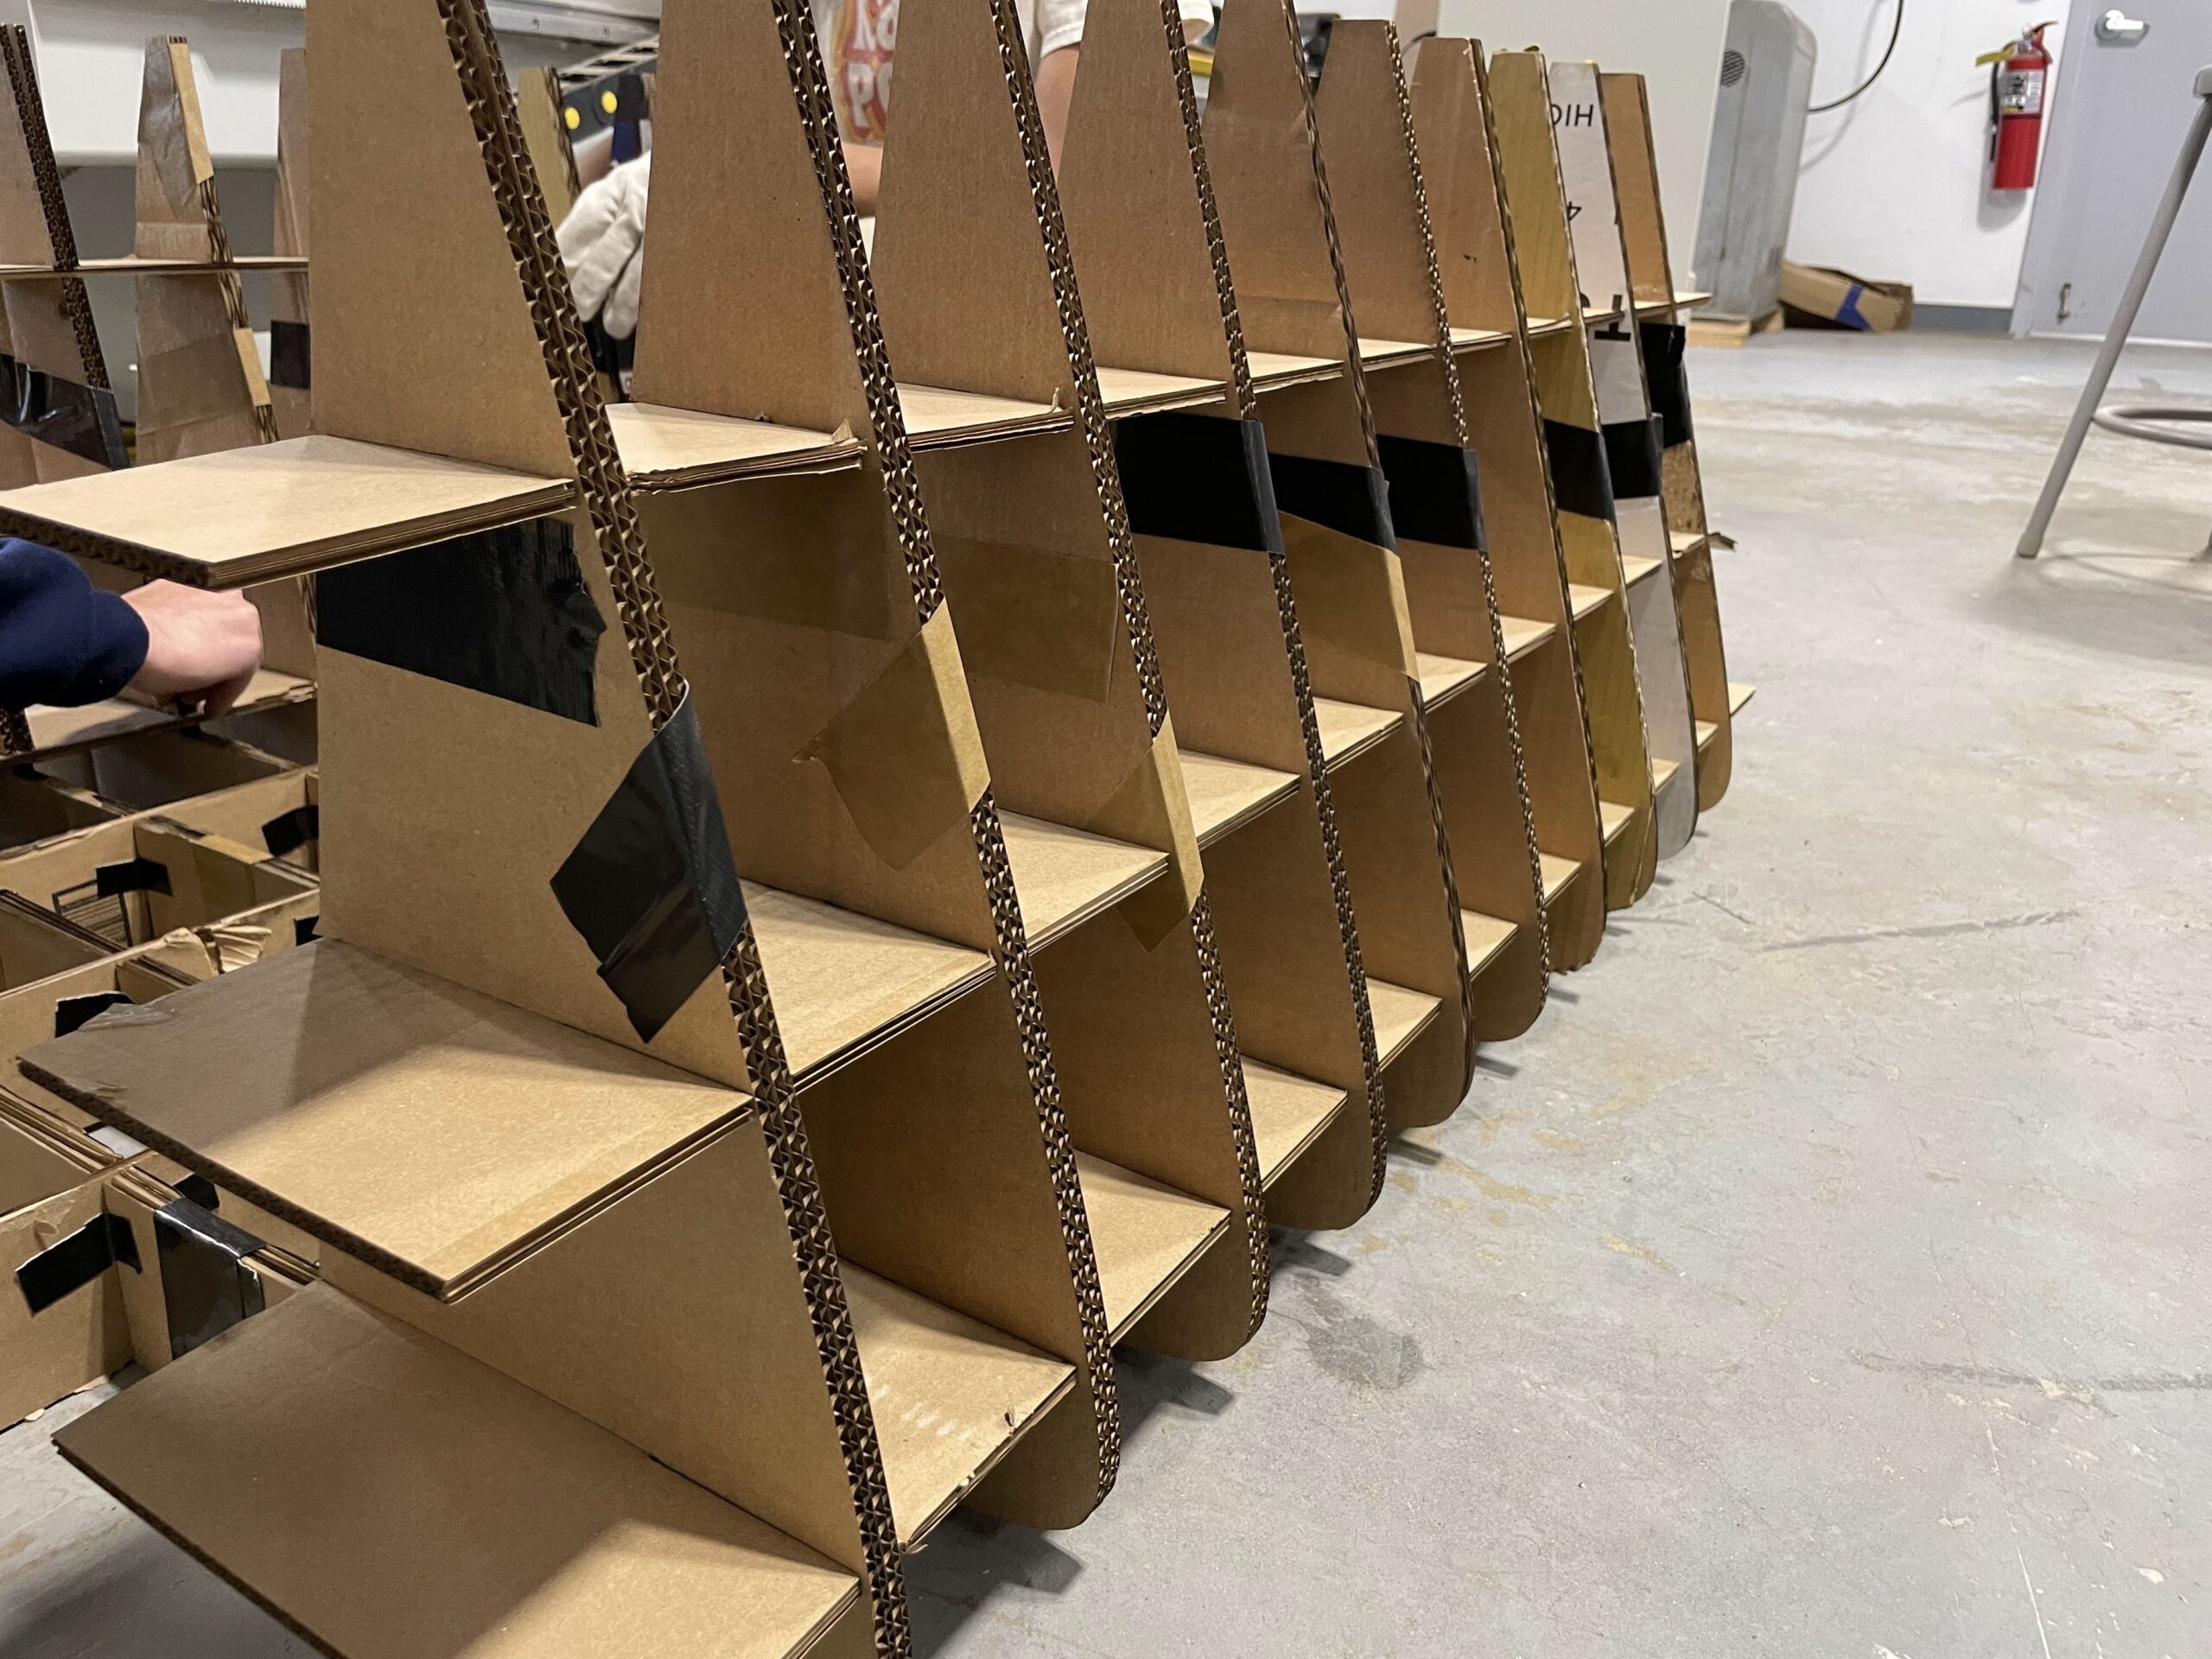
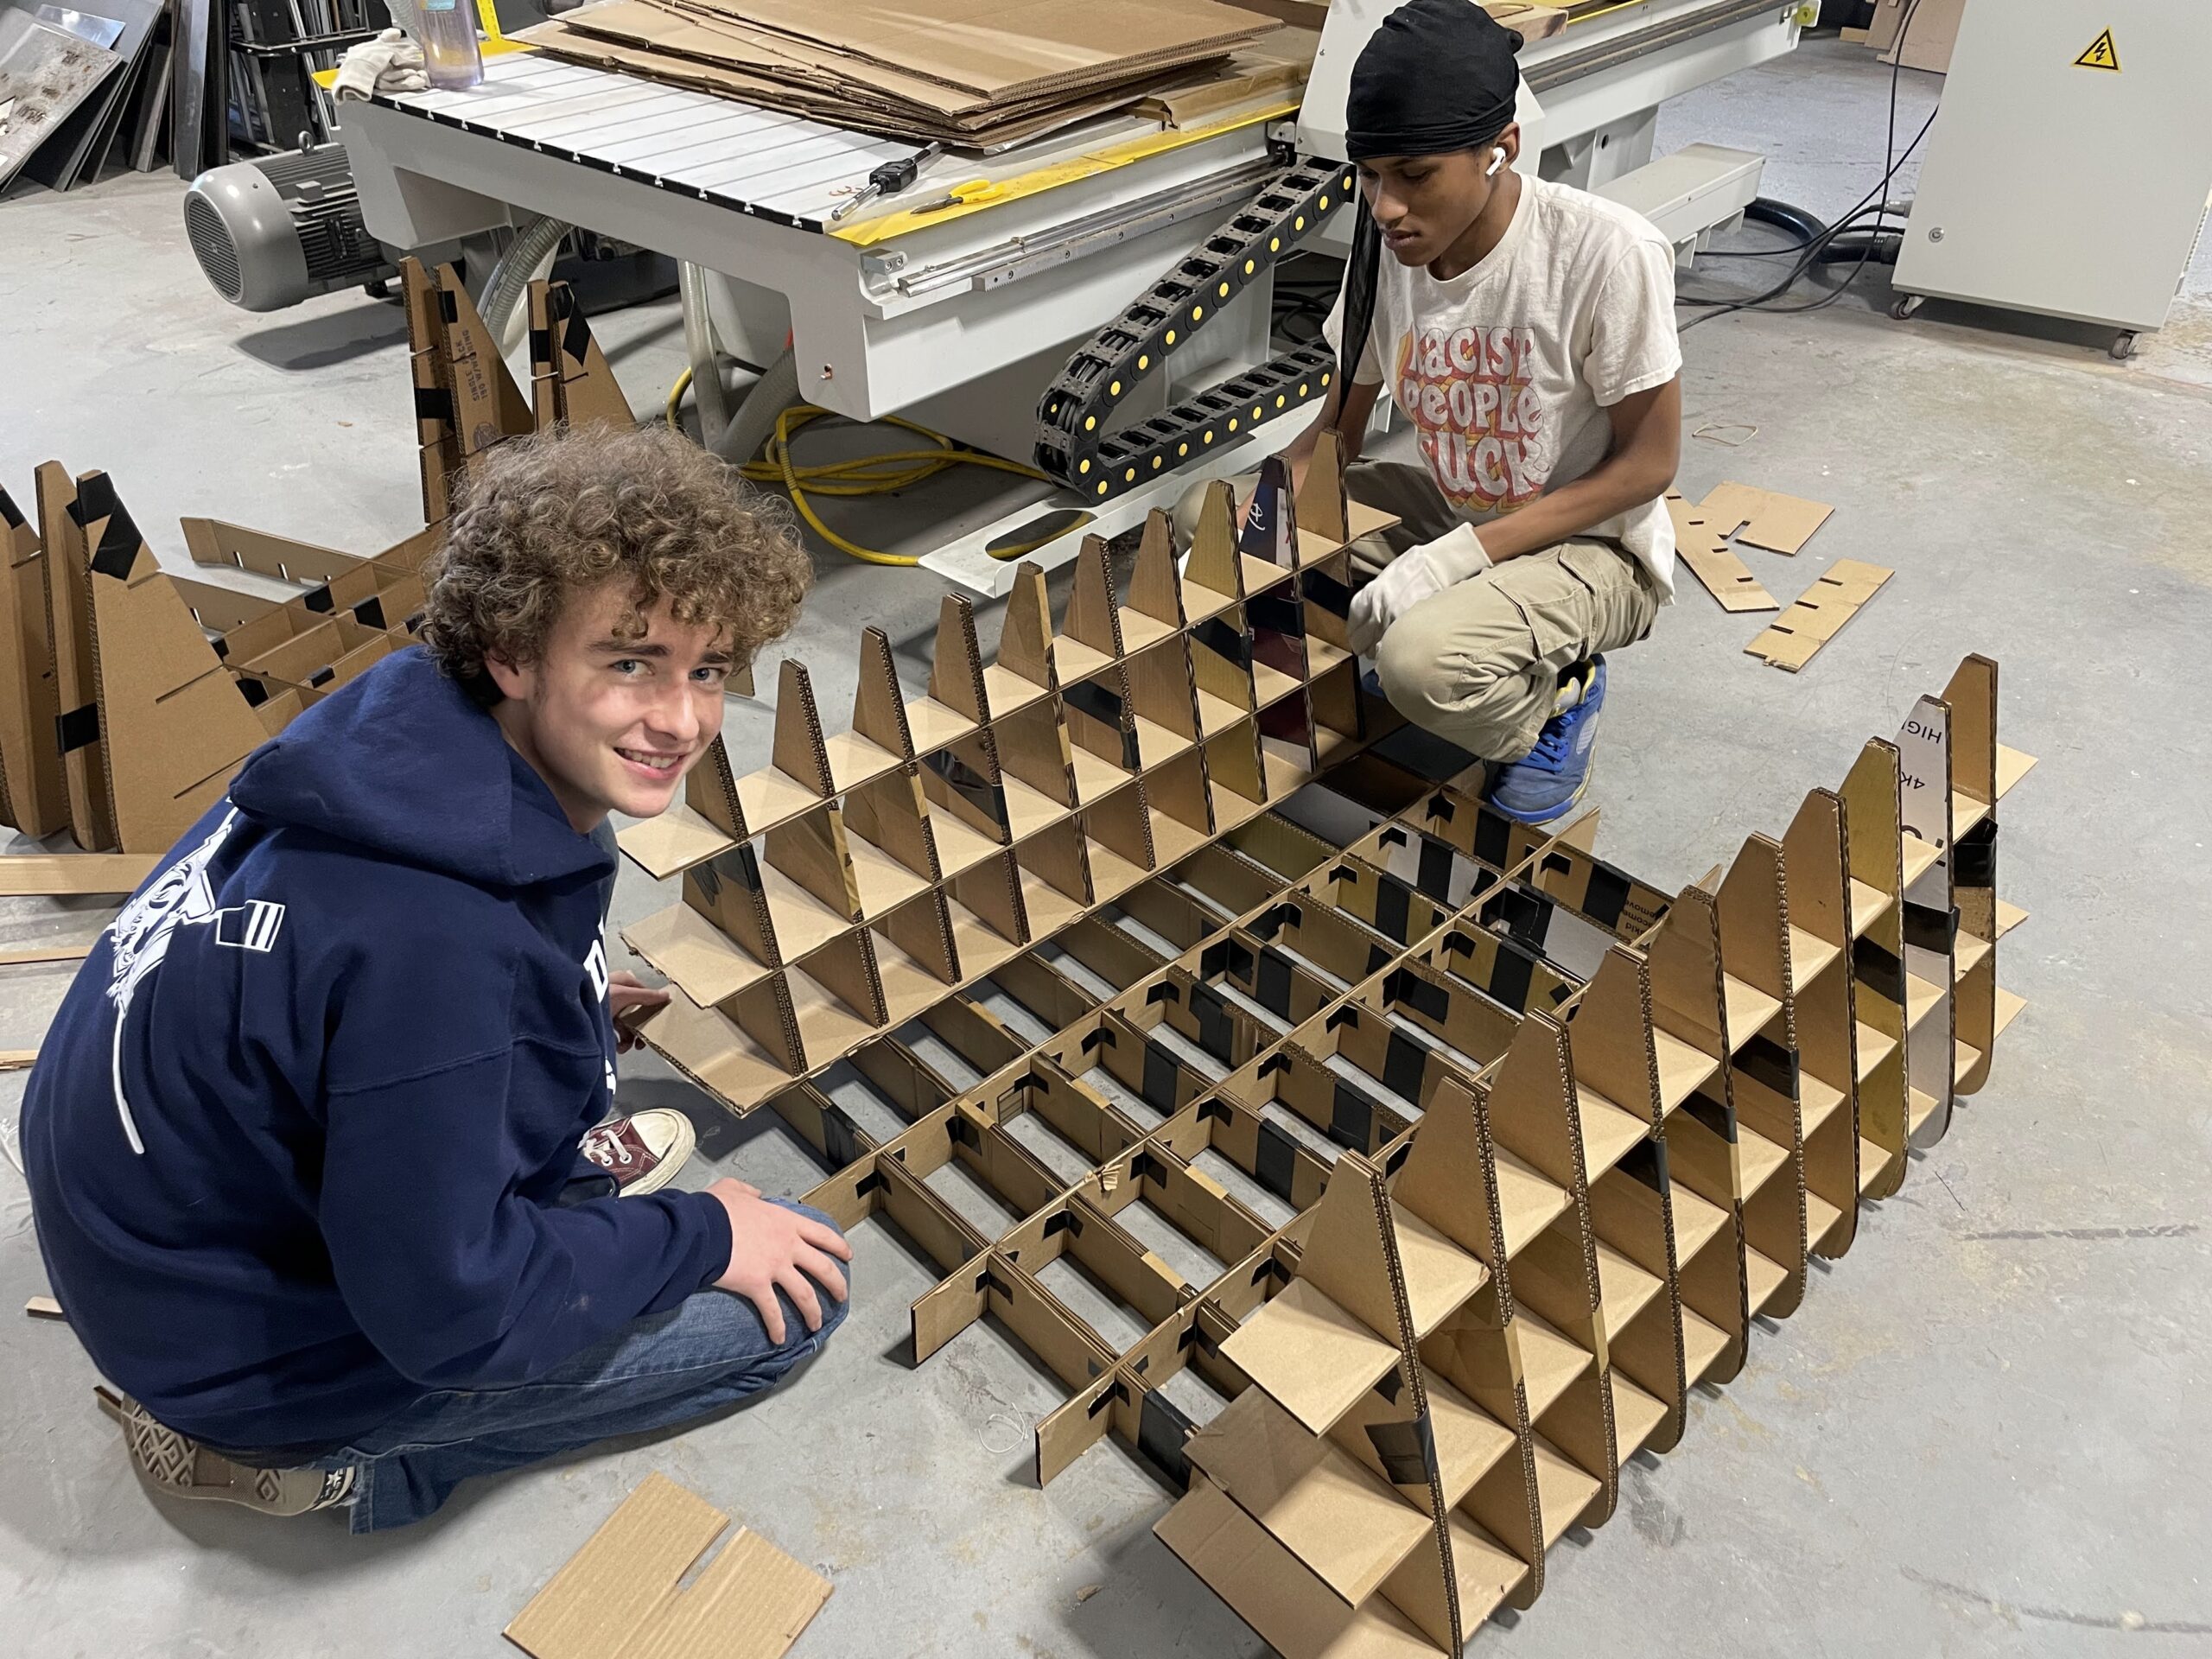
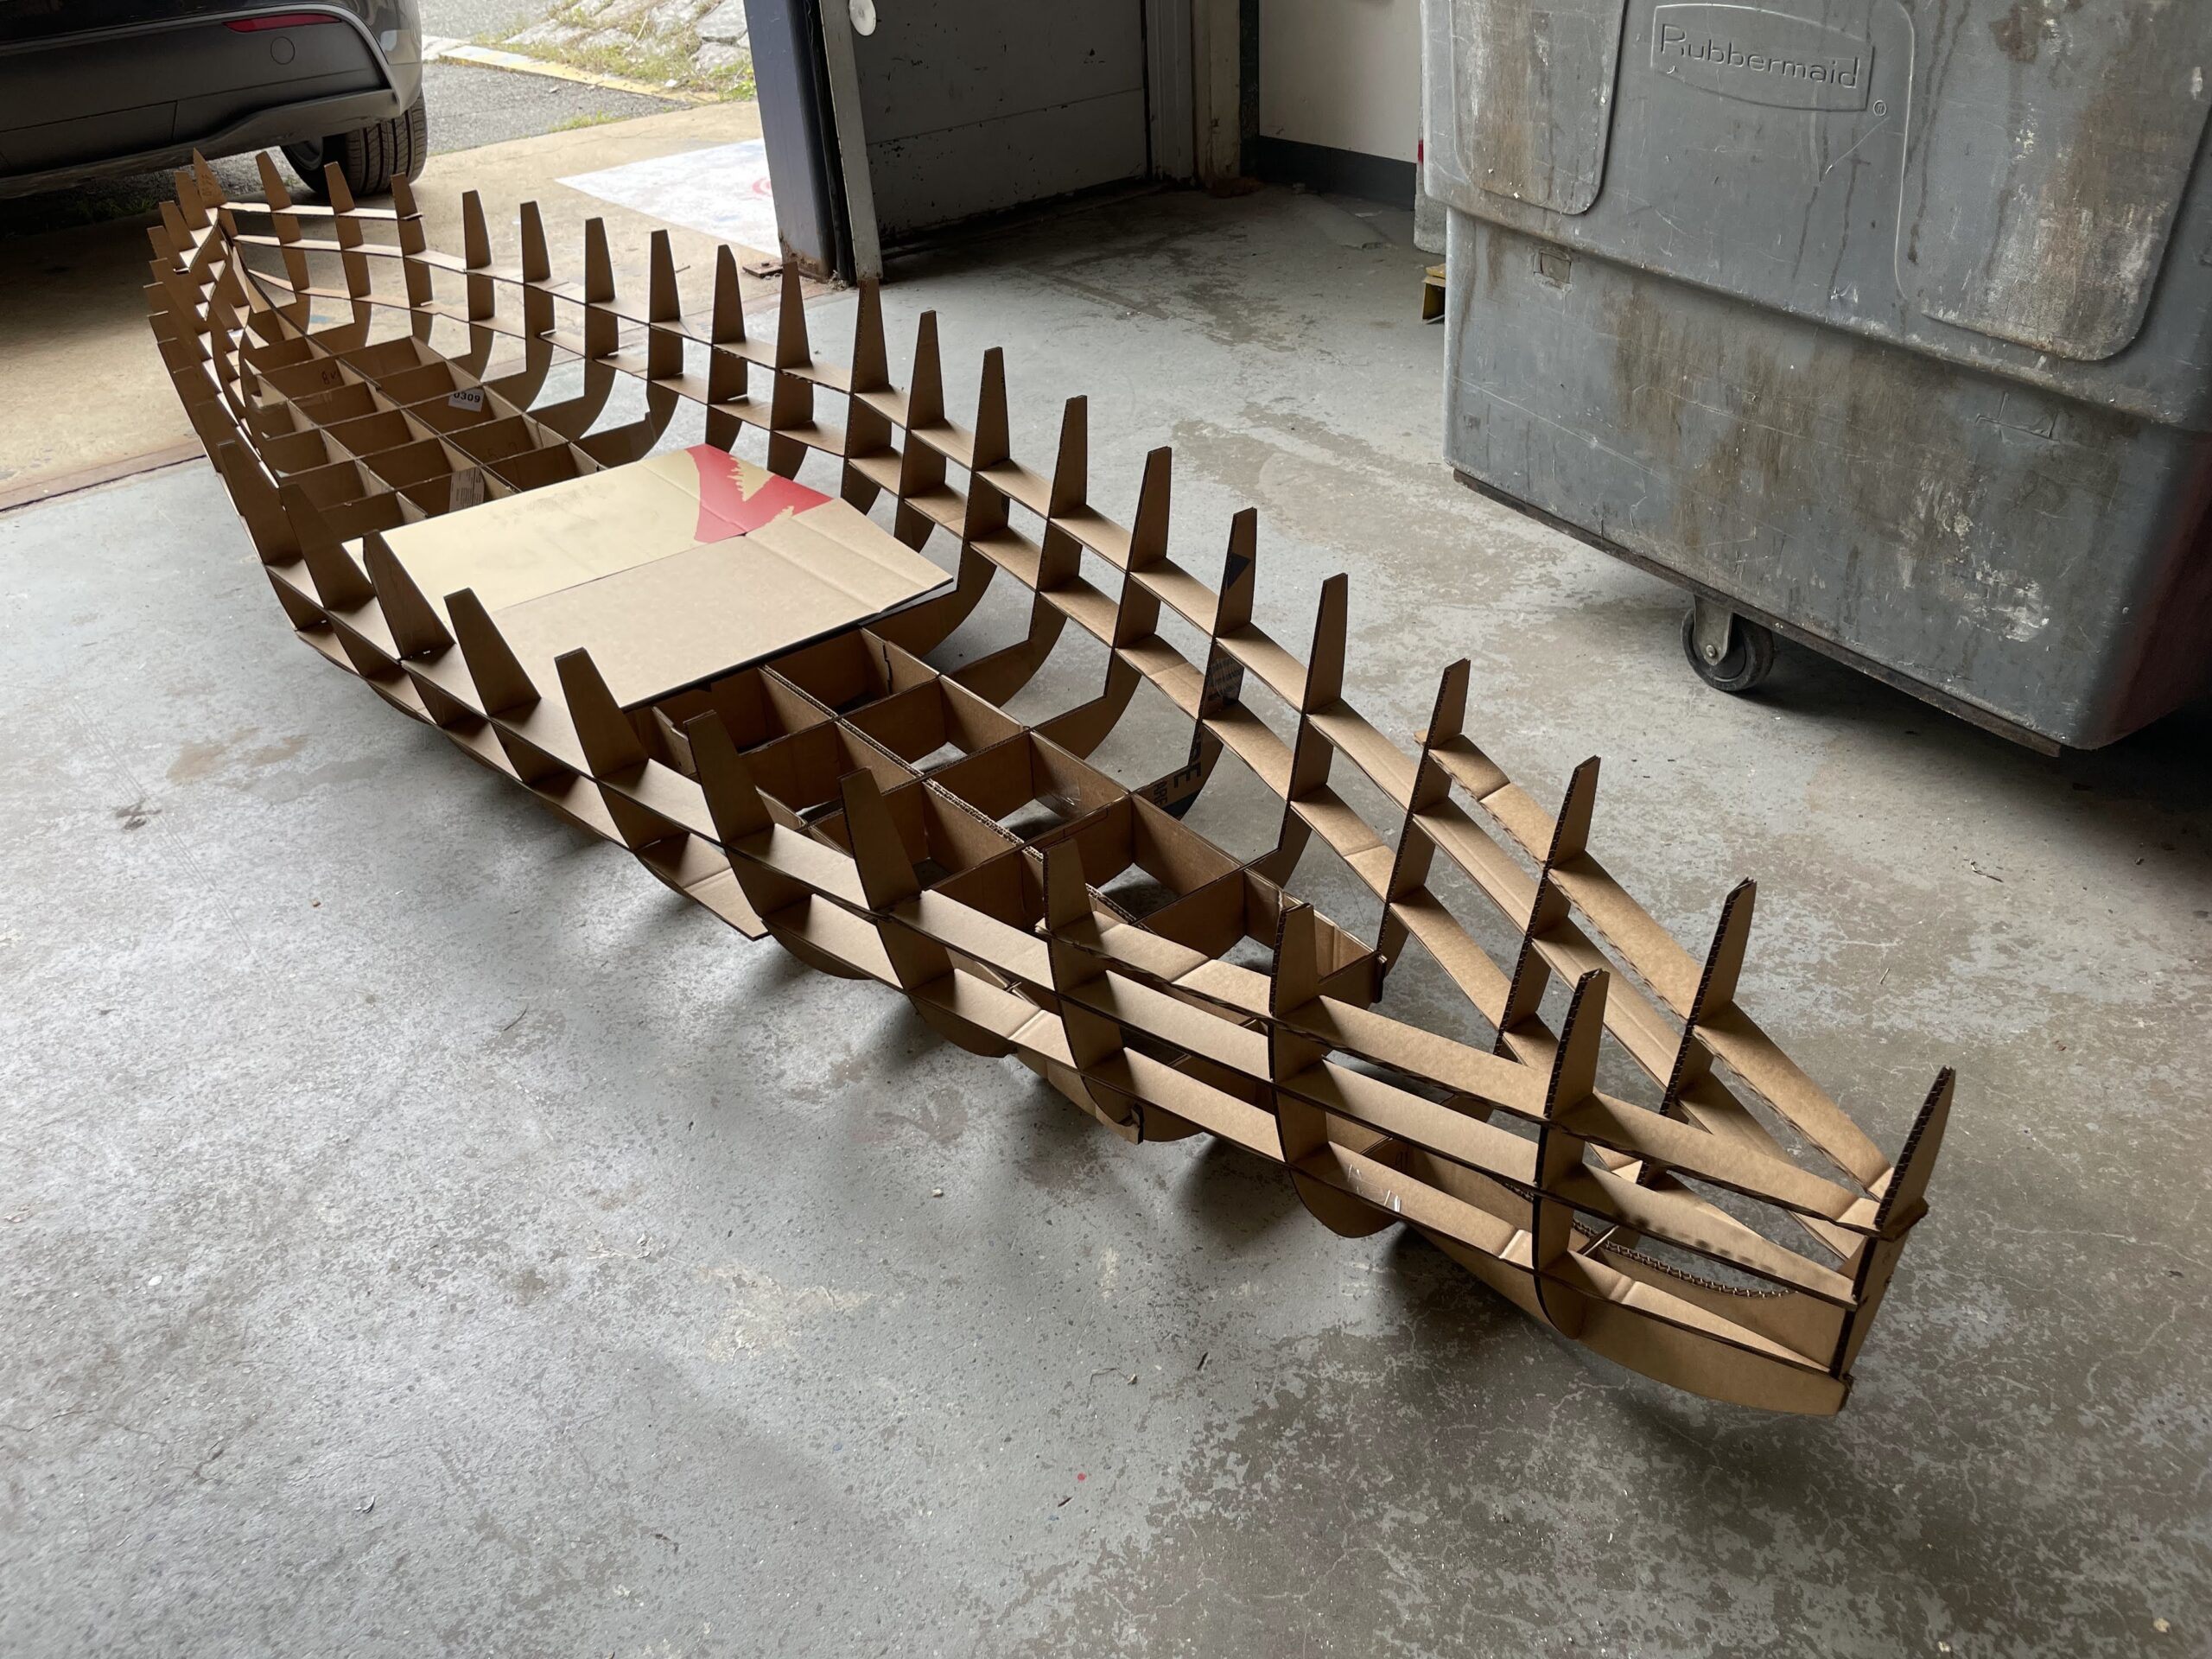
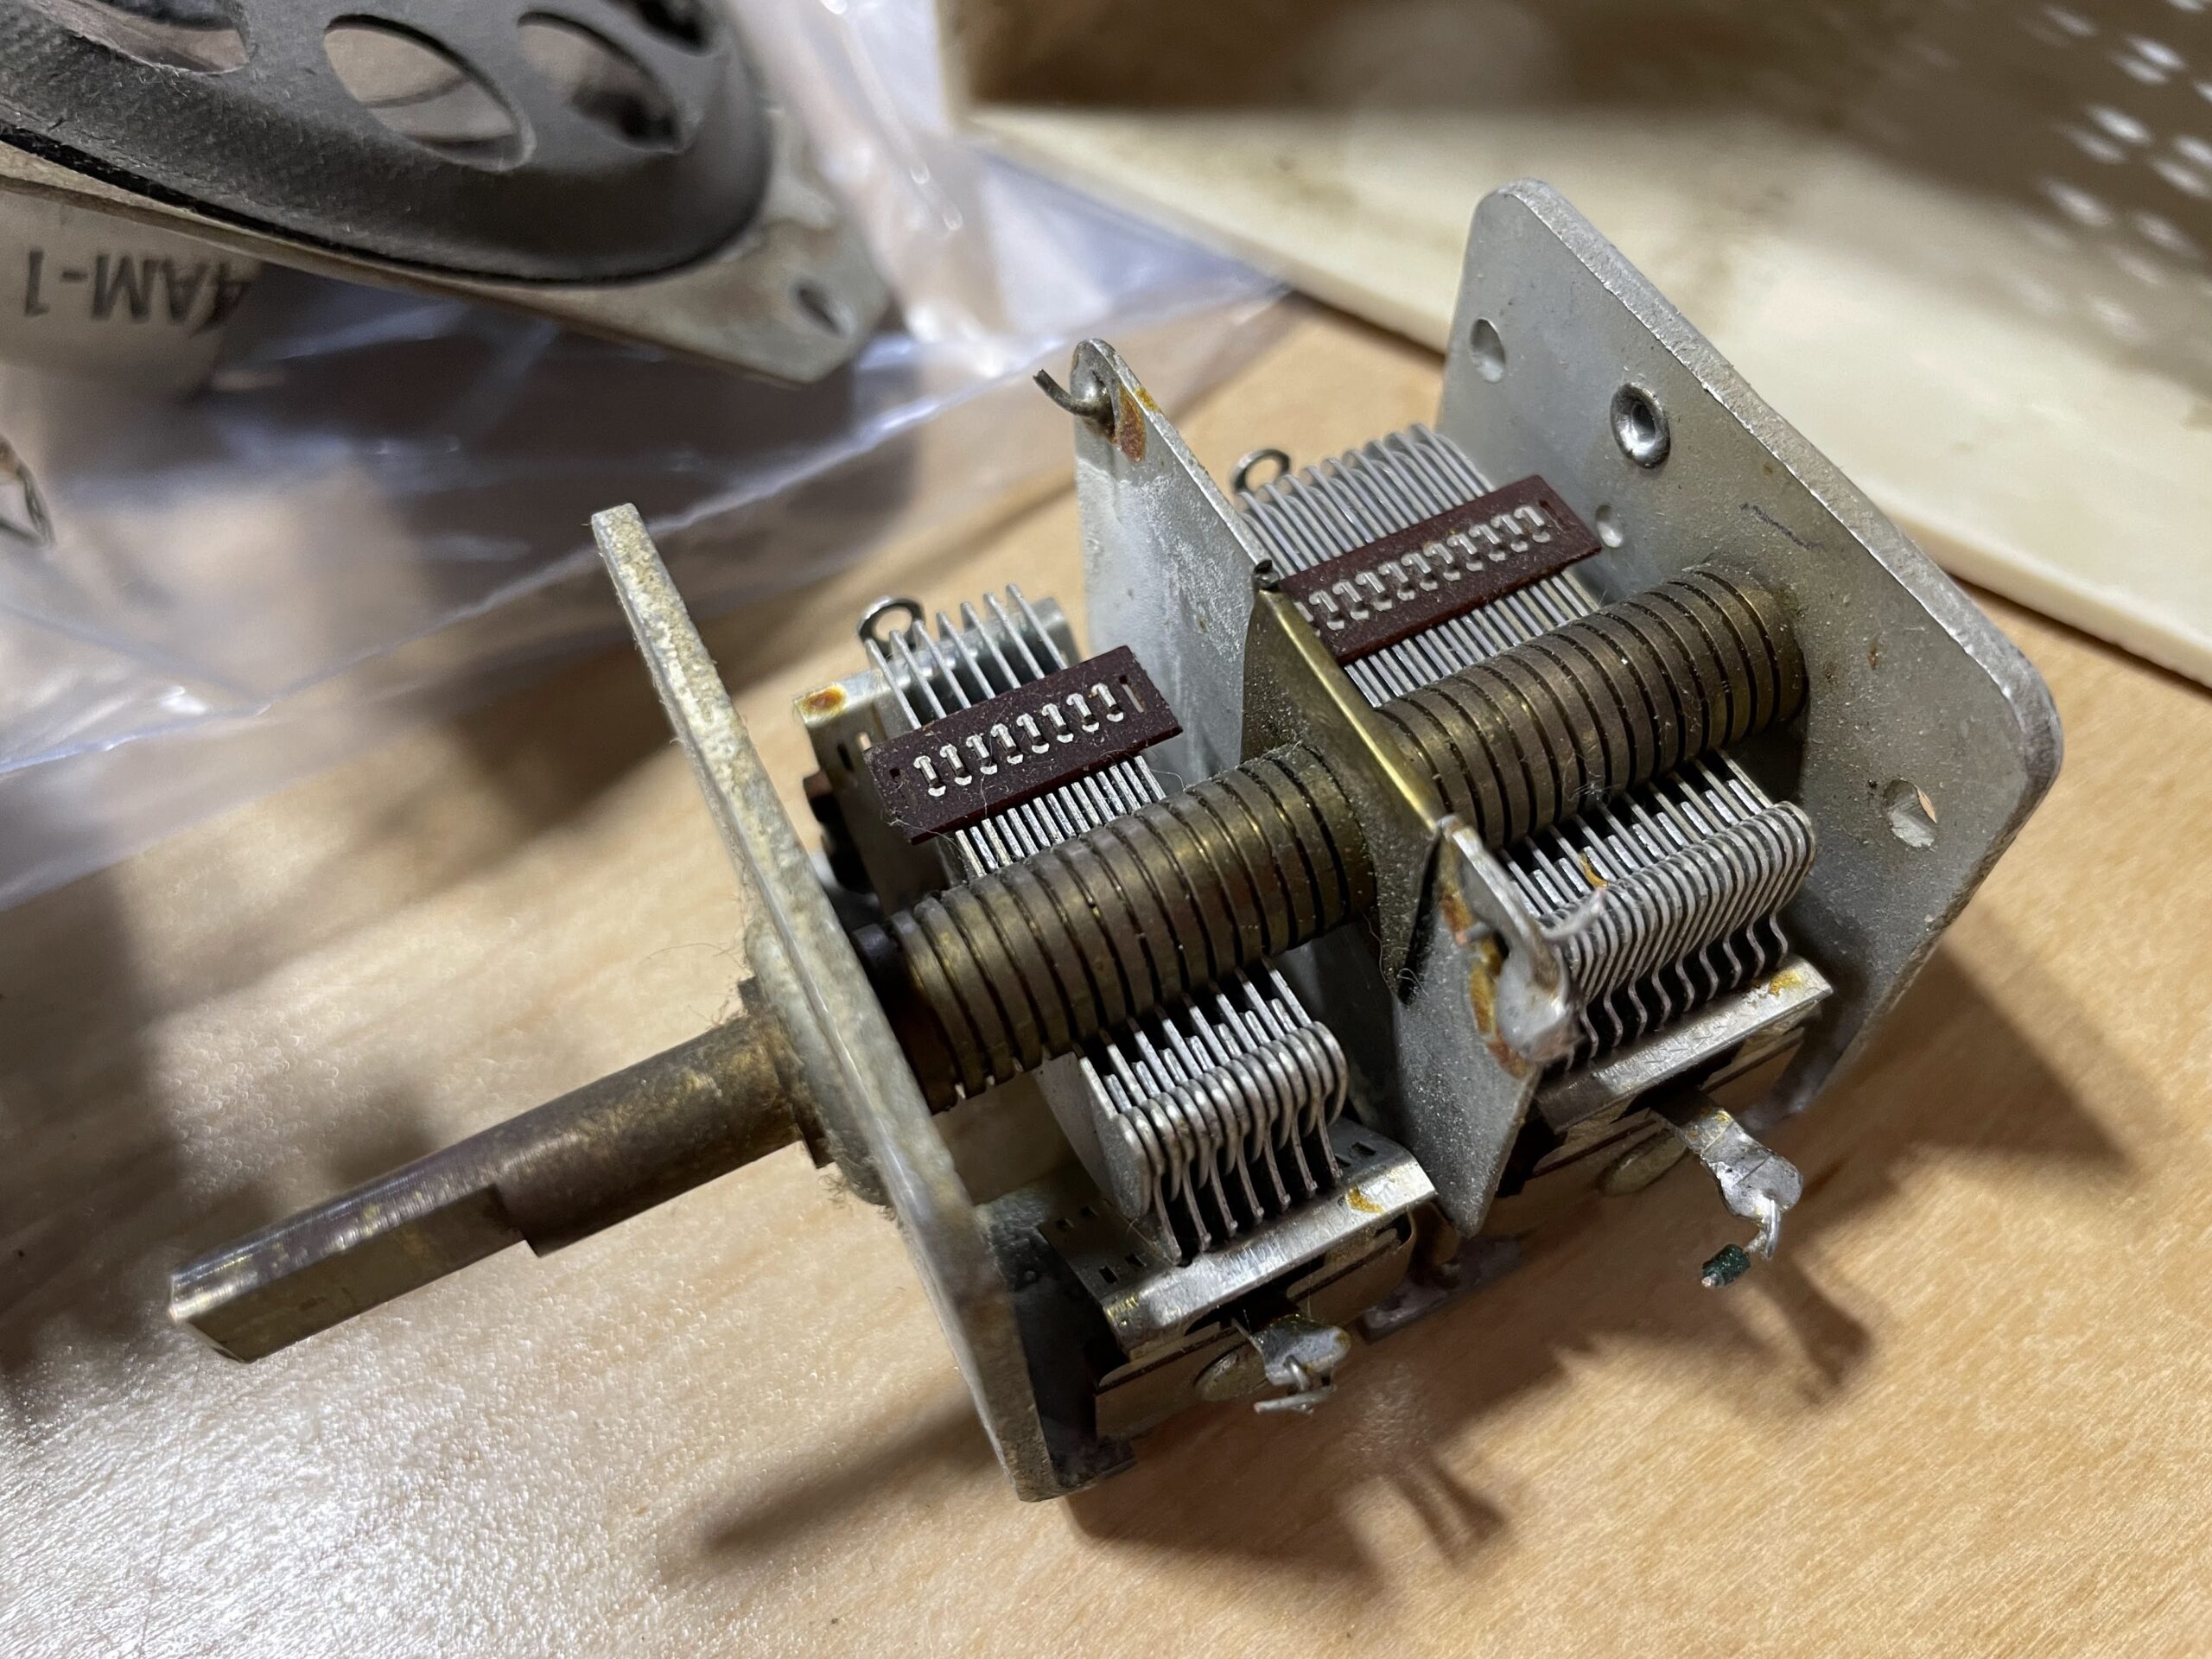
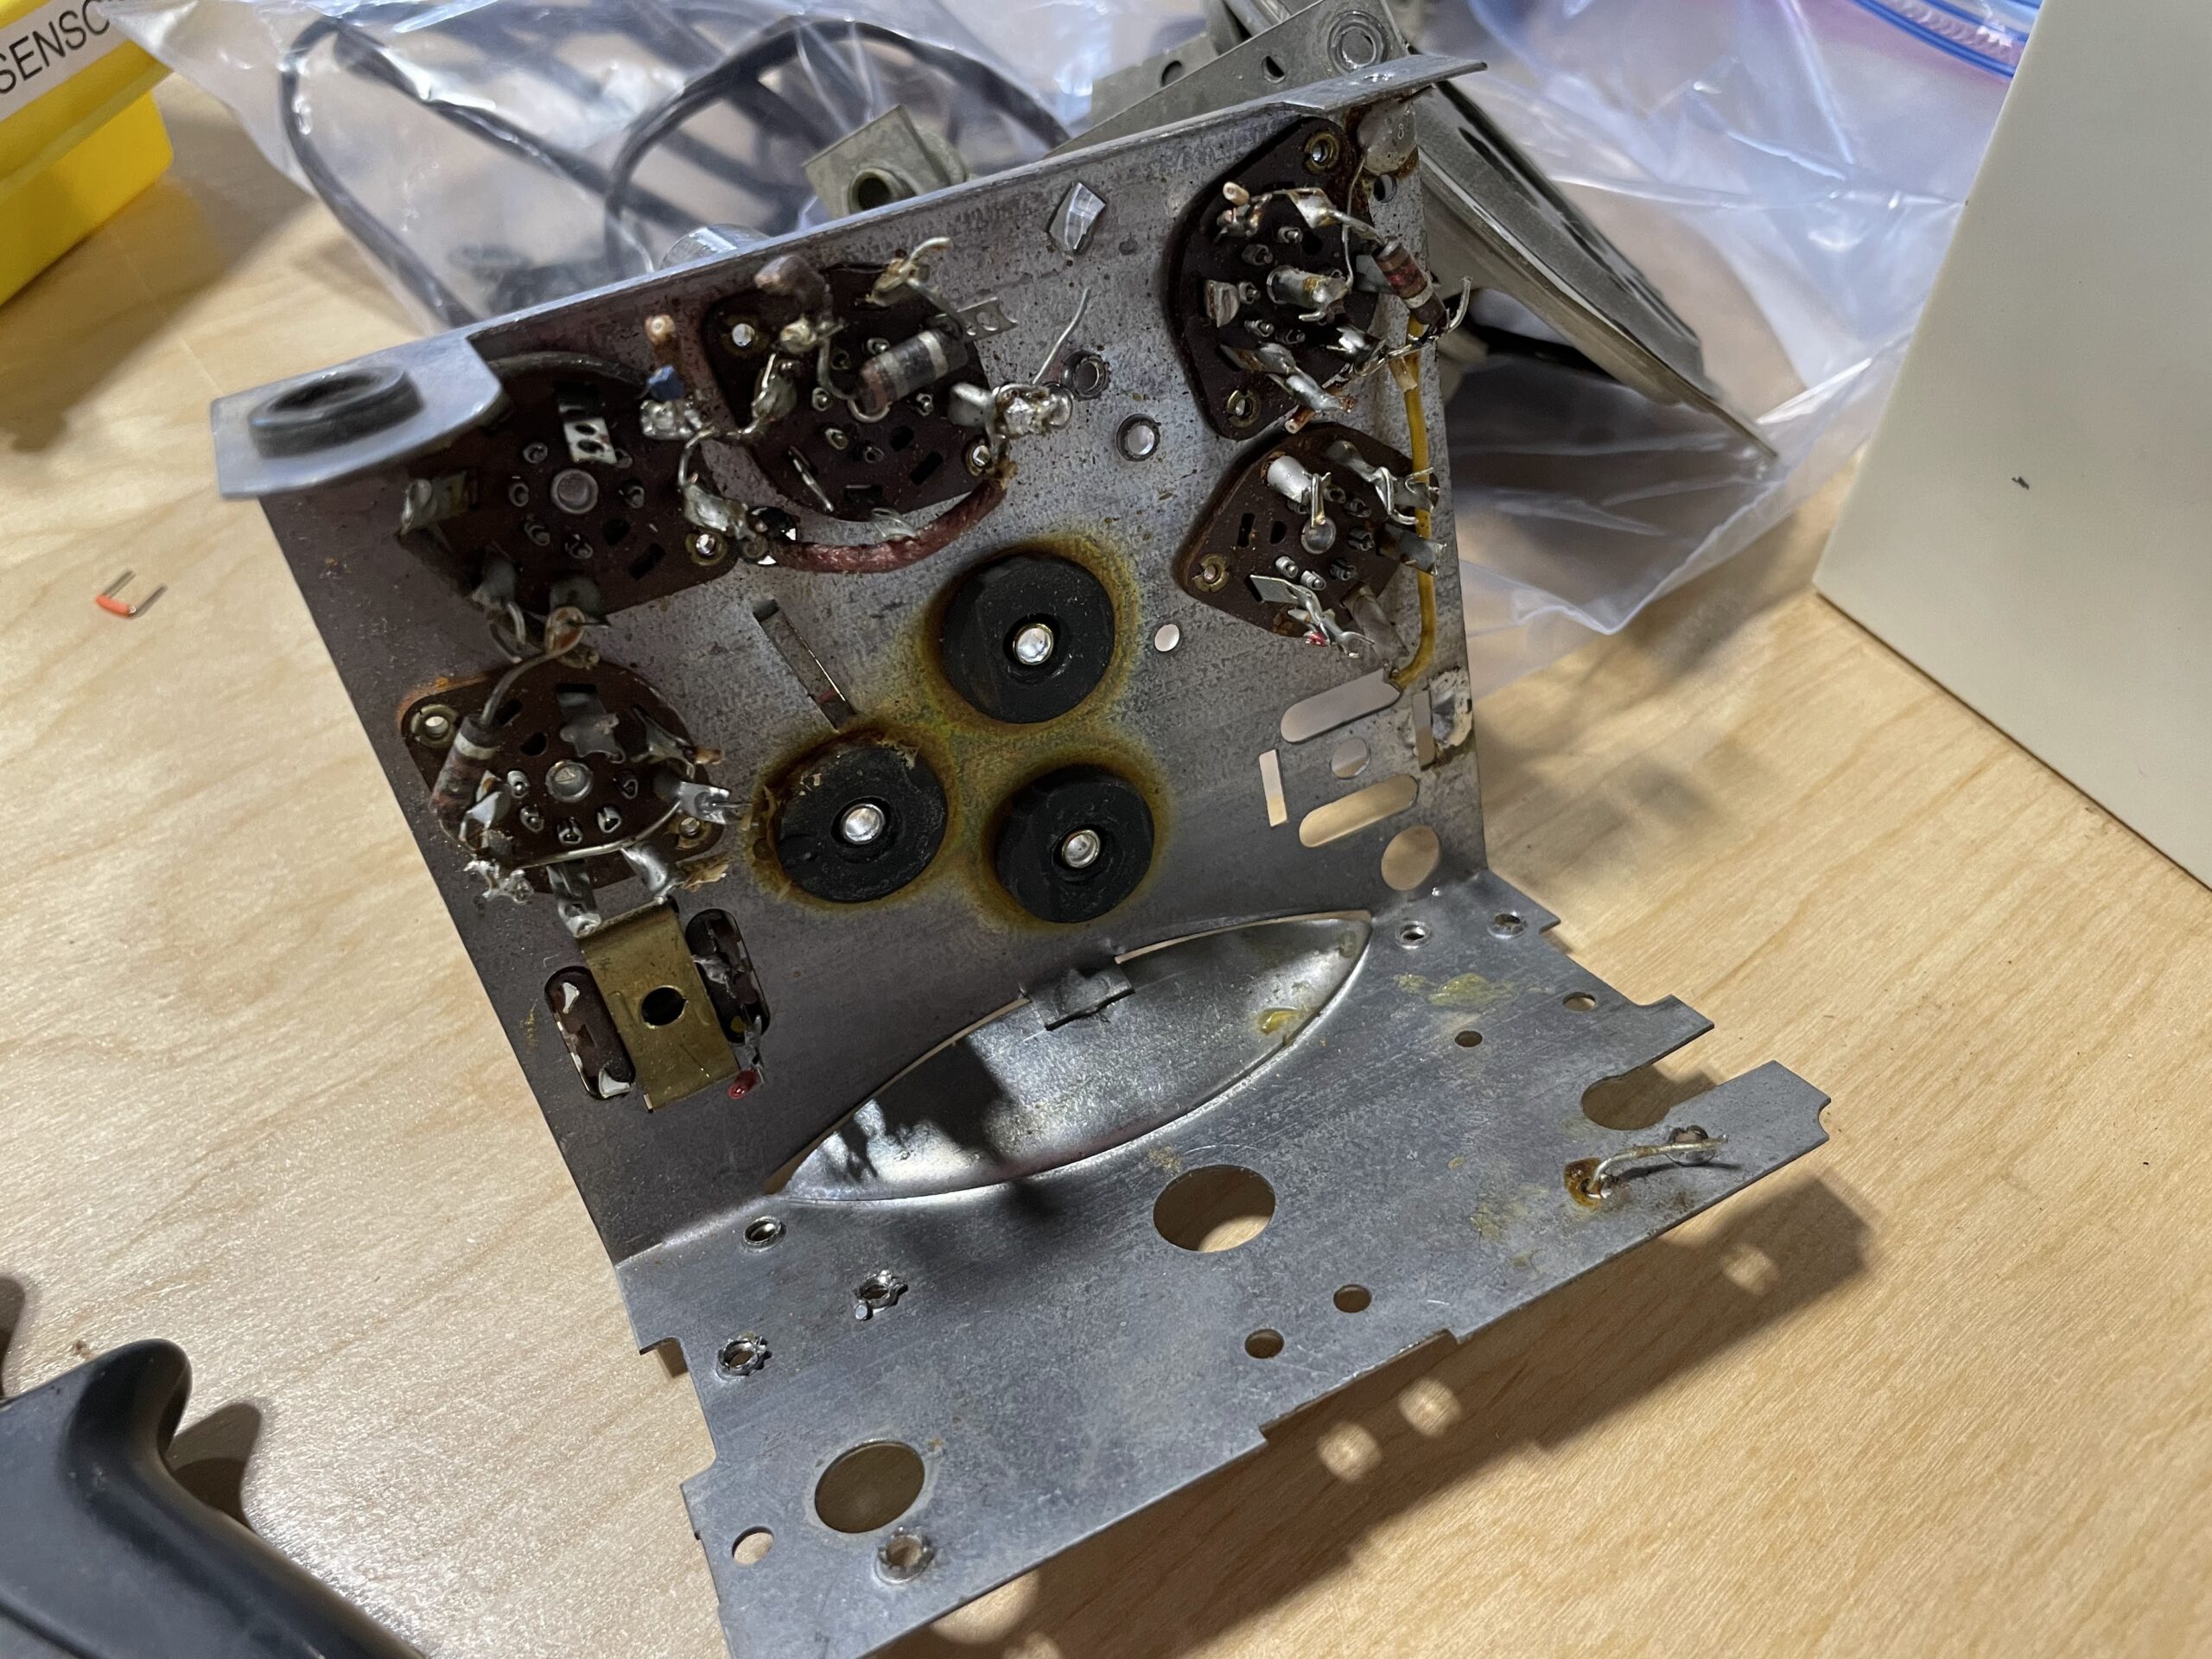
I completely forgot to post about the Robotics Club, which Mr. Christy and myself are the moderators. To be fair, Mr. Christy spends much more time with the students, often staying until 8 or 9pm with them during the buildup to a recent contest. This year, the team participated in the MATE ROV competition, which is an underwater rover robot event. The event was at the Massachusetts Maritime Academy on the Cape, and we were there early in the morning. The contest was a little disorganized, and the start time was quite delayed. But that gave our team plenty of time to prepare and organize, since this was our first time at the event. We had two stints in the water with the robot, and the team learned a great deal from the day. Fortunately, we won! Out of the 4 scoring categories, we took 3 of them. We were completely surprised, but very happy for our students.

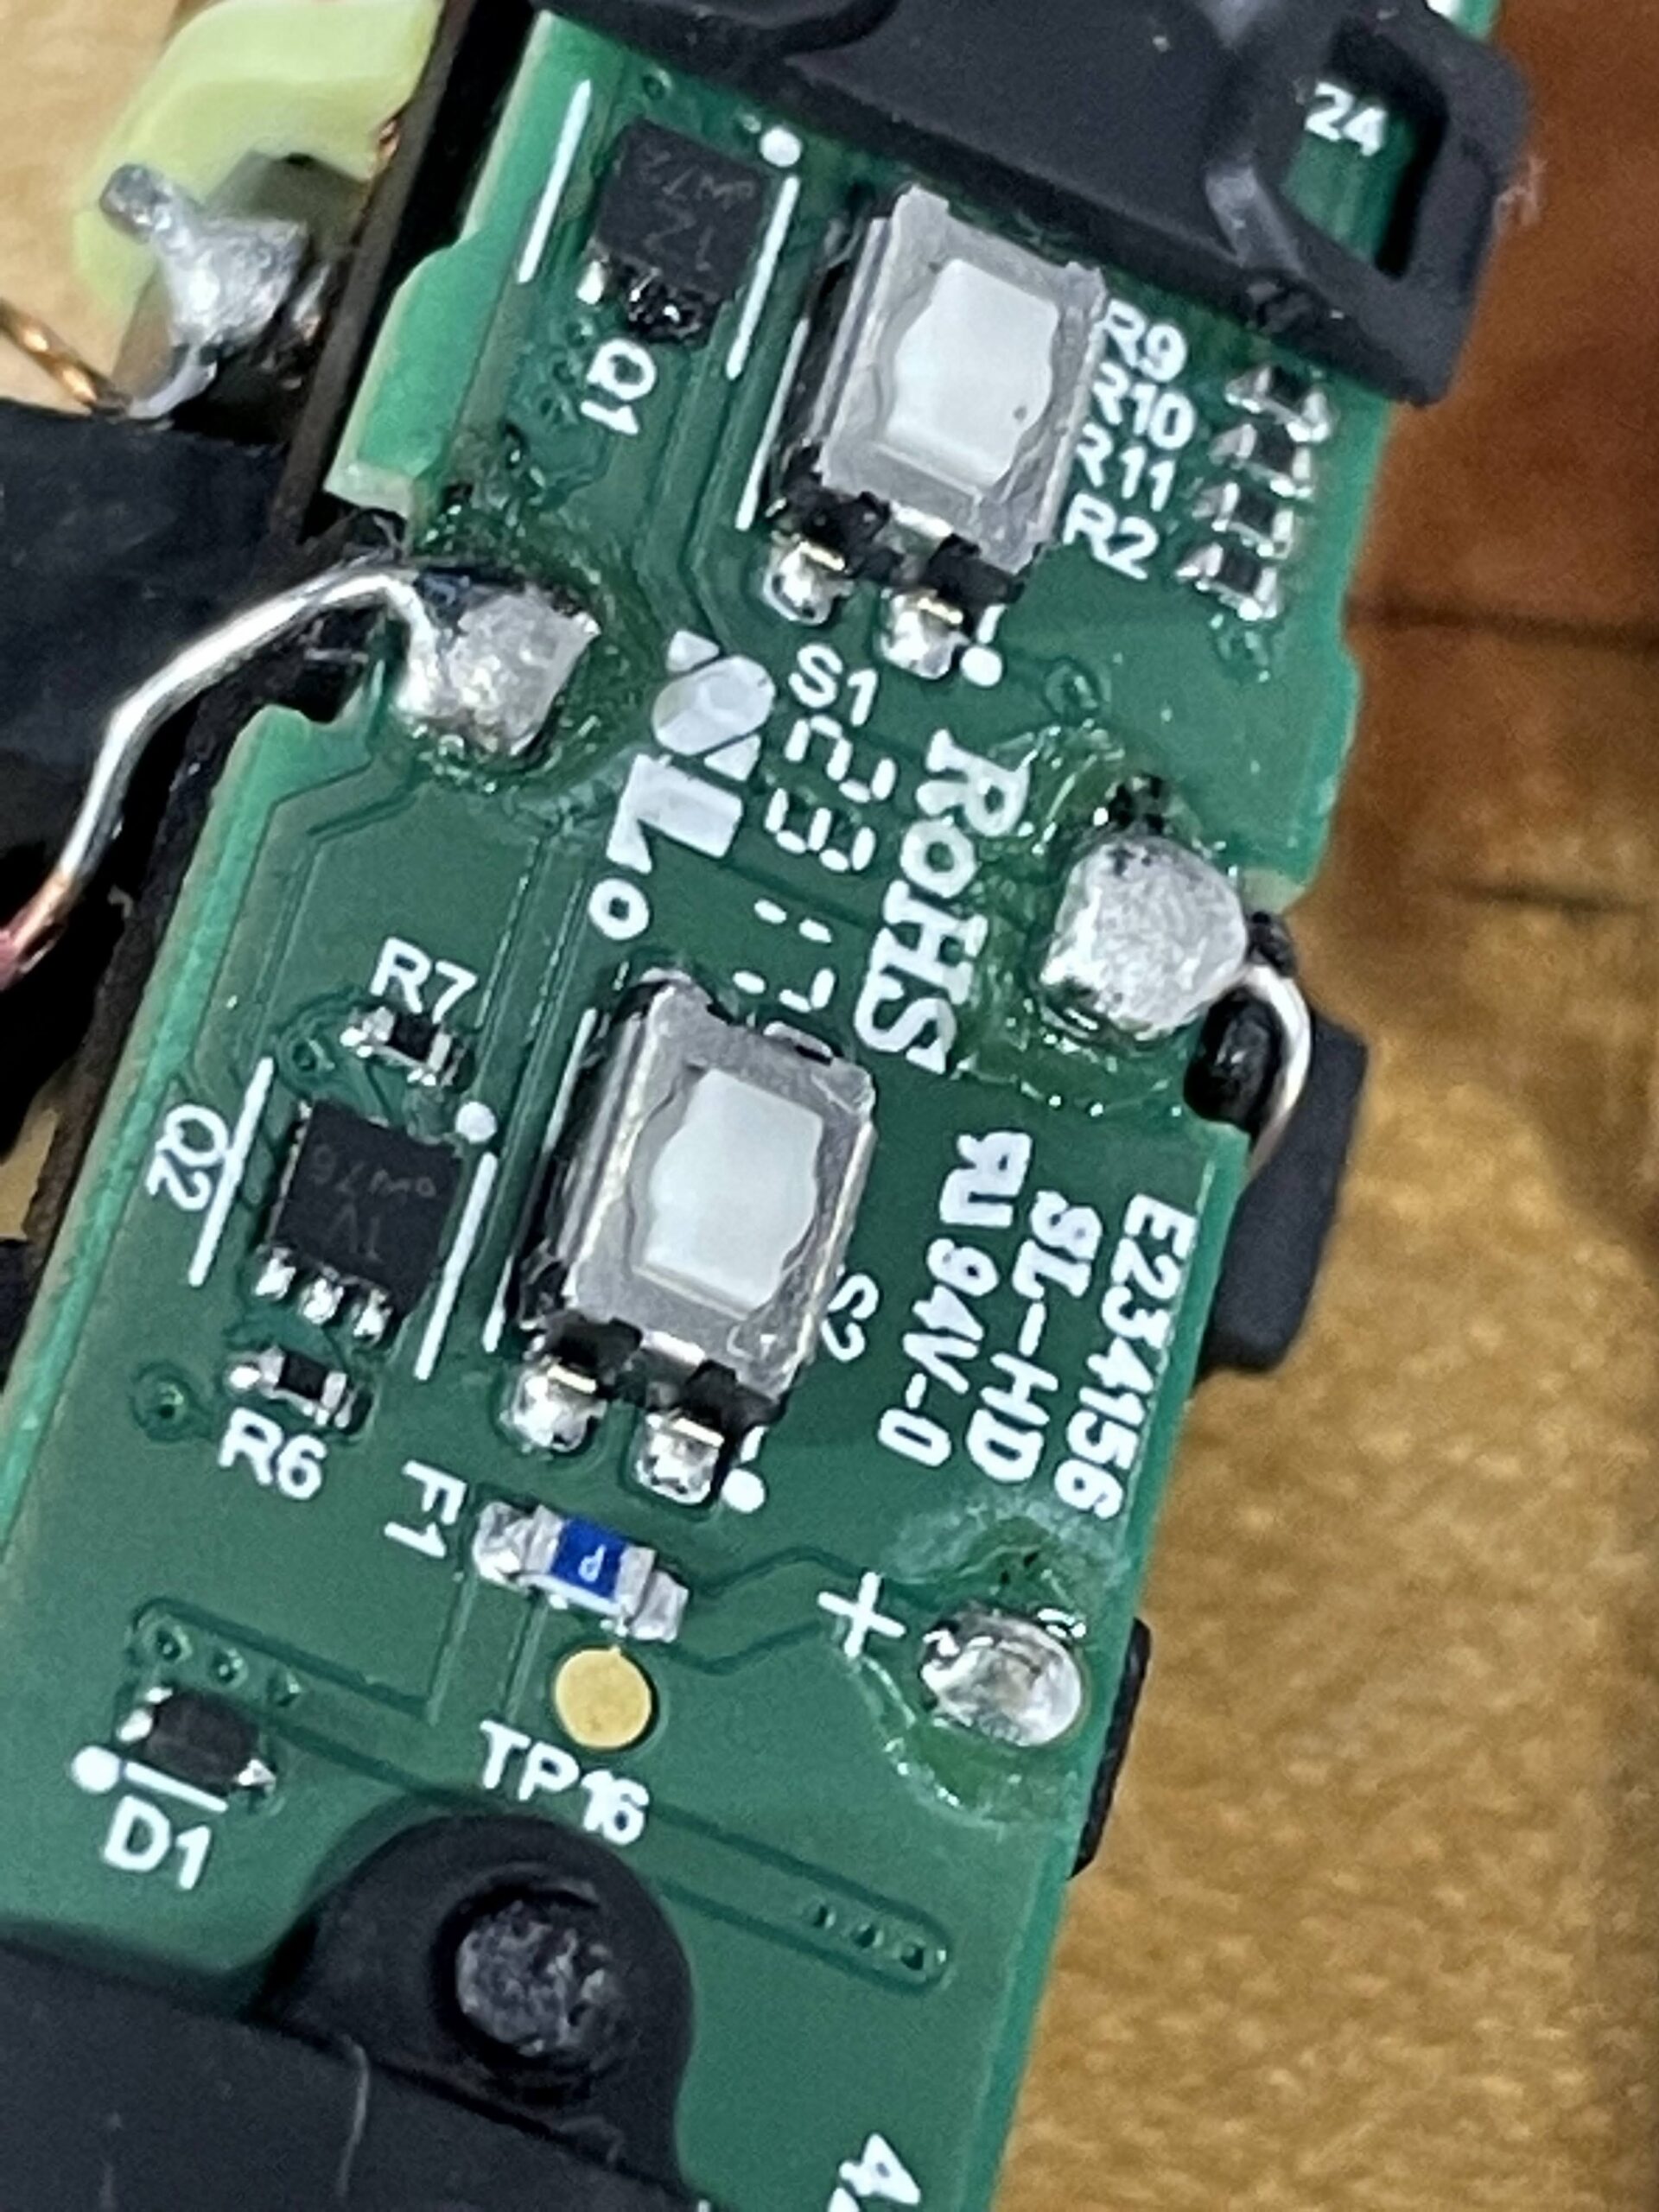
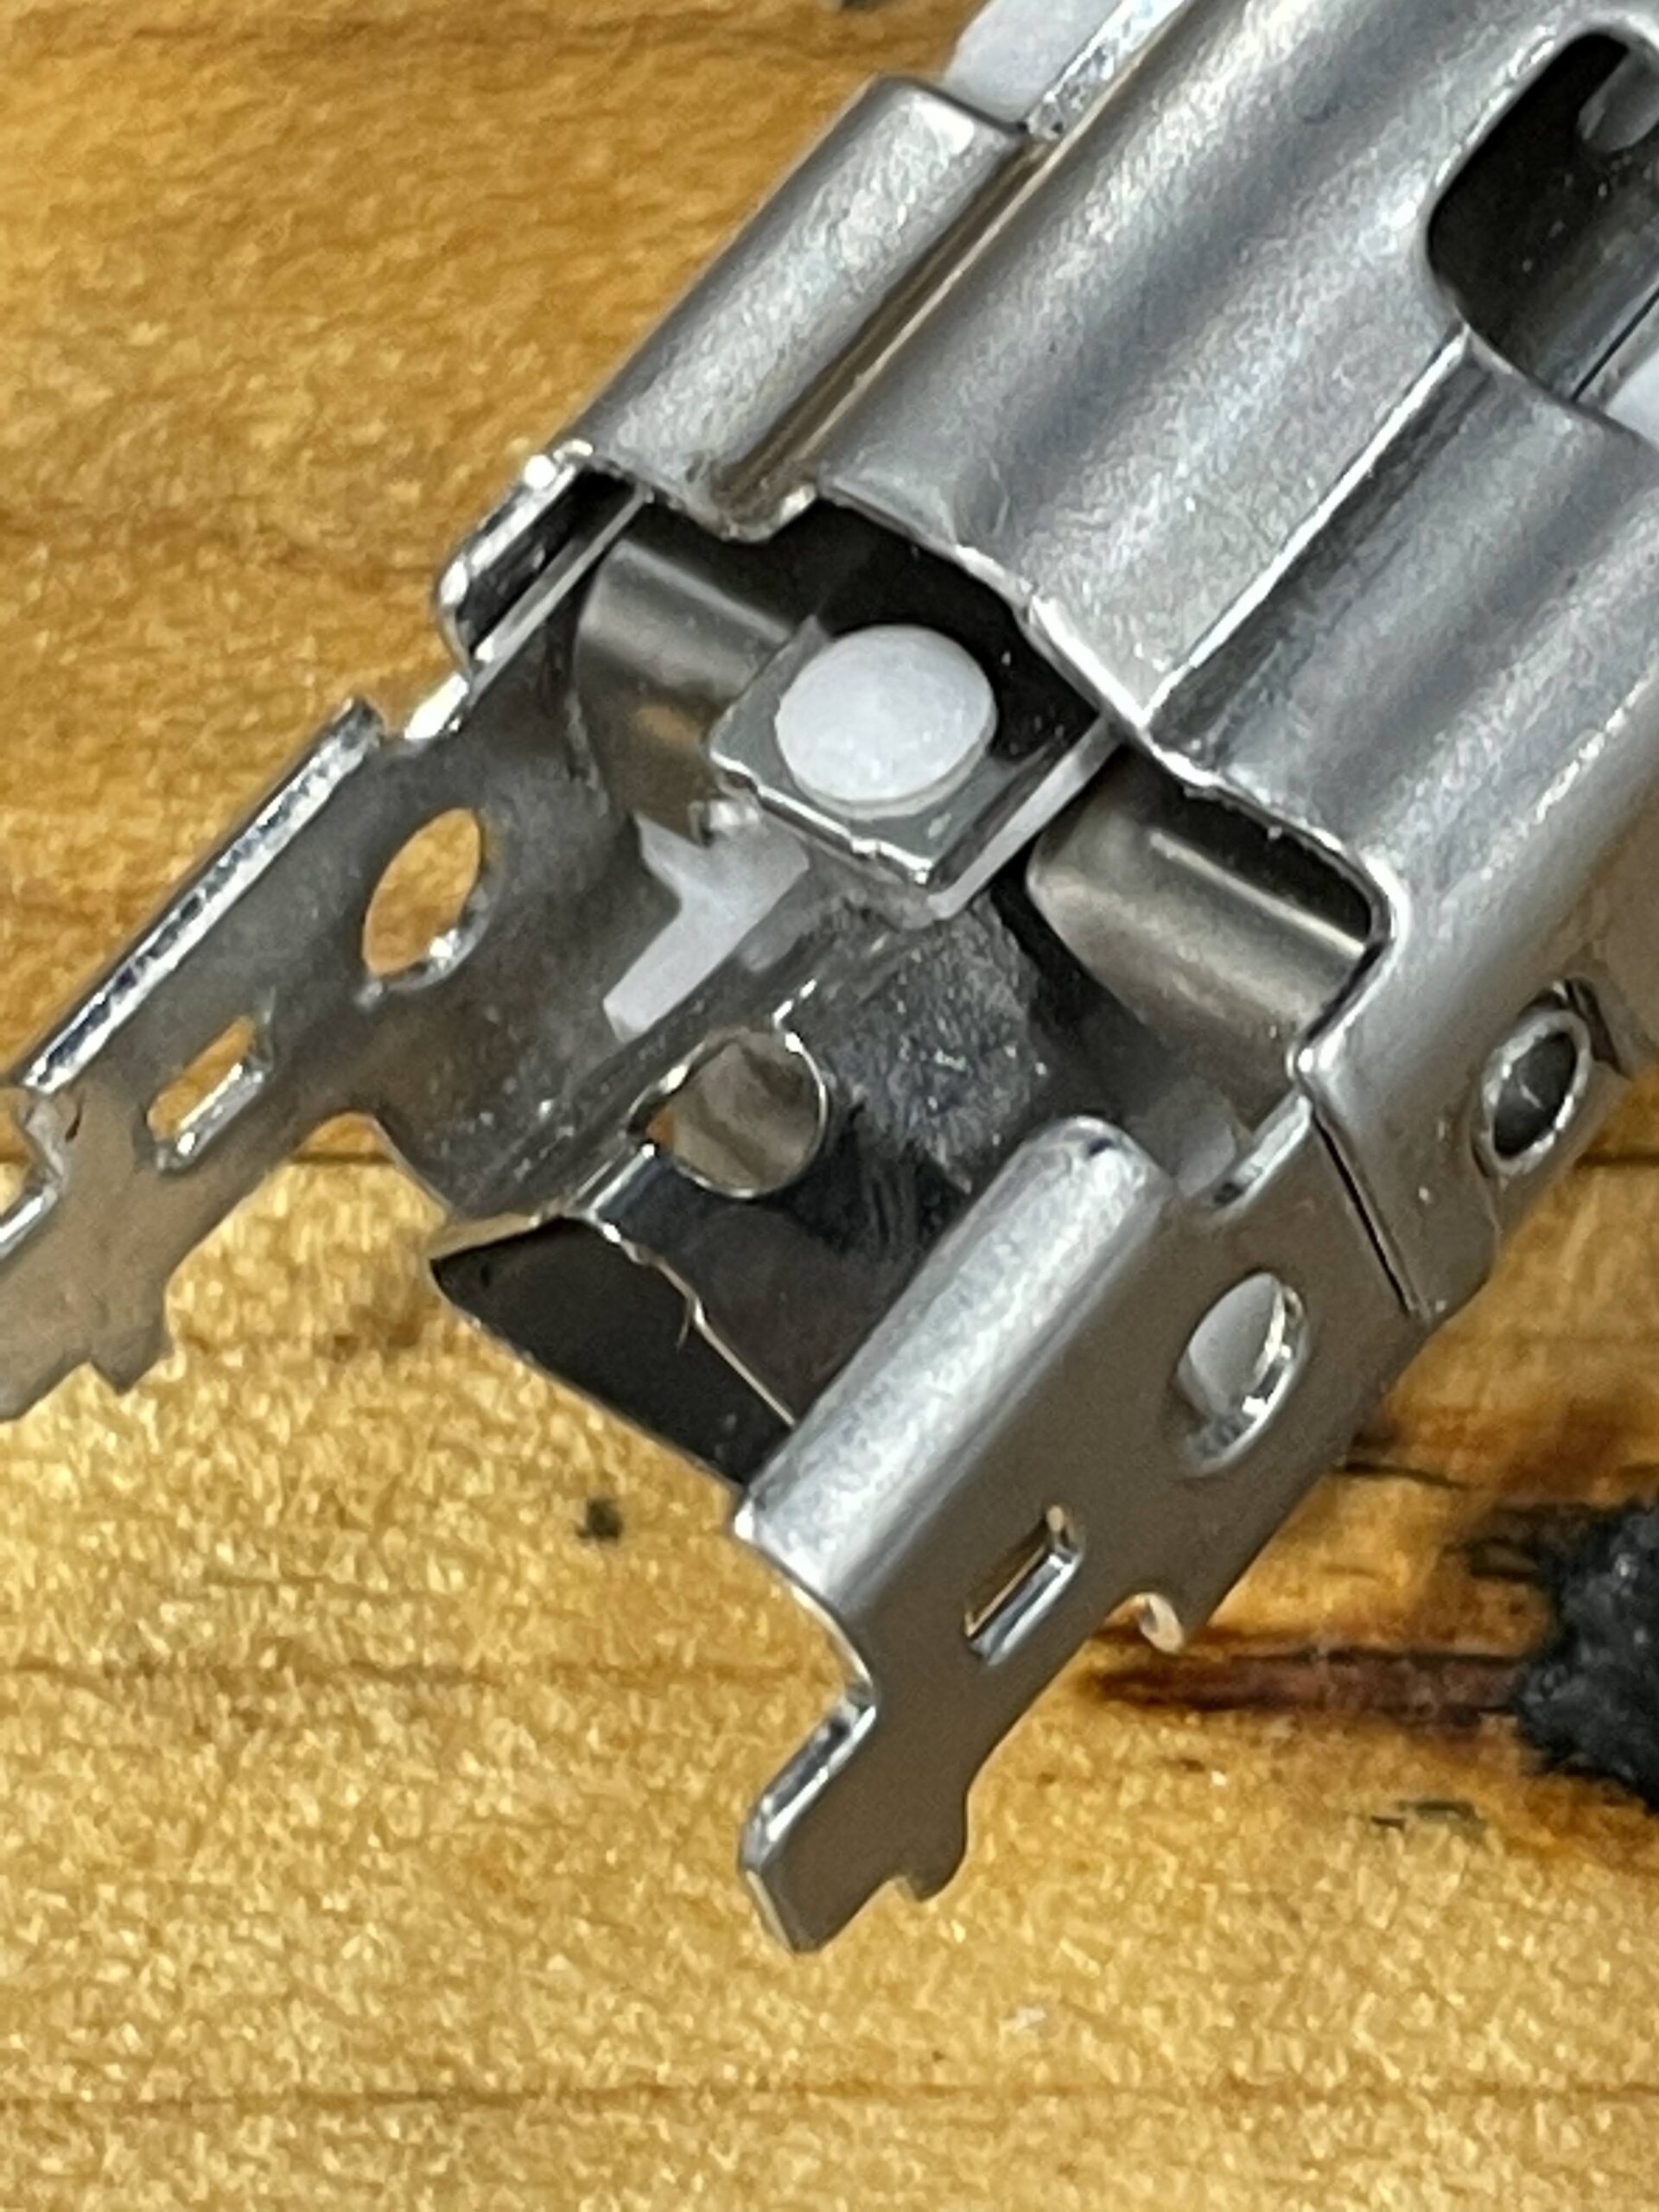
This means the team will now compete in the international event held in Long Beach, California. Mr. Christy has spent a lot of energy working on corporate sponsorship, and at this time we have raised nearly $20,000 to get the team to California, as well as created ongoing sponsorships for years to come. It’s been a great success, and no matter what happens in Long Beach, the team is going to get better and better each year. Unfortunately, neither myself or Mr. Christy will be able to attend the event in California, so a couple of parent chaperones will go with our team. I’ve posted a few photos below of the team and the rover. Unfortunately, it is very difficult to get any good video of the rover underwater!

Cardboard Canoes

It has been 4 years since we last competed in the Cardboard Canoe races, and while we had a very sturdy boat, it was almost too sturdy. It tipped over too easy because if floated so well and was not easy for our students to control. Those freshmen who built the canoe are now seniors and are working on a new boat for this years races. Our shop has 2 entrants a senior team and a junior team. It’s exciting to see their work, and to see how far our shop has come in providing our students with the tools to make these incredible objects. A few photos below of the construction process. The event is June 12th, and I will post more info as we approach the date.

Shop Work

It was a rather warm day here in New England on Friday, so we opened up the garage door in the machine shop and enjoyed the outside air. A few students were working on projects in the shop, which always makes us seem busy. Clark was putting on some finishing touches for the traffic light project. Just needed to drill some holes in an acrylic sheet to mount some new electronics which make up the internals of the traffic light. With that done, we gave the light a test in the classroom and it performed perfectly. Will post a video of the clock working next week.

In addition to Clark B working on the traffic light, Lucas C and Daniel R were cutting using our Atlas CNC router. The cuts were for speaker boxes they have been working on for several months. It’s exciting to see these finally come to life, and are representative of many hours of test cuts in cardboard on our laser cutter. Hopefully these speakers will be finished in the next few weeks. A short video of work happening in the machine shop today is below.

Internet Radio

A while ago my wife surprised me with an old fashioned radio. It’s an Emerson 805 Series B model which was available in the 1950s. The radio does not work anymore, although all its guts were still intact, tubes and all. I decided to turn the radio into a working internet radio, and hoping to keep functionality of the tuning dial and power switch. 

So far, all I’ve managed to do is take the radio apart. A lot of interesting components inside, but for my purposes I will only keep the plastic enclosure and tuning and power knobs. The back needs to be recreated, which I will do with the laser cutter, as well as inner speaker lining. Not sure what I will use for that, but it can be attached to a lasercut support structure. 

For the electronics, I will initially be following a guide from Instructables – this one I found from _Marcel_ which looks very close to what I’d like to accomplish. In addition to new electronics, I’m also going to clean and repaint the enclosure and knobs, unsure of the color scheme right now, but I will want to keep a retro look to the radio. All for now, a few photos of the radio below.

Toothbrush Fix

"If you can't fix it, you don't own it."

I don't recall exactly where I first heard this mantra, for some reason I recall it may have been after watching the movie Maker, but it also may very well be from using iFixit on several occasions for iPhone repairs. Either way, it resonated with me, and is something I continually remind my students each day.

Reminders without context, however, are often fruitless. Our students tend to recognize and implement the meaning of such a mantra when paired with a concrete example. As luck would have it, yesterday my wife's toothbrush stopped working properly.

Additionally, one of my students has been working on creating a electric toothbrush band, and I have spent some time working with them opening and tinkering with different types of electric toothbrushes.

So, instead of throwing the broken brush away, I began a YouTube search on how to fix the maligned equipment. Turns out, there are thousands of videos online showing you how to open up and fix all varieties of electric toothbrushes. After examining several videos, I was finally able to find one that showed similar symptoms as my toothbrush which you can find here, and was able to safely open up the casing, extract the hardware, and locate the issue, which happened to be a shearing of a metal part.

A few dollars spent on Ebay, and hopefully I will have this toothbrush back to working order in a few days. By exposing my students to real life scenarios of fixing rather complicated objects, will hopefully give them the confidence and curiosity to take on the challenge of fixing an item rather than simply replacing it.

Will post an update once finished. For now, here are a few photos of the opened toothbrush and the broken Tip Linkage, which needs replacing.