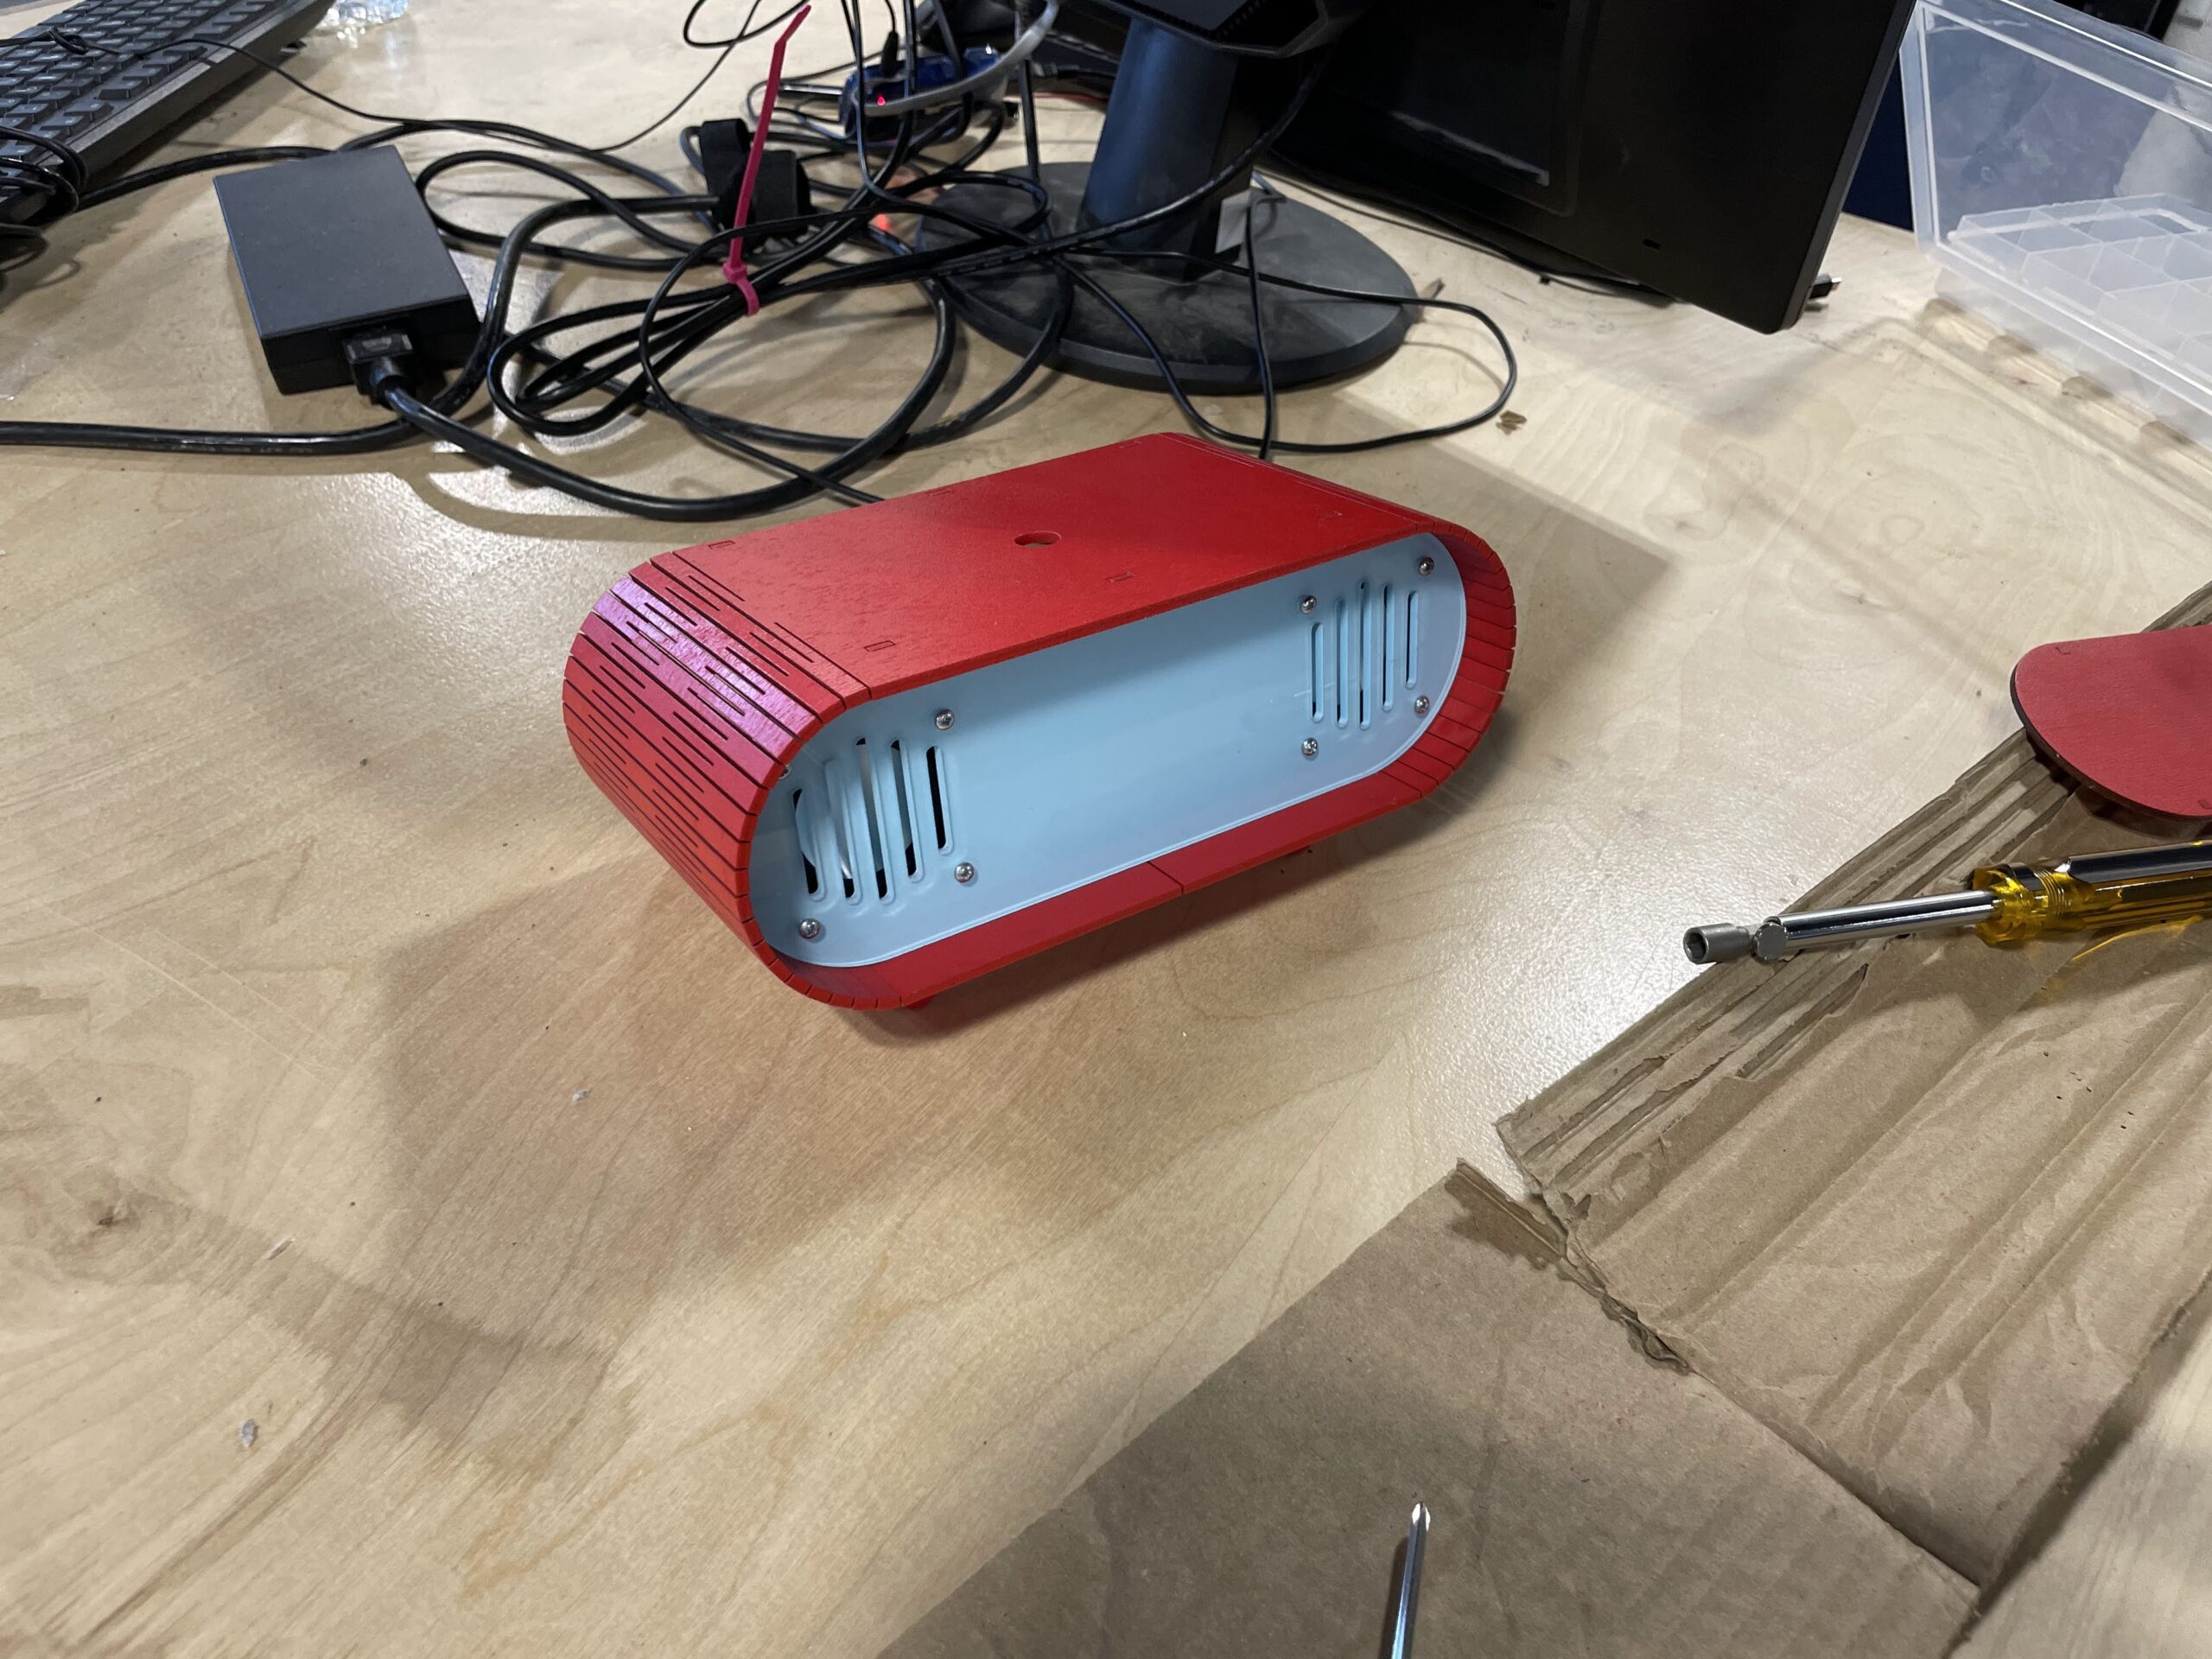
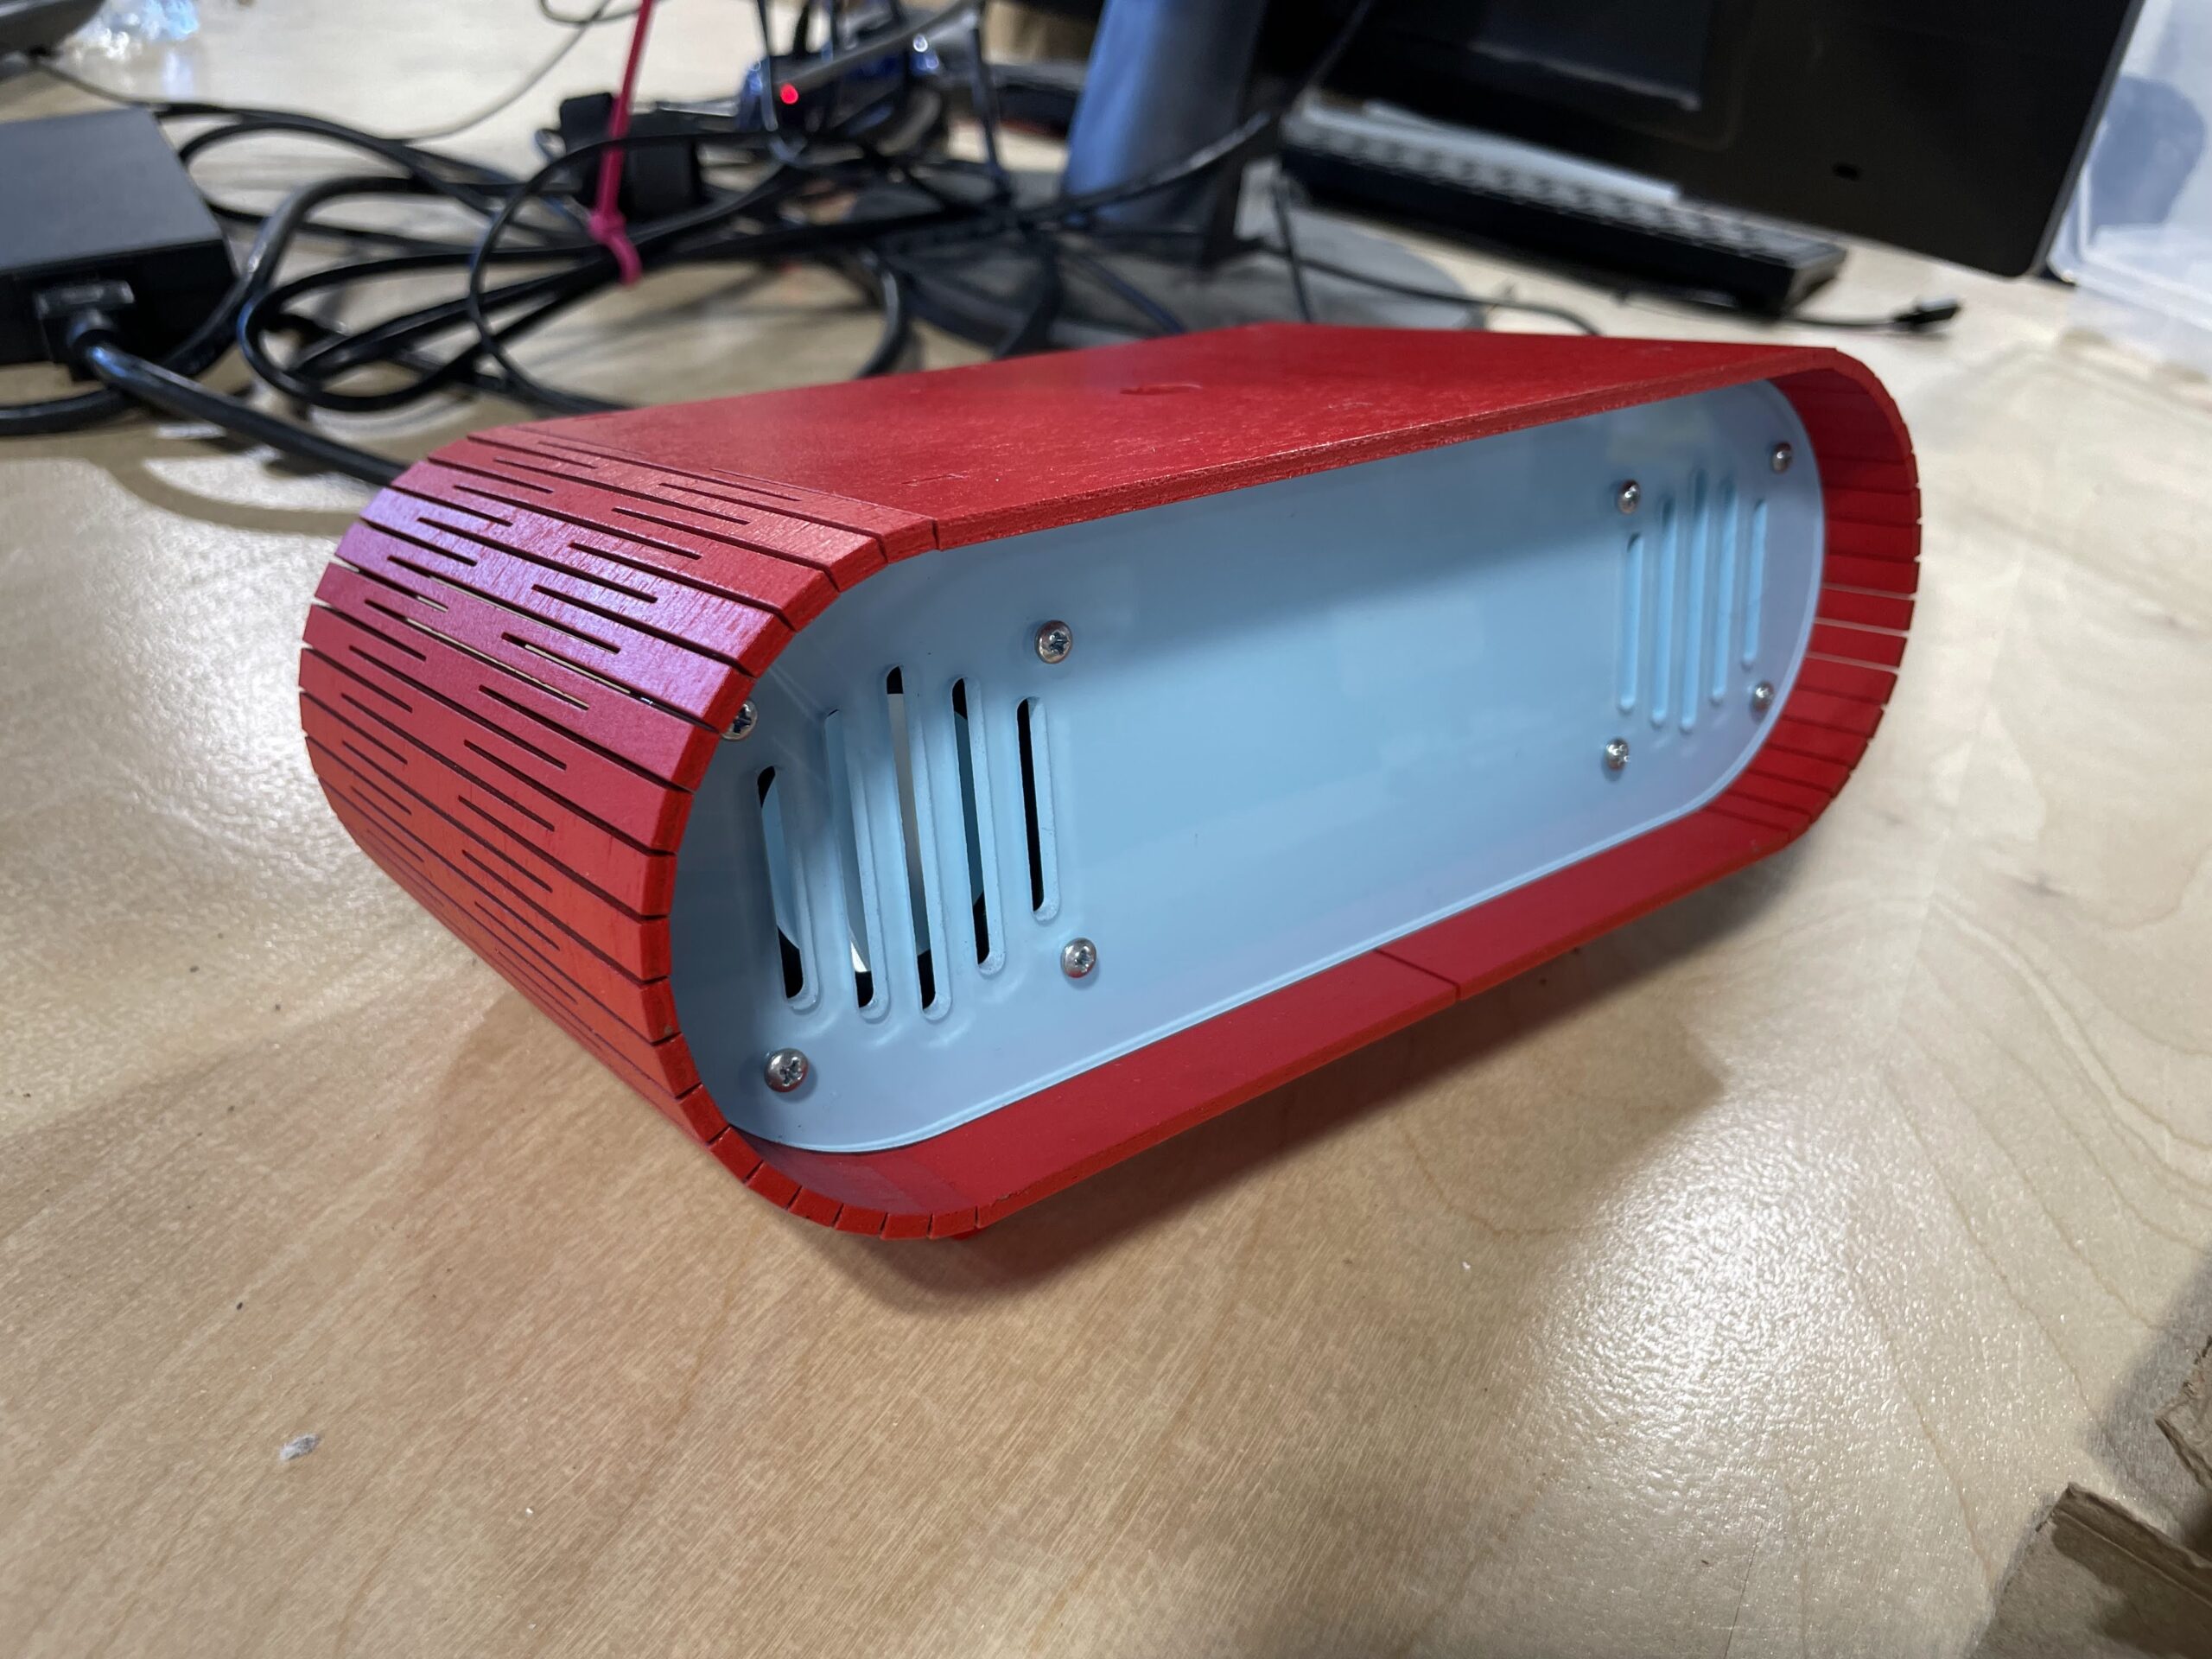
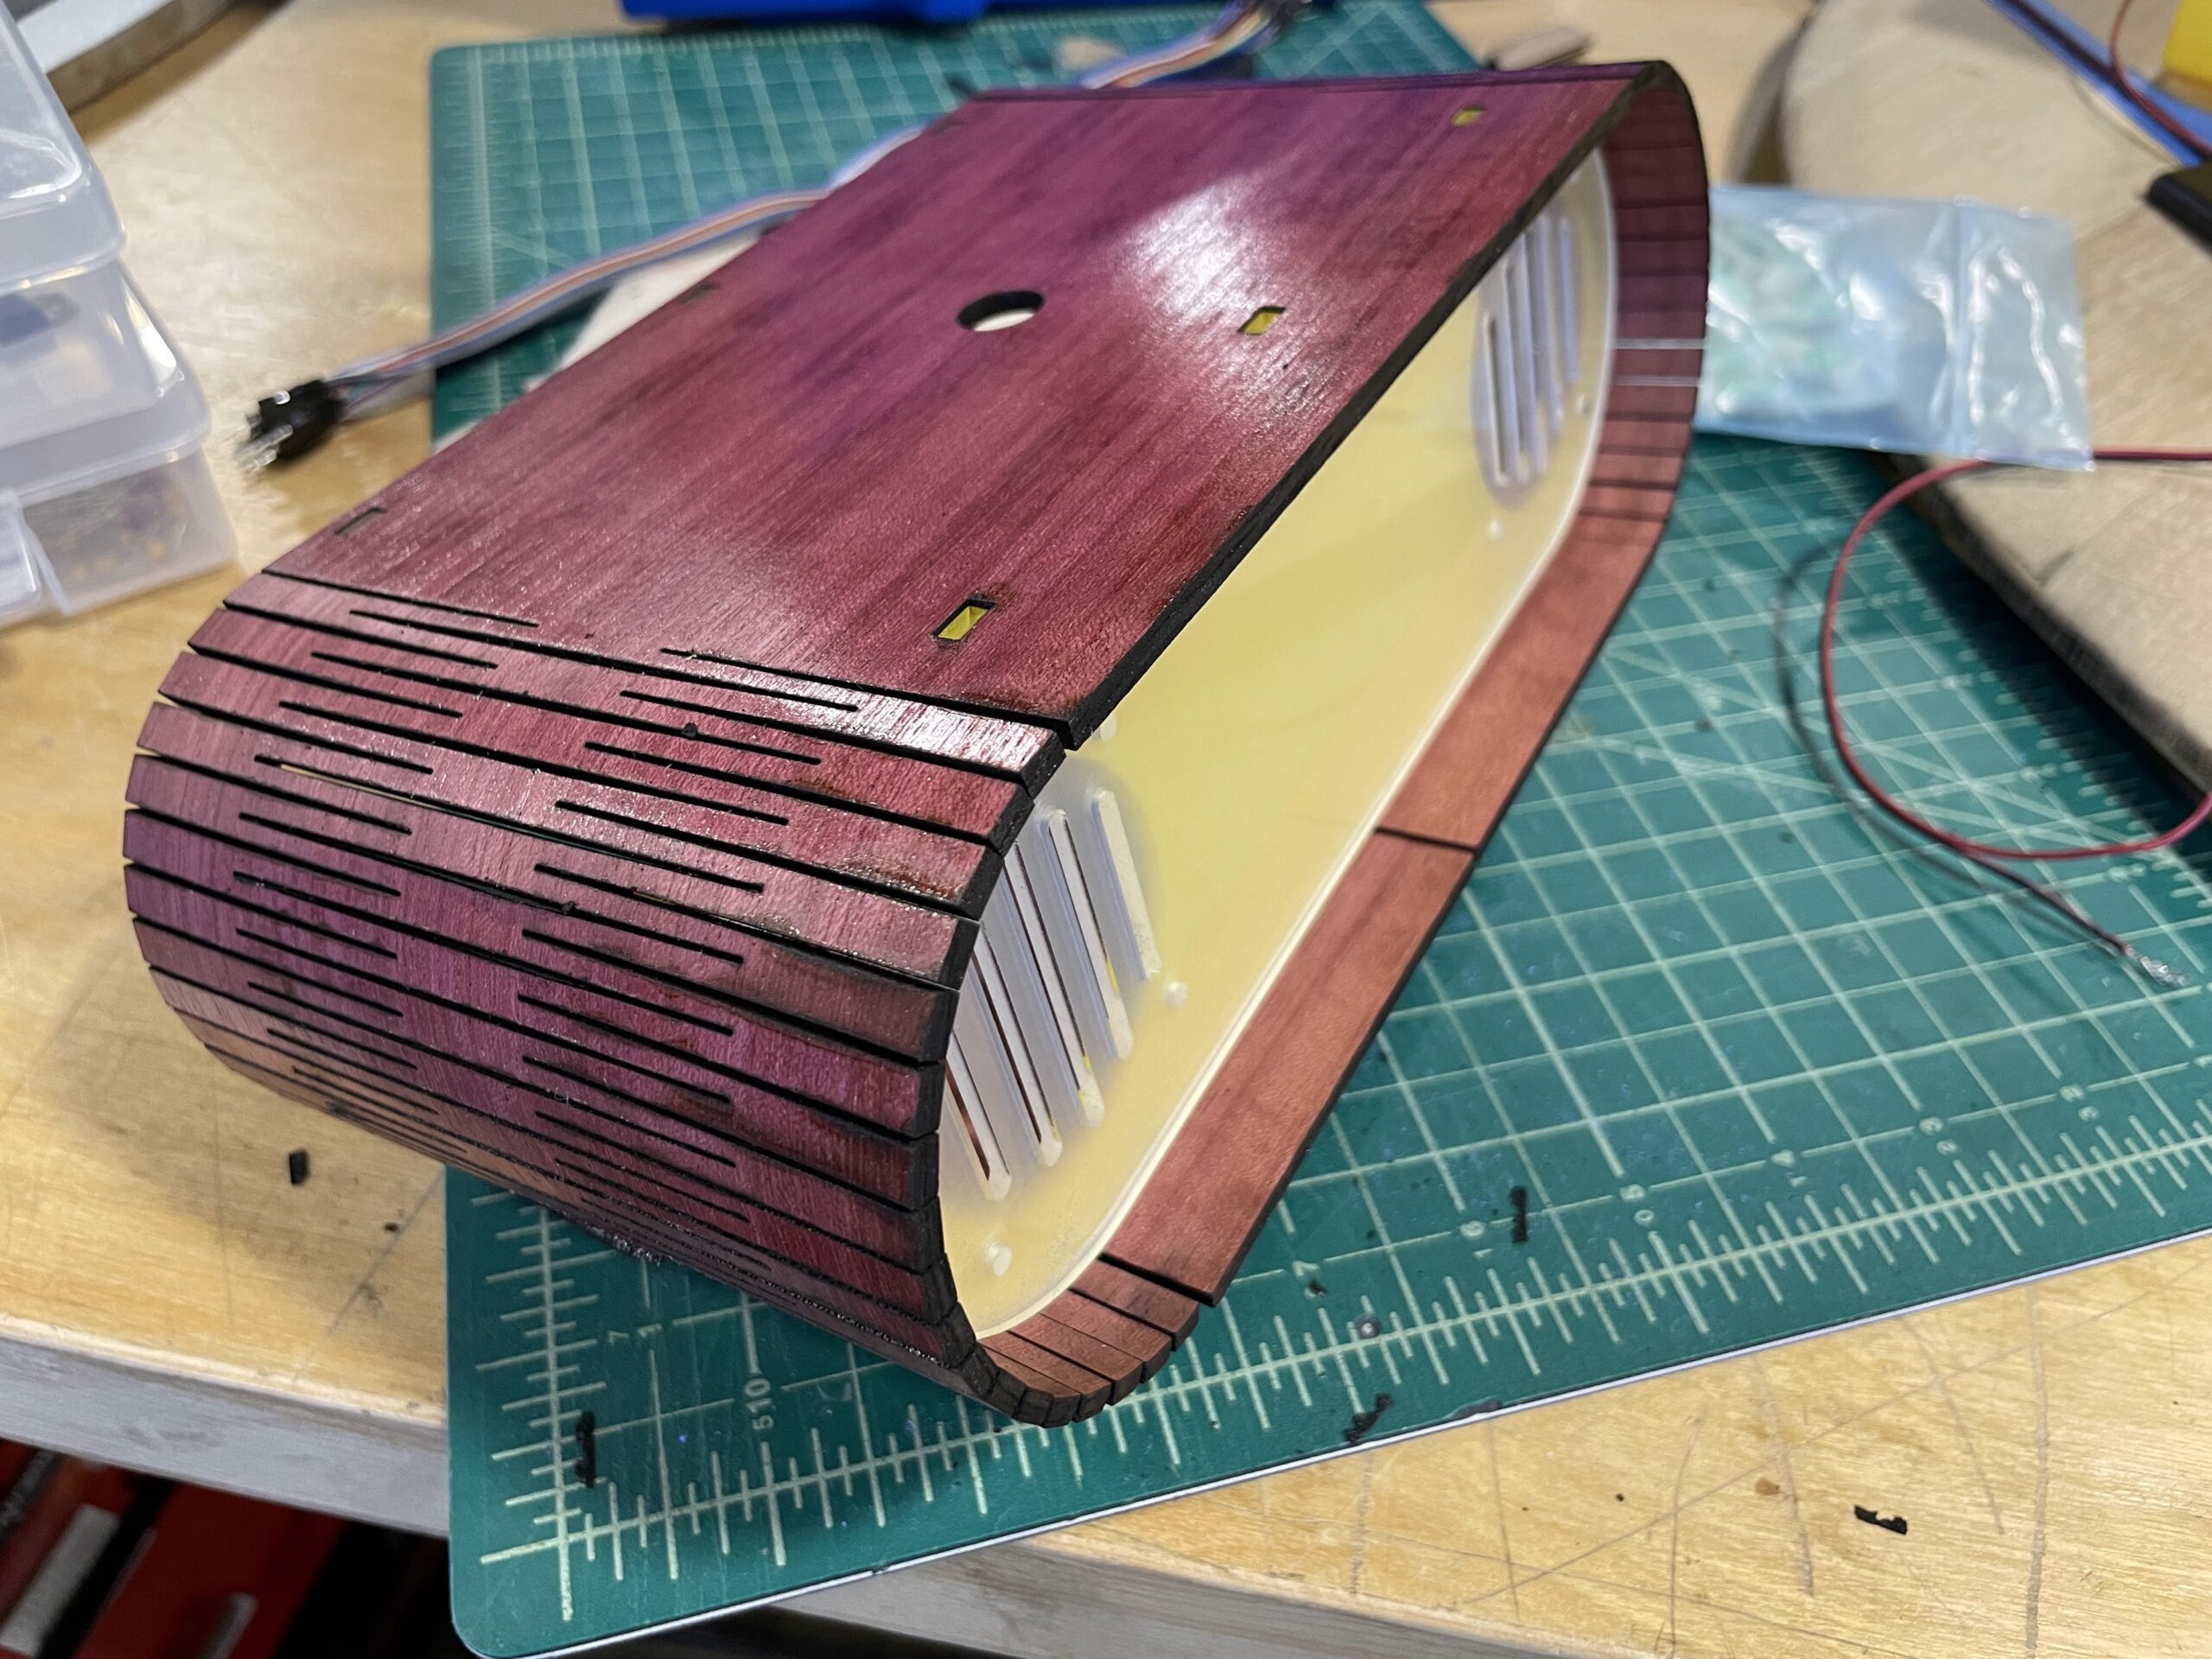
I’ve been making several versions of my bluetooth radio with lasercut frame. Each edition gets a little more streamlined, and I improve the finishing process and wire management. The one pictured below is for my brother Eden. It still needs its internals, which is something I can work on this week. I think the exterior came out well, and it is going to look very nice in his workshop. The paint is a Krylon satin red spraypaint, and the interior face is also a satin blue on the inside of a clear acrylic plate.
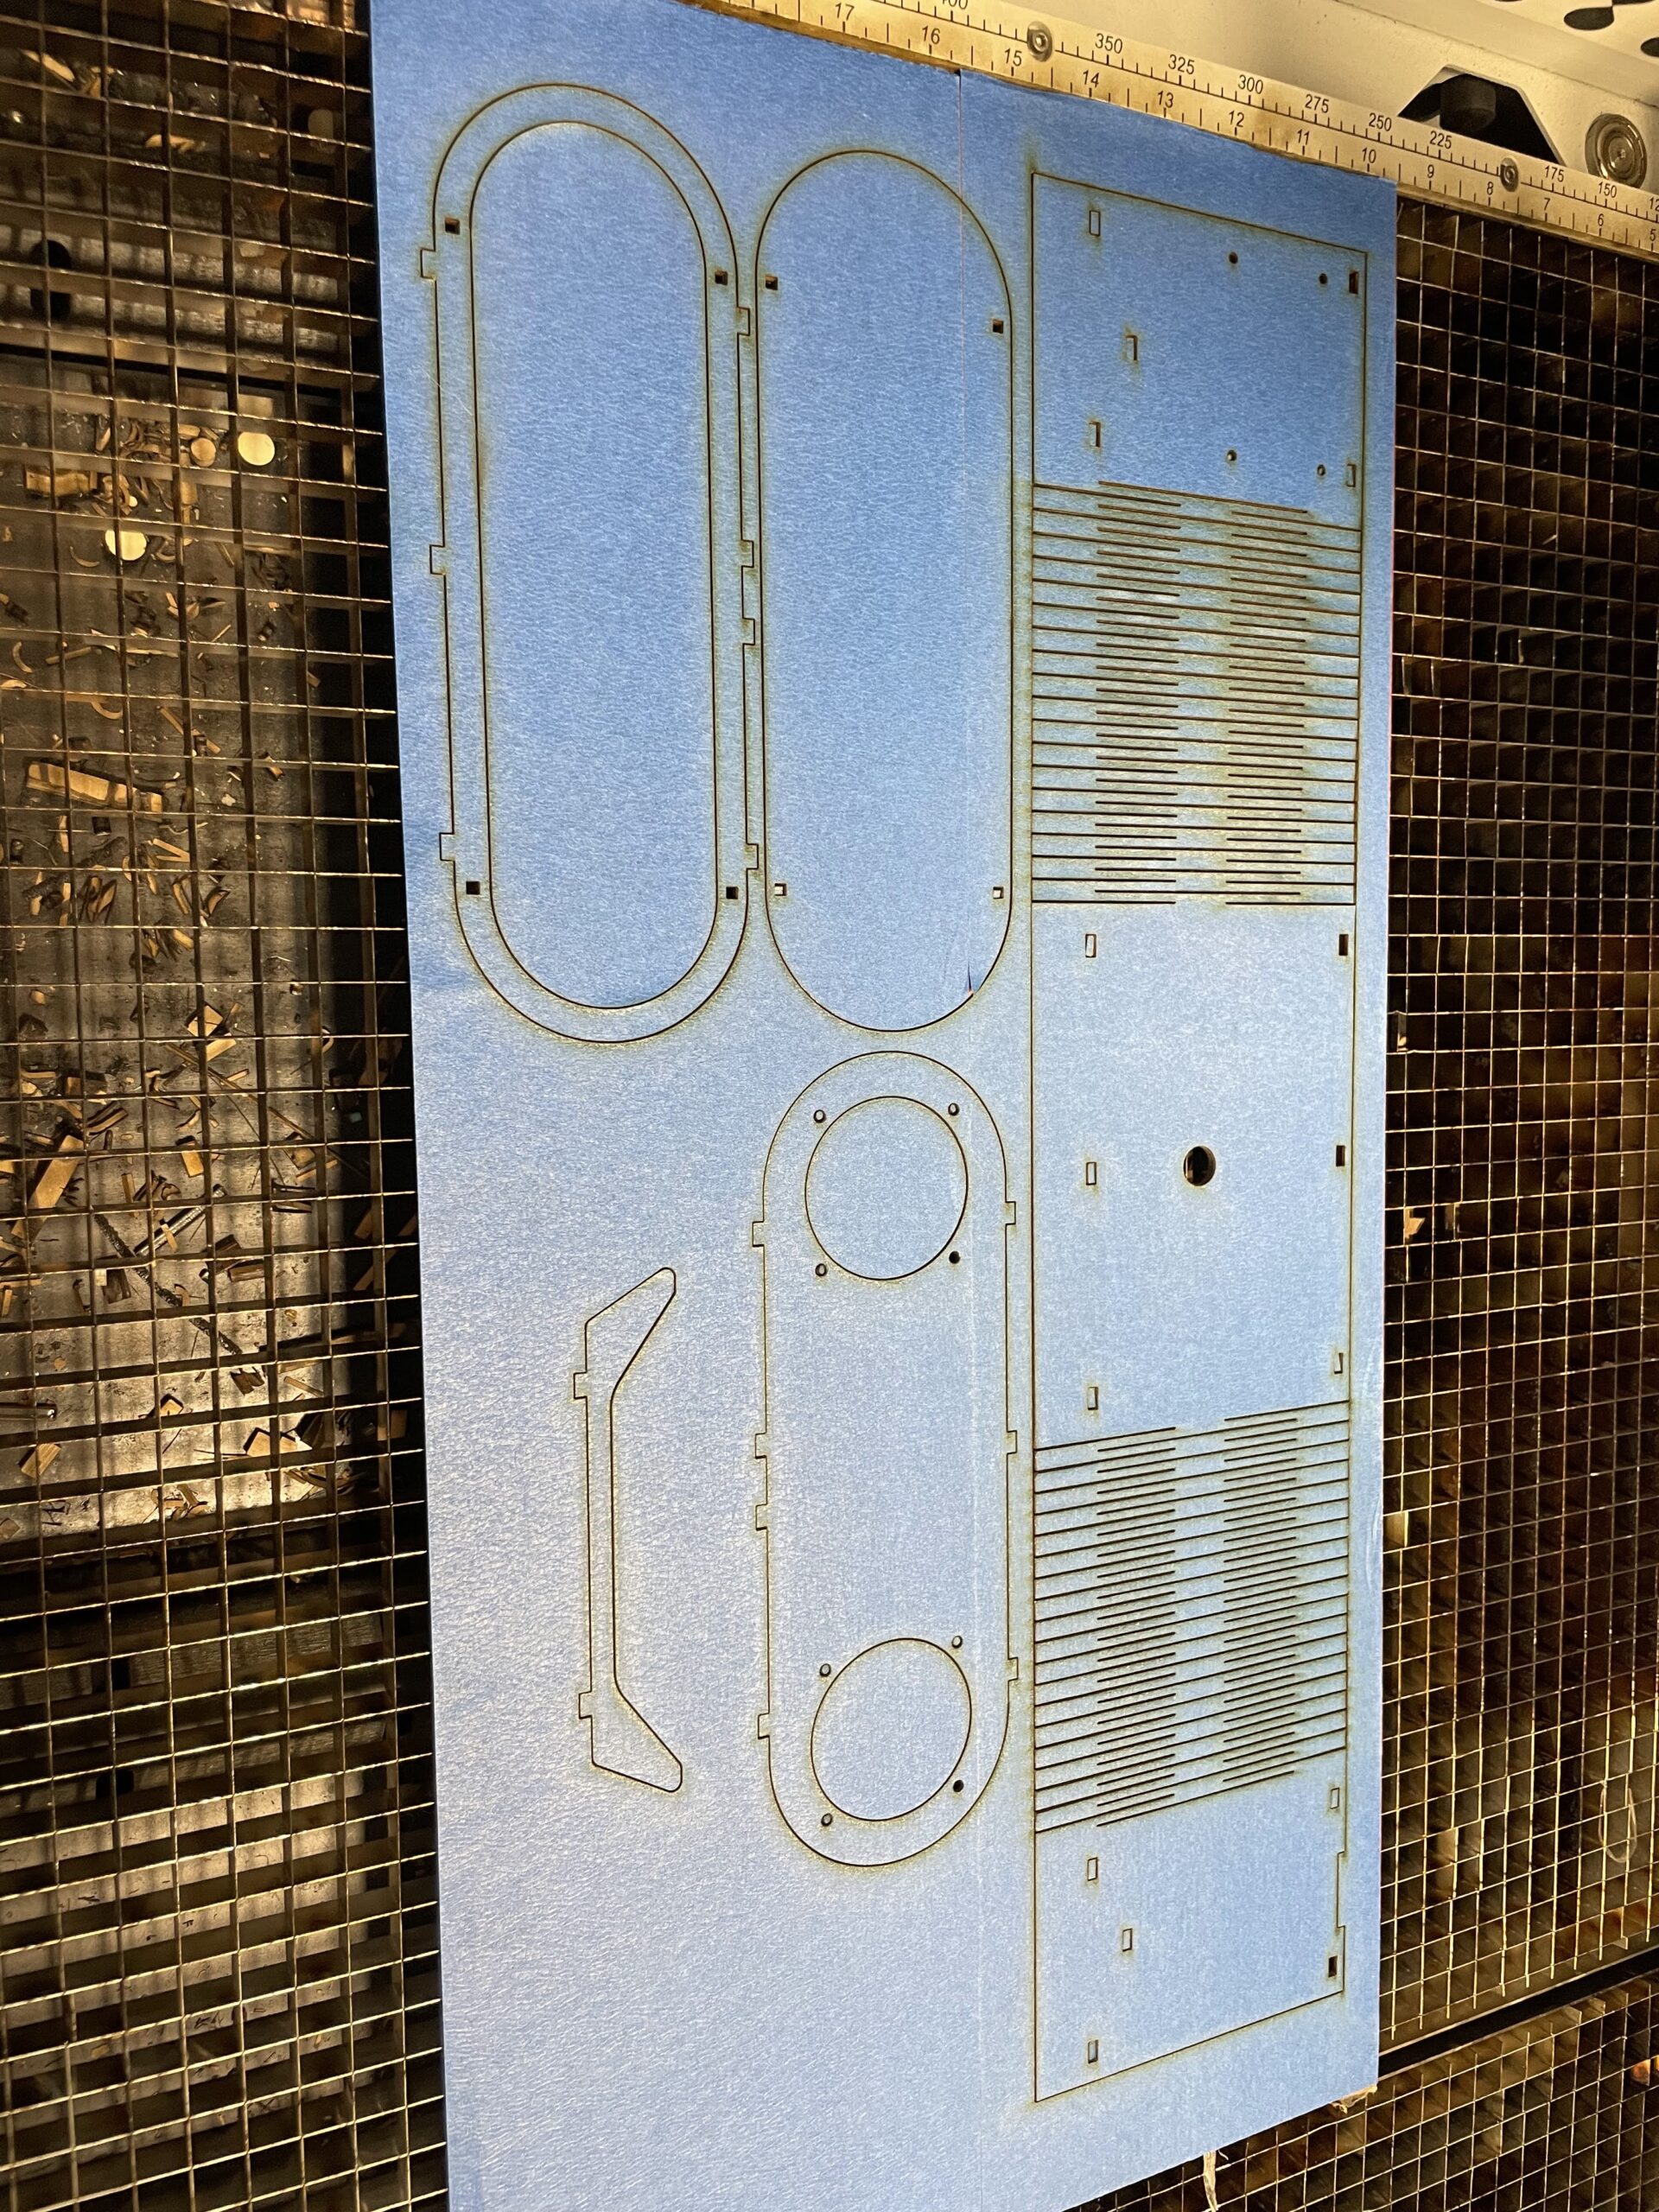
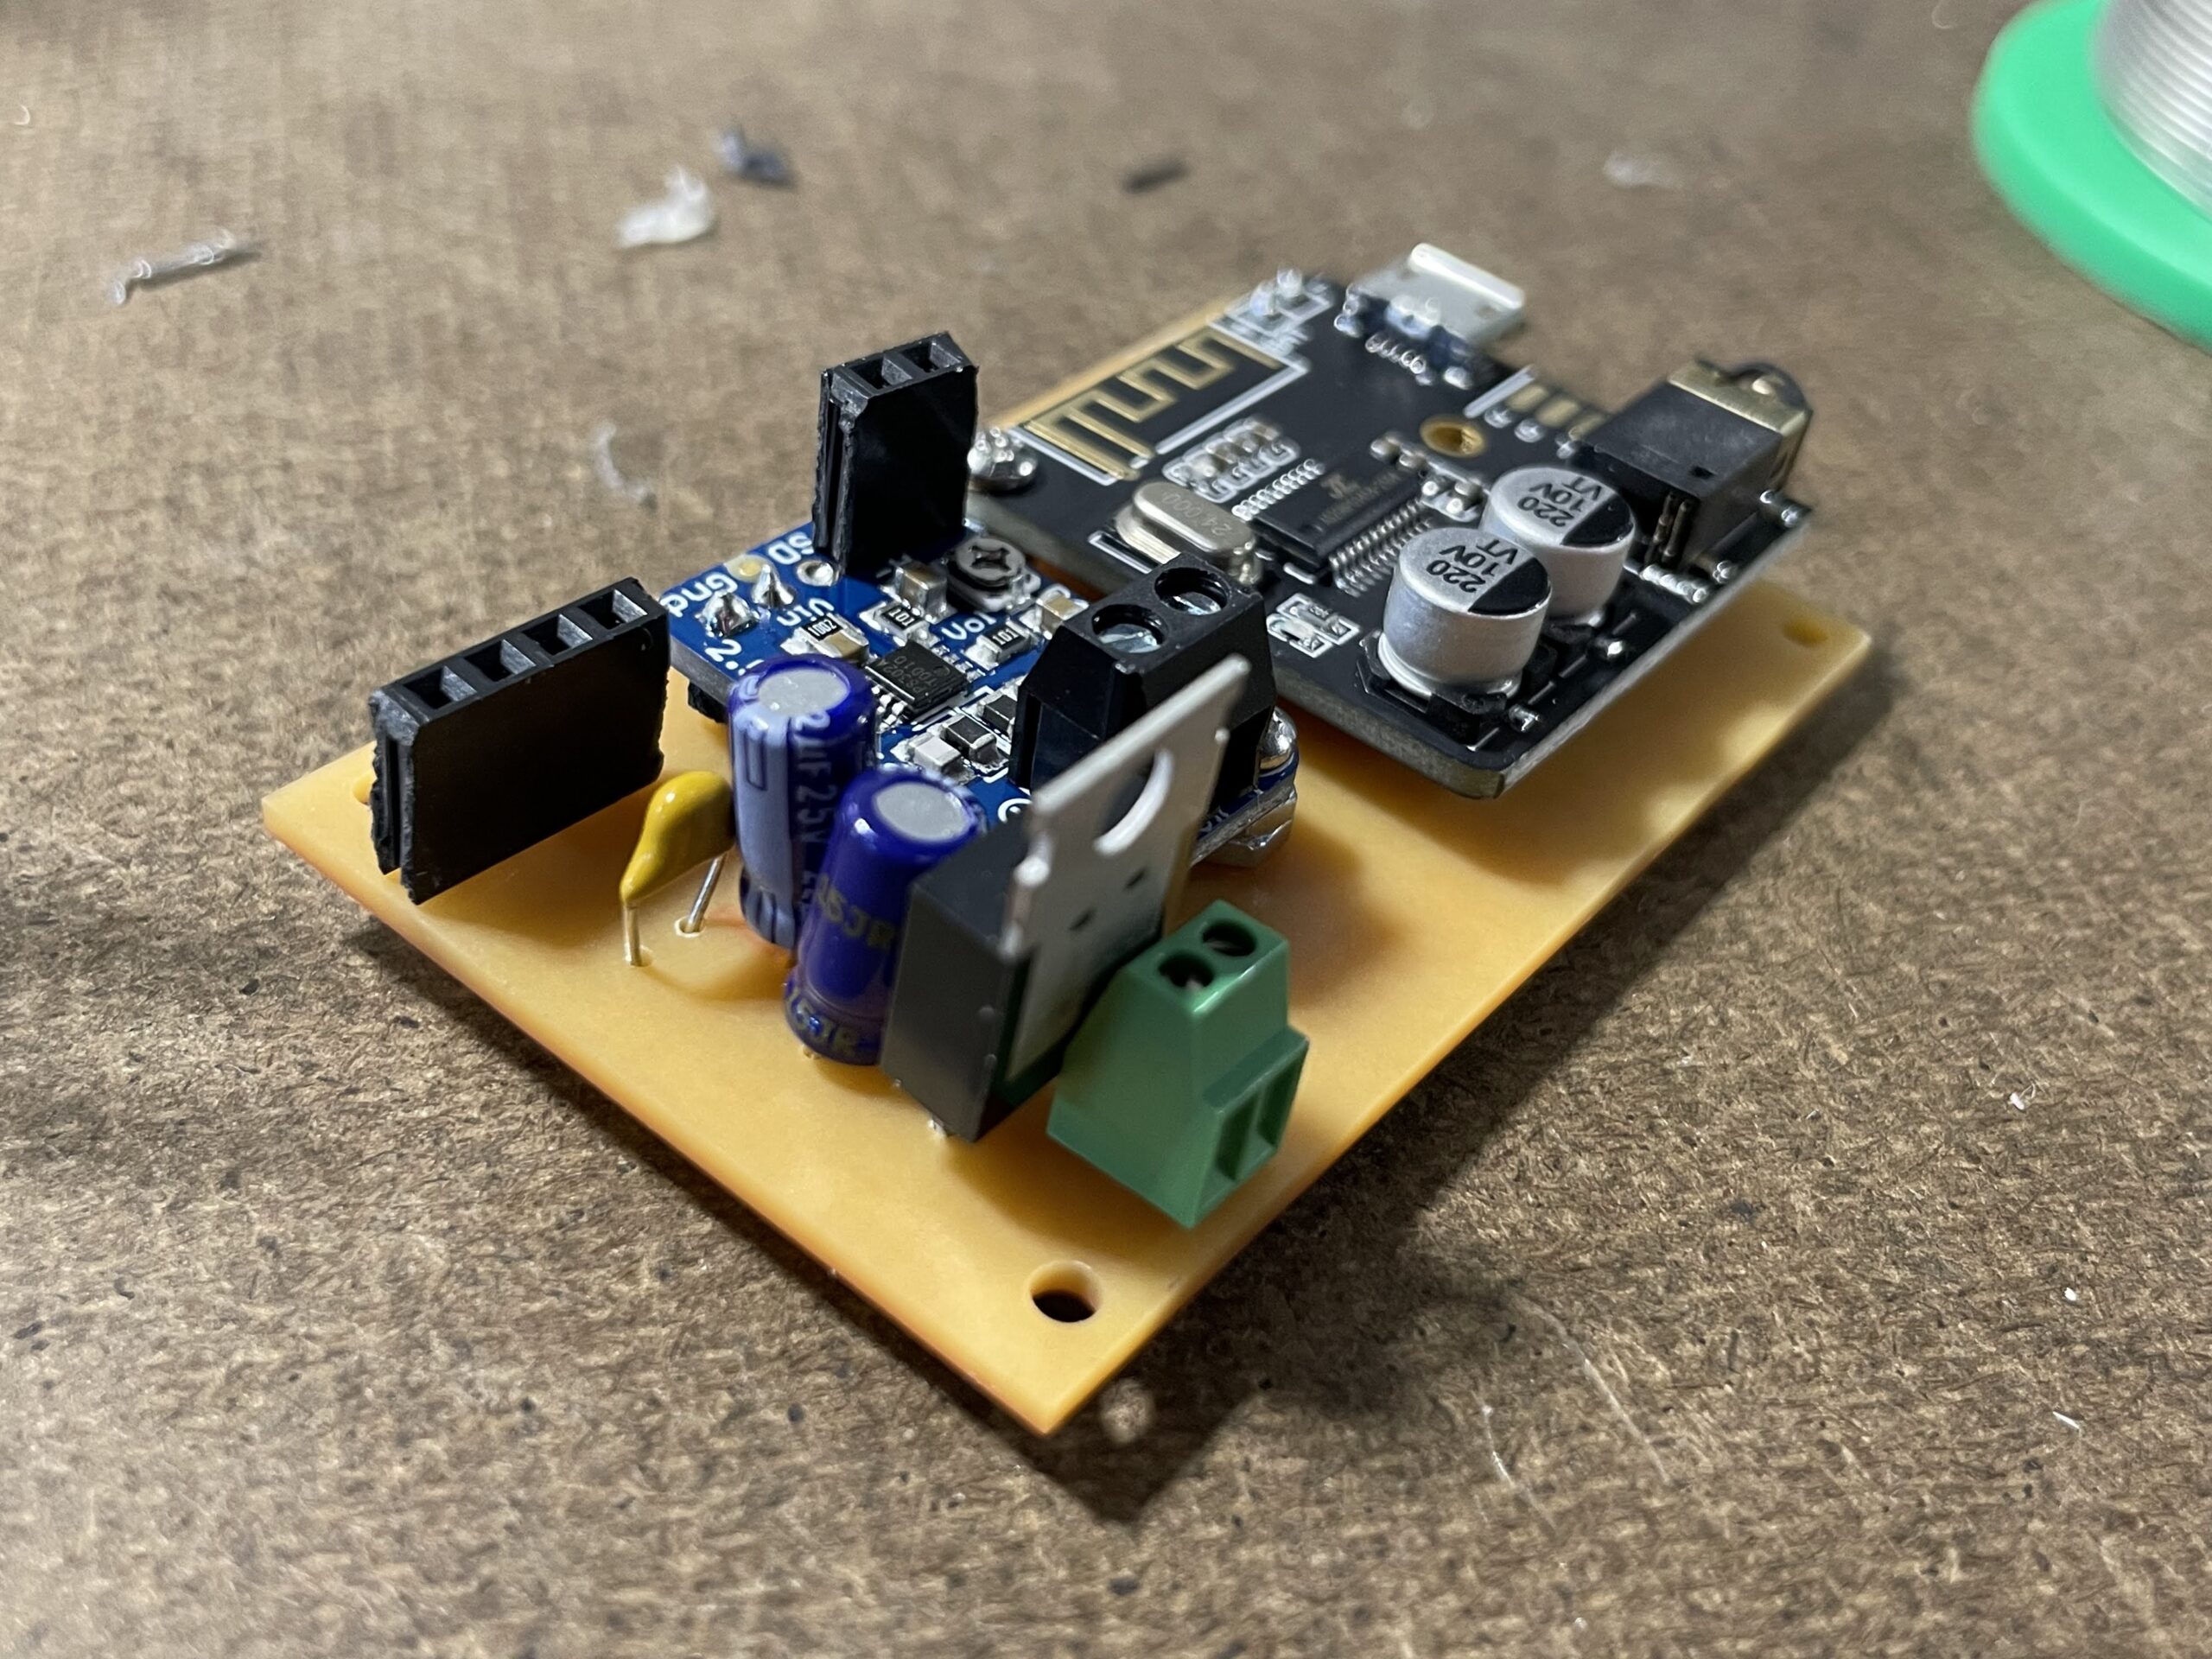
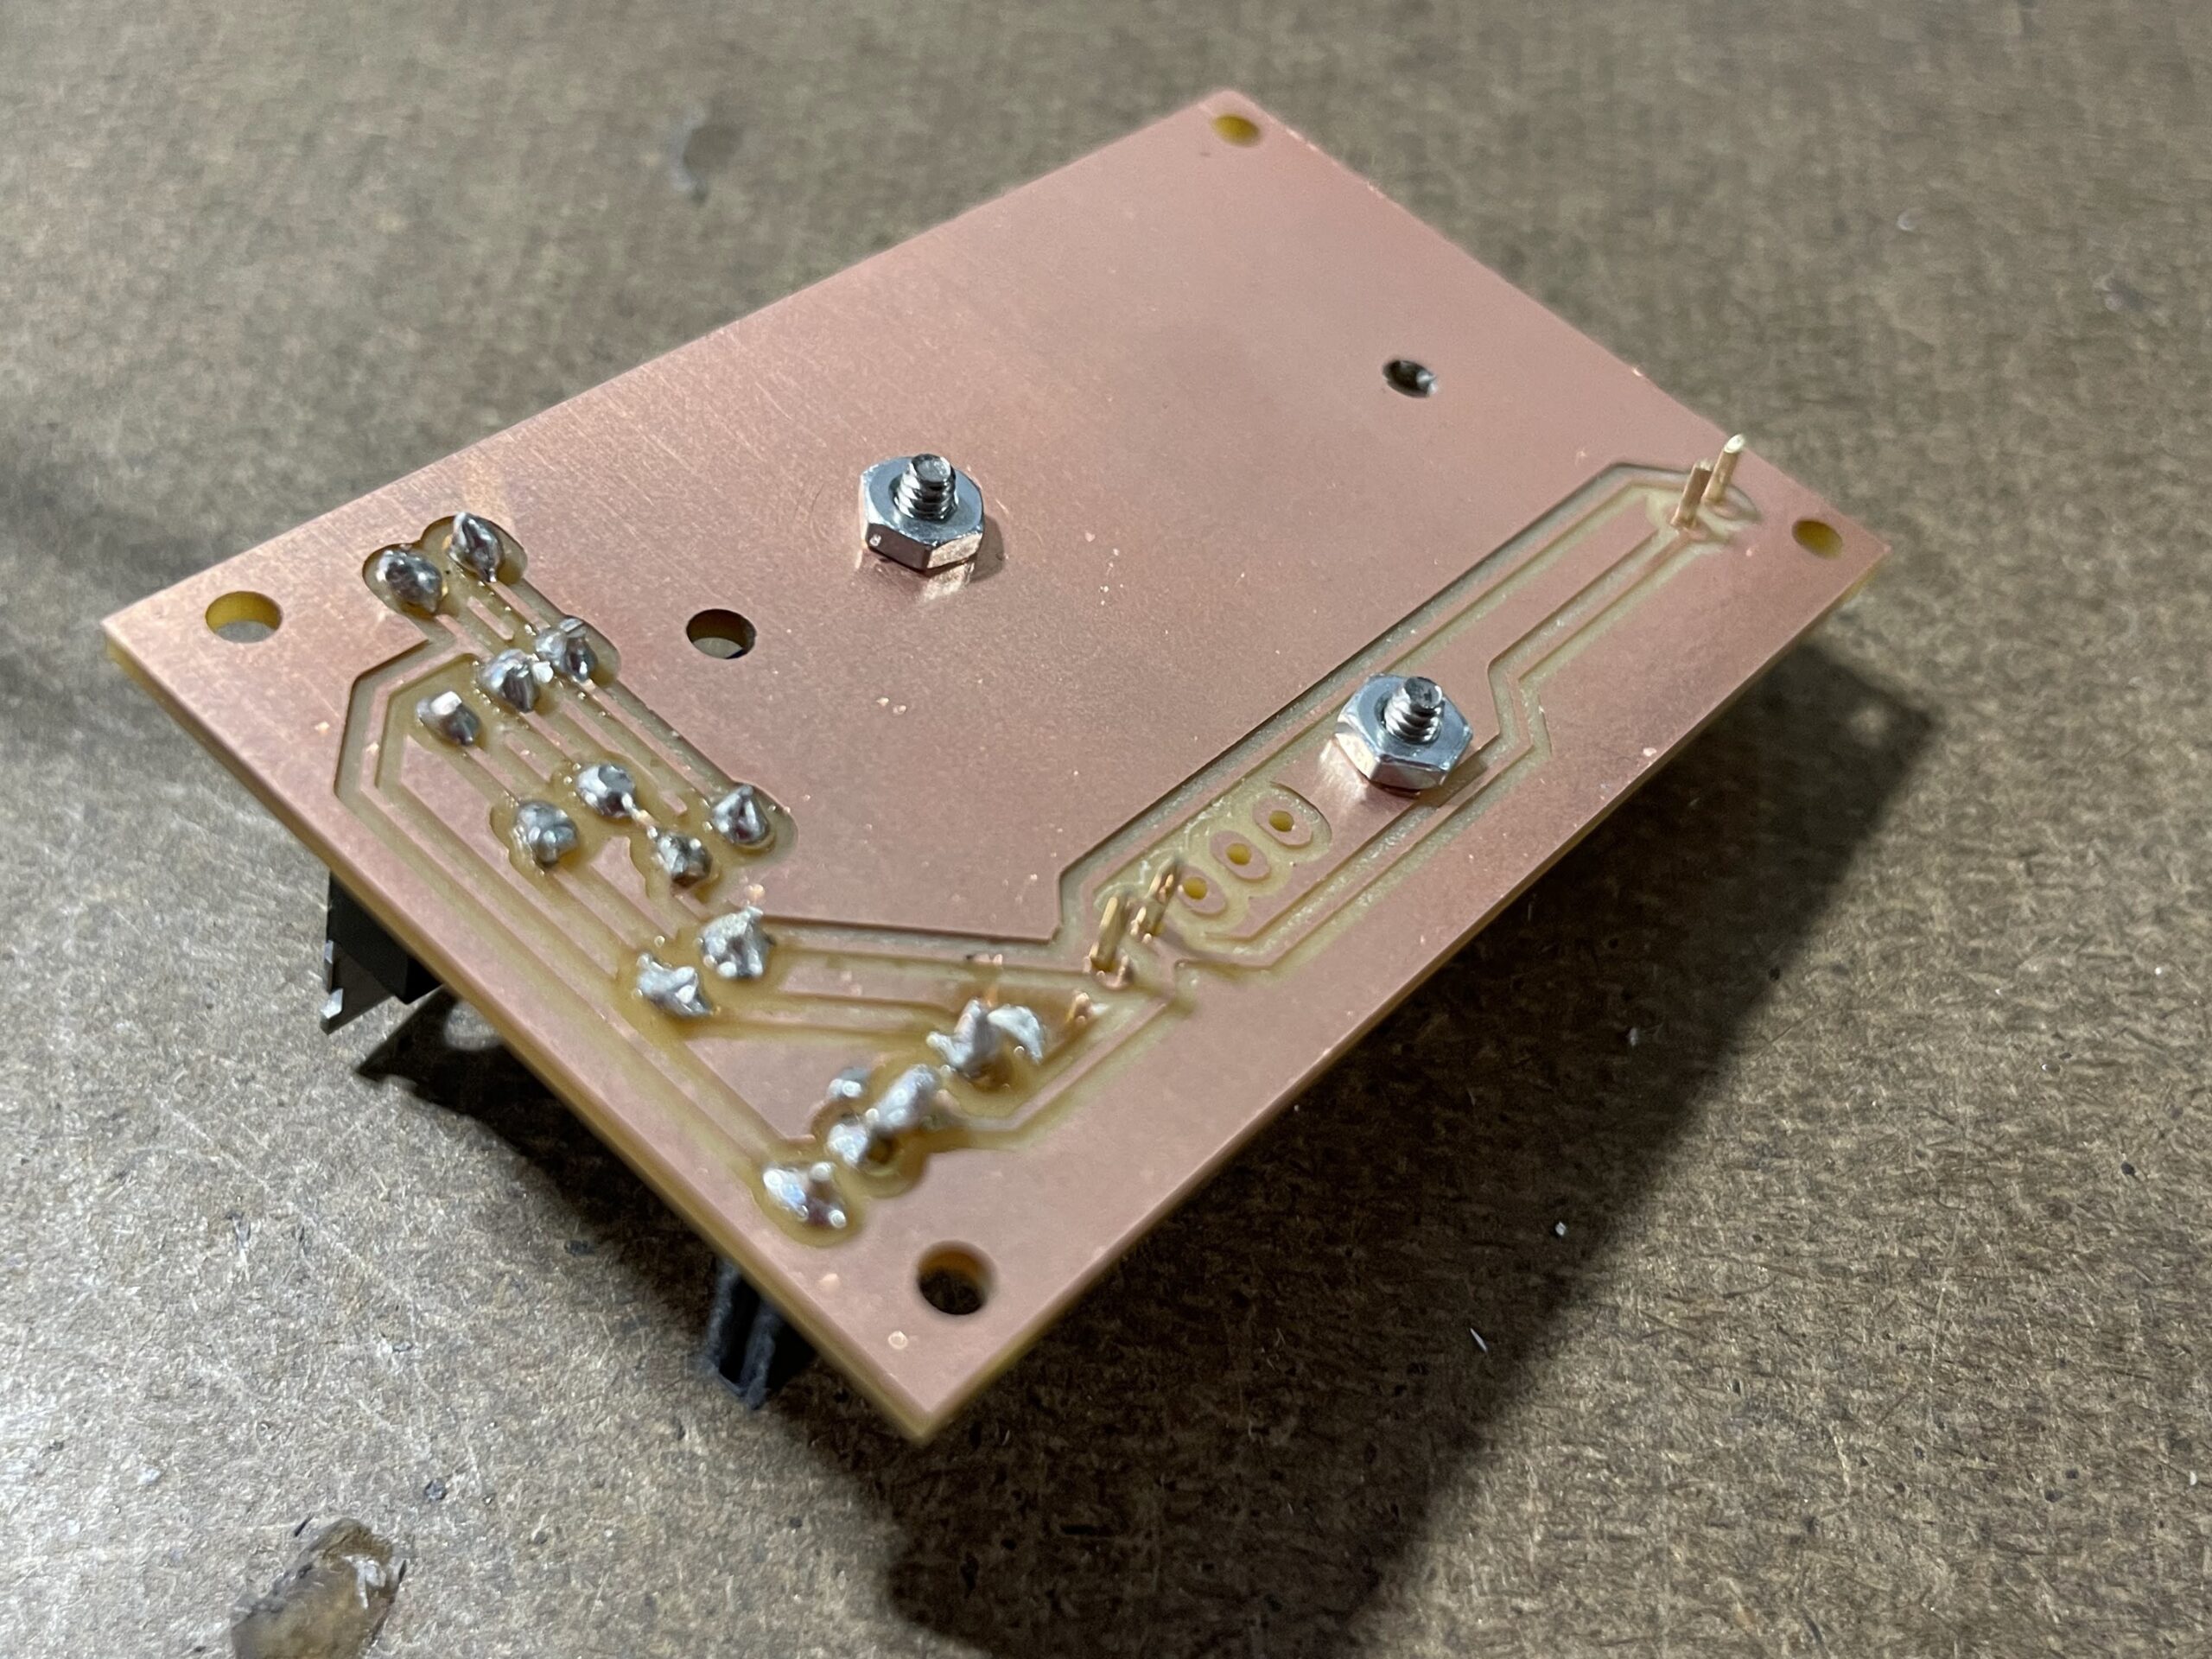
Not sure why I have been so enamored with making bluetooth radios lately. My original Pi Radio still is not complete, but it’s a bit out of my hands at the moment. I purchased an old Rogers radio from England and converted it into a bluetooth radio, and it works very well. In addition to that I wanted to make my own radio using our lasercutter here in the shop and create everything in a CAD model. Today I was finalizing an updated version for my father, which includes a newly designed circuit board that is modeled in the CAD file. The new board adds a couple of diodes to help with interference from the battery pack, which was affecting the sound. I will post a more detailed writeup on the construction of the radio, but for now here are a few photos from today.
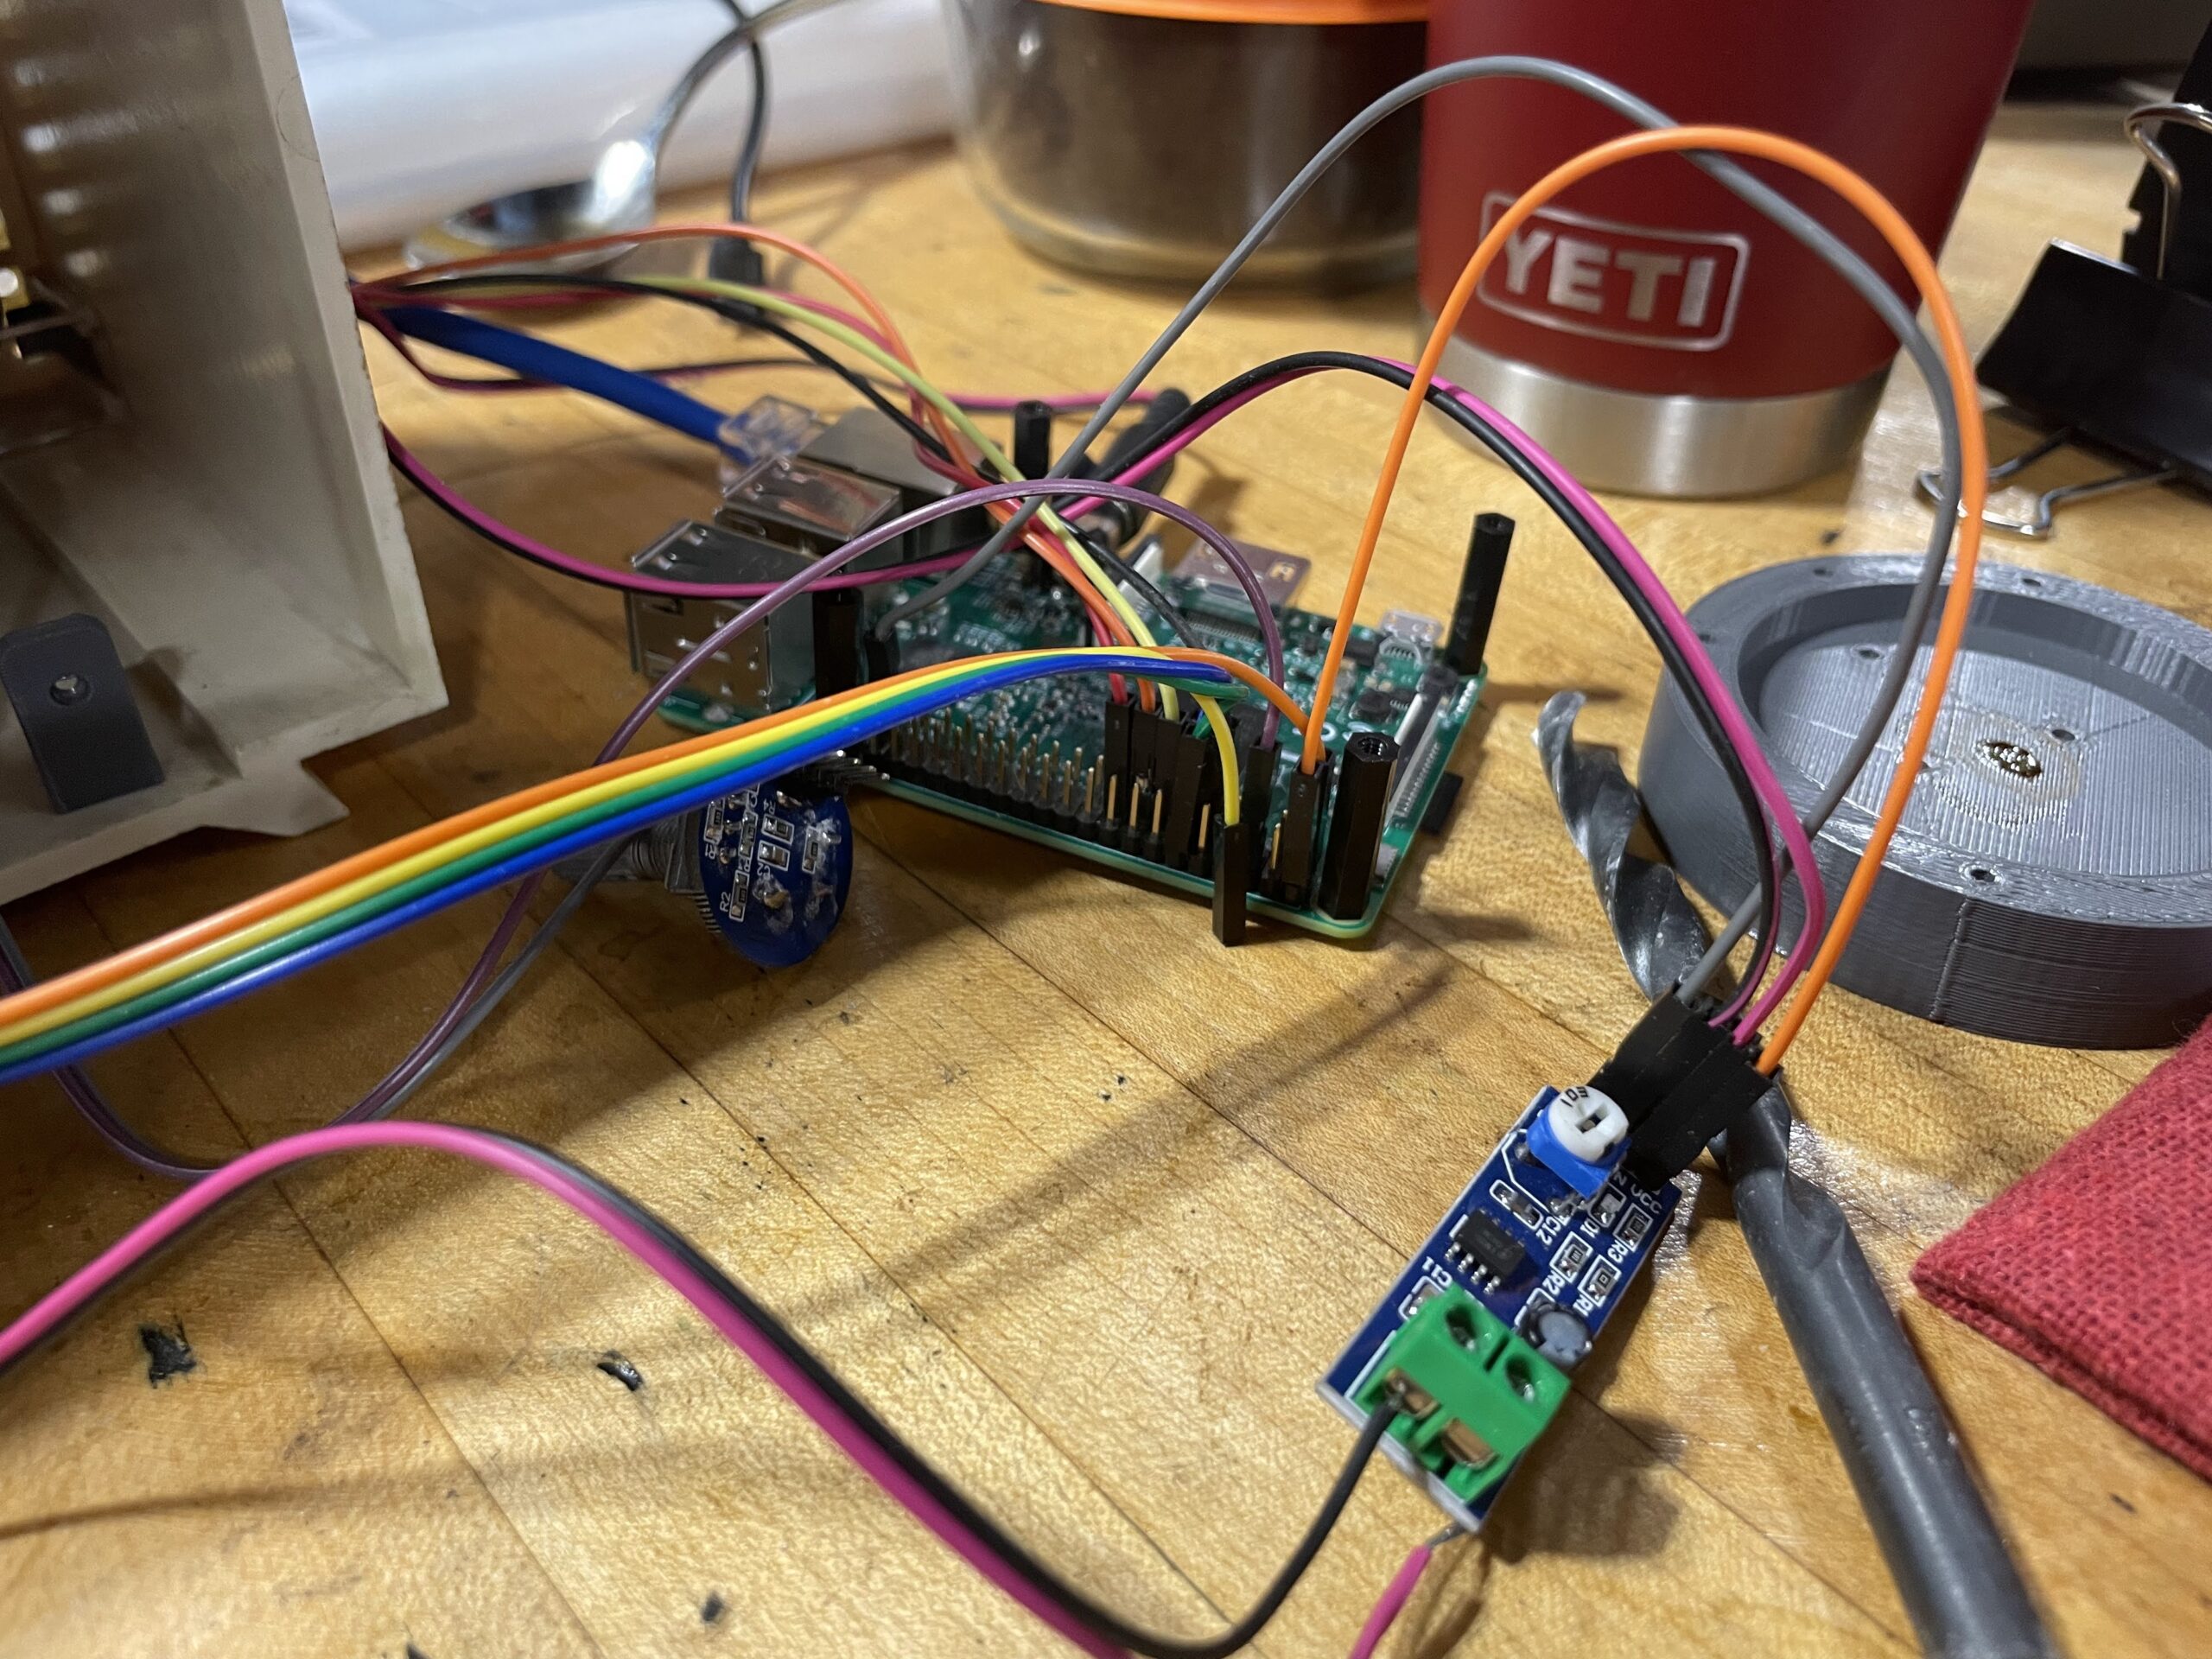
A quick update on the Pi Radio, since it has been a few weeks when it was last mentioned. It works, however, still waiting on the code to get it to function when power is applied, rather than having to SSH into the Pi and manually start the code. My co-teacher is helping with this, so once he is able to make it work, we should be able to package everything up and finalize everything. For now, here are some photos of the volume and tuning knobs wired to the Pi.
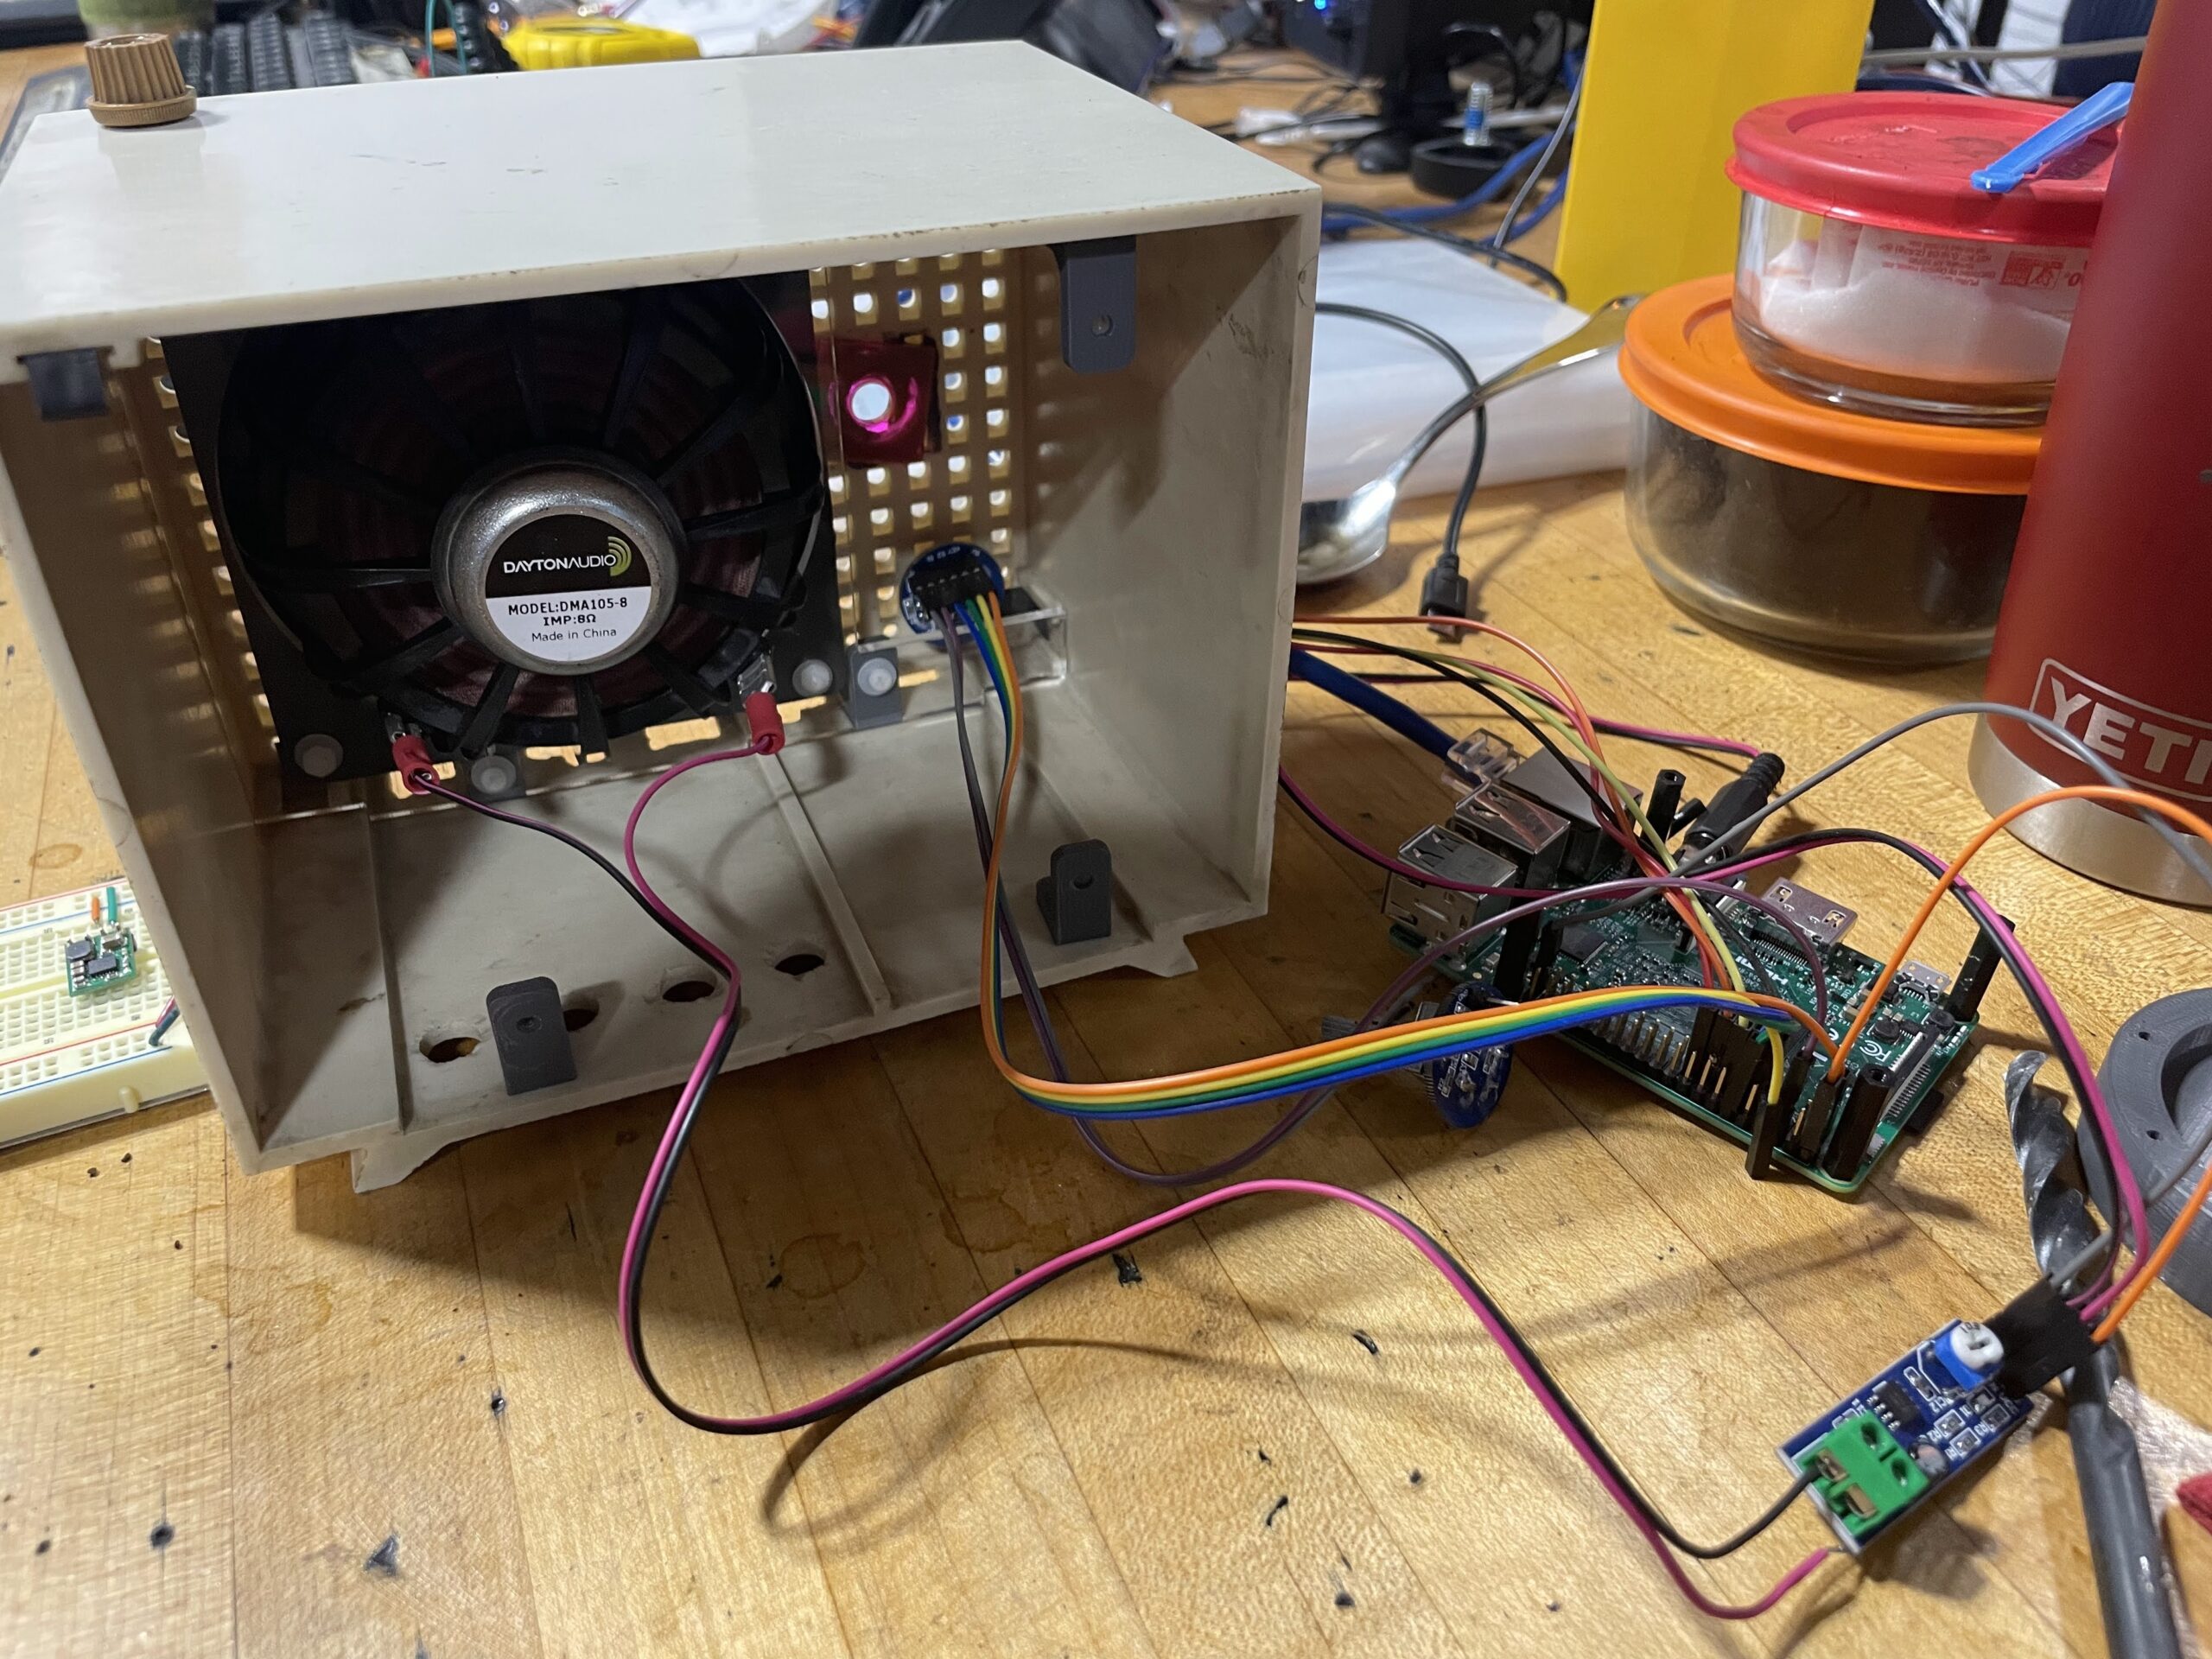
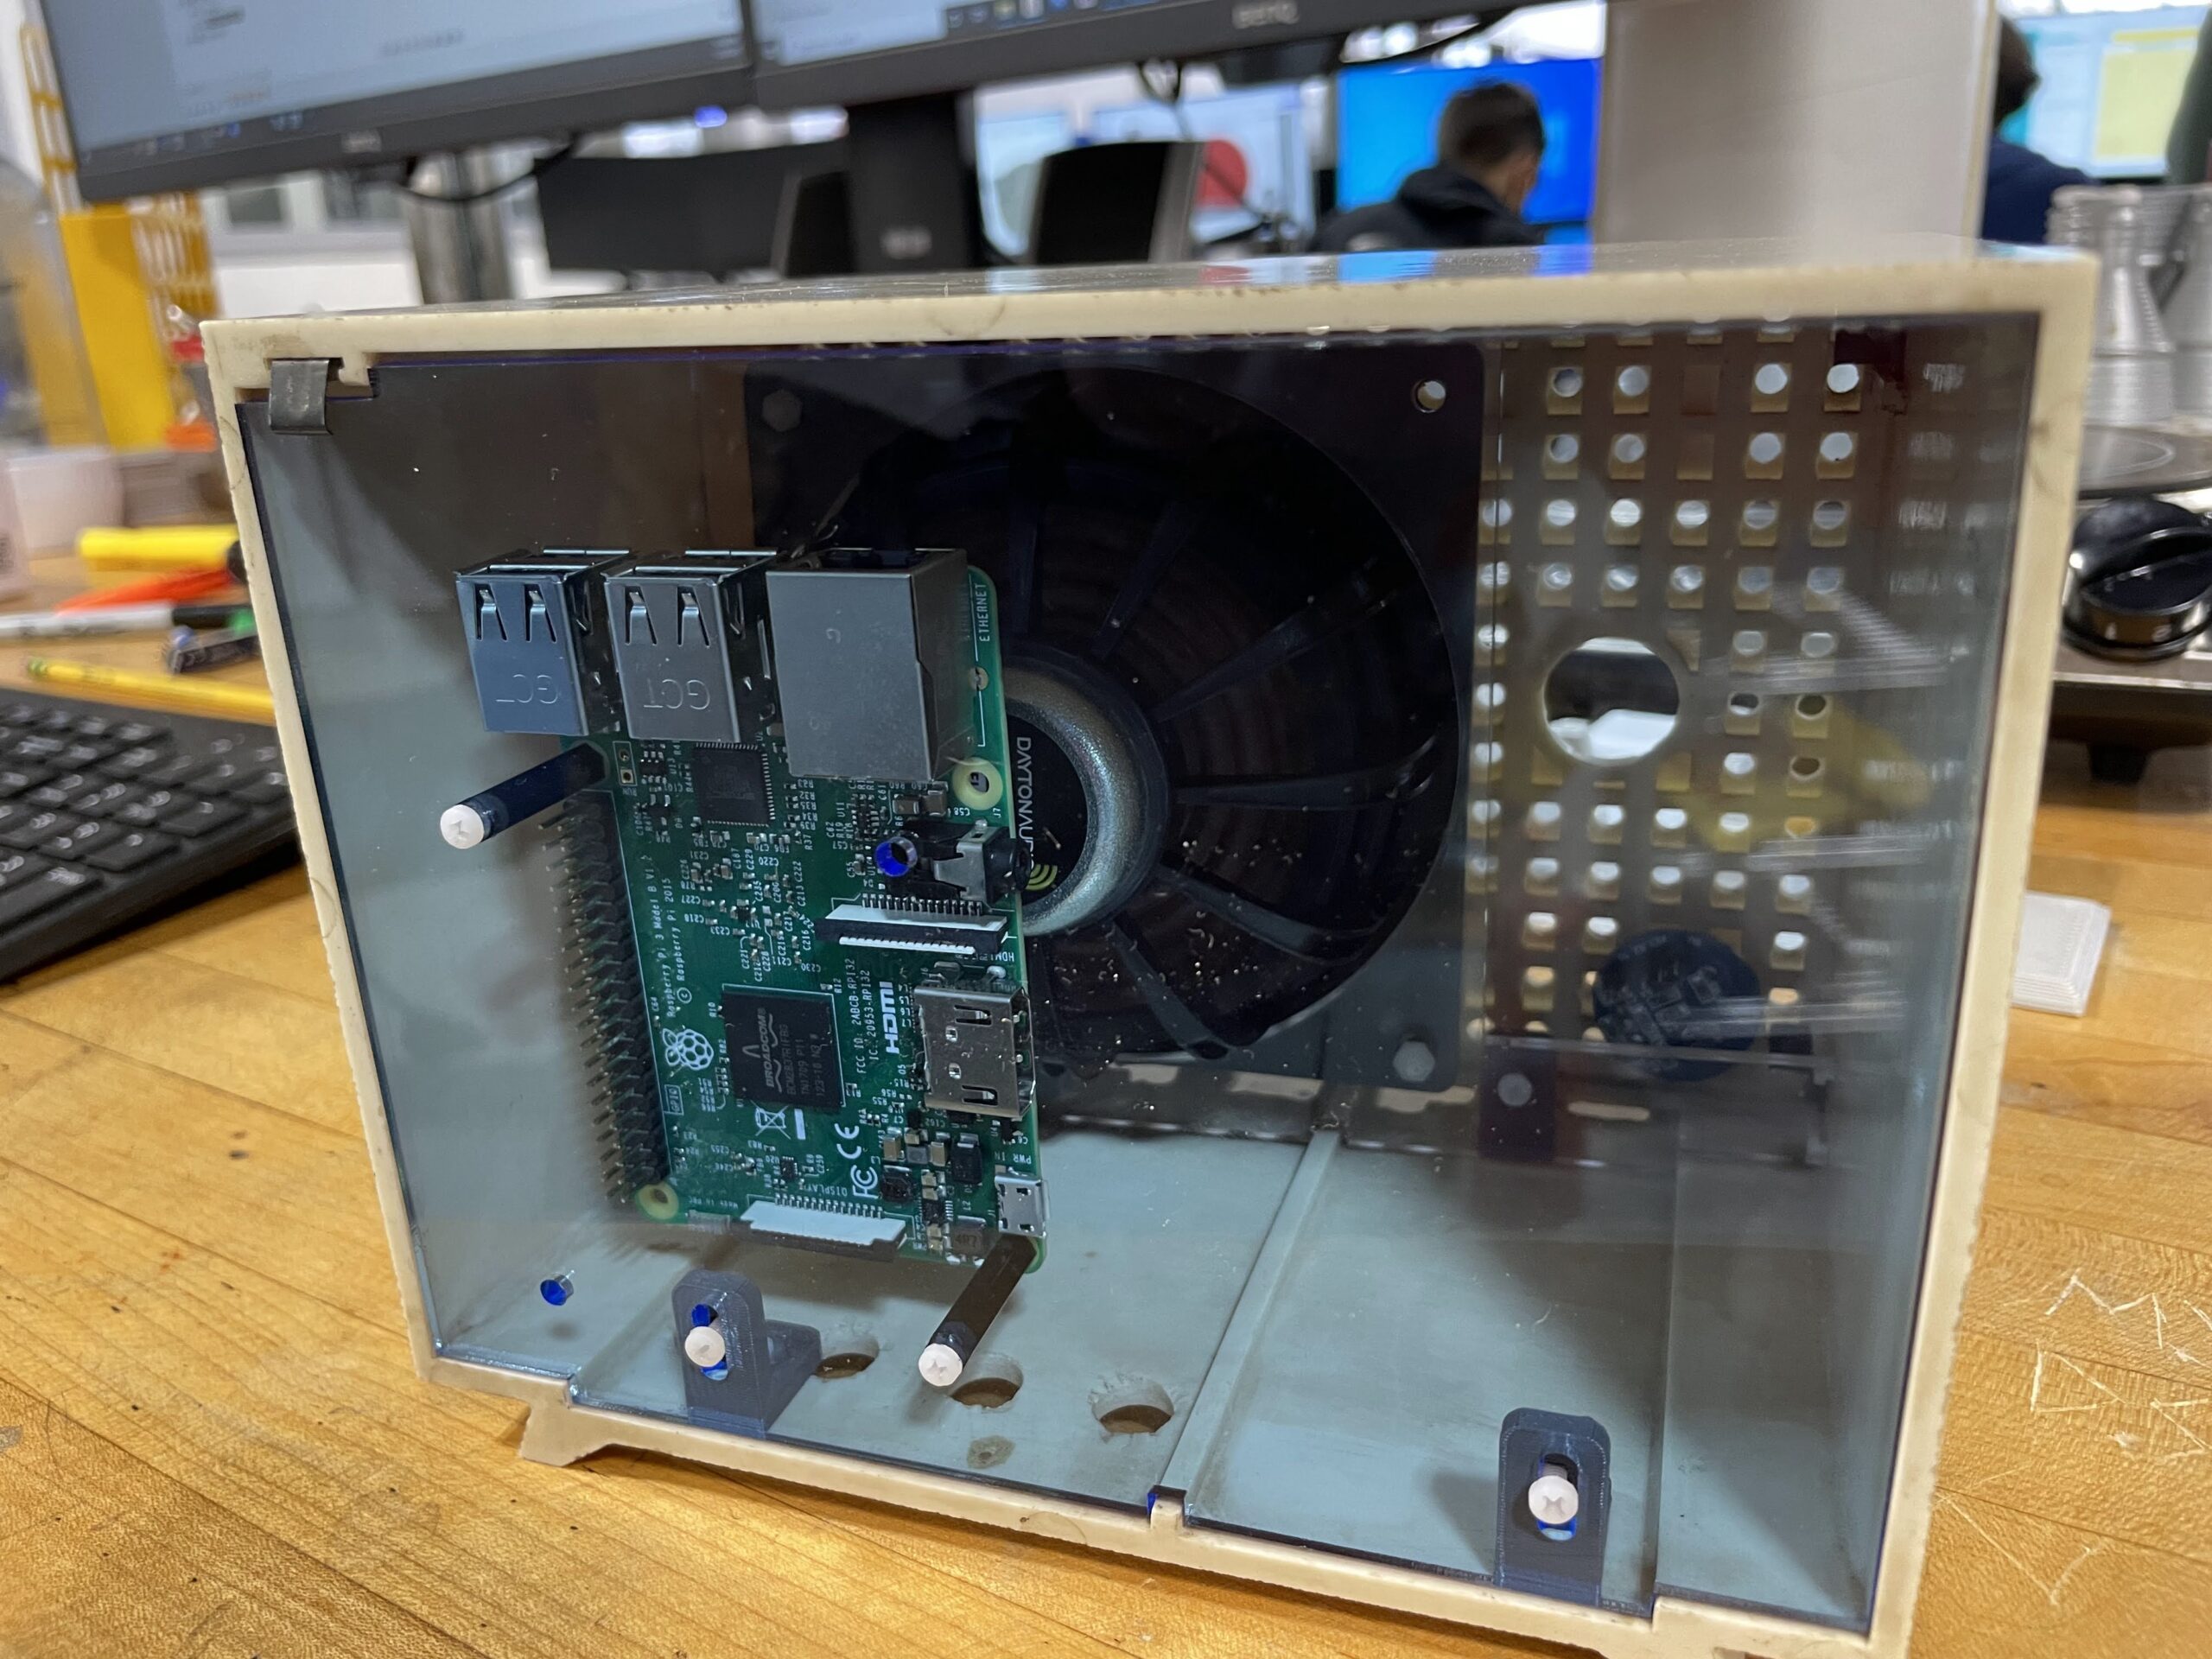
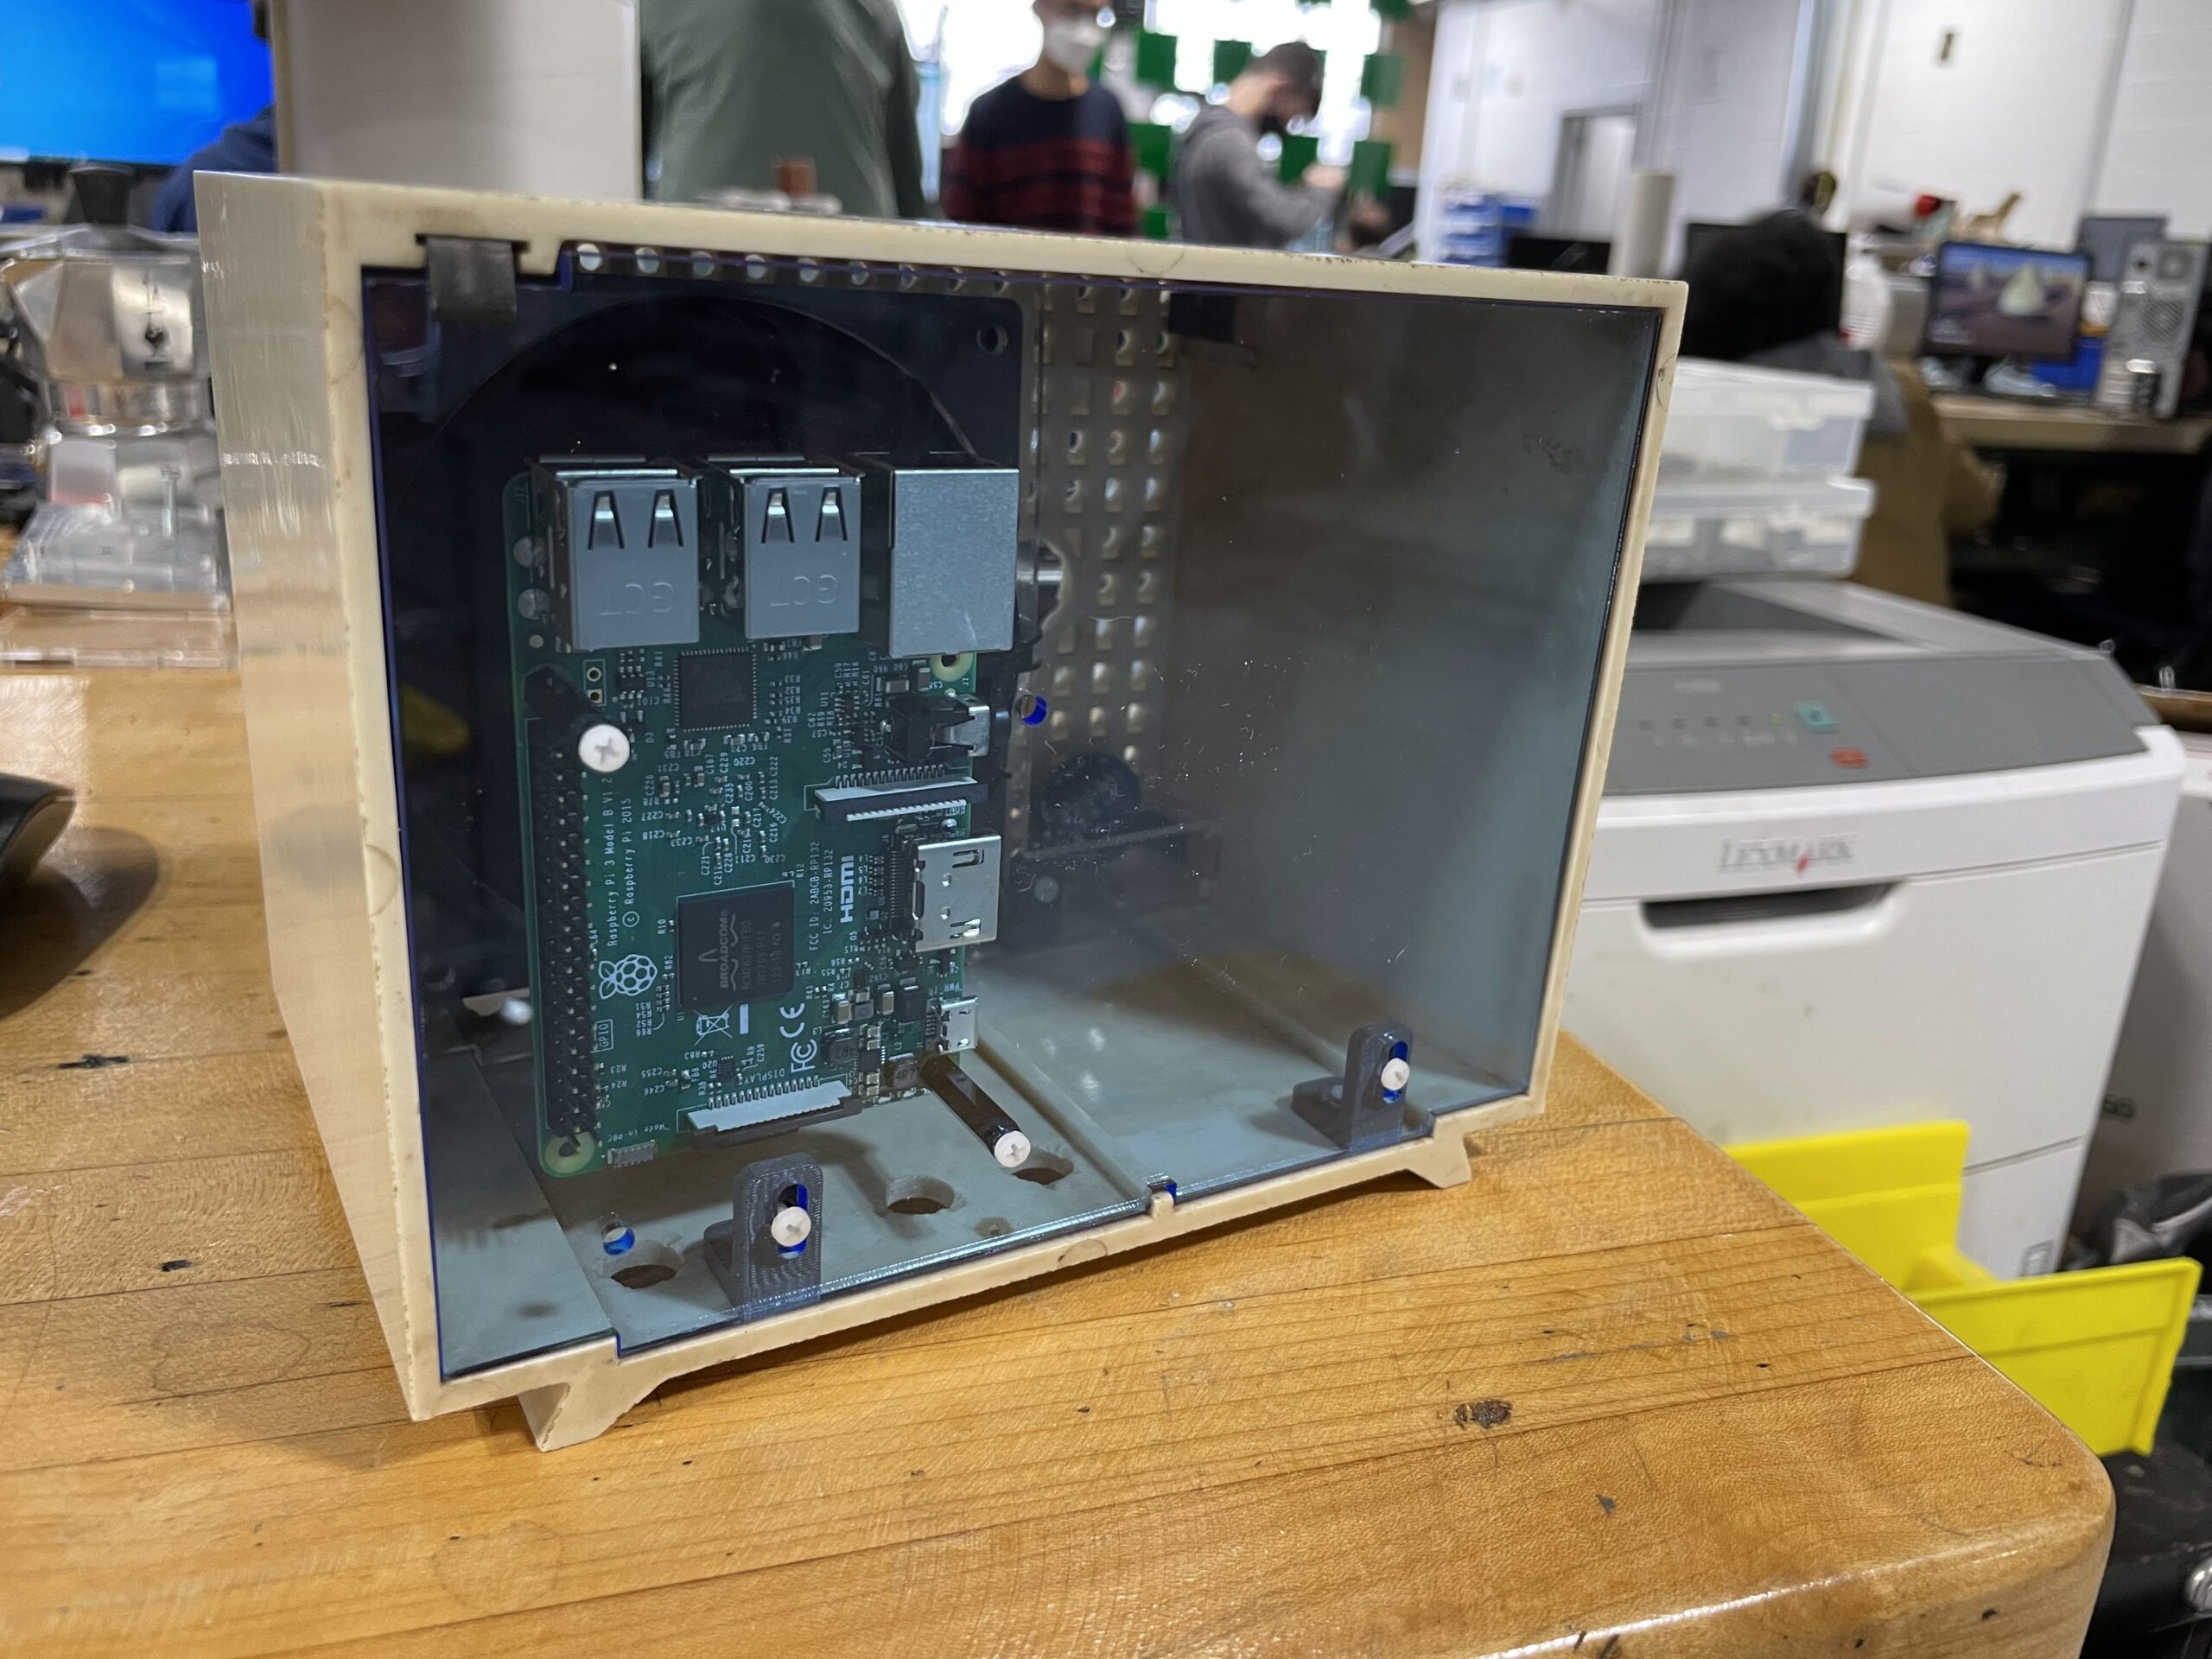
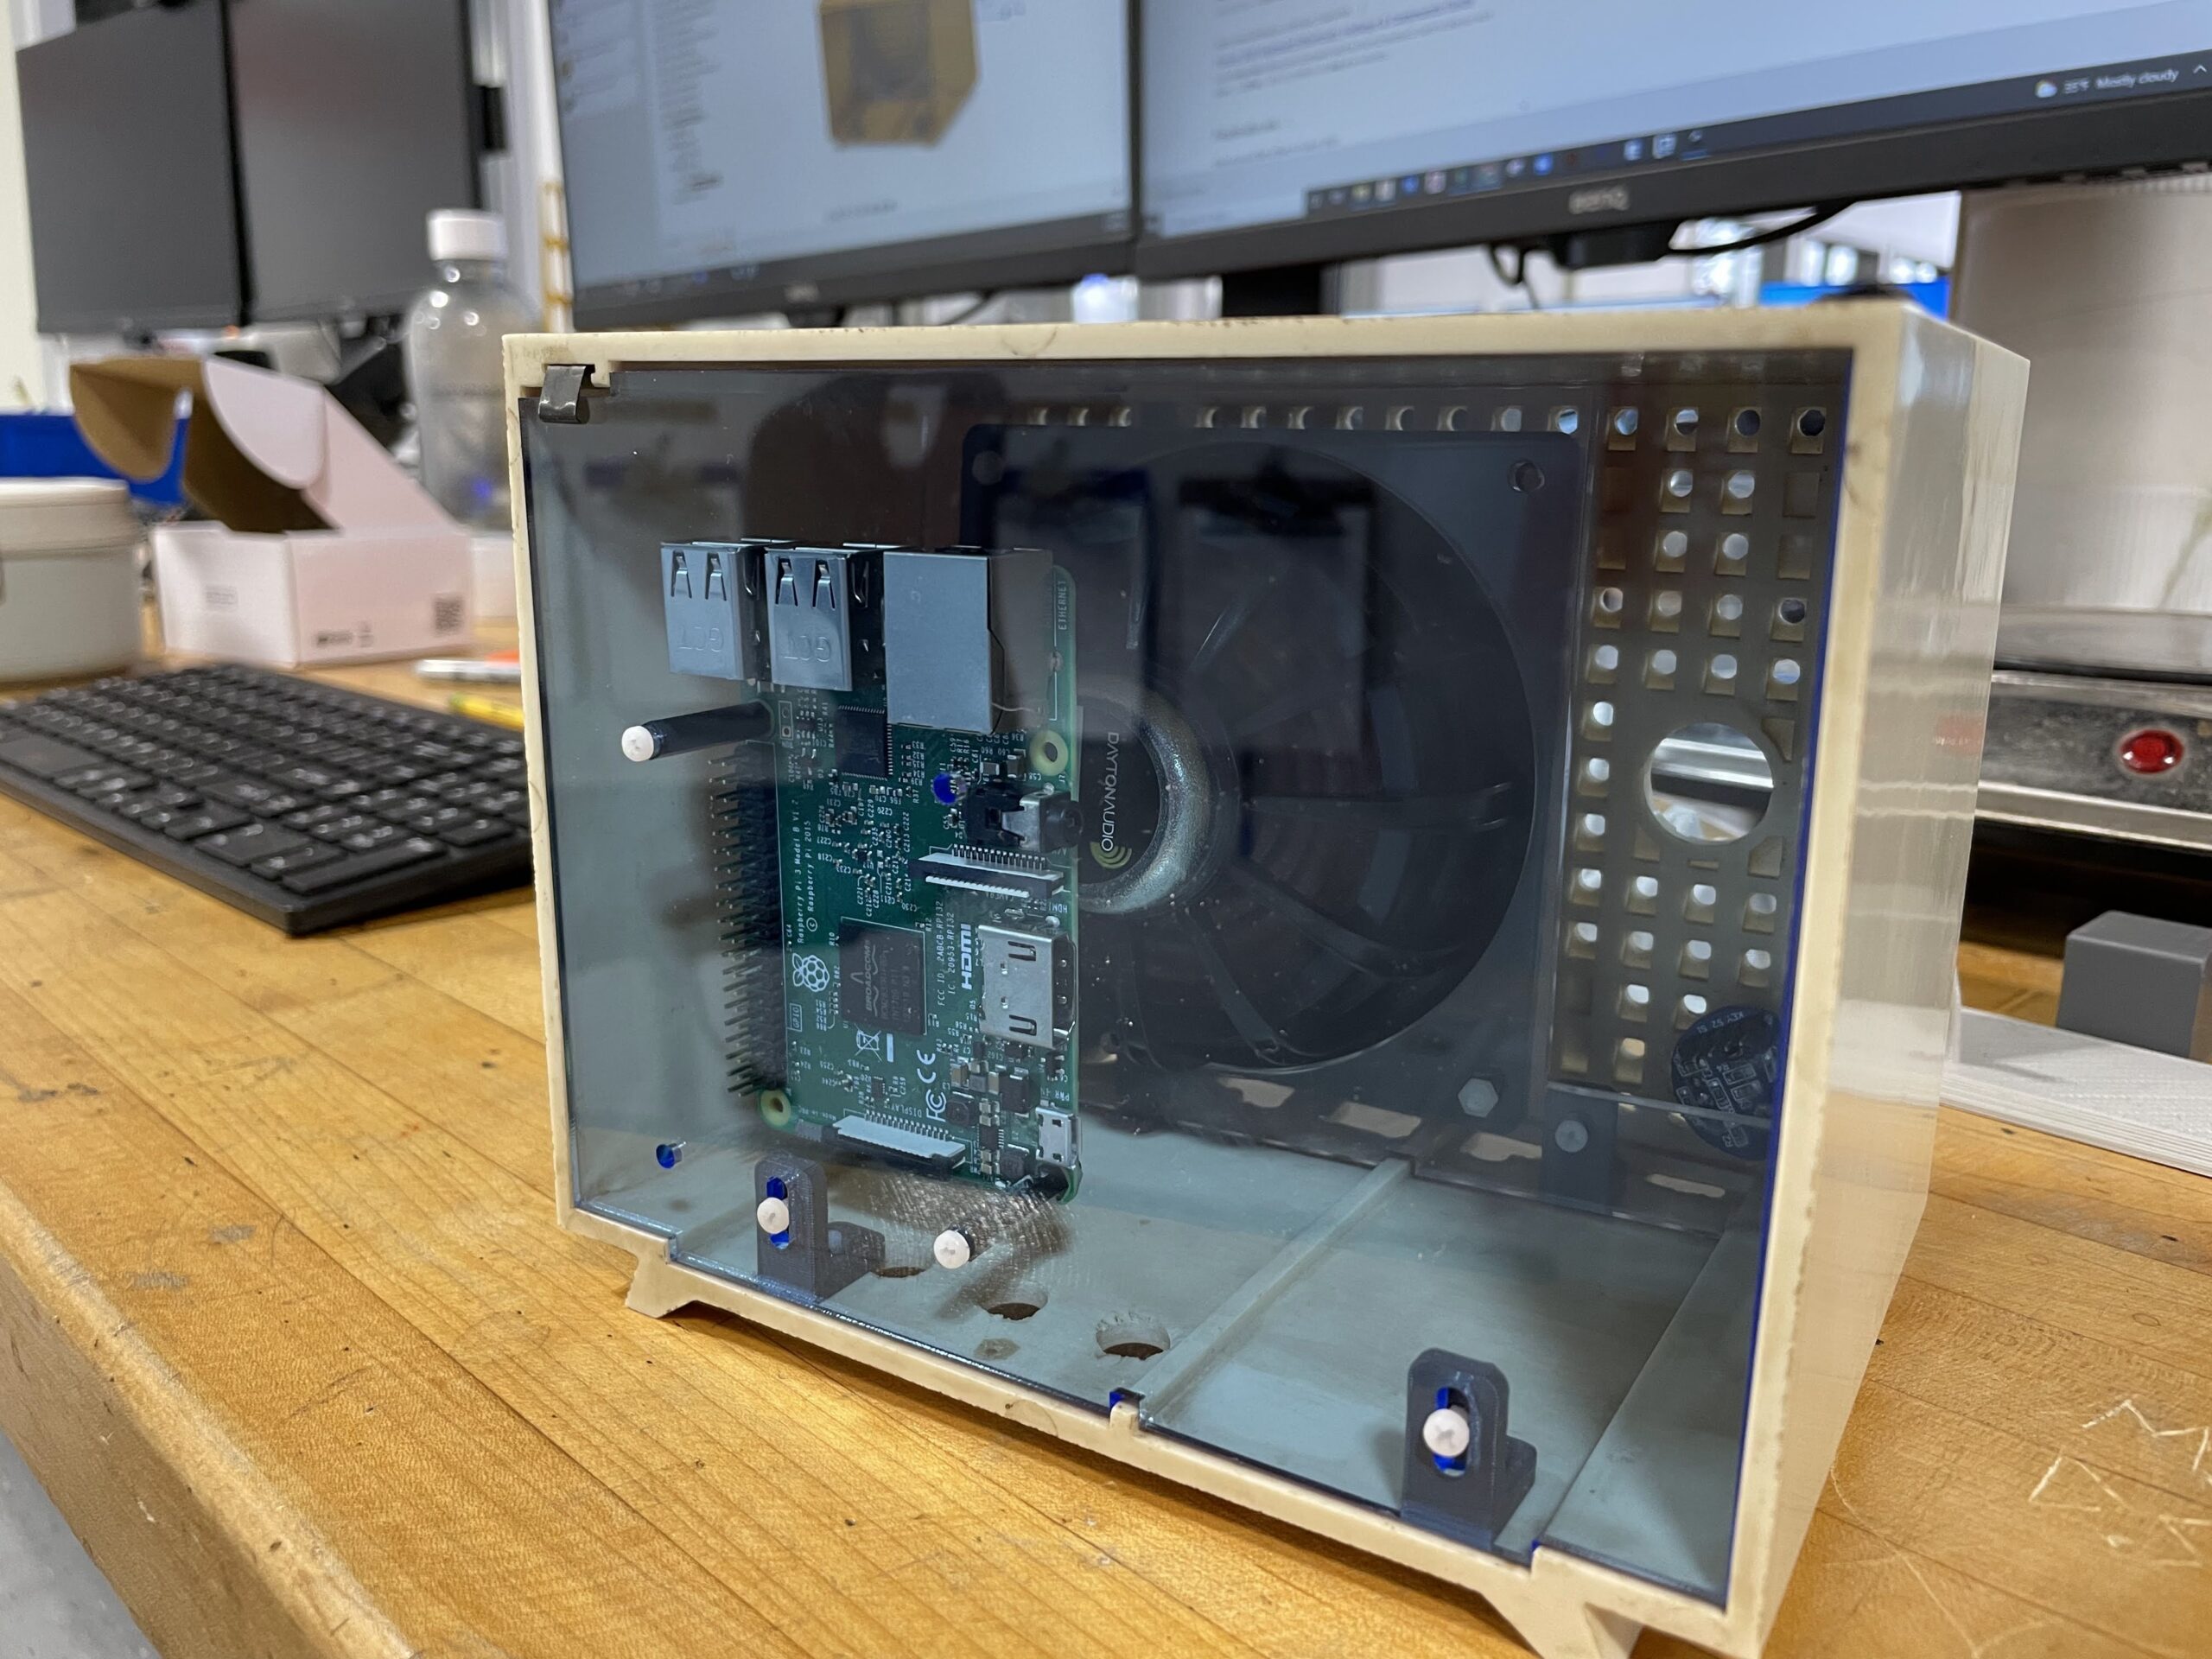
Just a quick update on the Pi Radio. I have been working on the internals and am close to having some nice acrylic mounting panels for the interior of the radio. Additionally, I have chosen a speaker to use, which will replace the old damaged speaker that was in the unit when it was purchased. The new speaker is a 4″ Dayton Audio DMA105 8 ohm, which is also being used by another student for a speaker project they are working on. Will post more on that project once it is further along. My radio needs a few more adjustments to the CAD model, and a couple of more test fits before we can wire it up and test my co-teacher’s coding with the Raspberry Pi. A few photos below showing the updated components inside the radio housing.
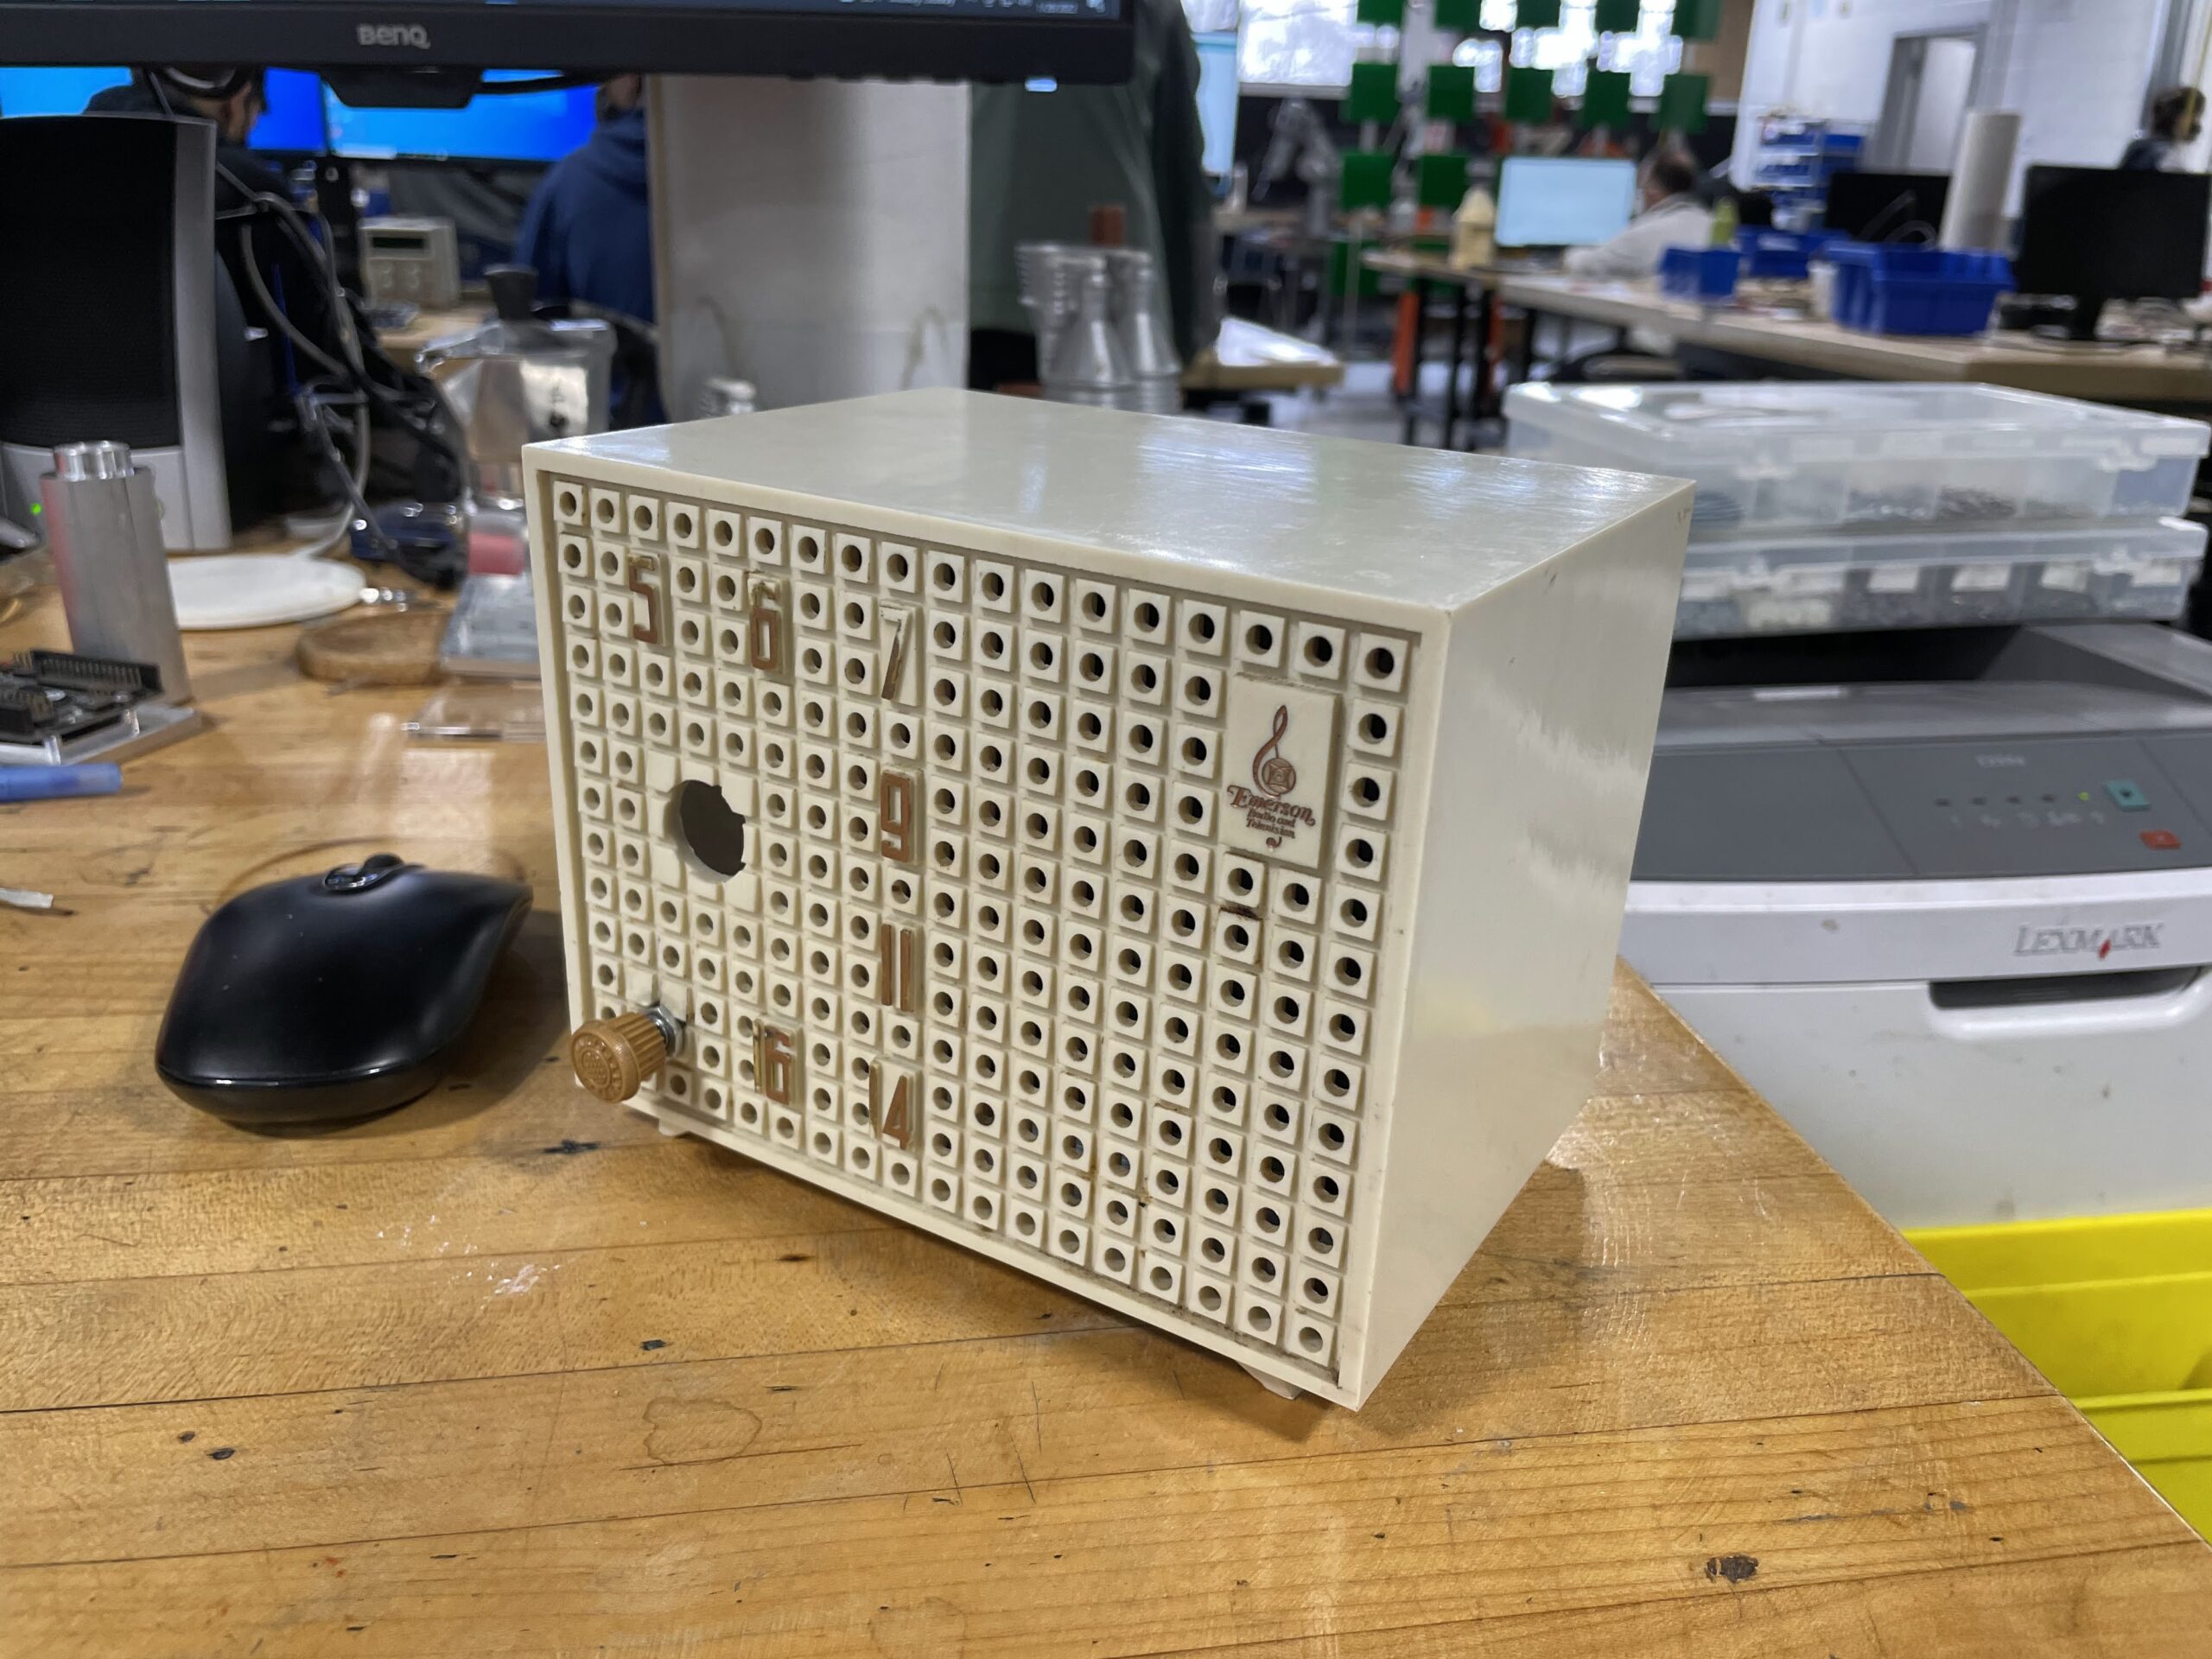
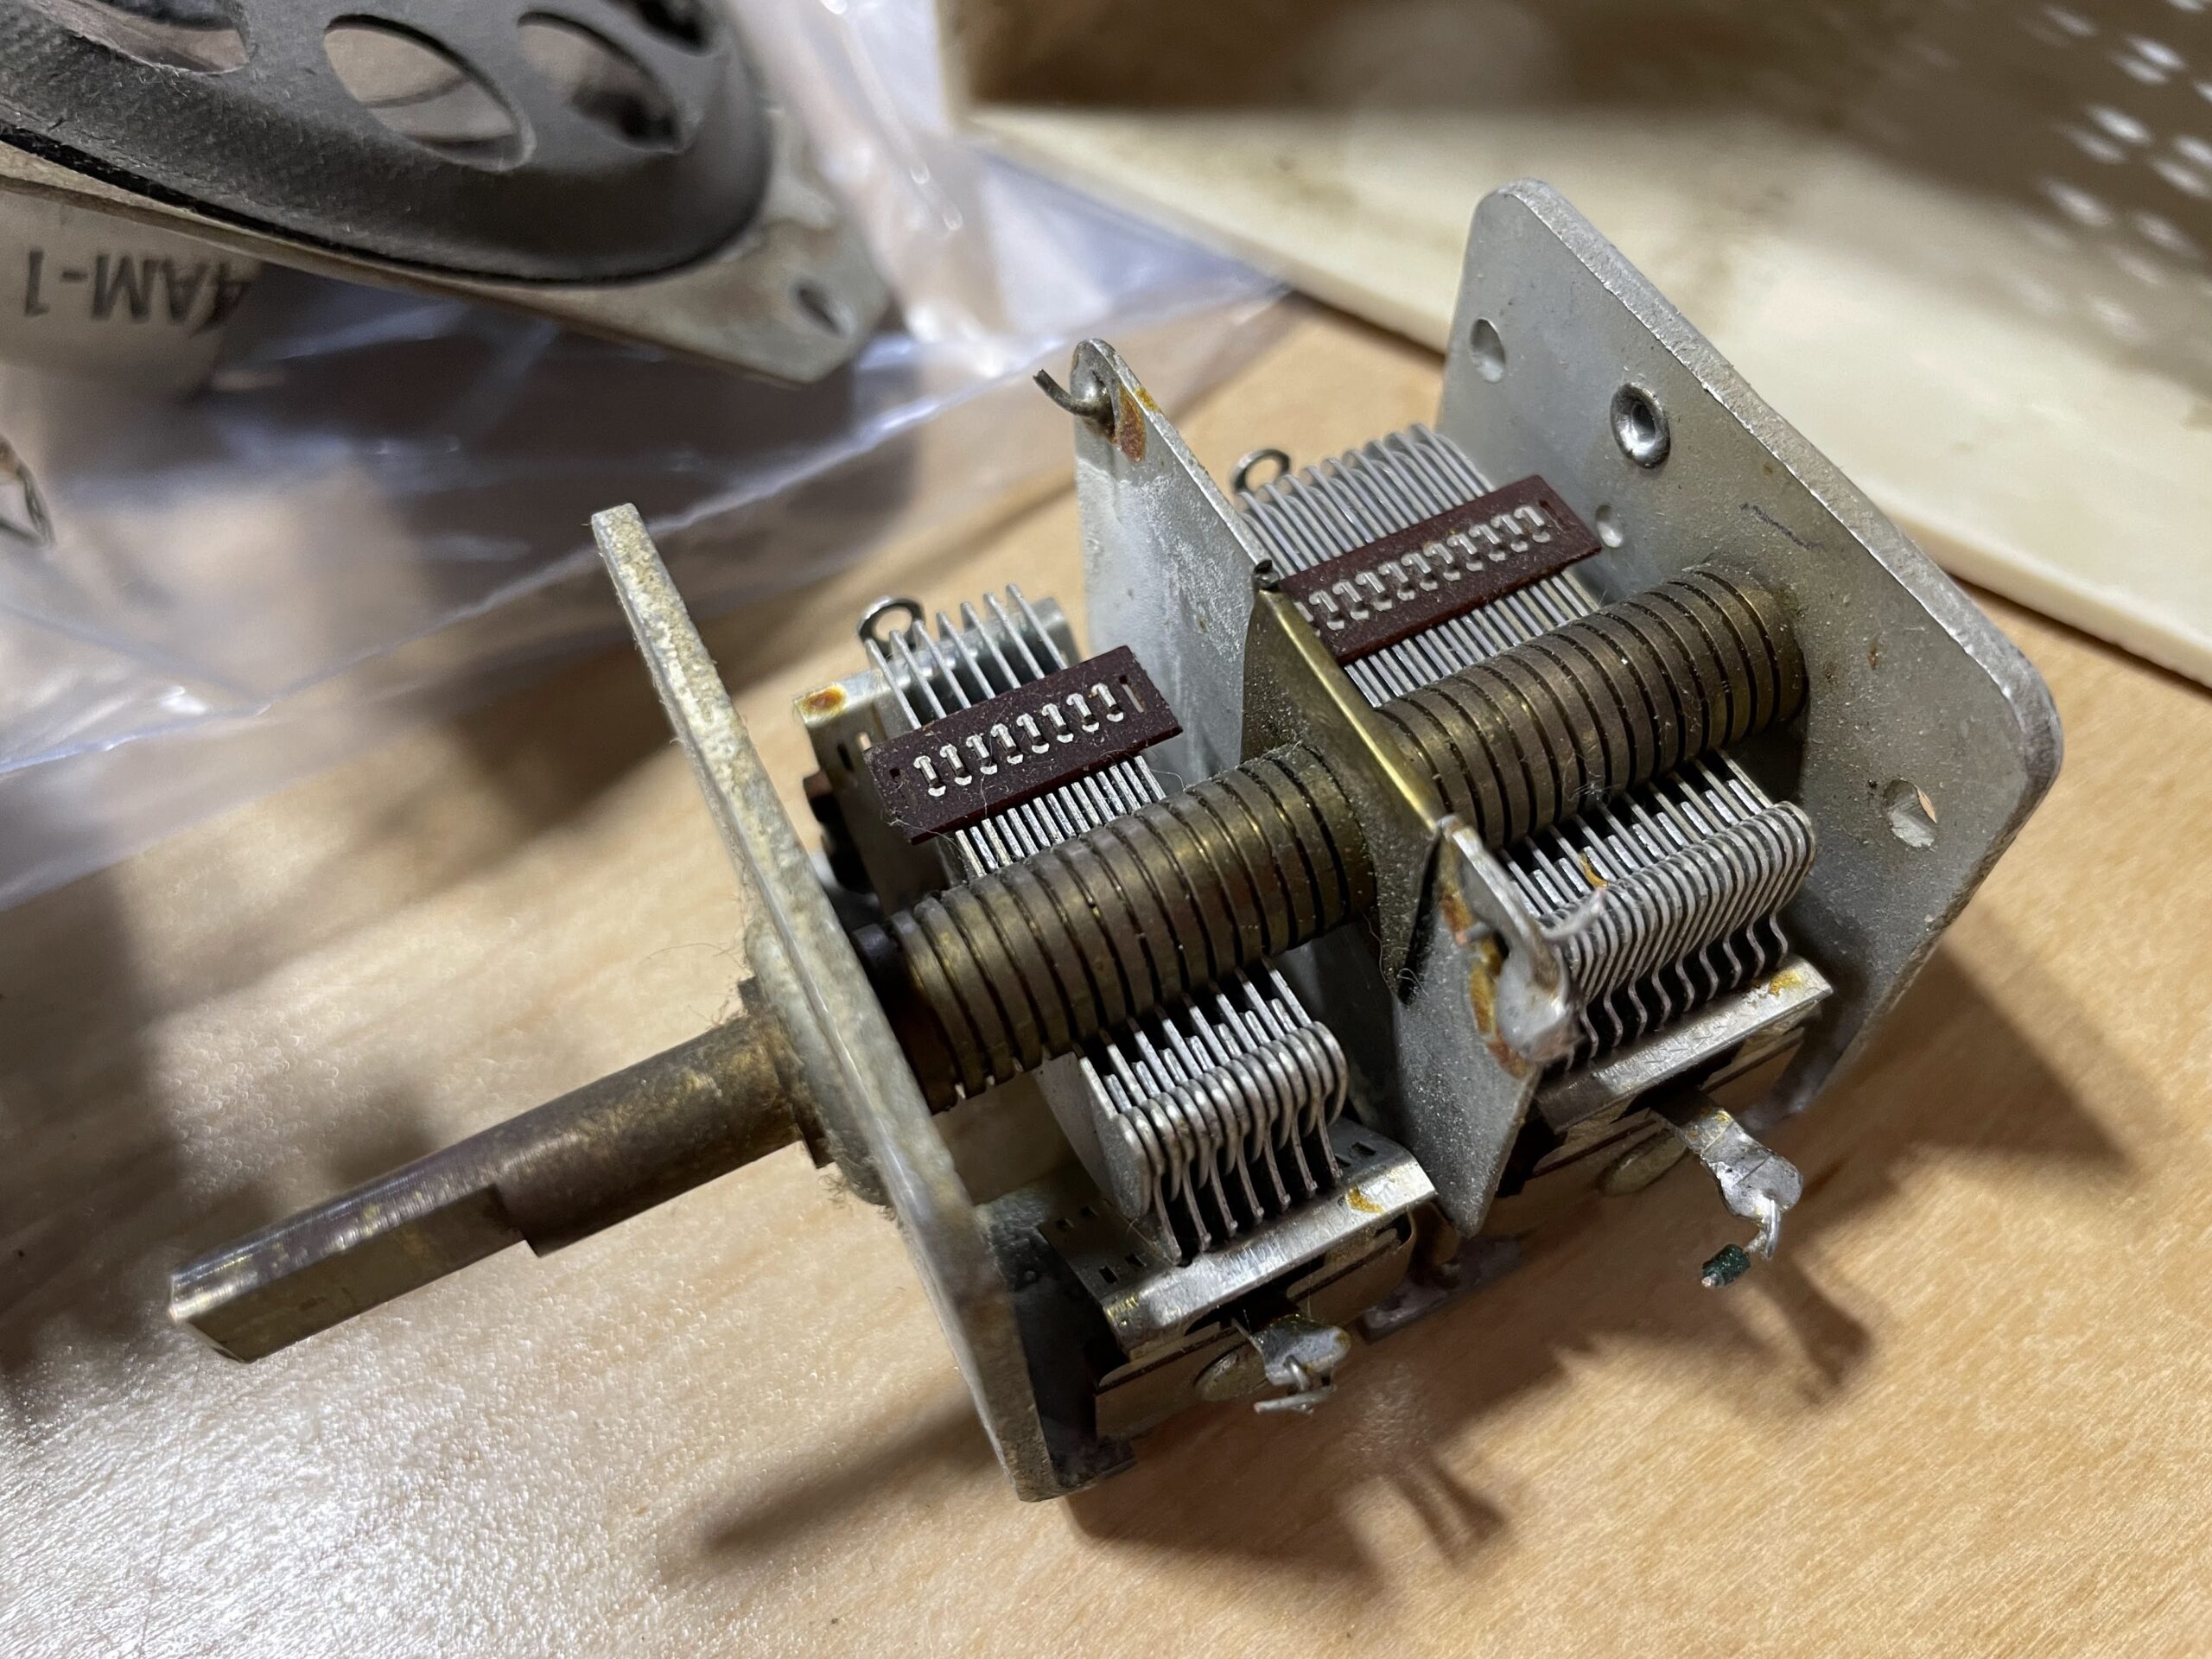
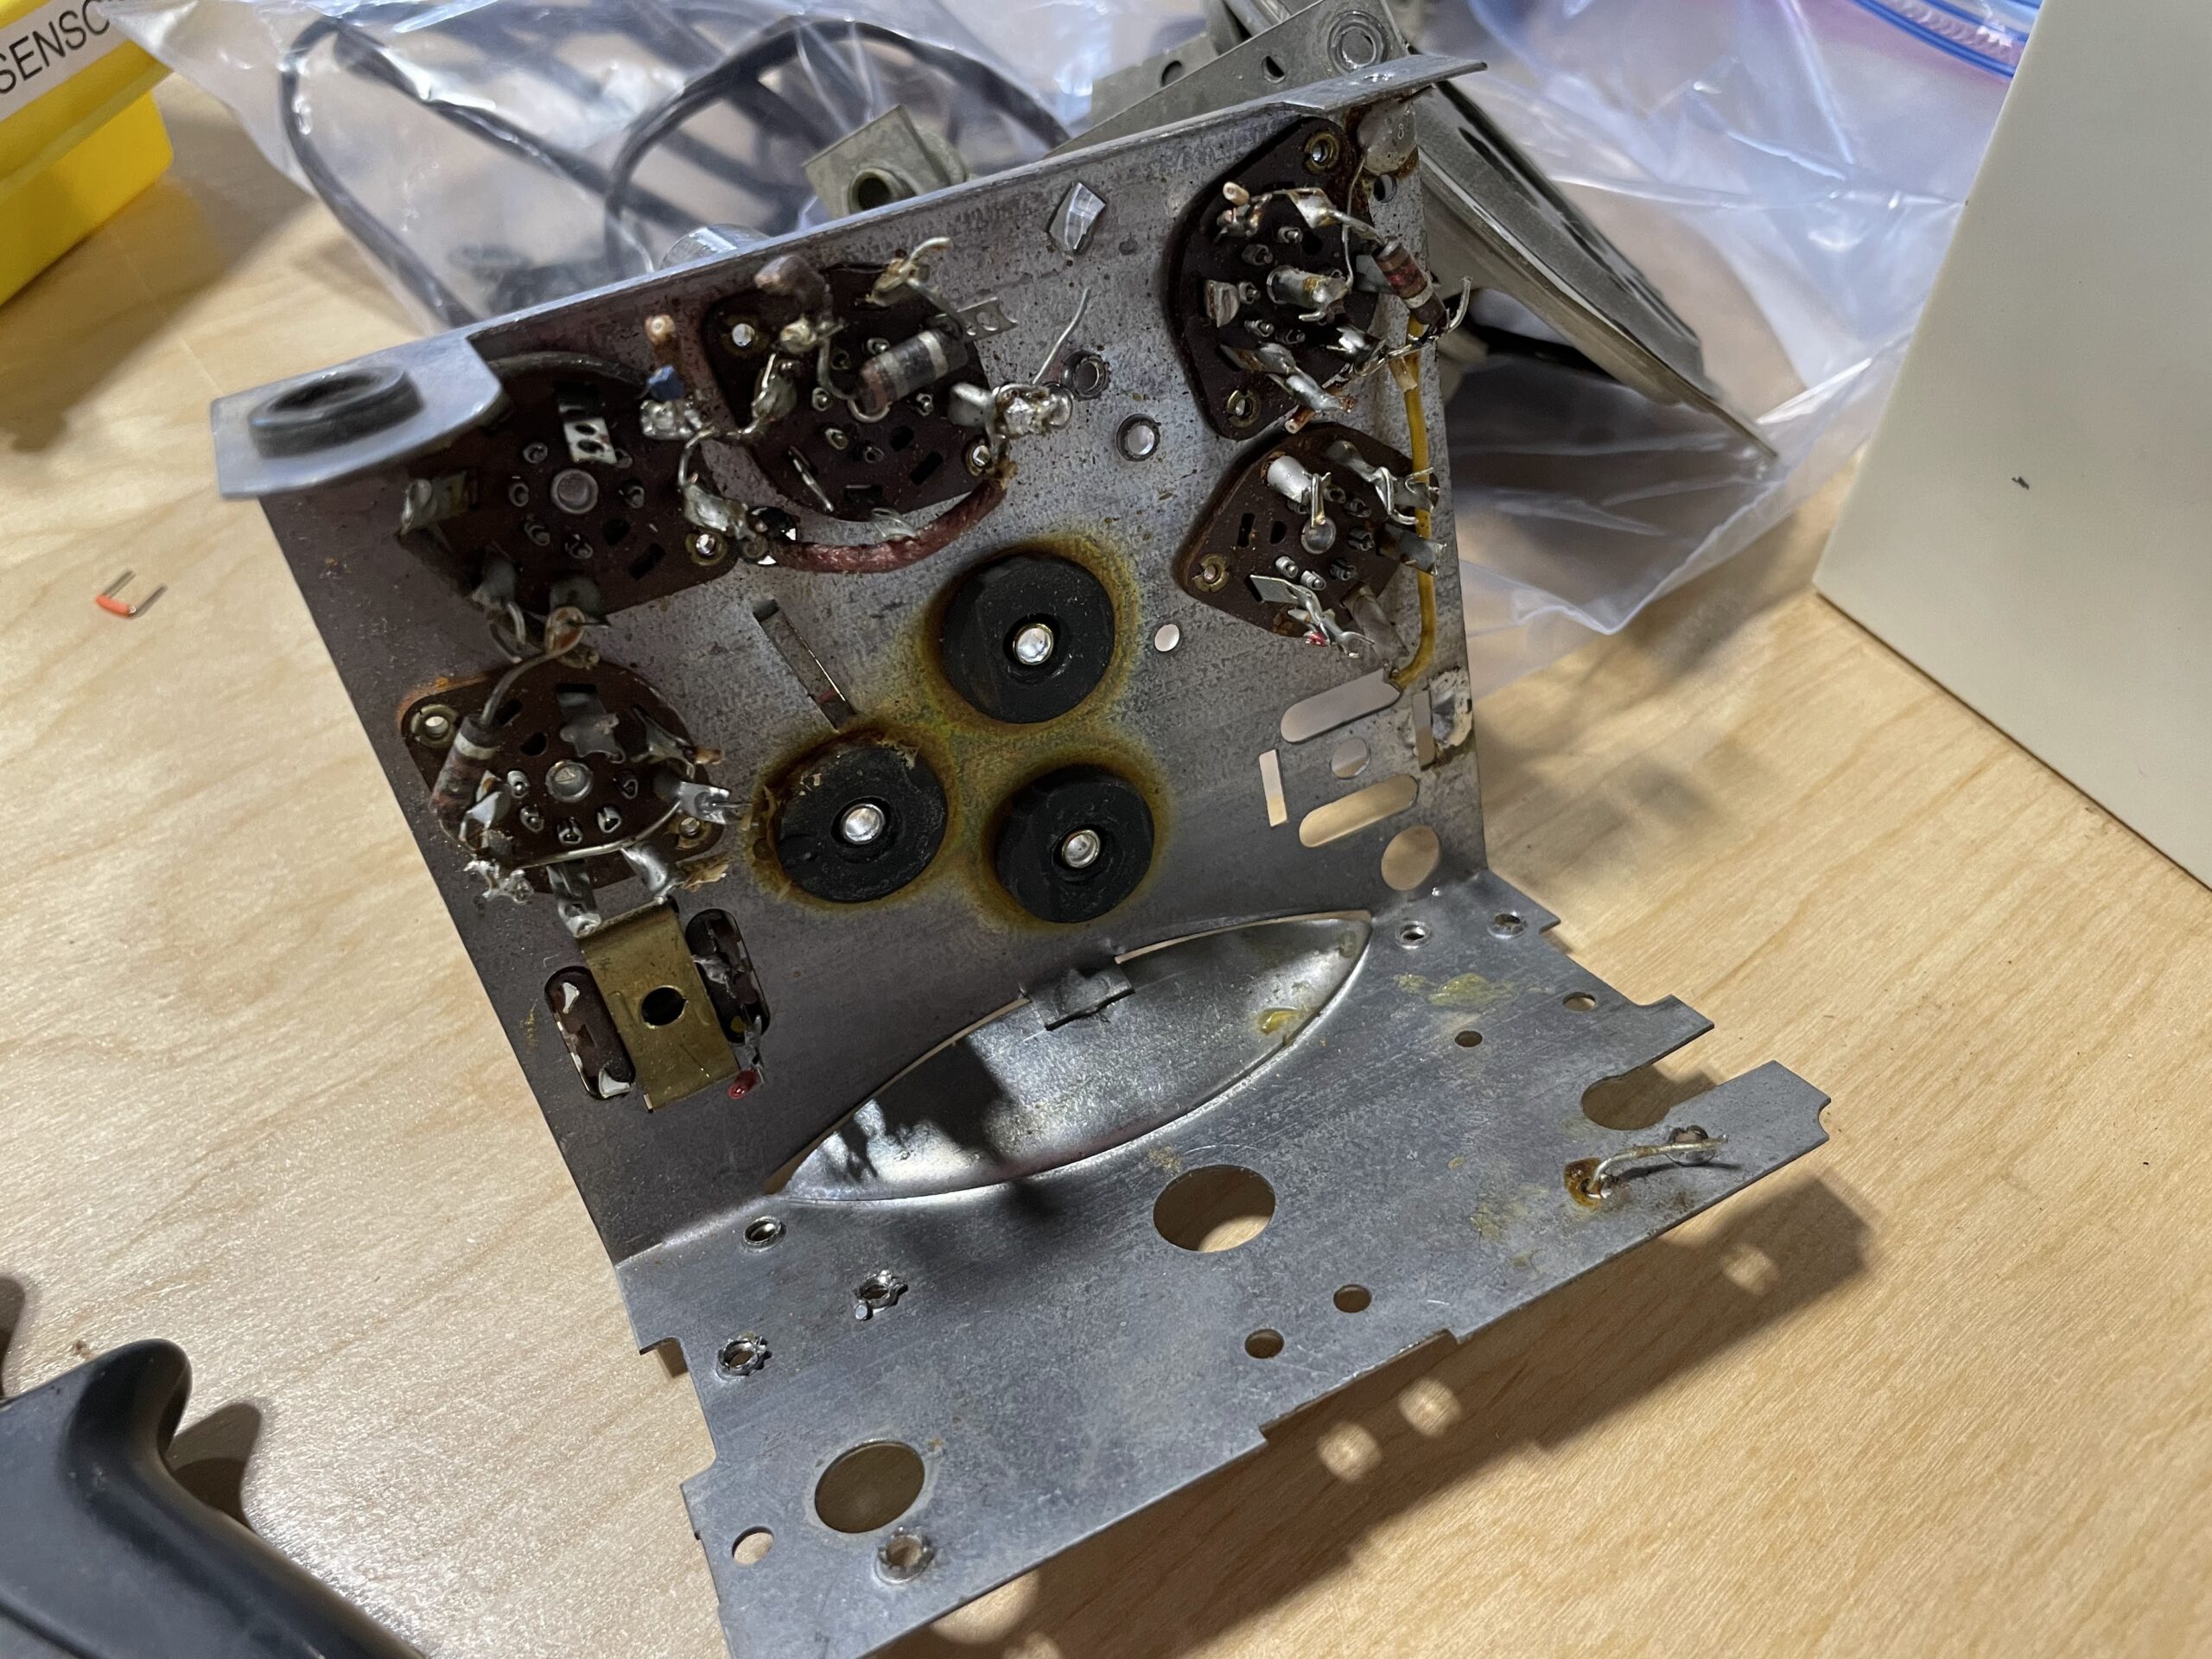
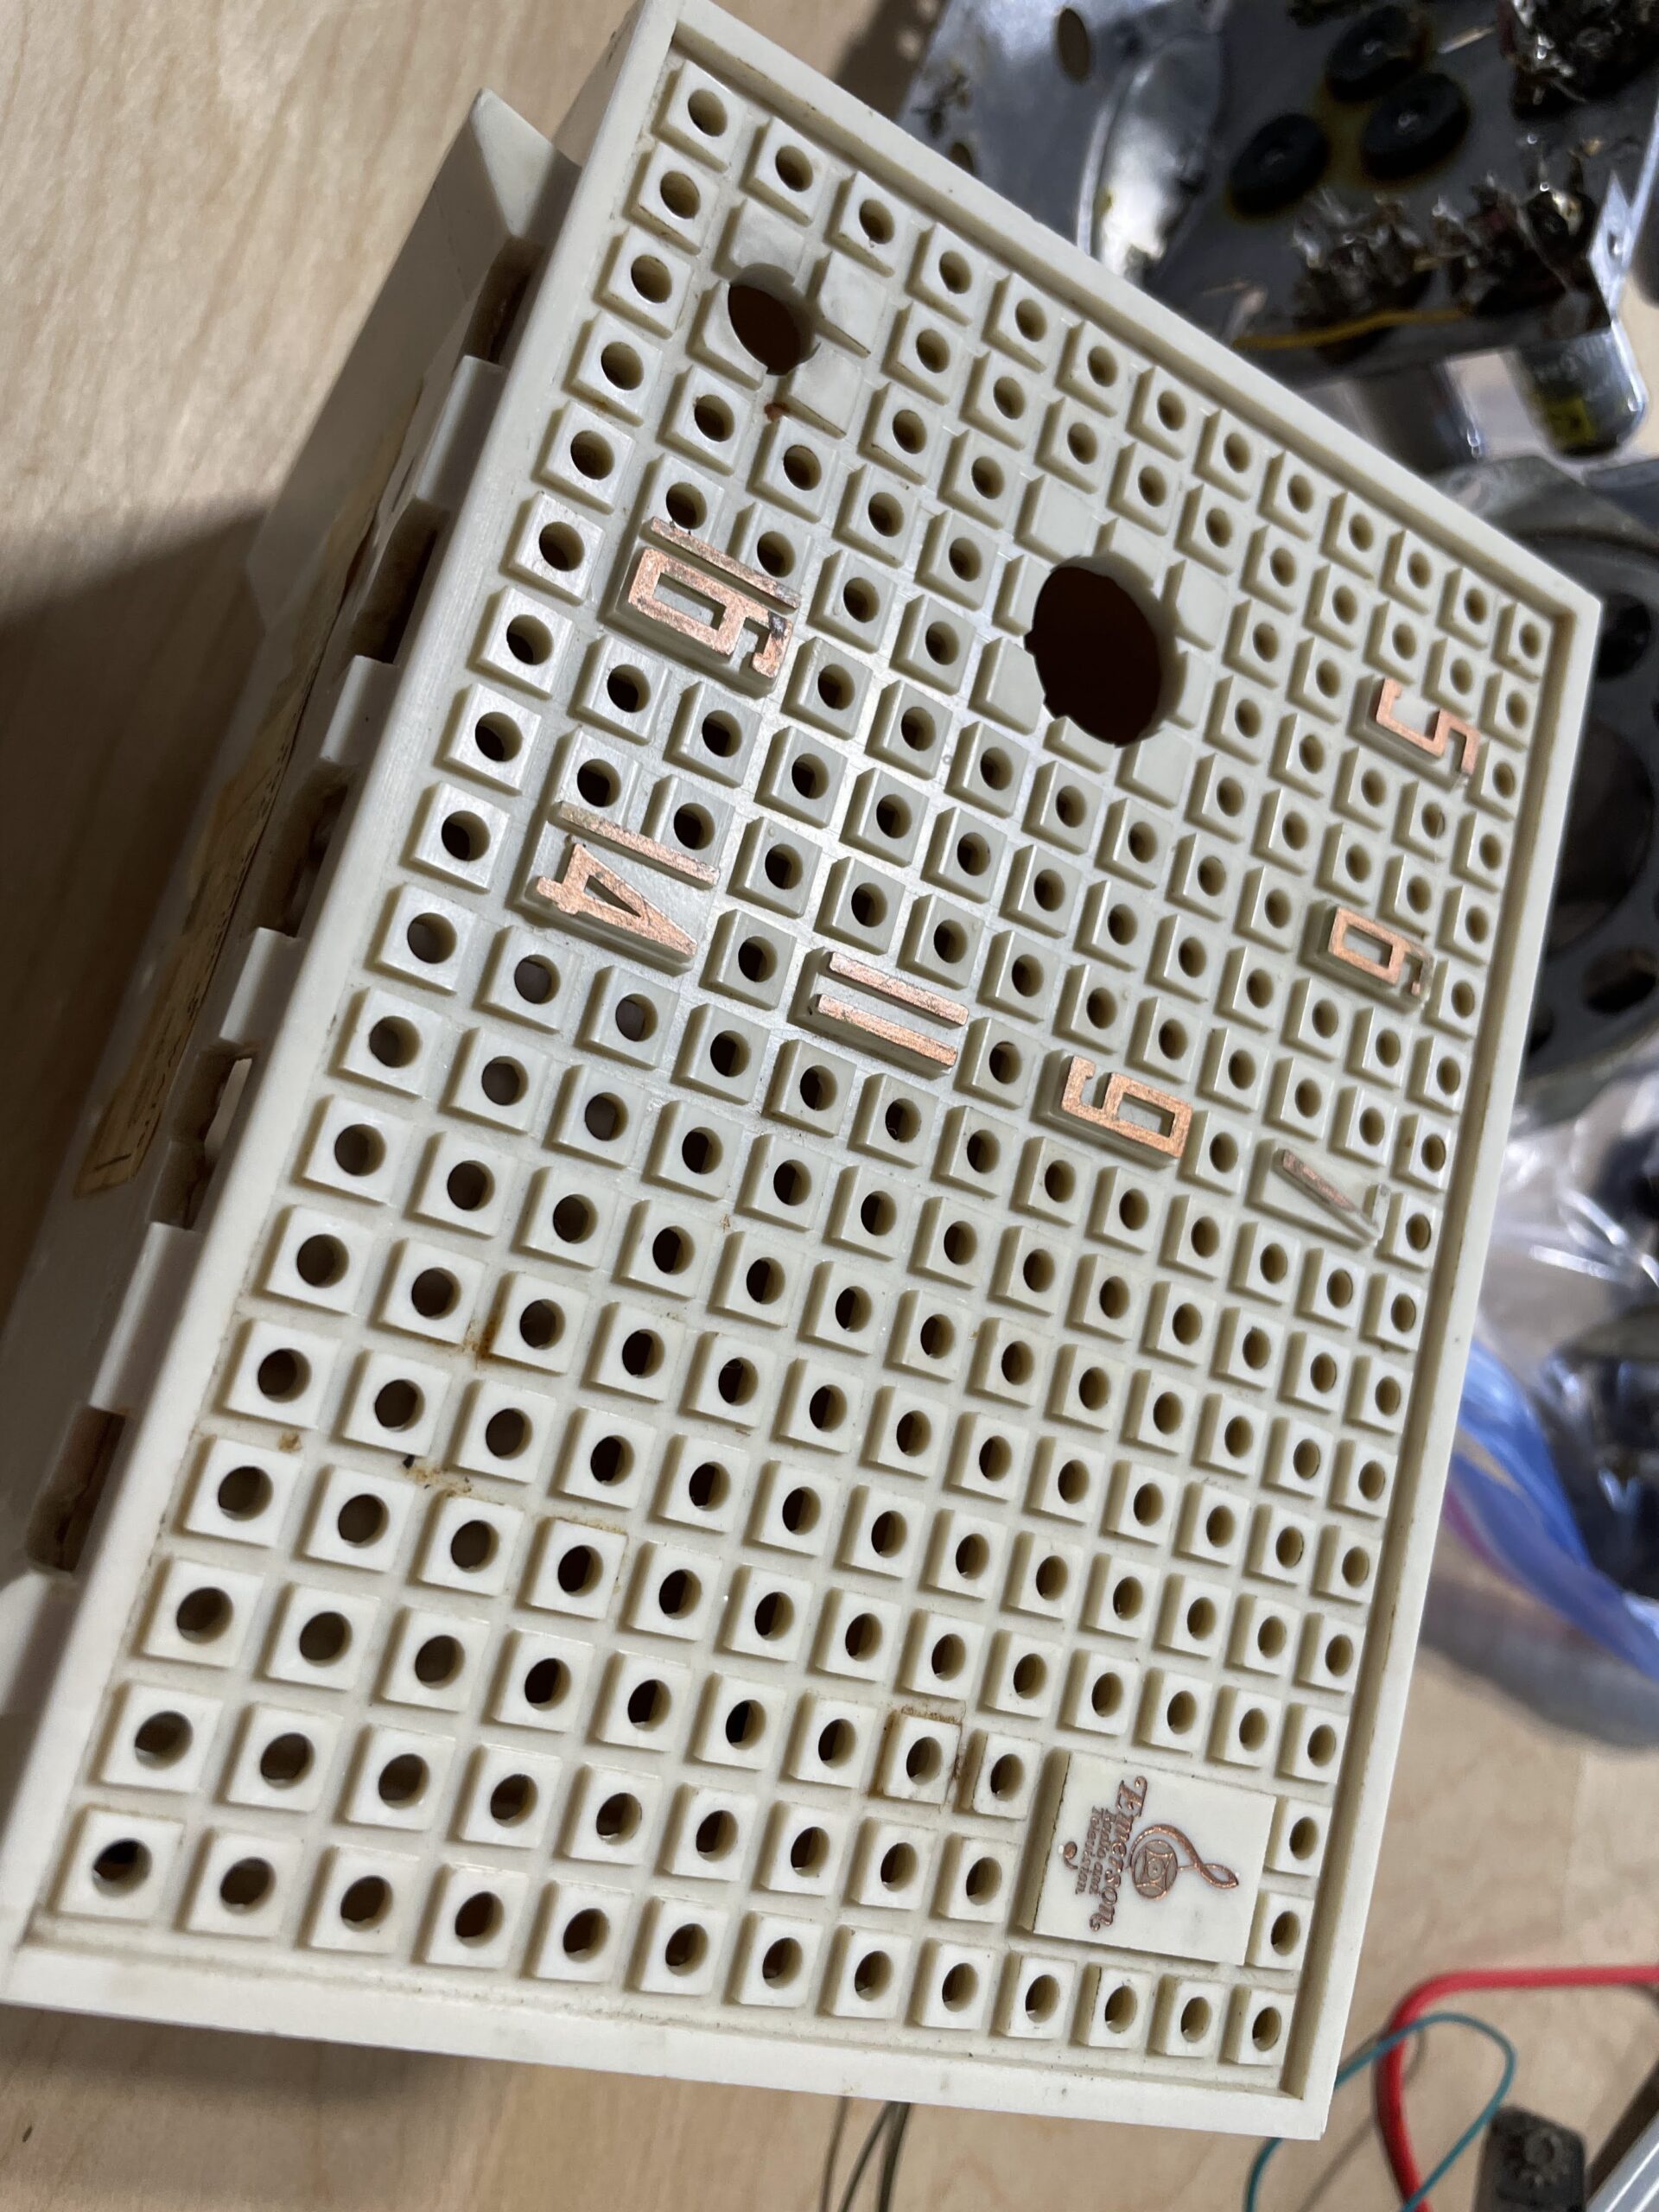
A while ago my wife surprised me with an old fashioned radio. It’s an Emerson 805 Series B model which was available in the 1950s. The radio does not work anymore, although all its guts were still intact, tubes and all. I decided to turn the radio into a working internet radio, and hoping to keep functionality of the tuning dial and power switch.
So far, all I’ve managed to do is take the radio apart. A lot of interesting components inside, but for my purposes I will only keep the plastic enclosure and tuning and power knobs. The back needs to be recreated, which I will do with the laser cutter, as well as inner speaker lining. Not sure what I will use for that, but it can be attached to a lasercut support structure.
For the electronics, I will initially be following a guide from Instructables – this one I found from _Marcel_ which looks very close to what I’d like to accomplish. In addition to new electronics, I’m also going to clean and repaint the enclosure and knobs, unsure of the color scheme right now, but I will want to keep a retro look to the radio. All for now, a few photos of the radio below.