Pi Radio Internals

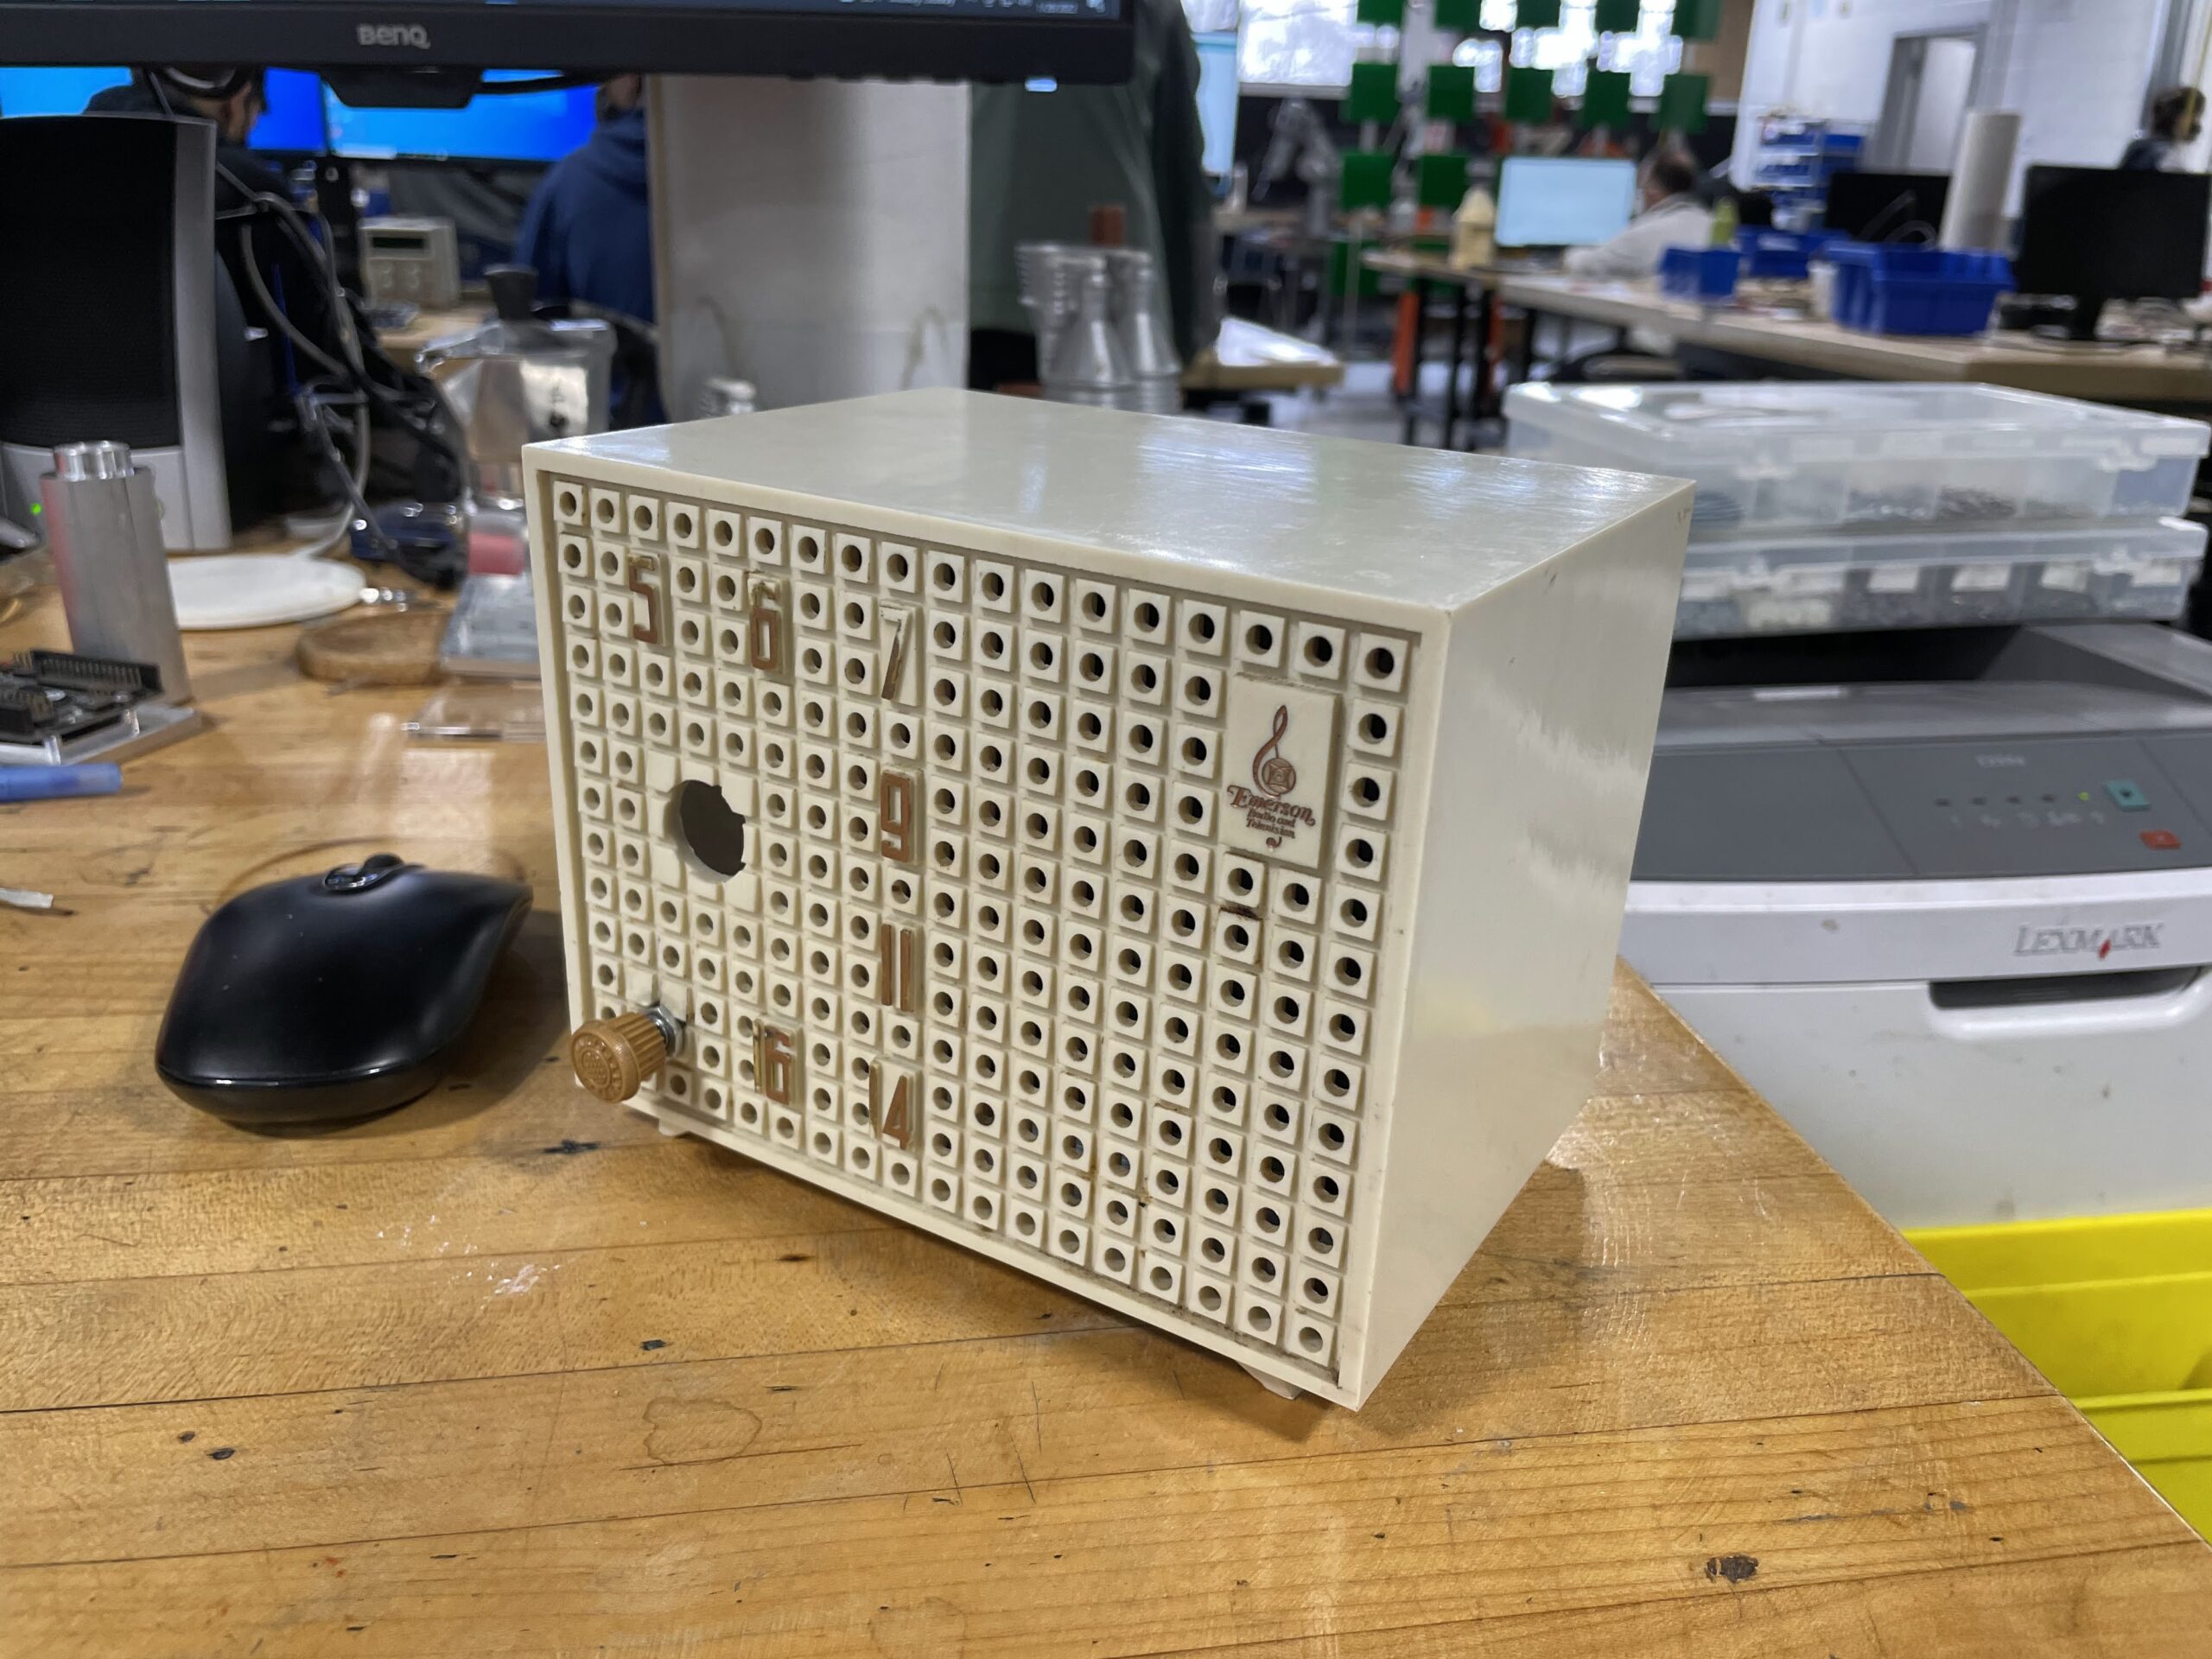
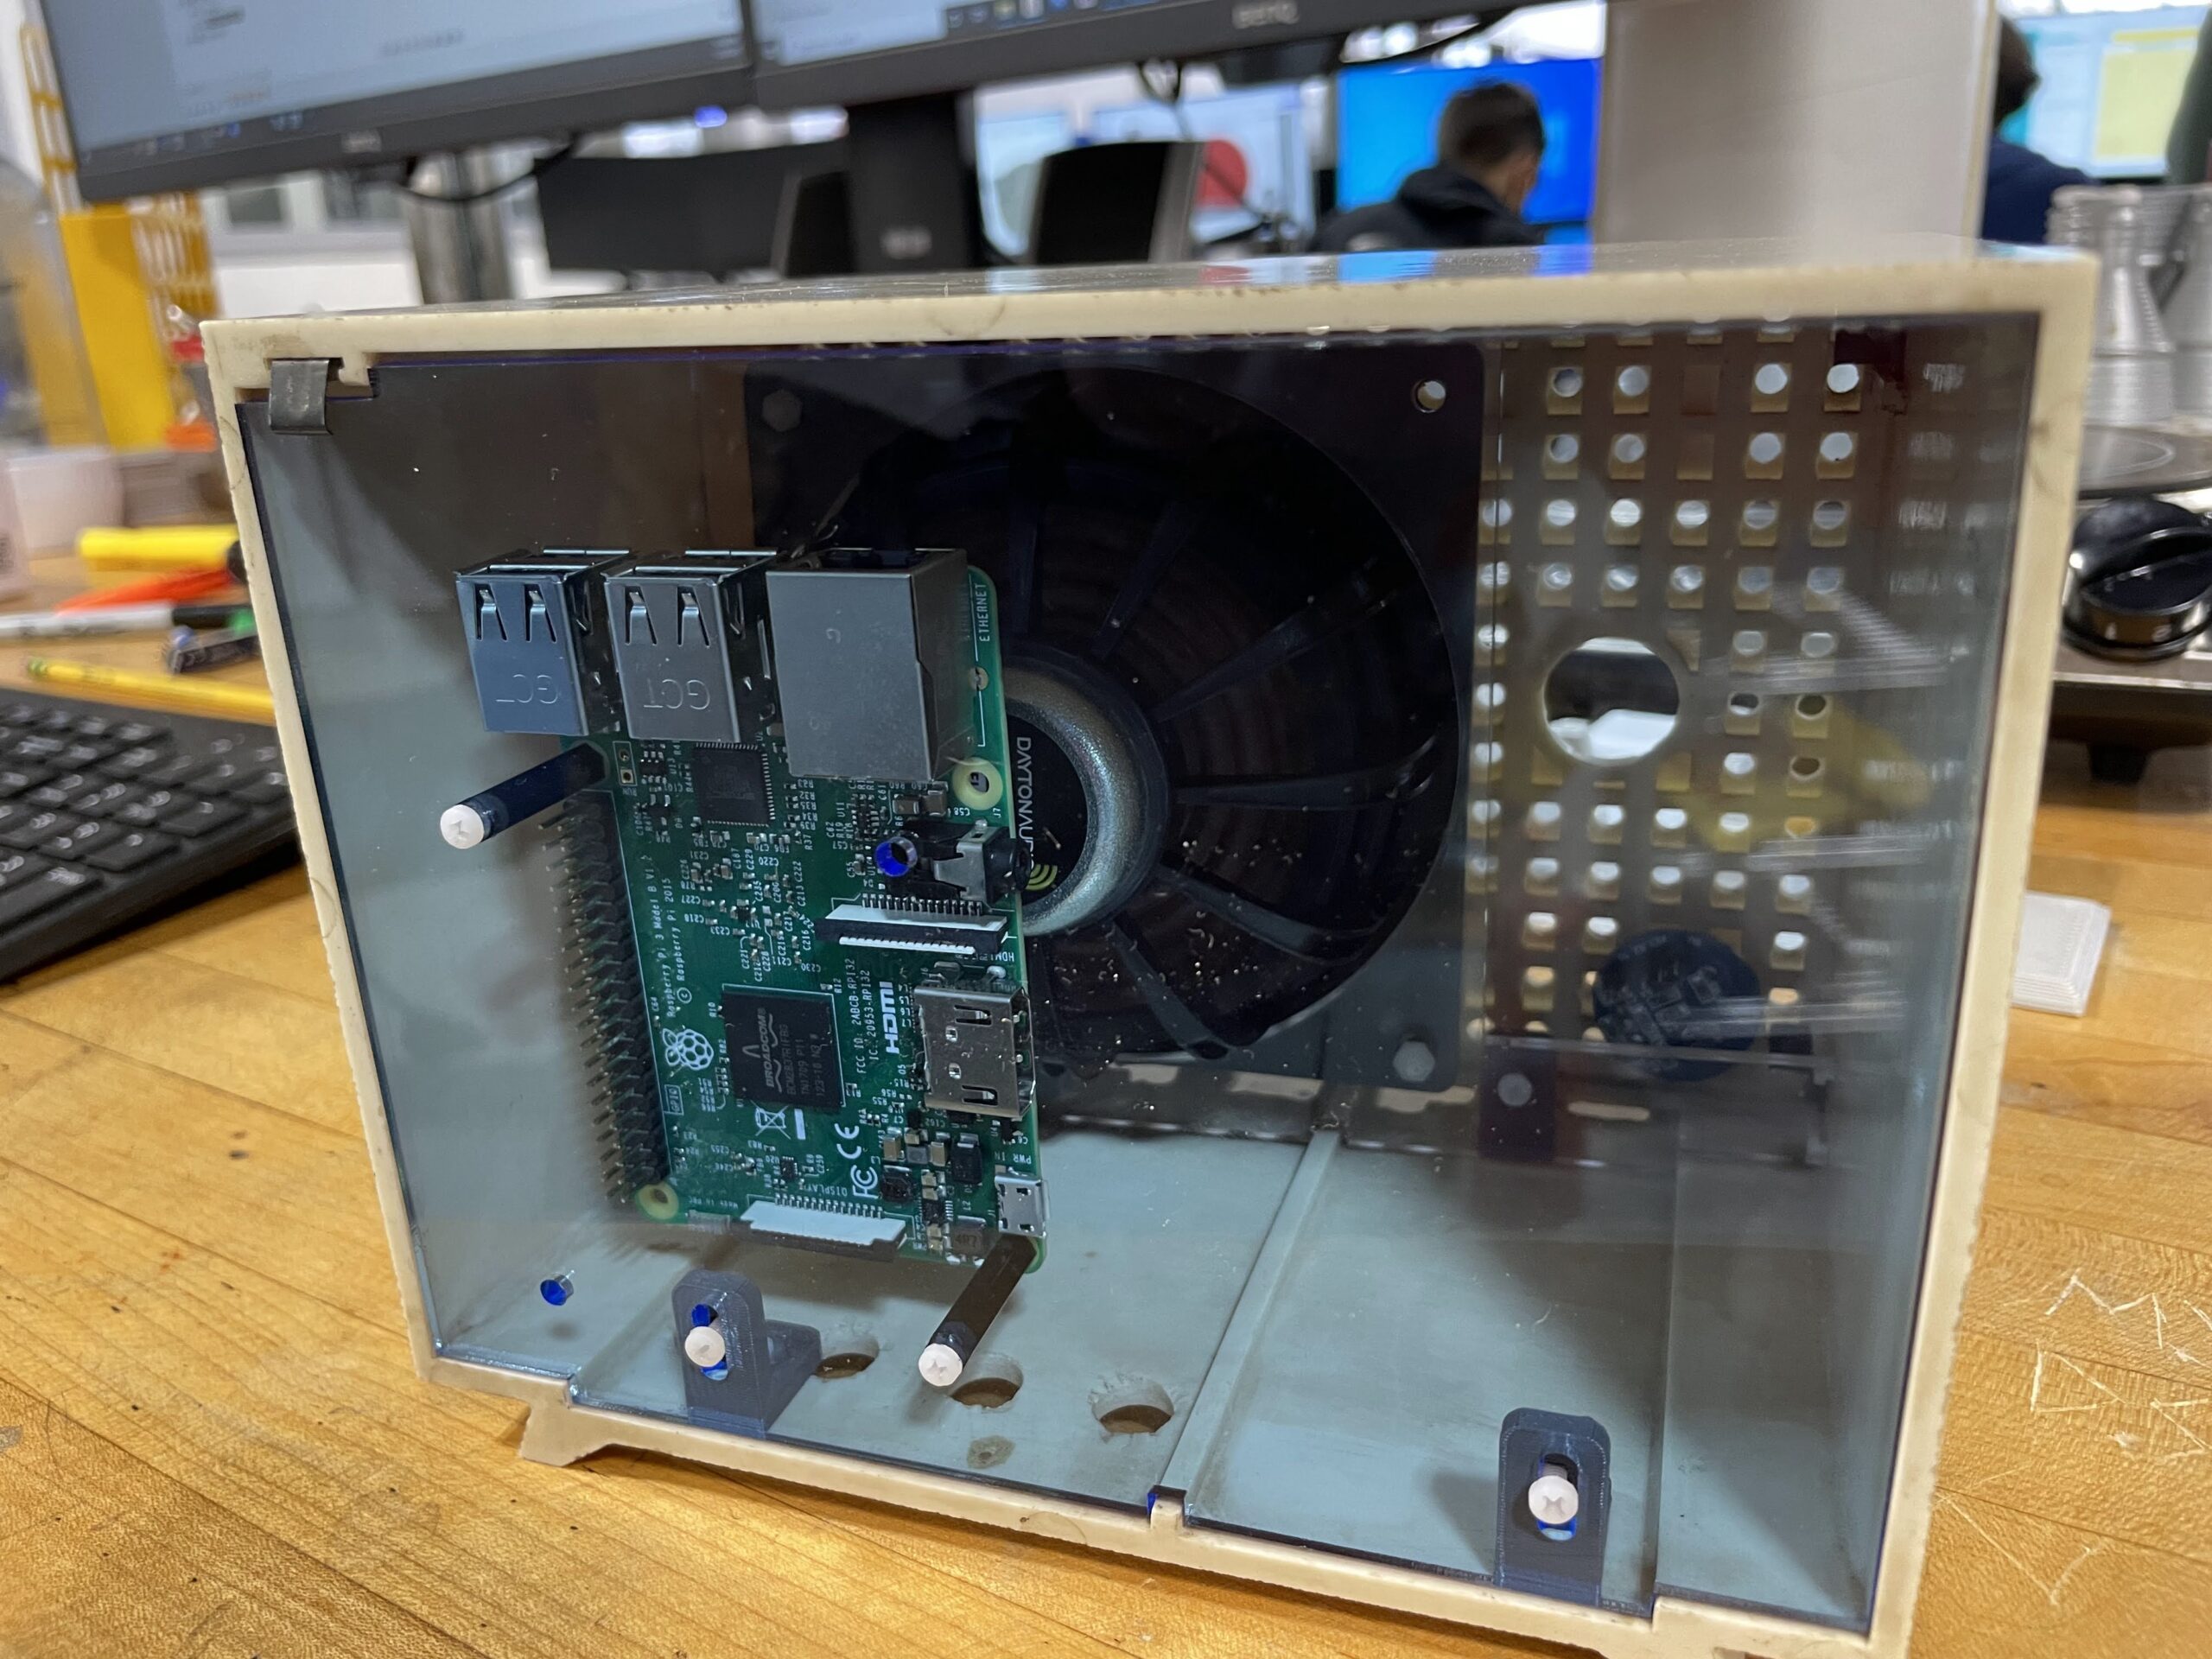
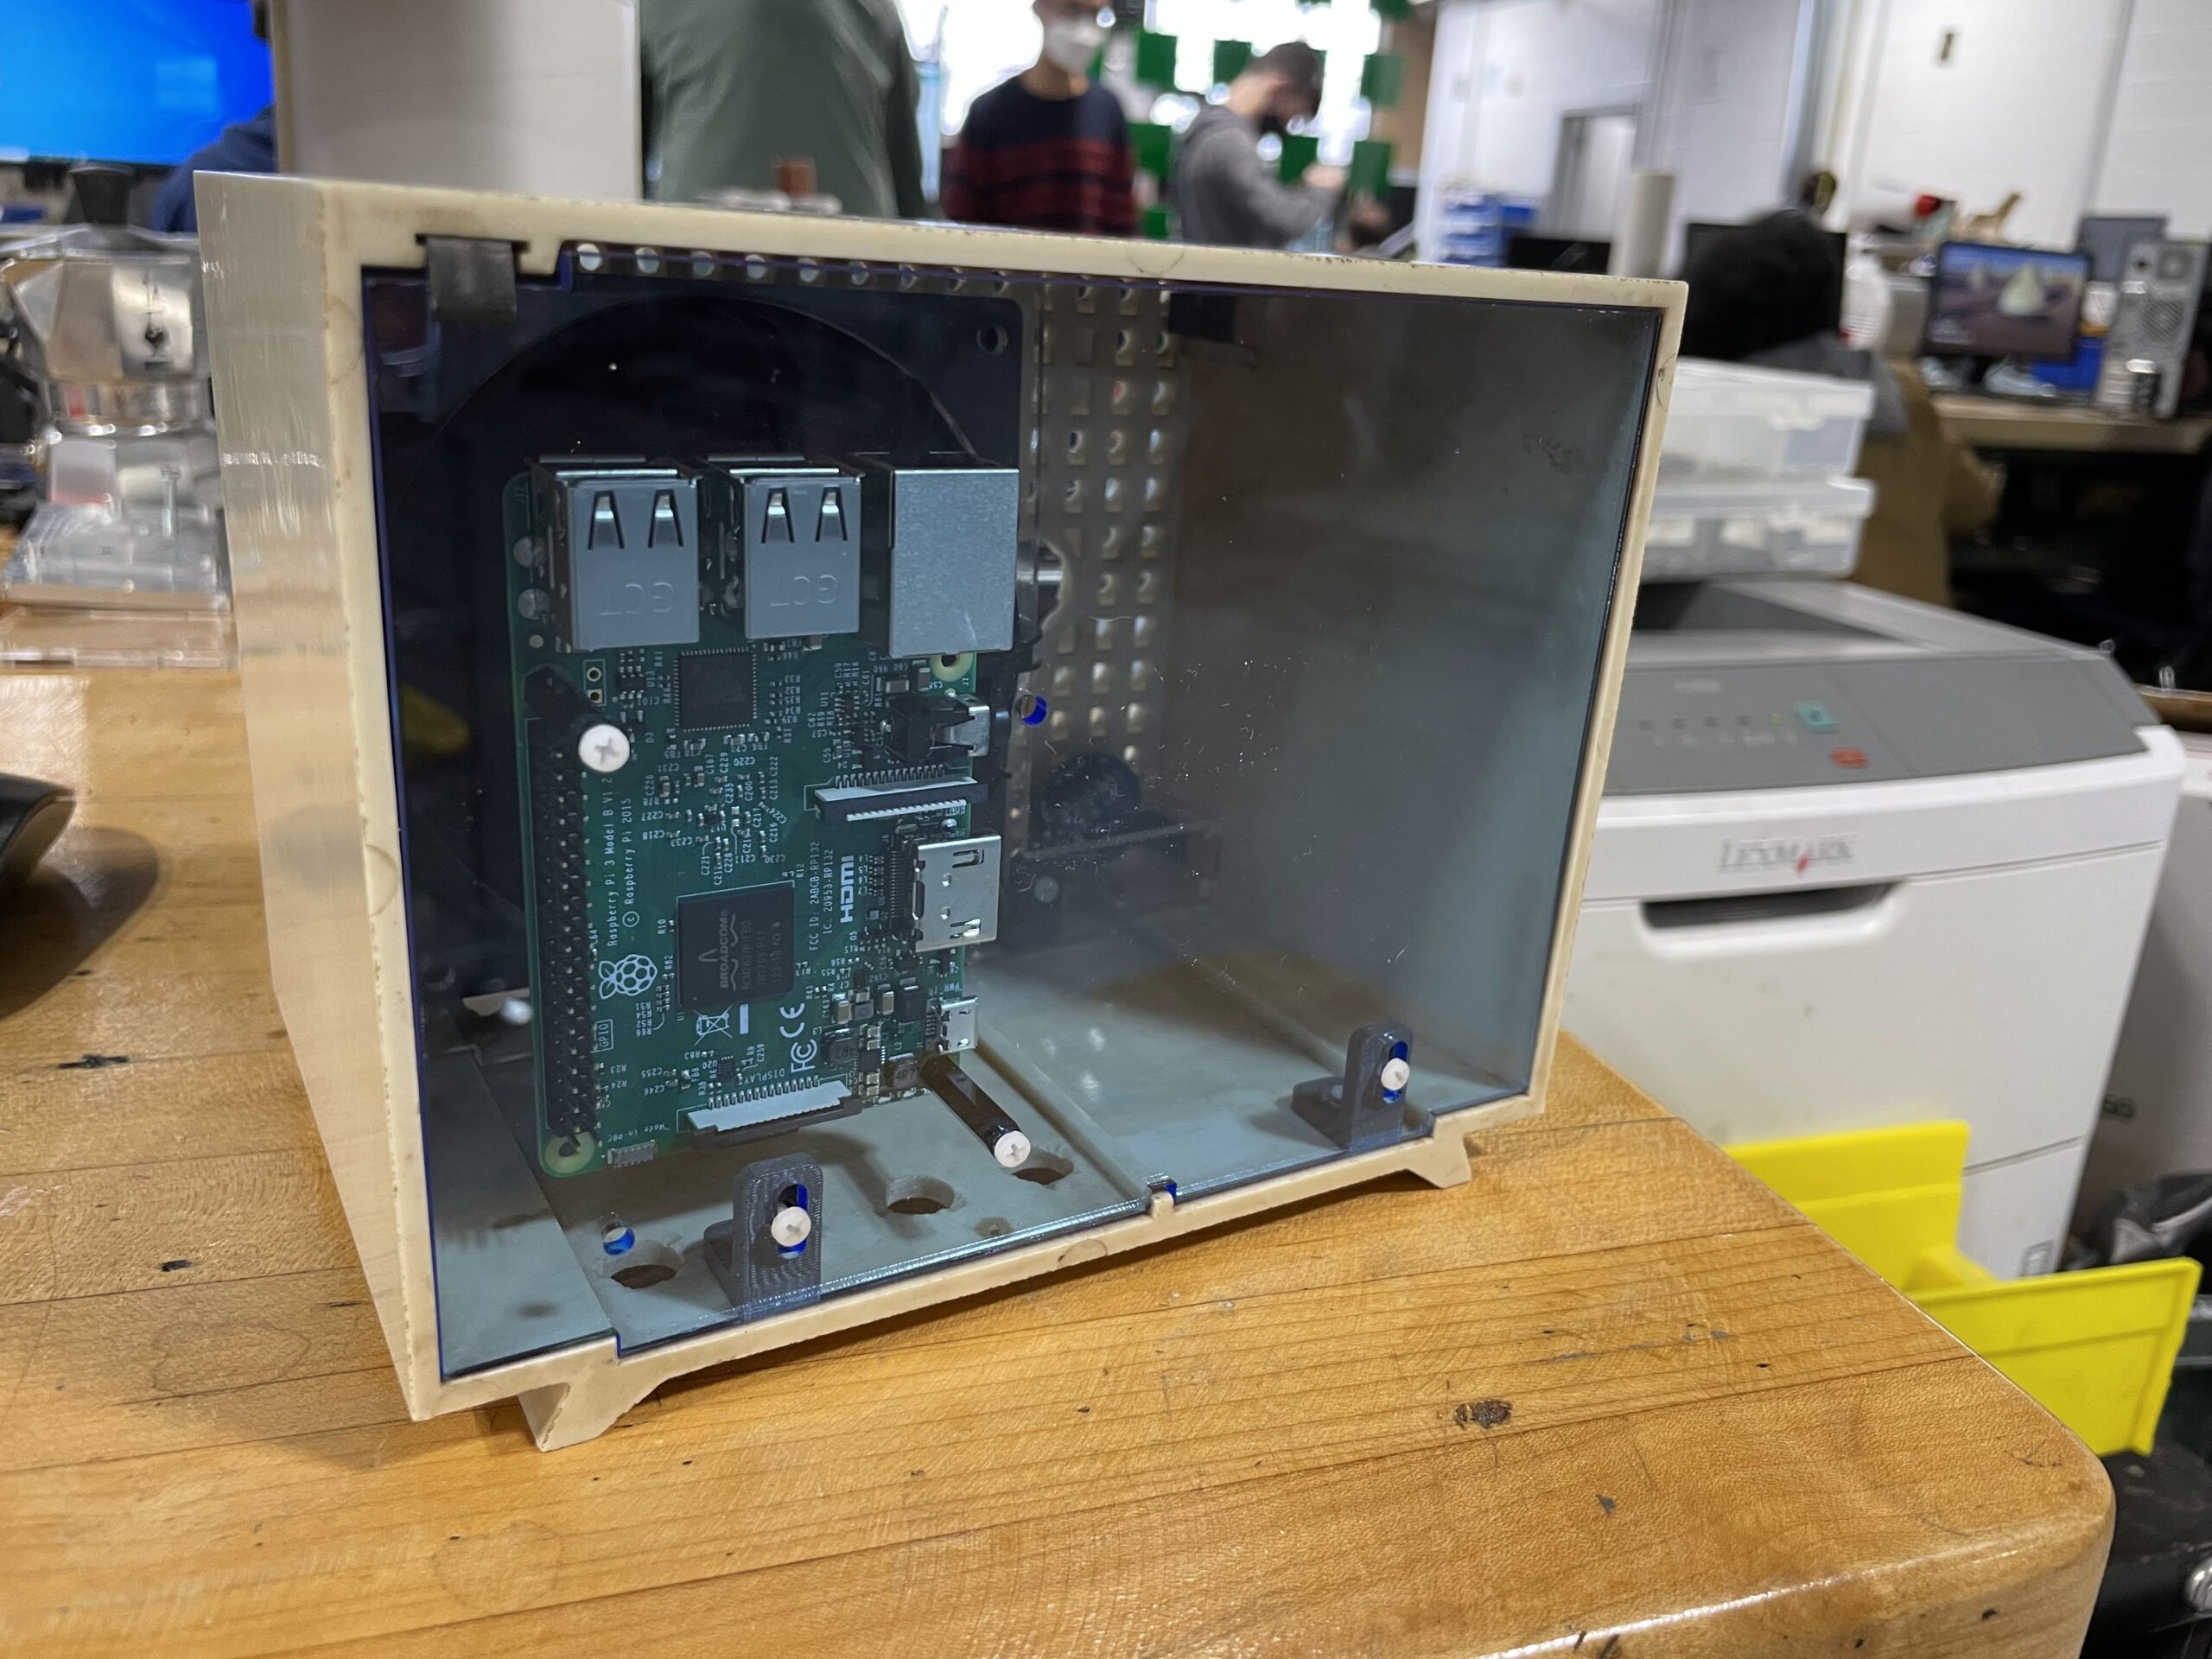
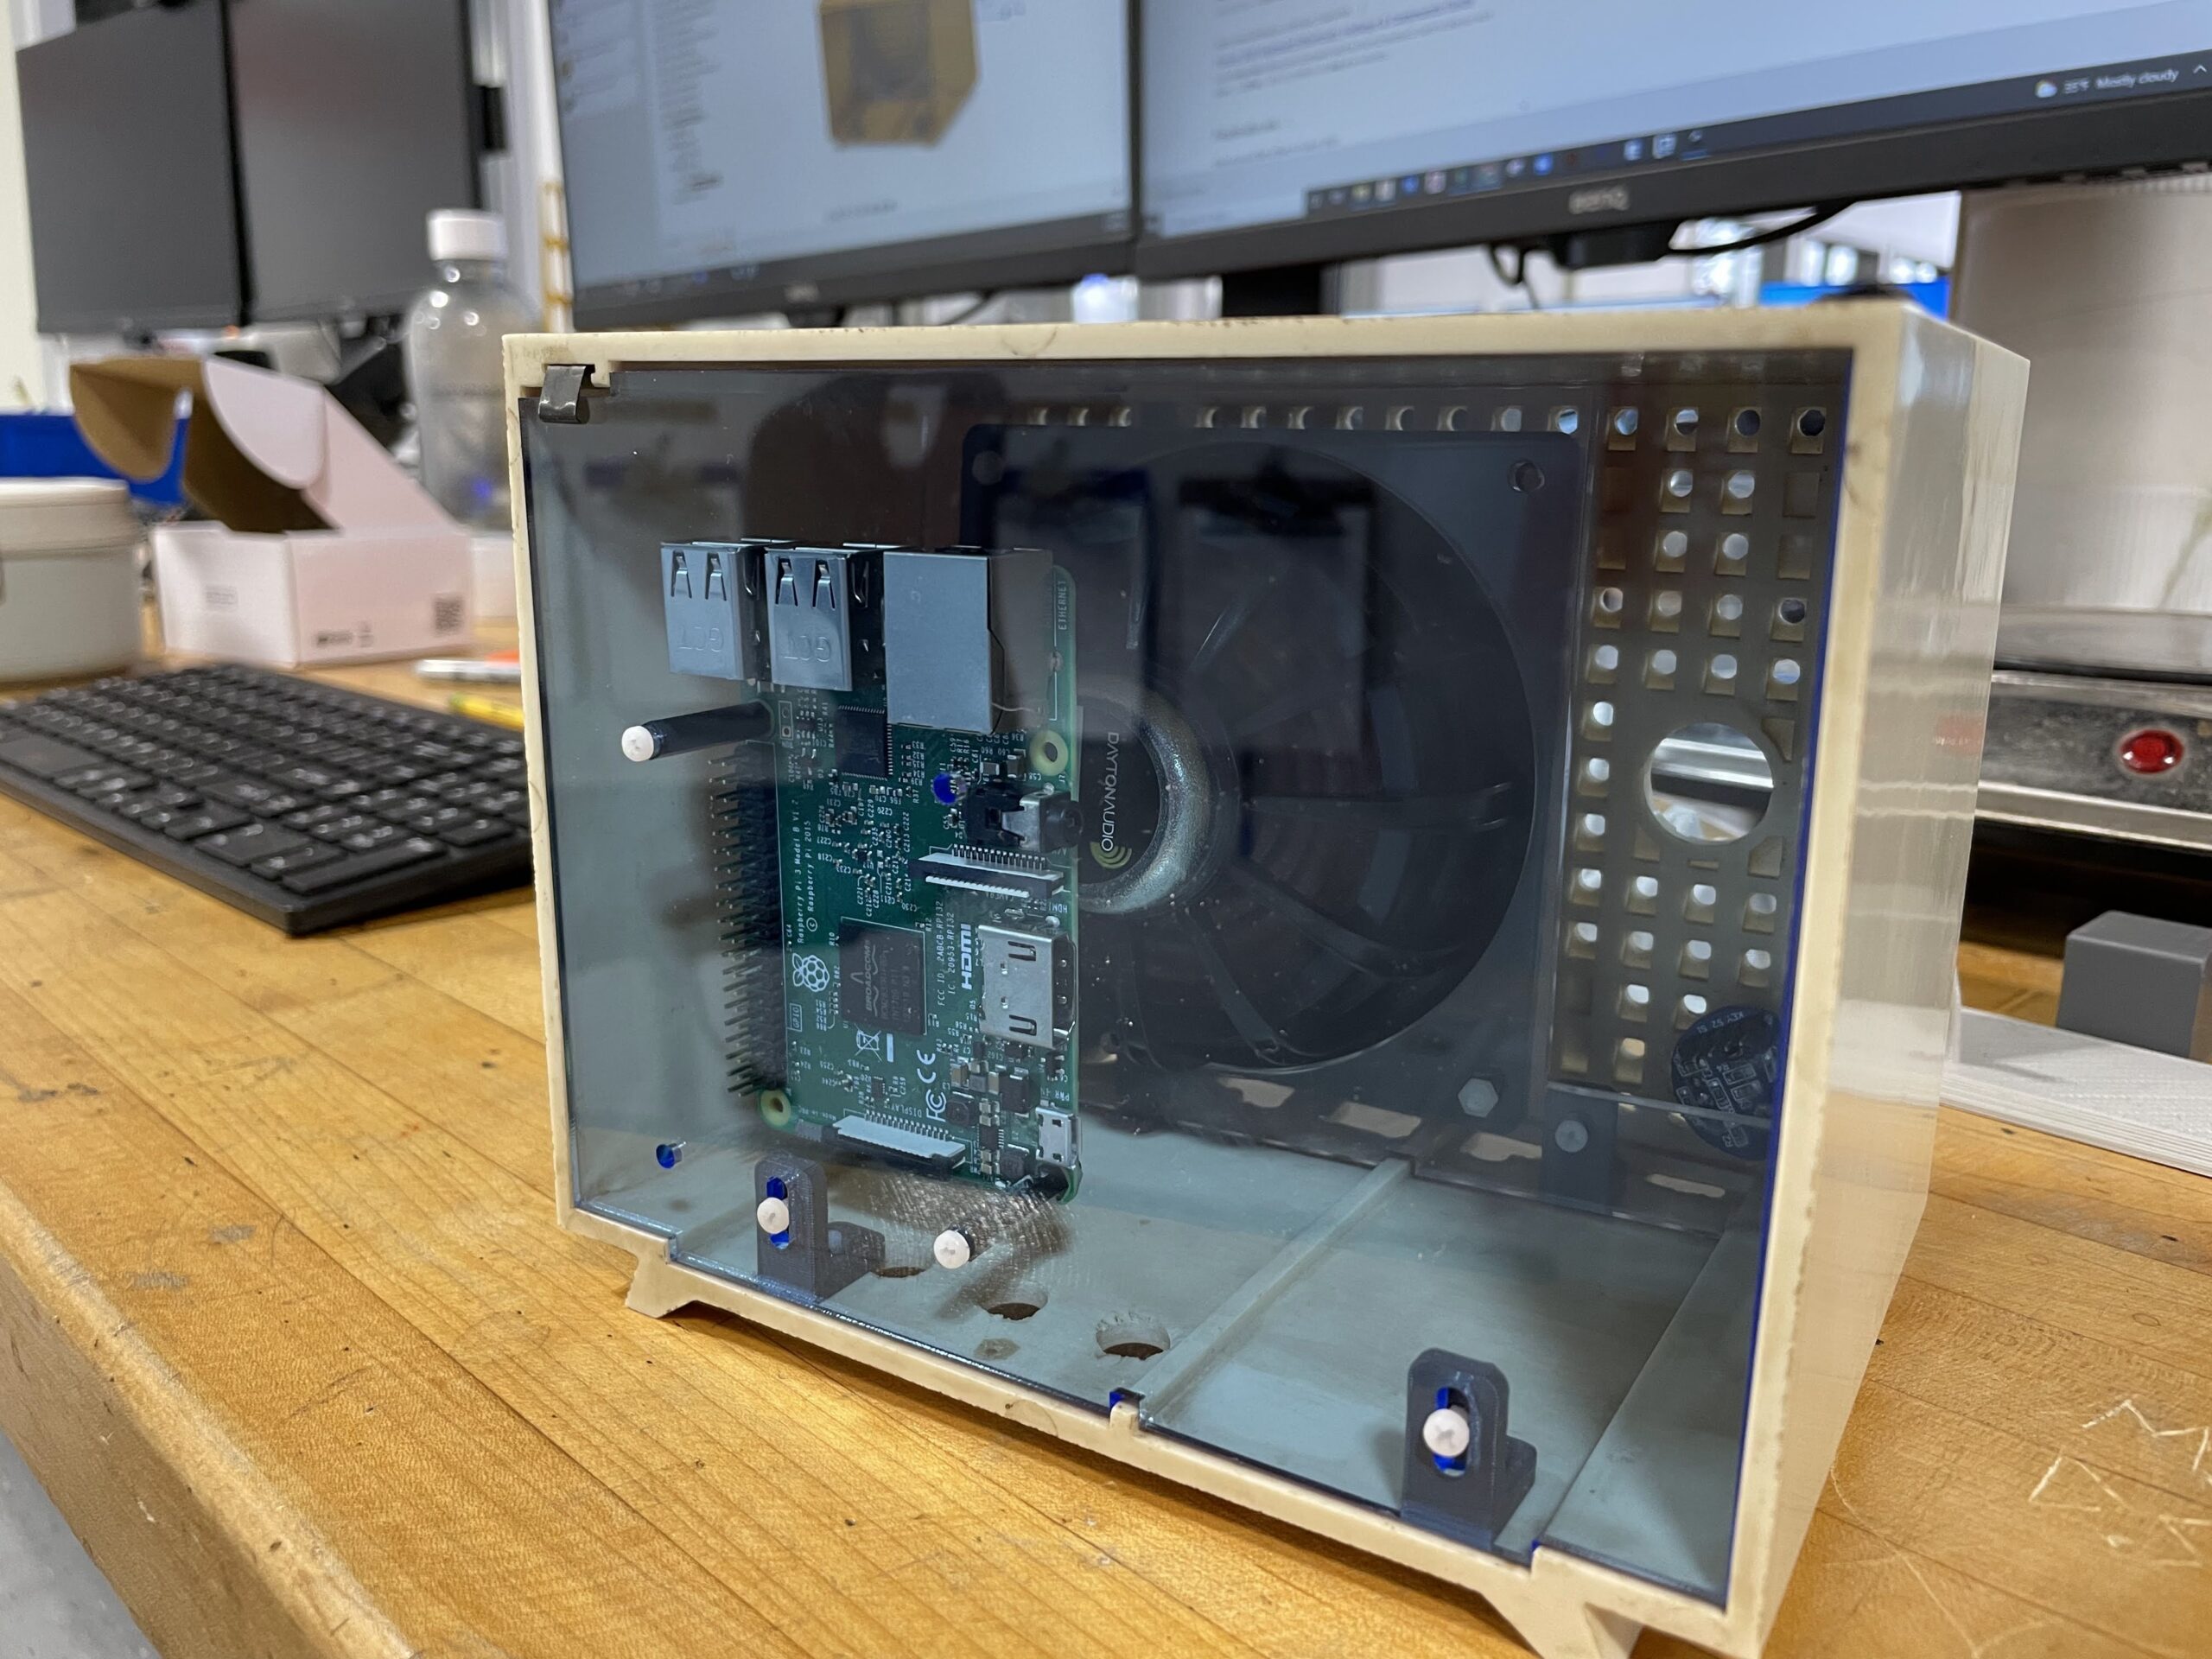
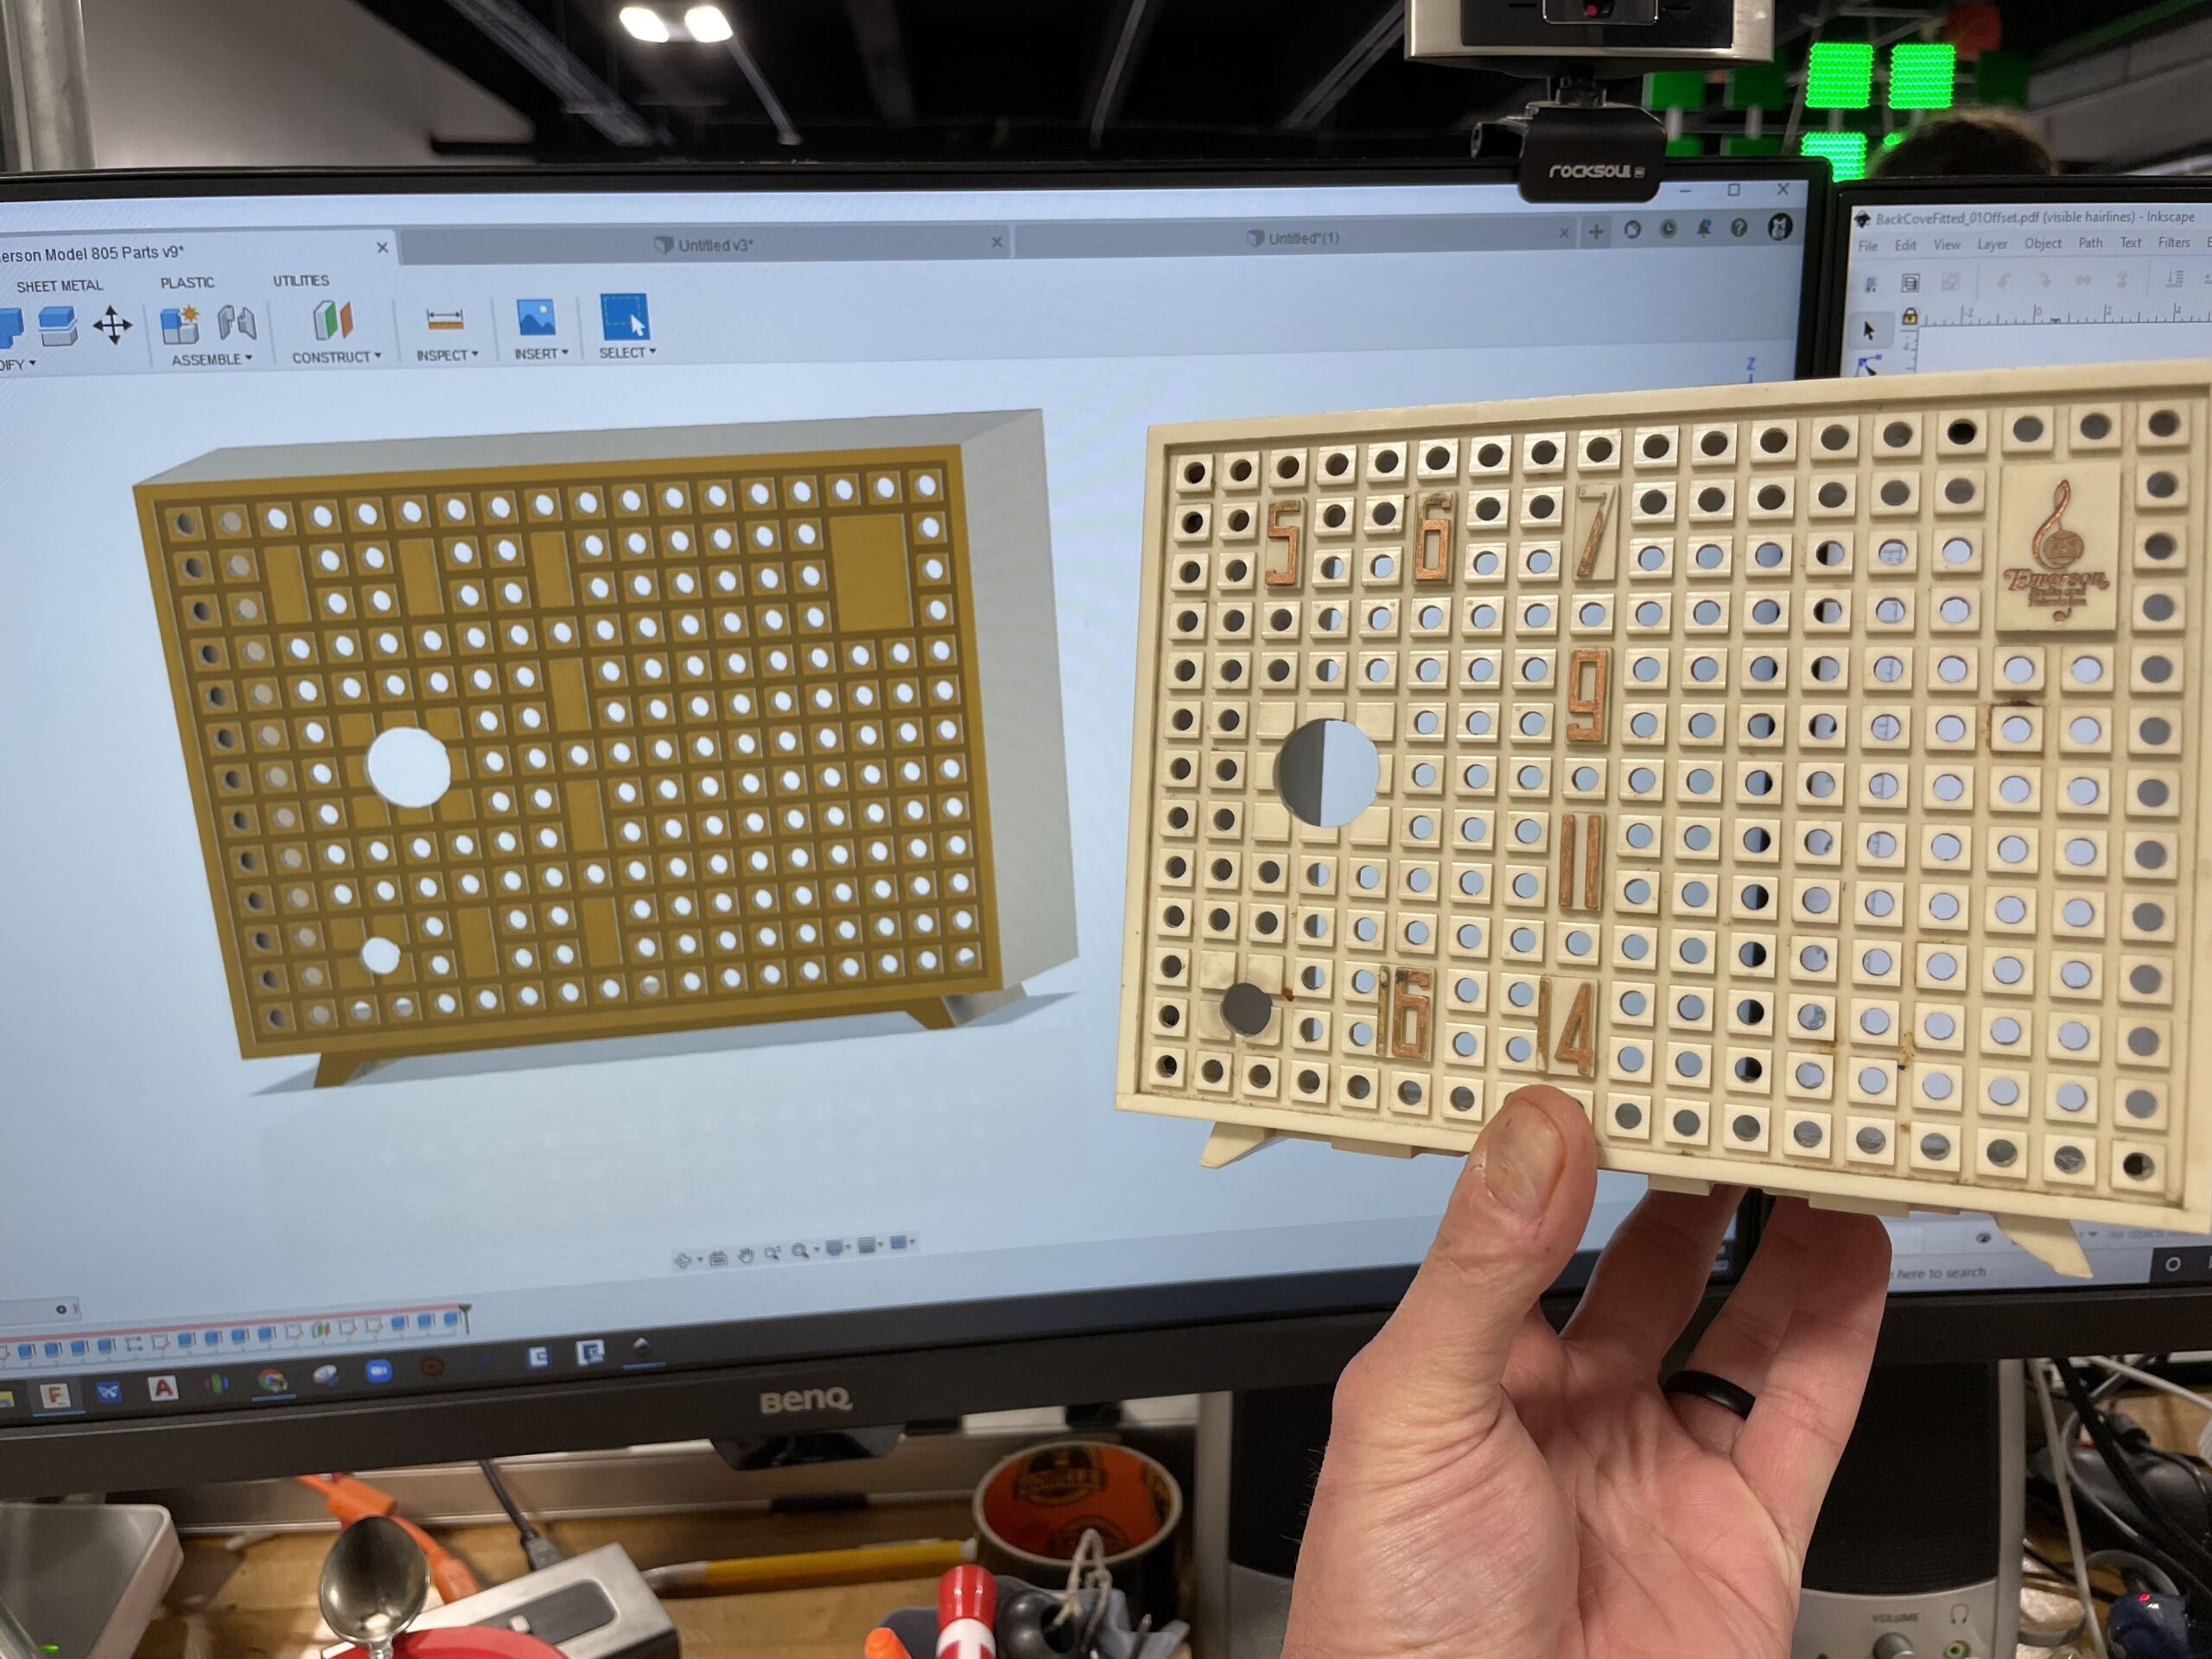
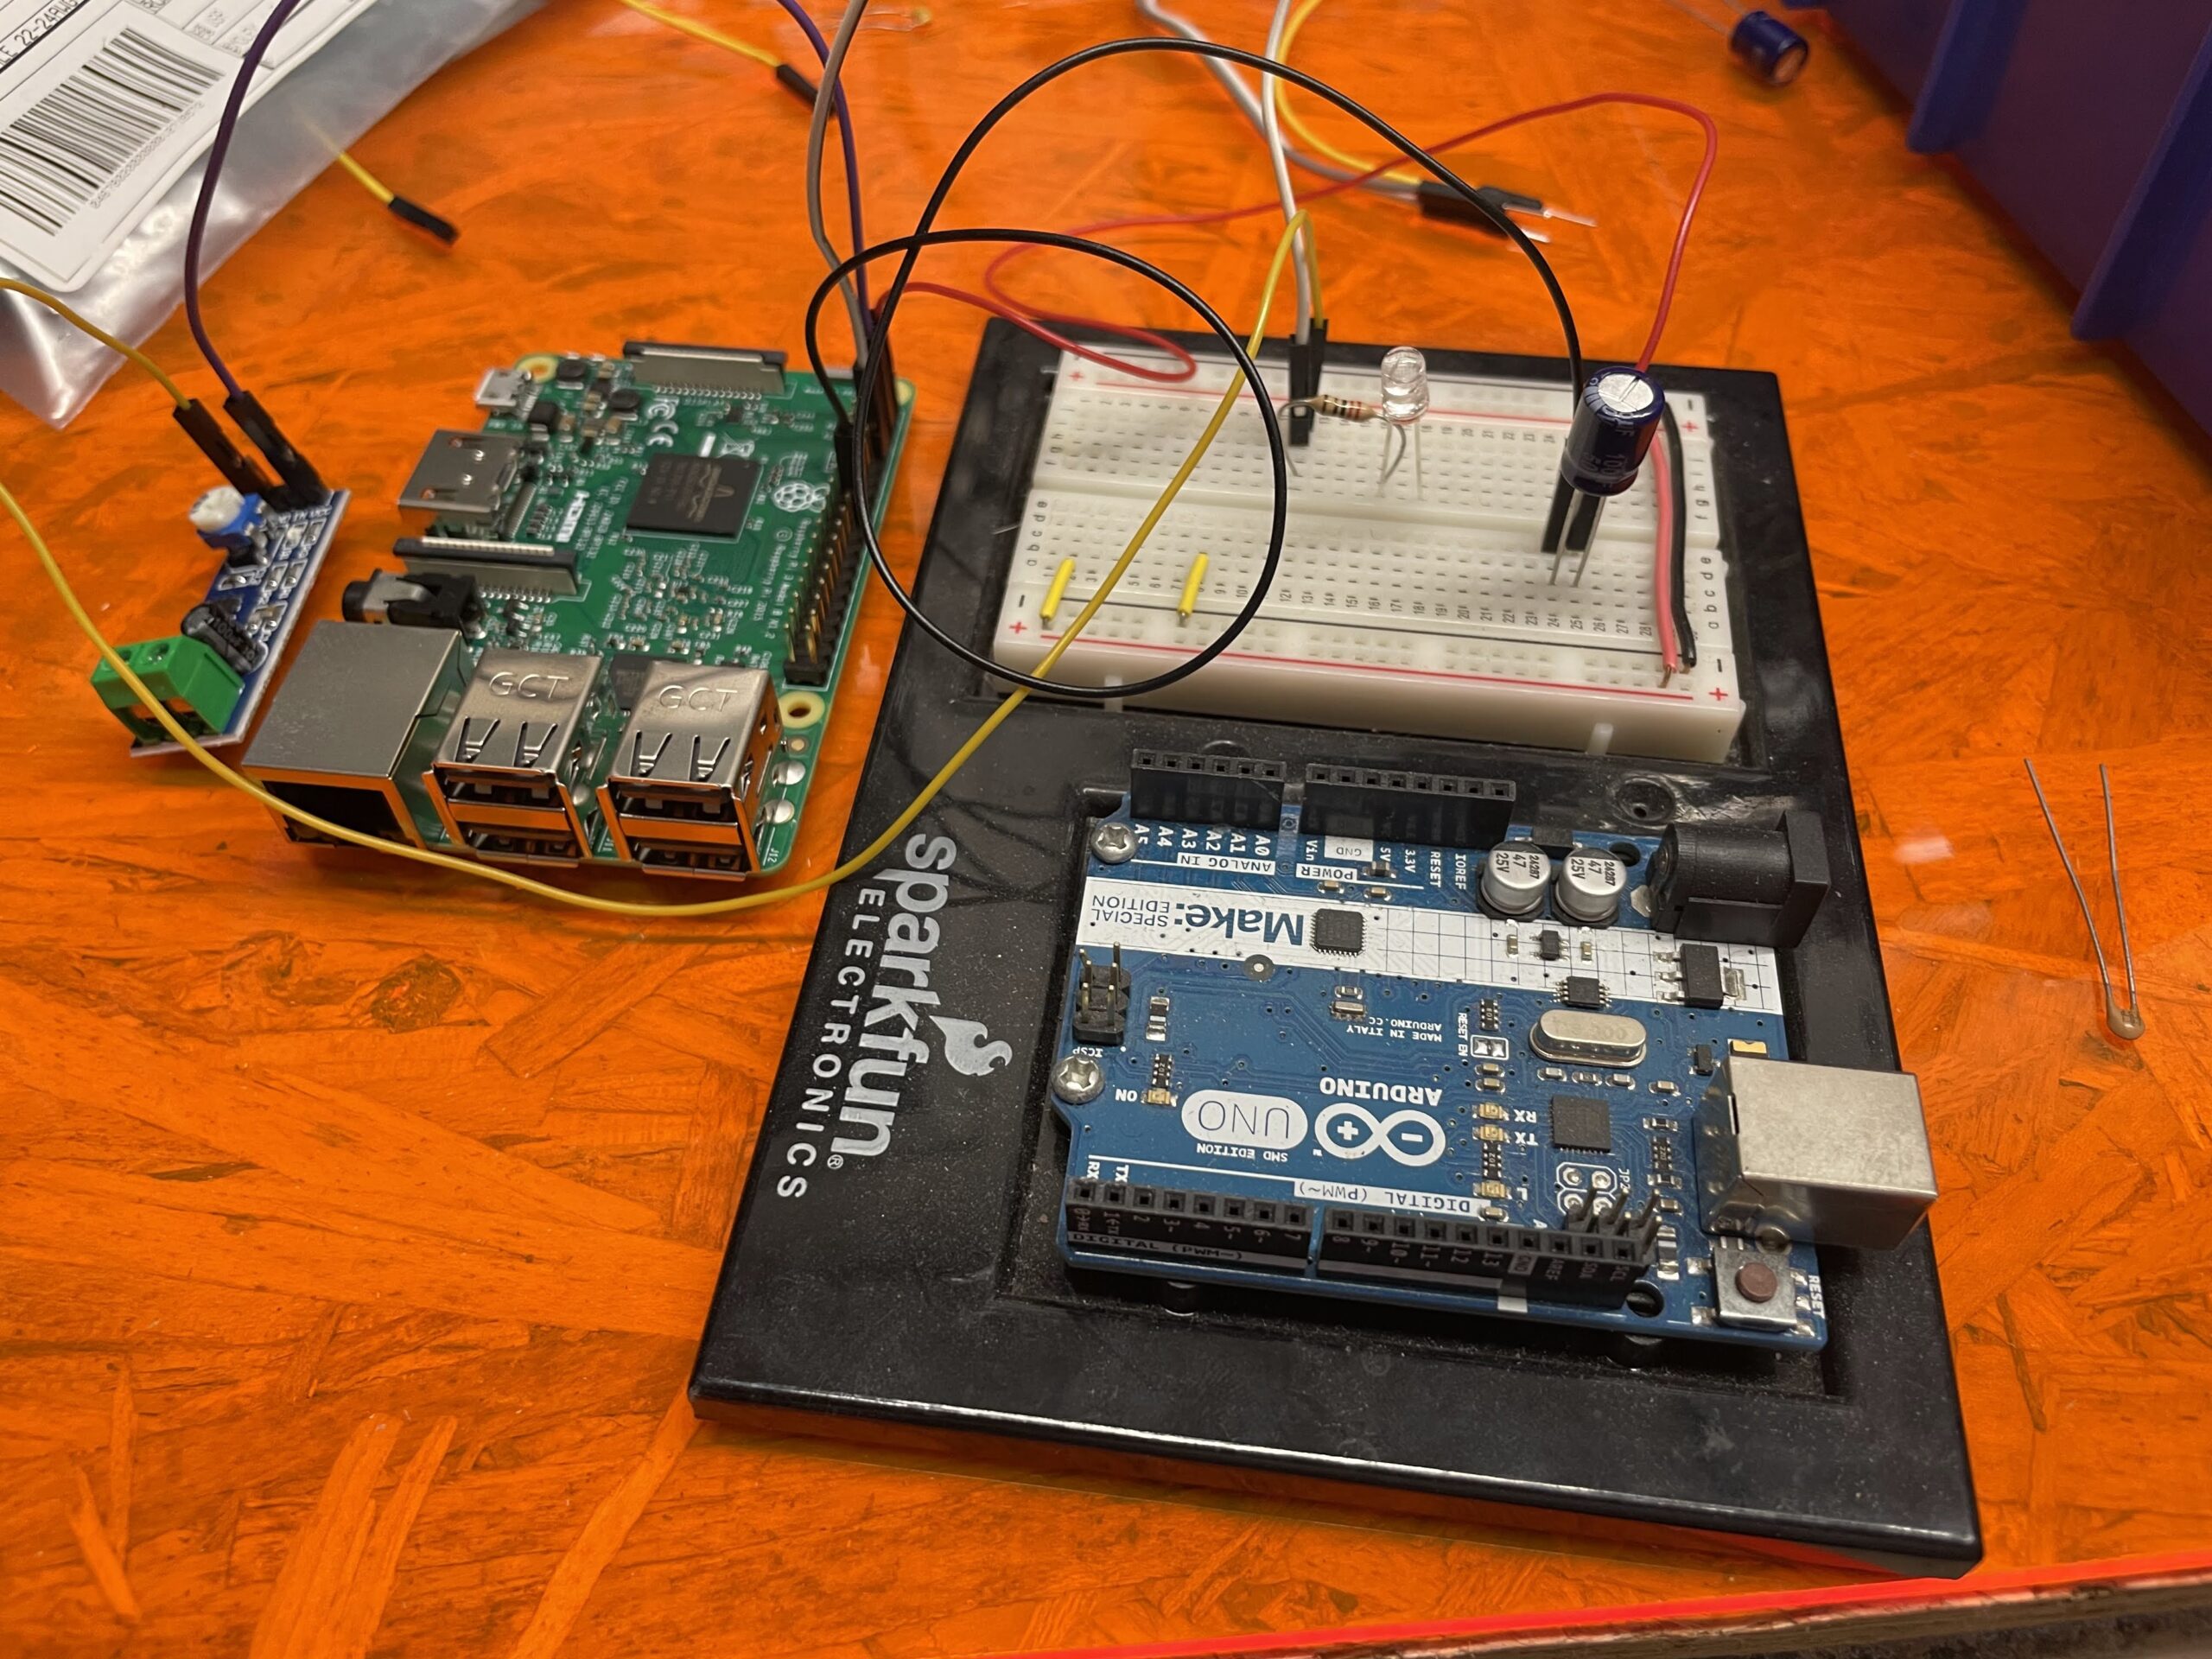
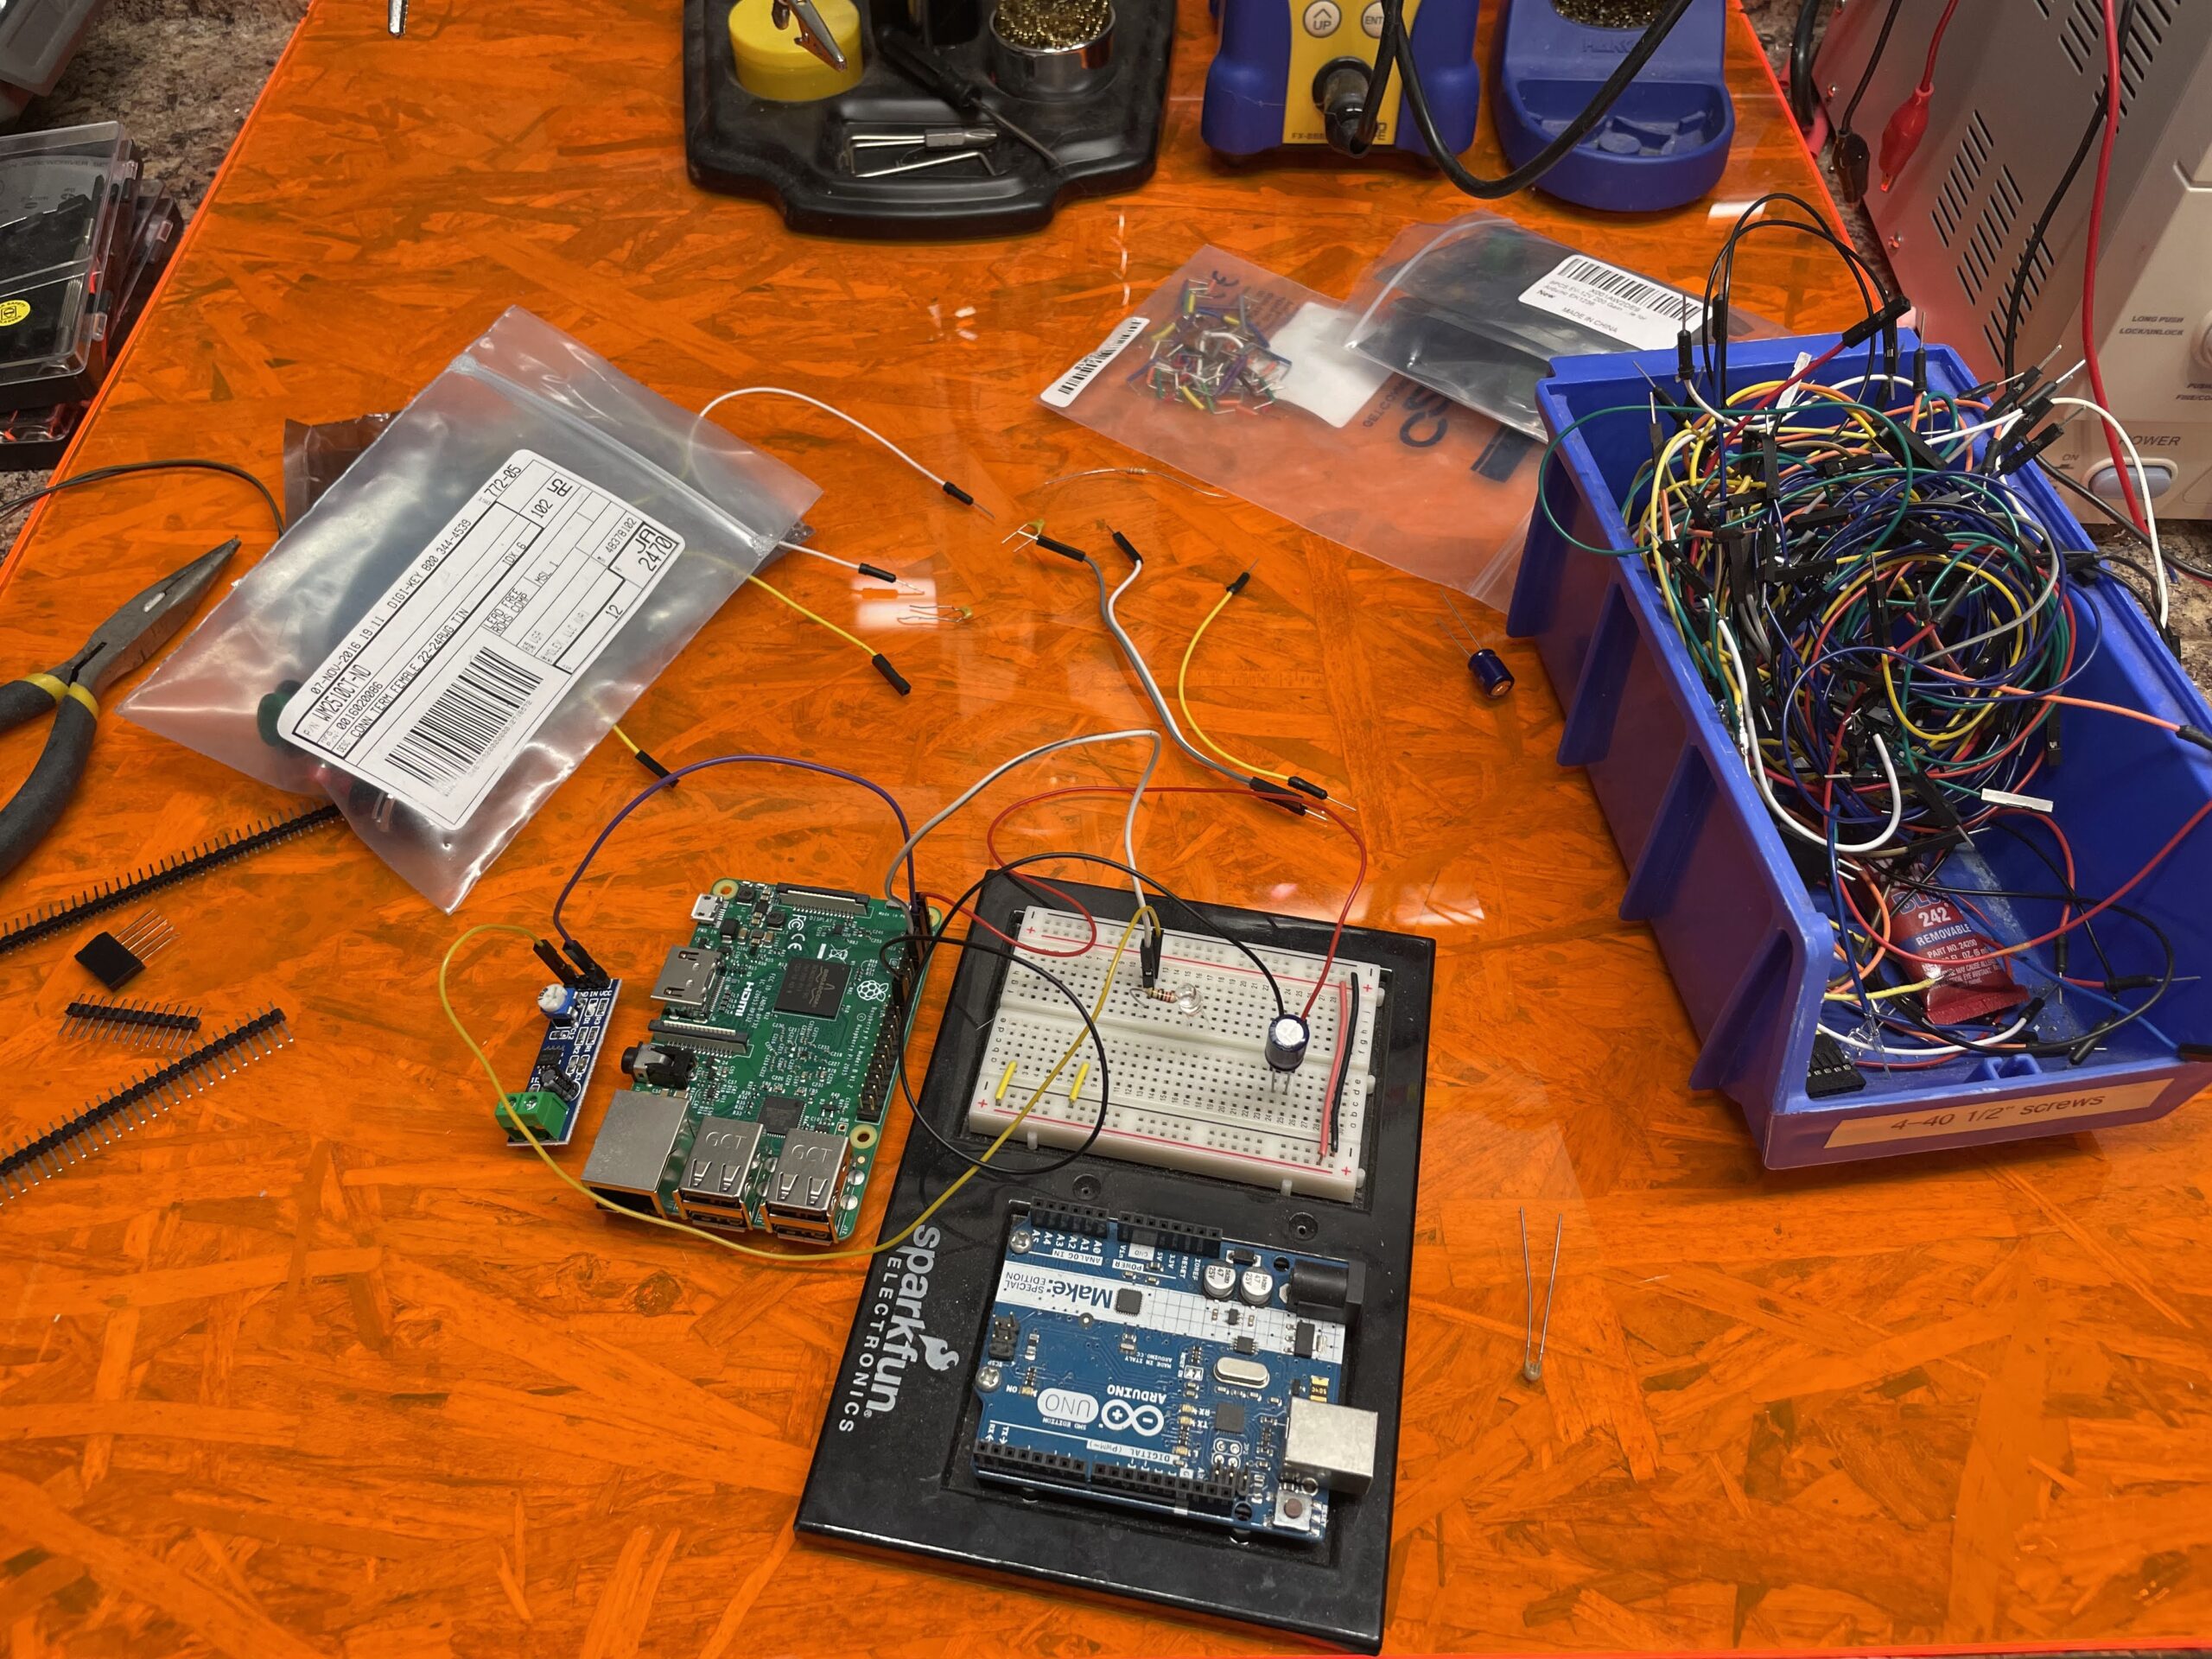
Just a quick update on the Pi Radio. I have been working on the internals and am close to having some nice acrylic mounting panels for the interior of the radio. Additionally, I have chosen a speaker to use, which will replace the old damaged speaker that was in the unit when it was purchased. The new speaker is a 4″ Dayton Audio DMA105 8 ohm, which is also being used by another student for a speaker project they are working on. Will post more on that project once it is further along. My radio needs a few more adjustments to the CAD model, and a couple of more test fits before we can wire it up and test my co-teacher’s coding with the Raspberry Pi. A few photos below showing the updated components inside the radio housing.

Pi Radio – It’s Alive

I had mentioned the Pi Radio project to my co-teacher and he was pretty enthusiastic about working on it. Since he is the coding expert, I decided to let him work out those specifics, while I work on the CAD aspects and building the project once the electronic portion is complete. Today he successfully coded the Raspberry Pi to tune to different internet radio stations using a rotary encoder, which will mimic using the tuner from the radio to ‘tune’ to different stations. Additionally, he has incorporated a second rotary encoder for volume control. Everything seems to be working now, but still some work finalizing the code and electronics.

For my part, I’ve started putting the entire radio into CAD in order to make all the new interior components to hold the new electronics. I’ve finally finished recreating the outer housing, and took a quick photo to show how well it came out. Looks just like the real thing. Next, I need to create some new components for lasercutting and 3D printing.

Pi Radio Hardware

Today I spent some time setting up the hardware for the Pi Radio. Unfortunately, I was unable to do a complete test because I did not have a speaker. Usually, I’ll have a few small speakers in my office for testing purposes, but I must have taken them to school for some reason. I will take the components to school tomorrow and try testing them there. Will hopefully have an update tomorrow. Below are some images of the hardware setup, the Arduino is not being used, just using the breadboard. Also, a photo of my safety officer.

Pi Radio Continued

Today I began setting up the Raspberry Pi for the internet radio project. I do not know too much about coding, and the instructions from the Instructables website did not always make sense to me. Additionally, the tutorial is from 2017, so some of the information is outdated. For one, the settings options on the pi are slightly different than in the tutorial, but I was able to figure out how to get what I needed.

Additionally, the tutorial asks to upload a specific media player to the pi, yet the when I attempted to do that via SSH, it said it could not find the media player. I was able to upload a different media player, but not sure if it will work. I was also able to upload the python file, which downloaded as html, and I needed to download a python editor in order to save the file. Perhaps there is another way to do this, I just could not figure it out.

I believe that is all that I need on the software side, now I will be adding all the hardware and test it out. Once the hardware is working I will go into the software again and change the radio stations to one I want. Here you can see me using Terminal to talk to my Raspberry Pi.

Internet Radio

A while ago my wife surprised me with an old fashioned radio. It’s an Emerson 805 Series B model which was available in the 1950s. The radio does not work anymore, although all its guts were still intact, tubes and all. I decided to turn the radio into a working internet radio, and hoping to keep functionality of the tuning dial and power switch. 

So far, all I’ve managed to do is take the radio apart. A lot of interesting components inside, but for my purposes I will only keep the plastic enclosure and tuning and power knobs. The back needs to be recreated, which I will do with the laser cutter, as well as inner speaker lining. Not sure what I will use for that, but it can be attached to a lasercut support structure. 

For the electronics, I will initially be following a guide from Instructables – this one I found from _Marcel_ which looks very close to what I’d like to accomplish. In addition to new electronics, I’m also going to clean and repaint the enclosure and knobs, unsure of the color scheme right now, but I will want to keep a retro look to the radio. All for now, a few photos of the radio below.