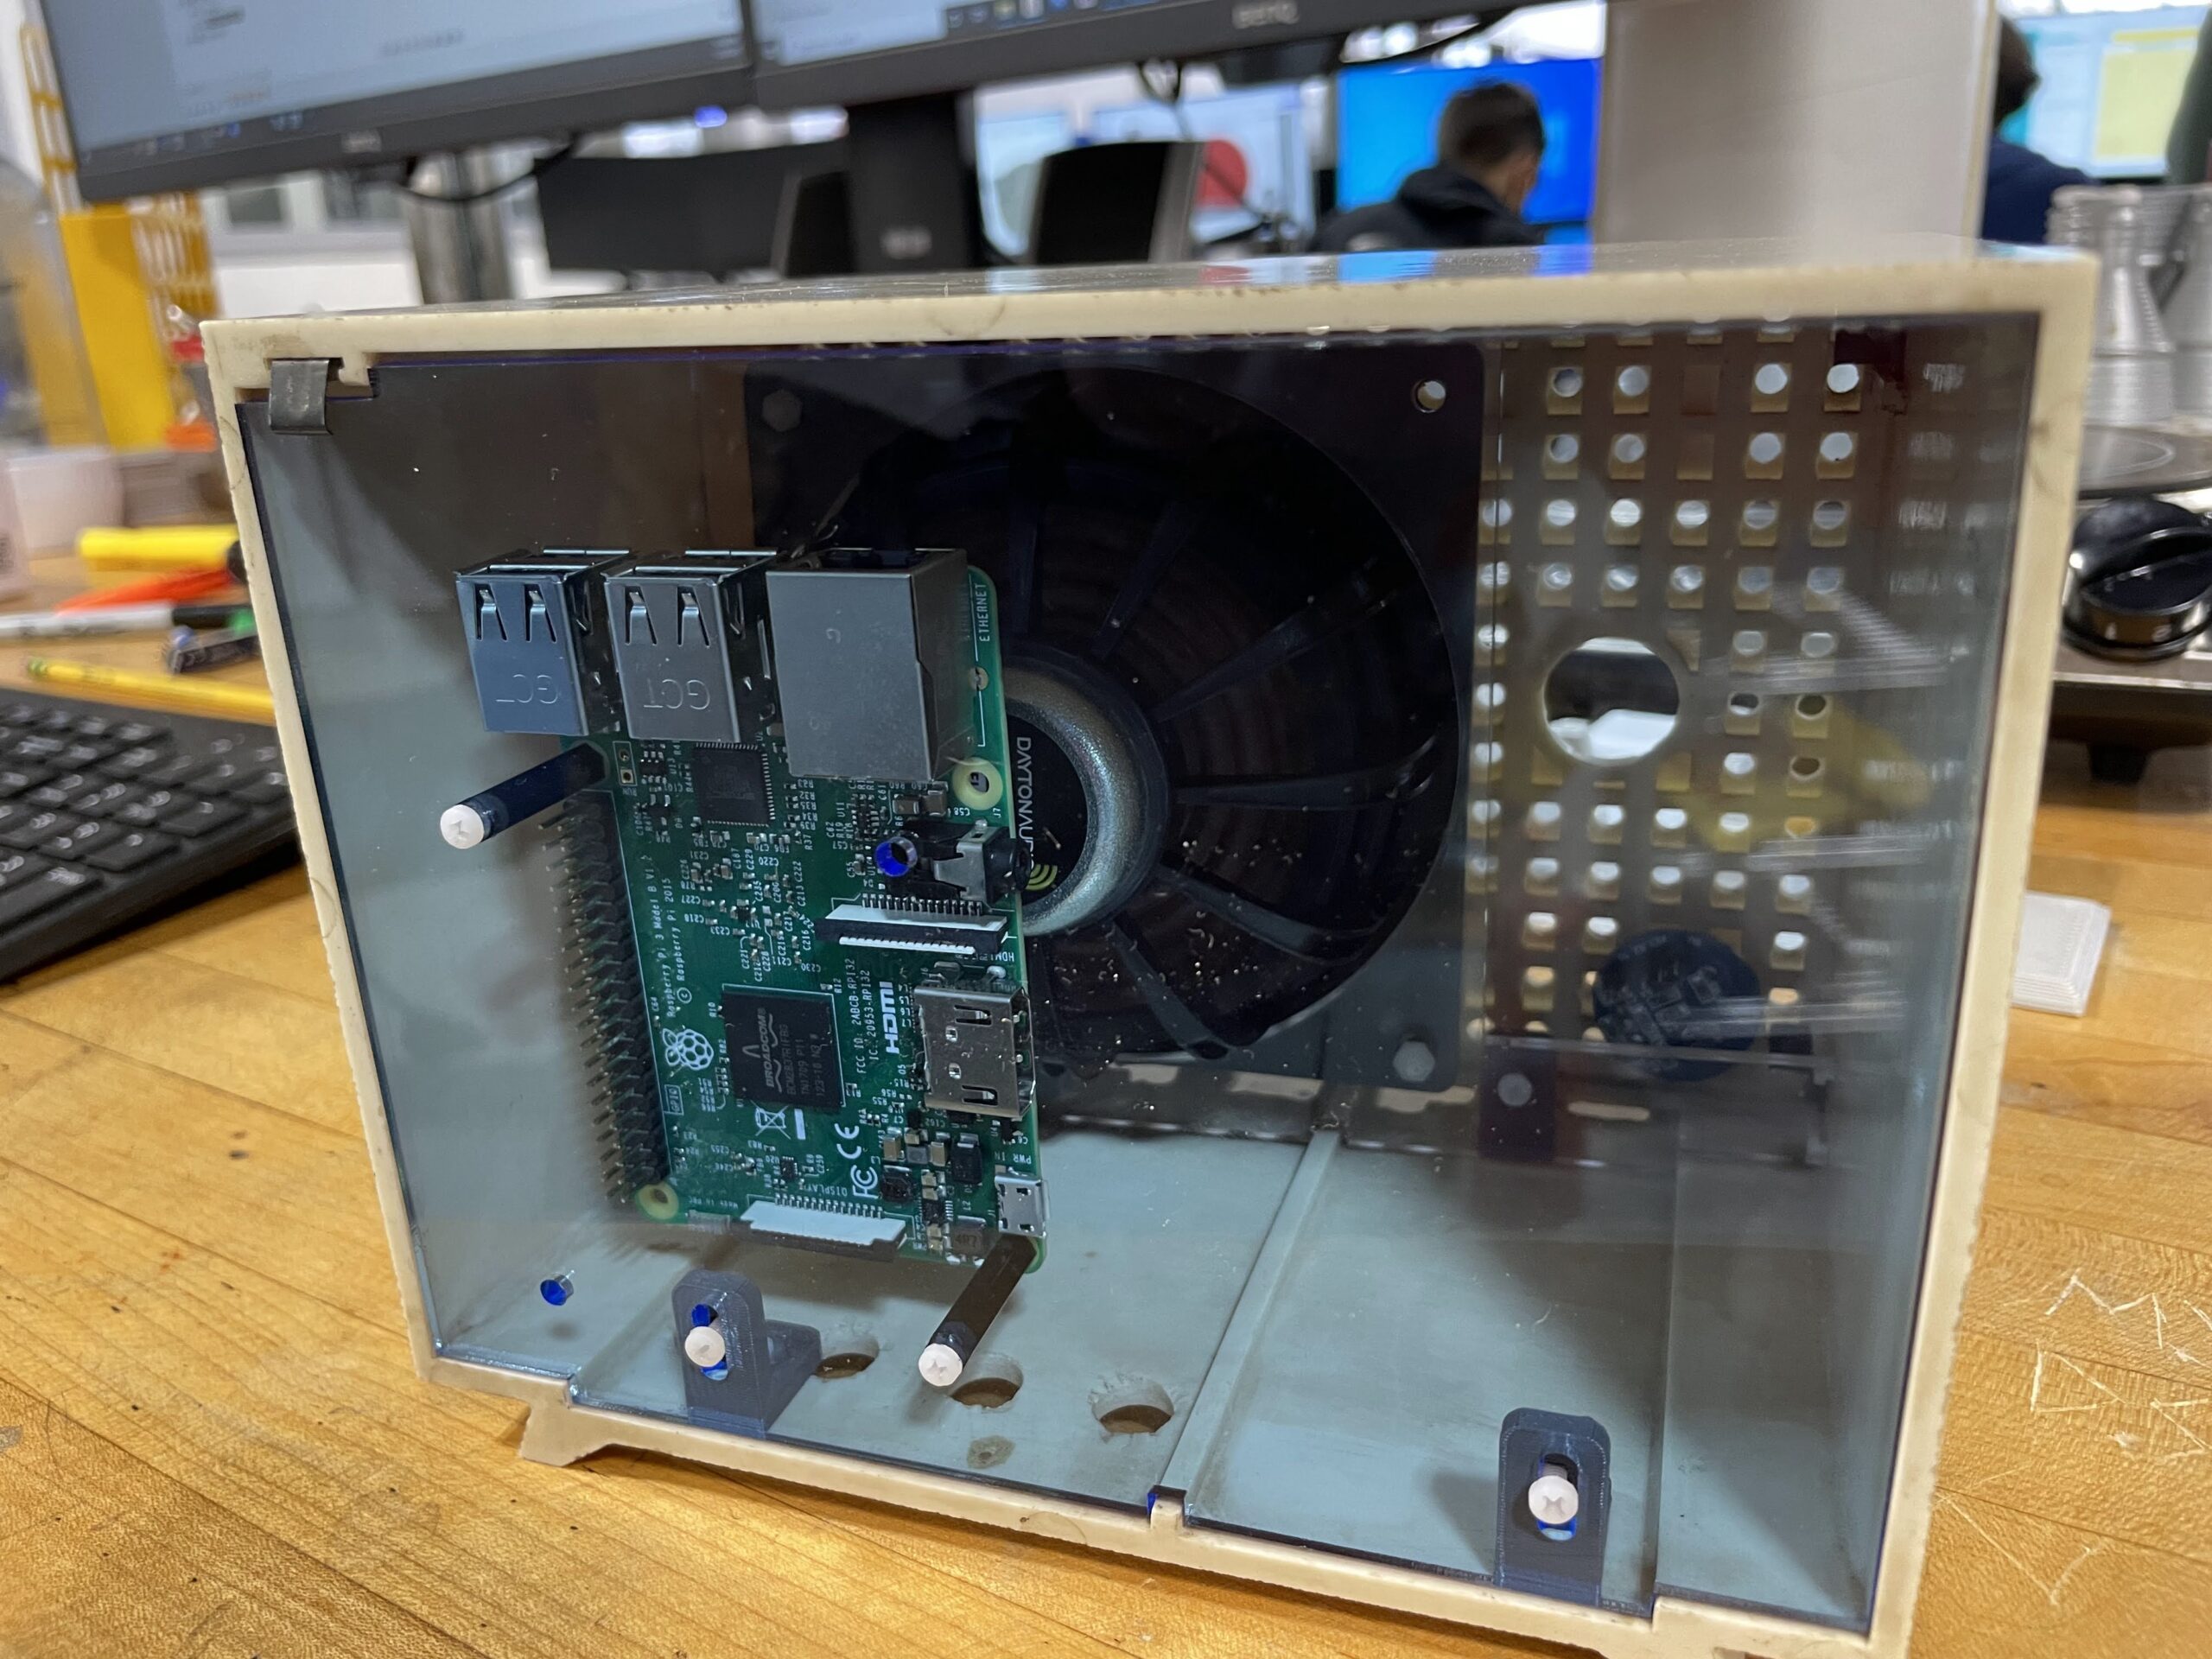
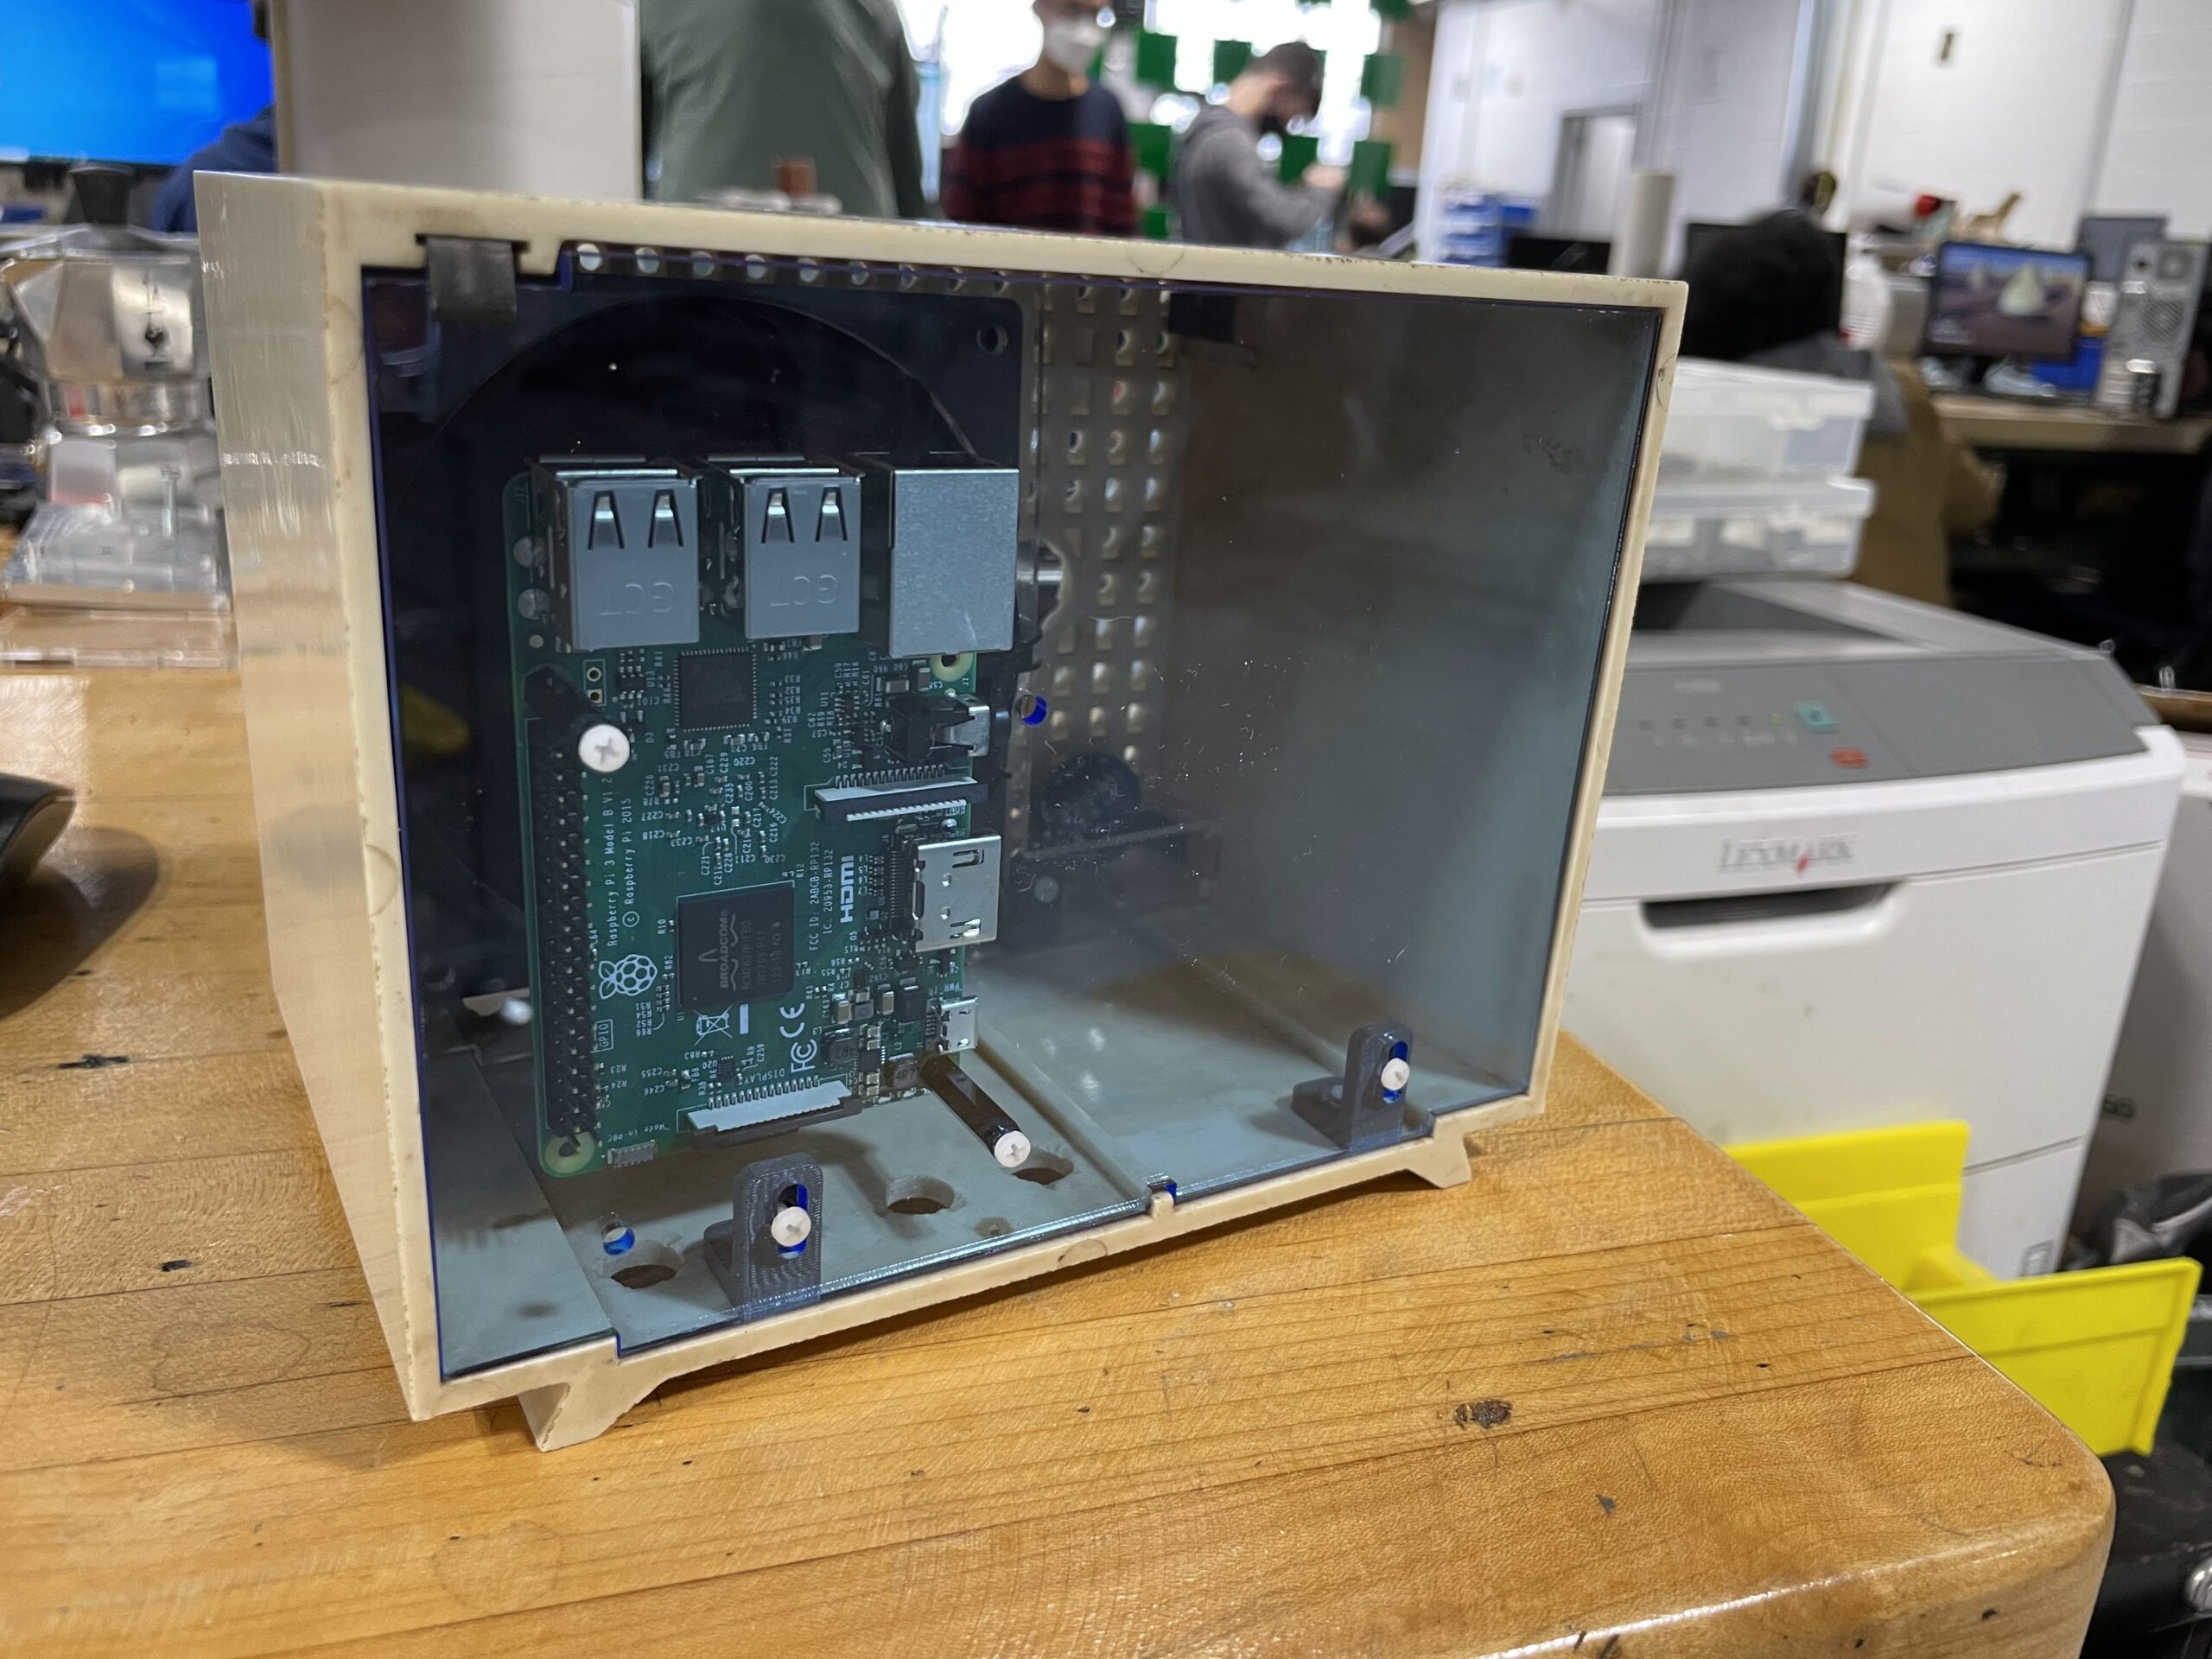
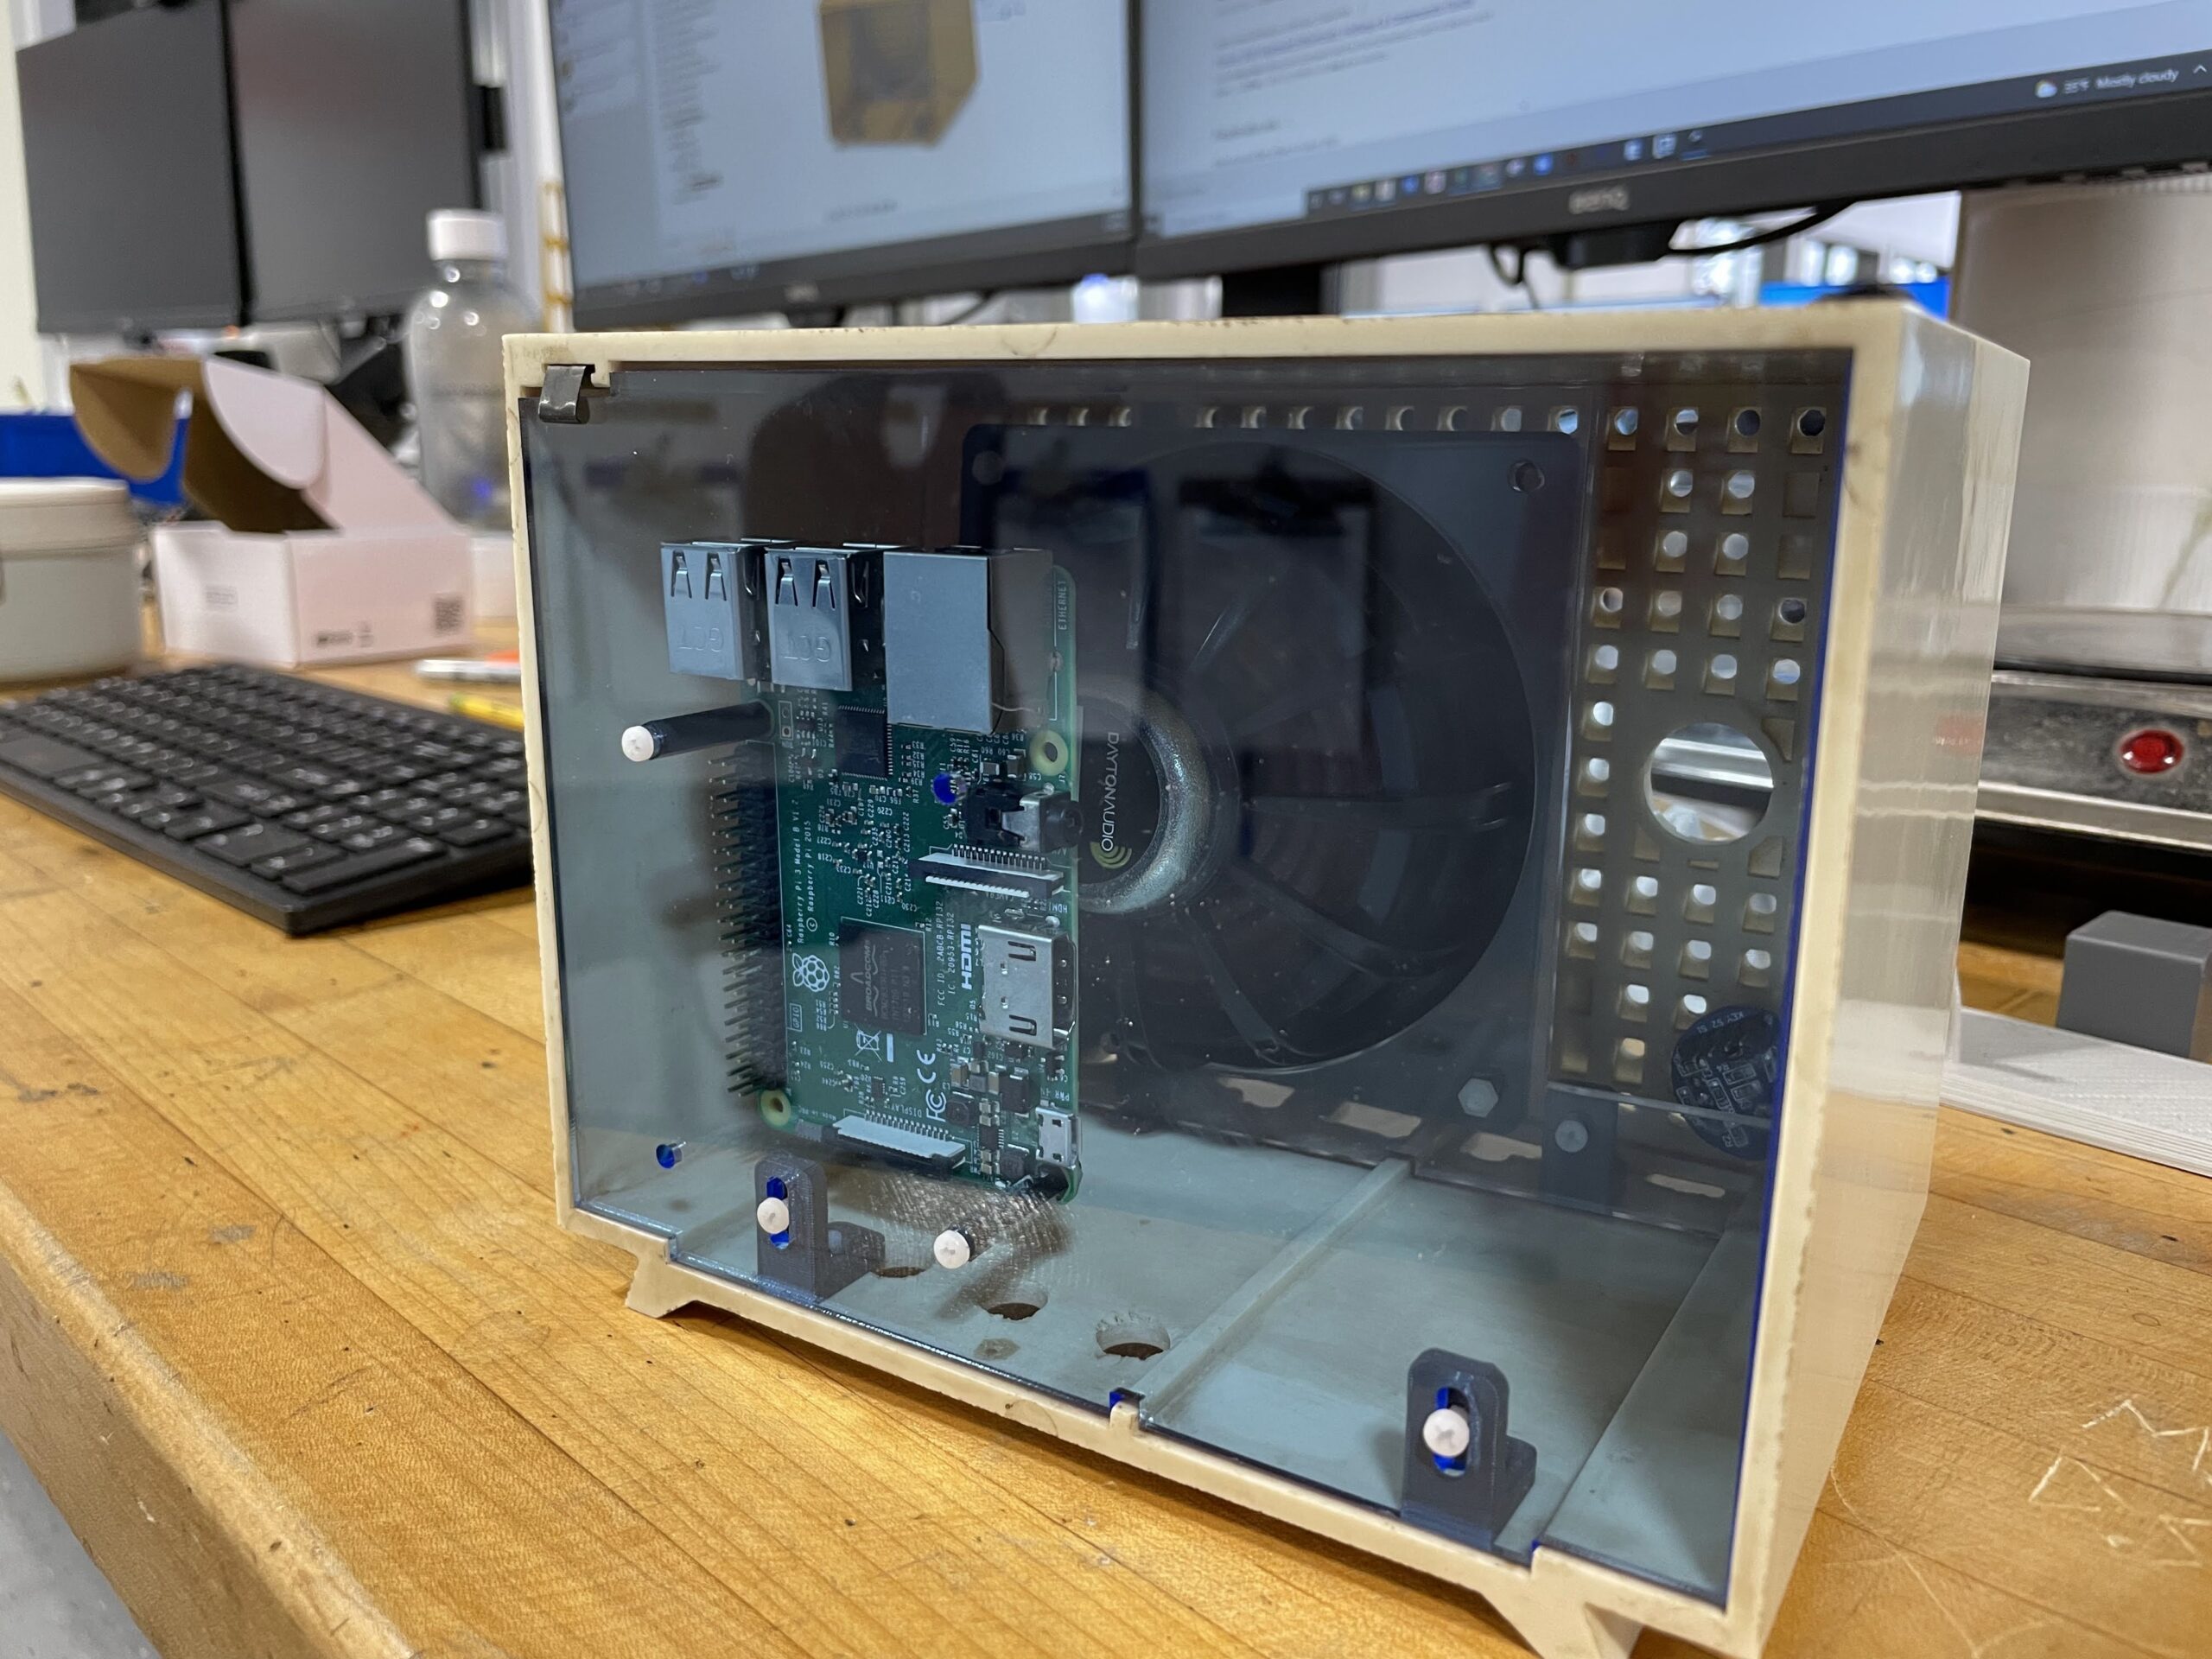
Just a quick update on the Pi Radio. I have been working on the internals and am close to having some nice acrylic mounting panels for the interior of the radio. Additionally, I have chosen a speaker to use, which will replace the old damaged speaker that was in the unit when it was purchased. The new speaker is a 4″ Dayton Audio DMA105 8 ohm, which is also being used by another student for a speaker project they are working on. Will post more on that project once it is further along. My radio needs a few more adjustments to the CAD model, and a couple of more test fits before we can wire it up and test my co-teacher’s coding with the Raspberry Pi. A few photos below showing the updated components inside the radio housing.
I had mentioned the Pi Radio project to my co-teacher and he was pretty enthusiastic about working on it. Since he is the coding expert, I decided to let him work out those specifics, while I work on the CAD aspects and building the project once the electronic portion is complete. Today he successfully coded the Raspberry Pi to tune to different internet radio stations using a rotary encoder, which will mimic using the tuner from the radio to ‘tune’ to different stations. Additionally, he has incorporated a second rotary encoder for volume control. Everything seems to be working now, but still some work finalizing the code and electronics.
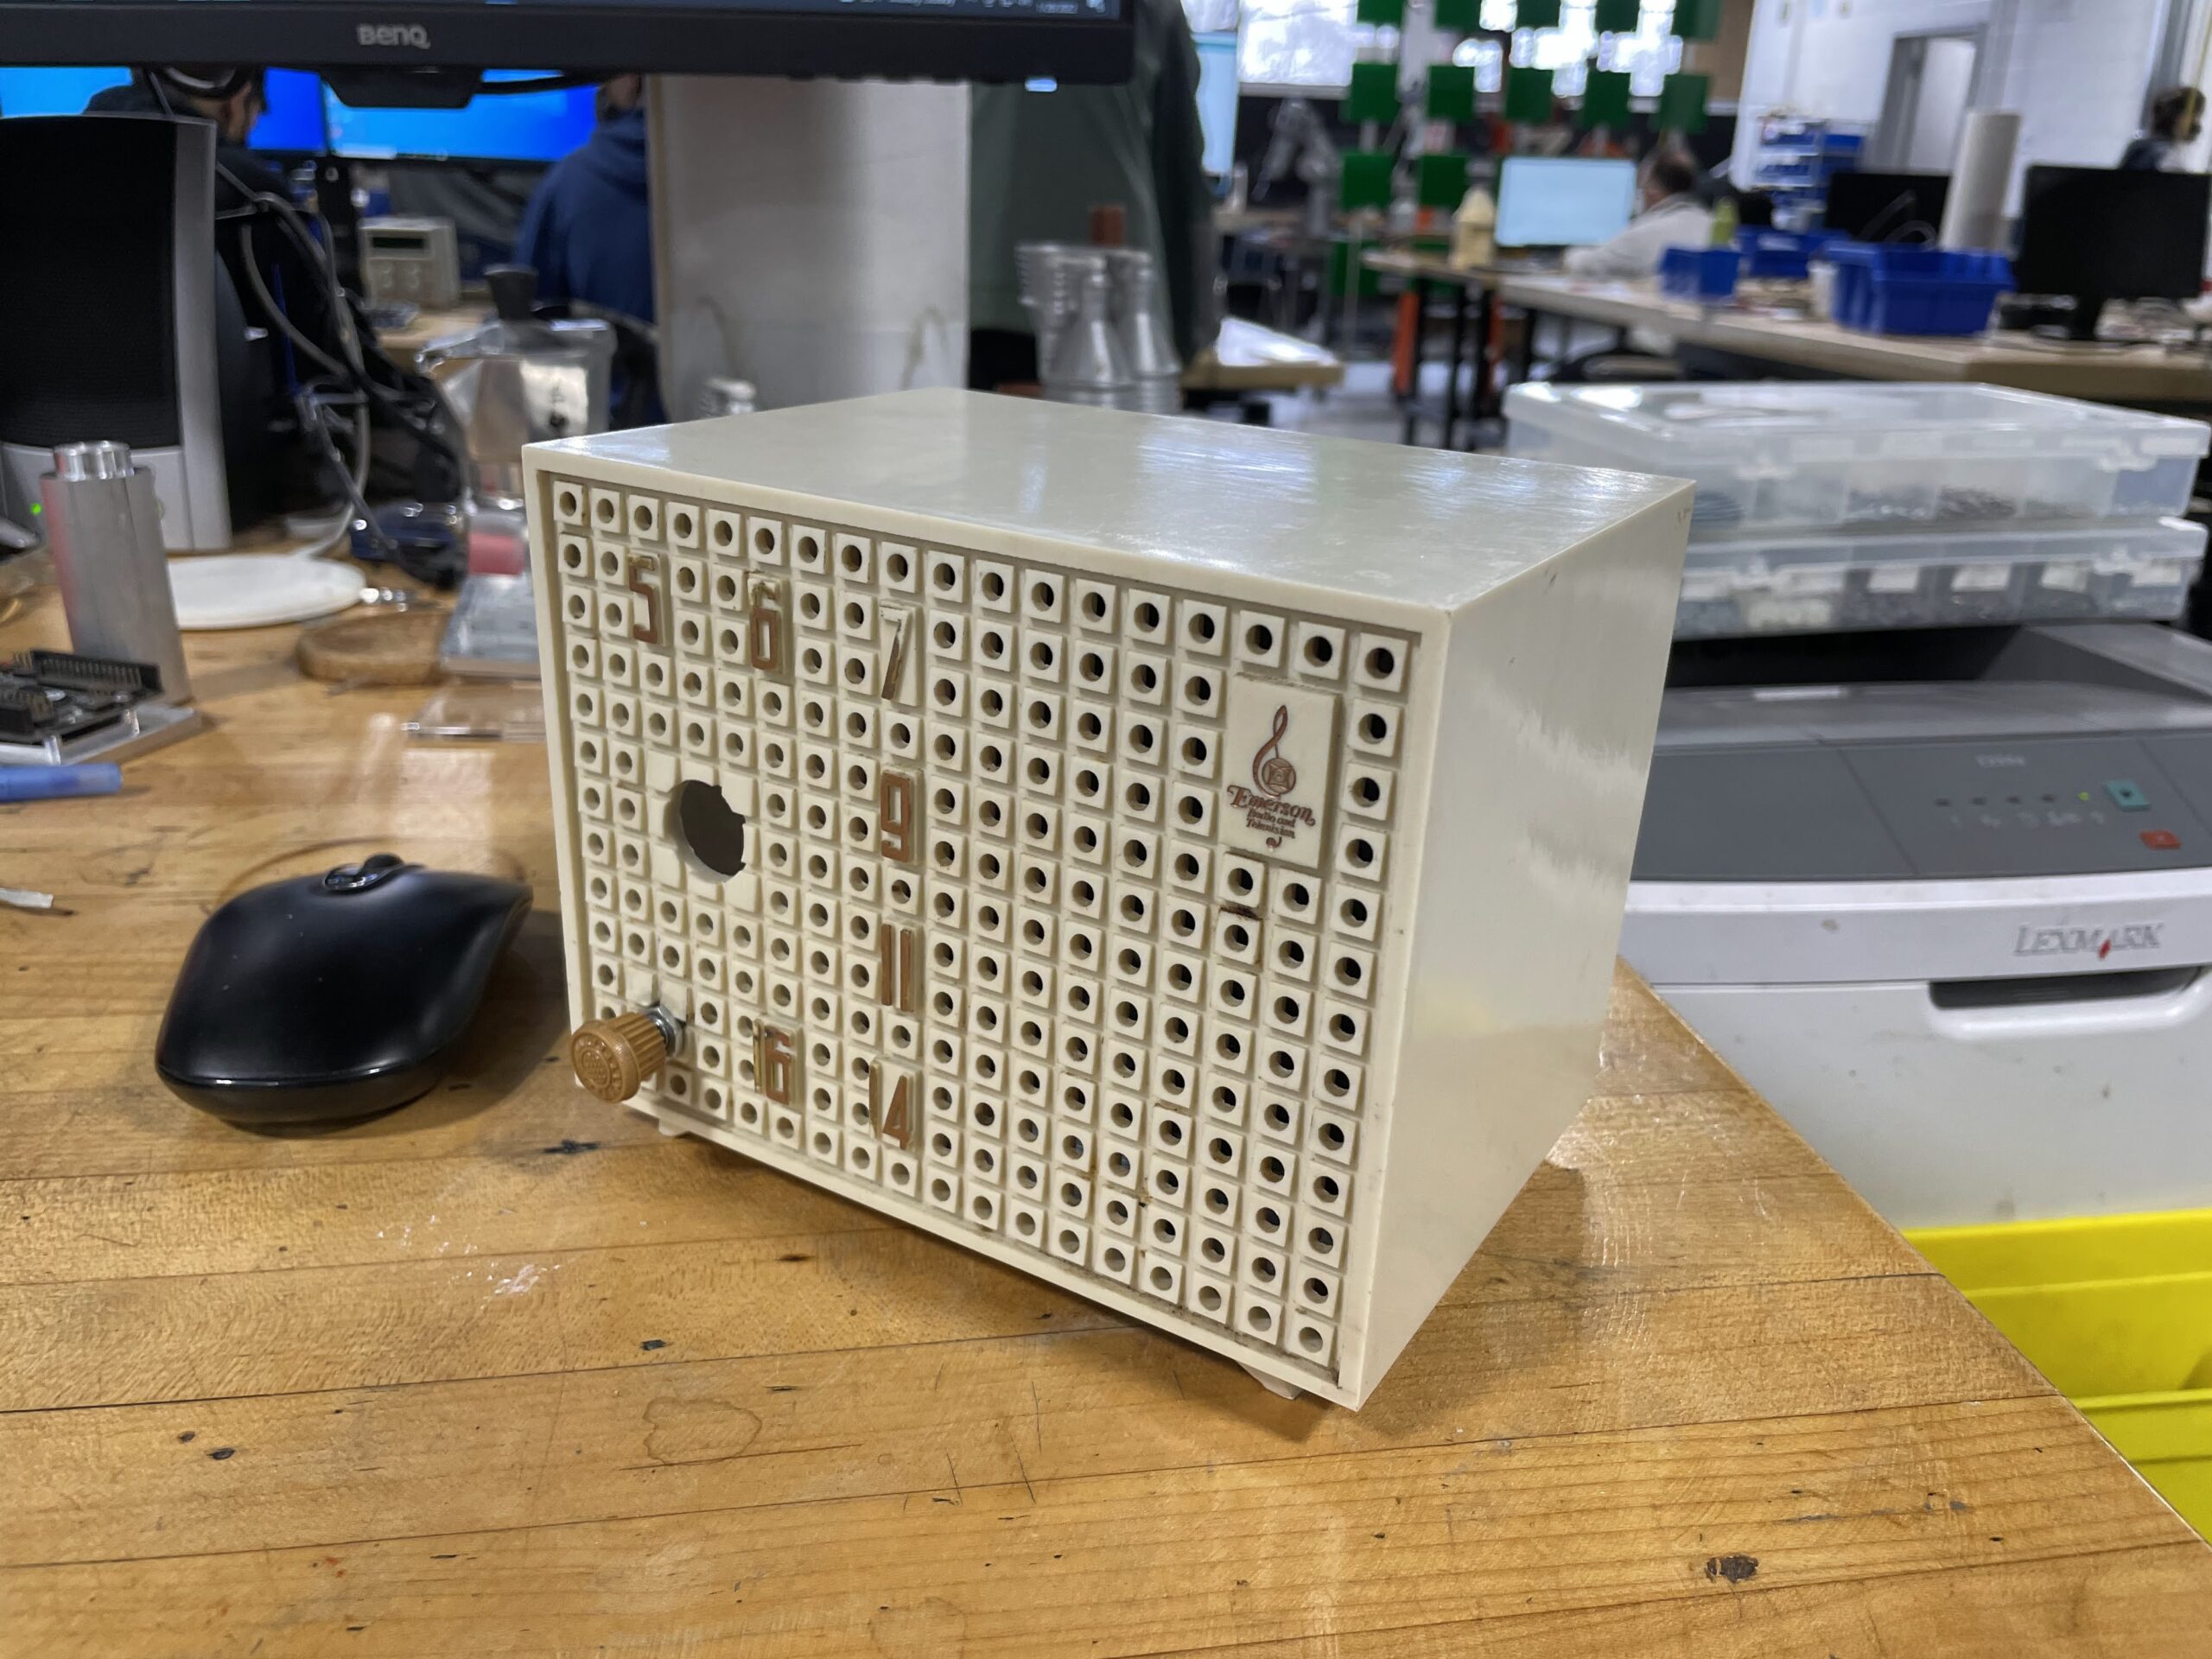
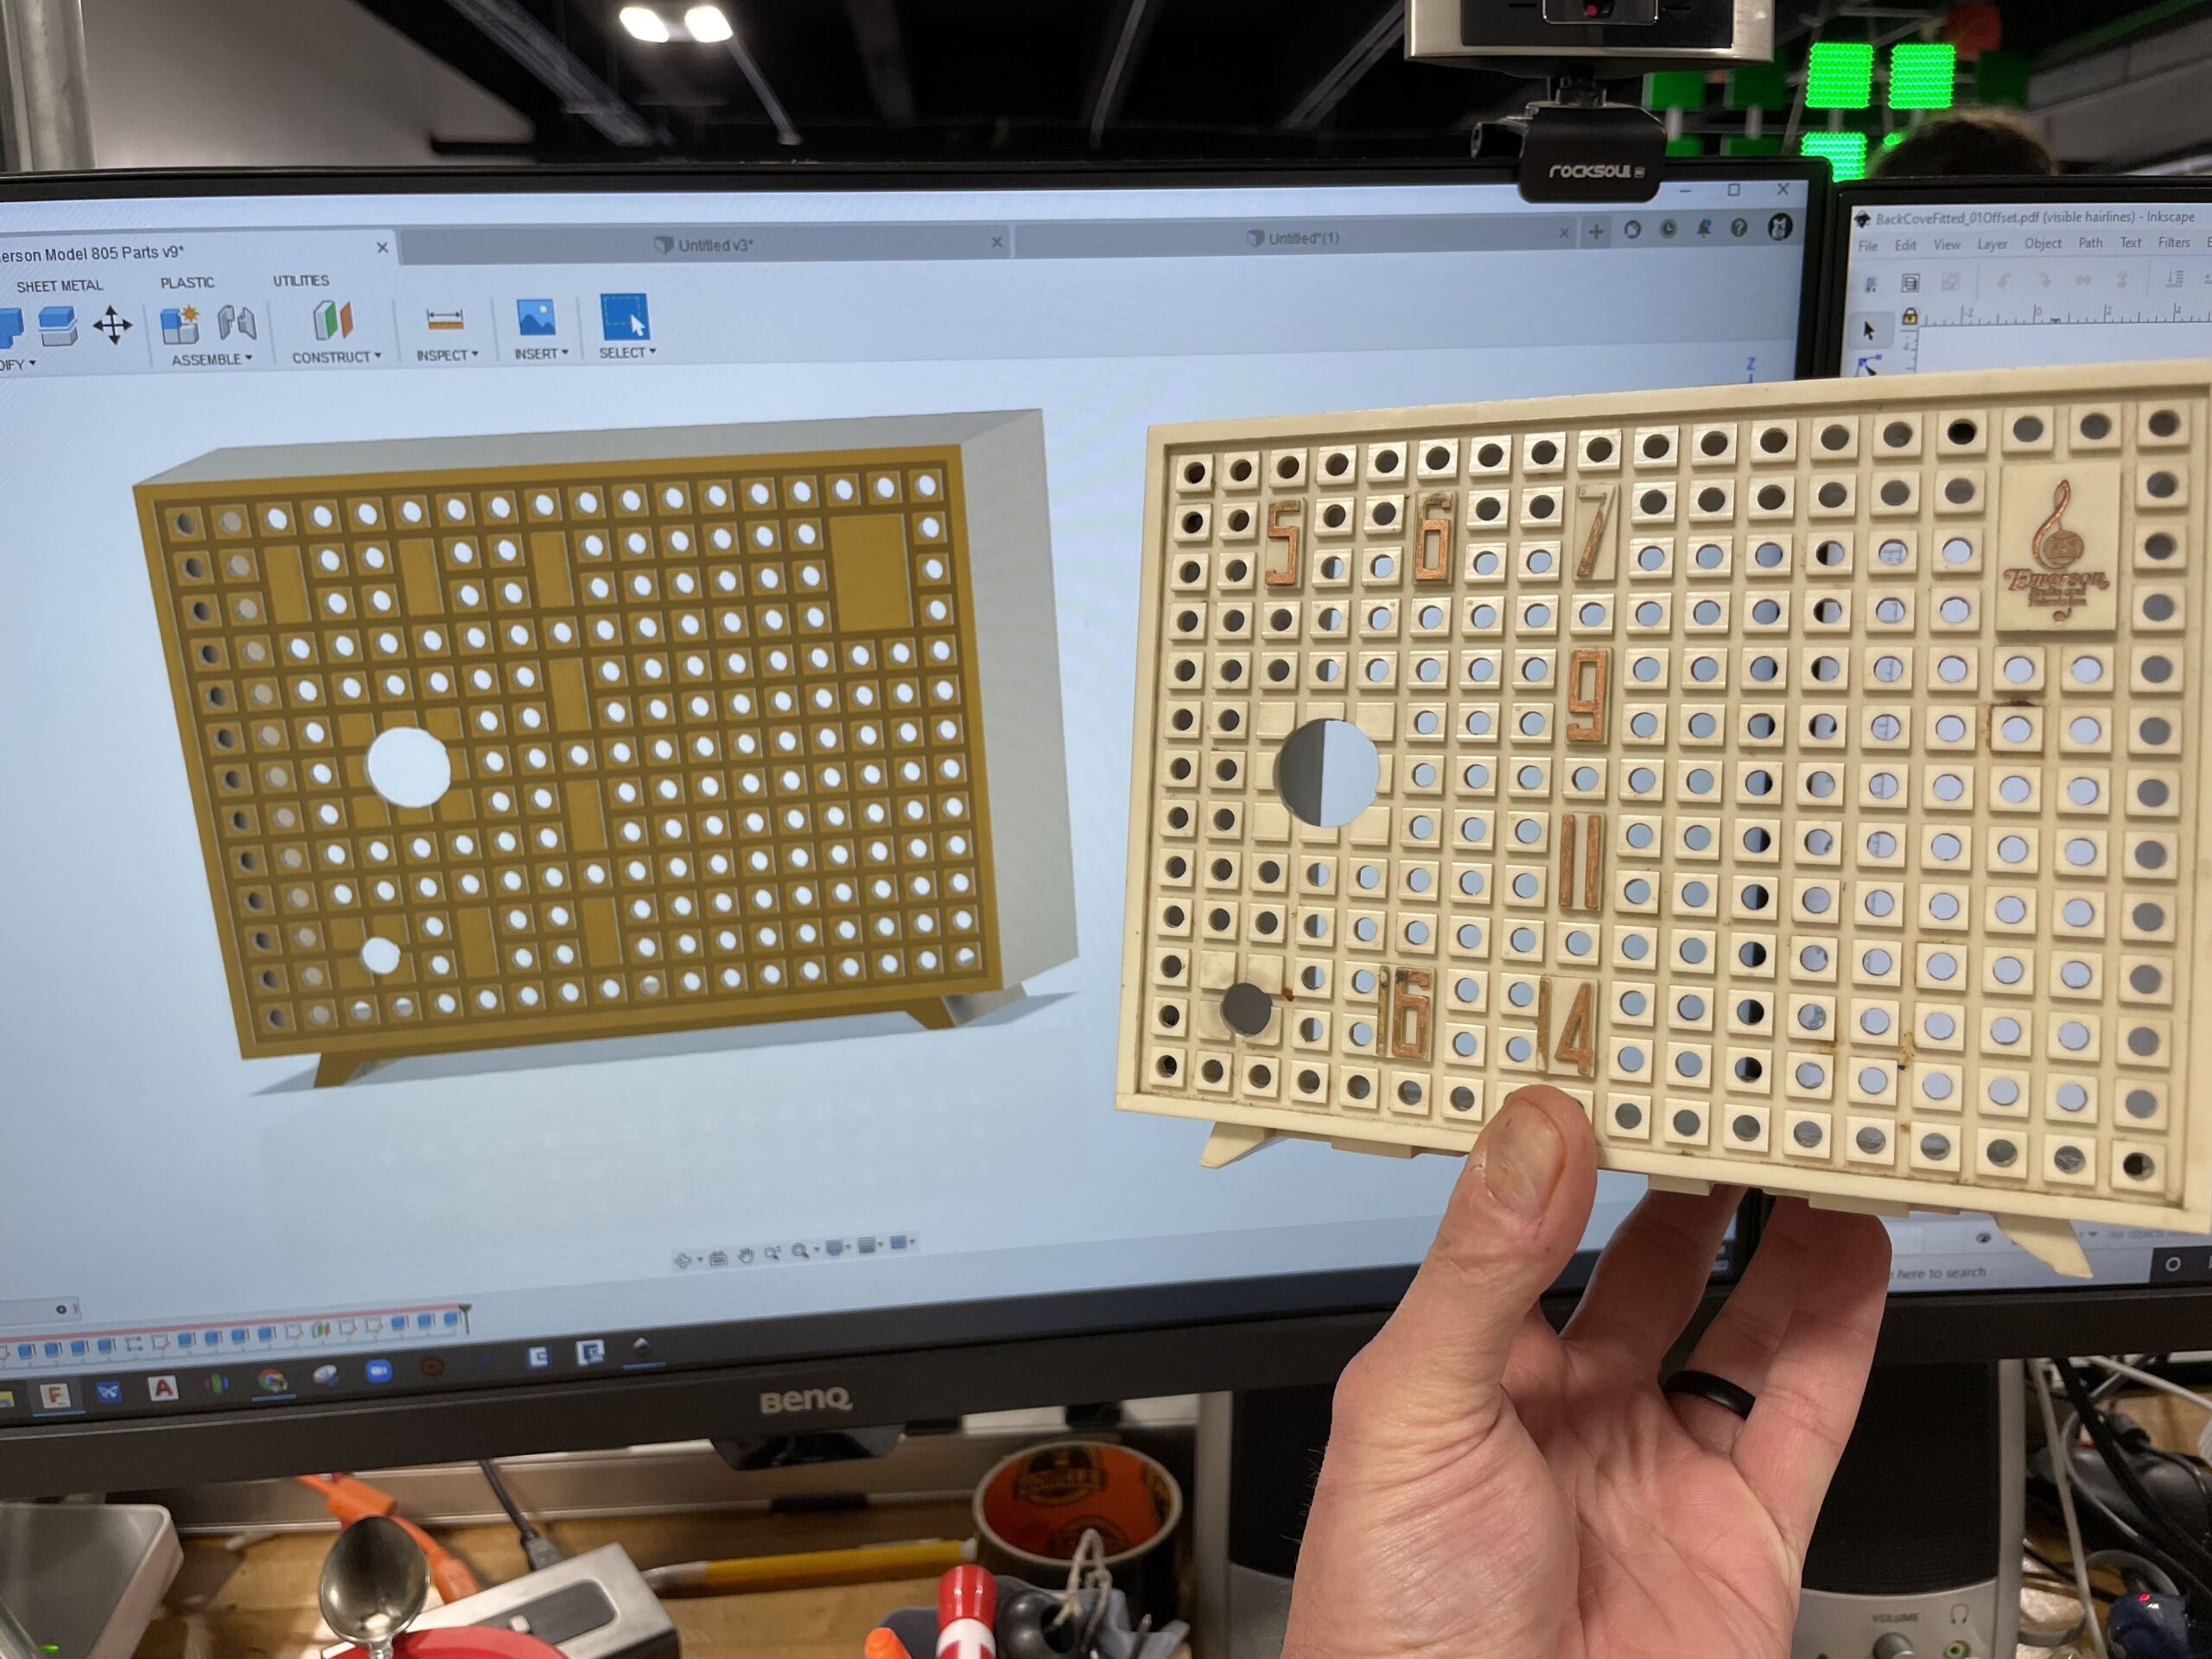
For my part, I’ve started putting the entire radio into CAD in order to make all the new interior components to hold the new electronics. I’ve finally finished recreating the outer housing, and took a quick photo to show how well it came out. Looks just like the real thing. Next, I need to create some new components for lasercutting and 3D printing.
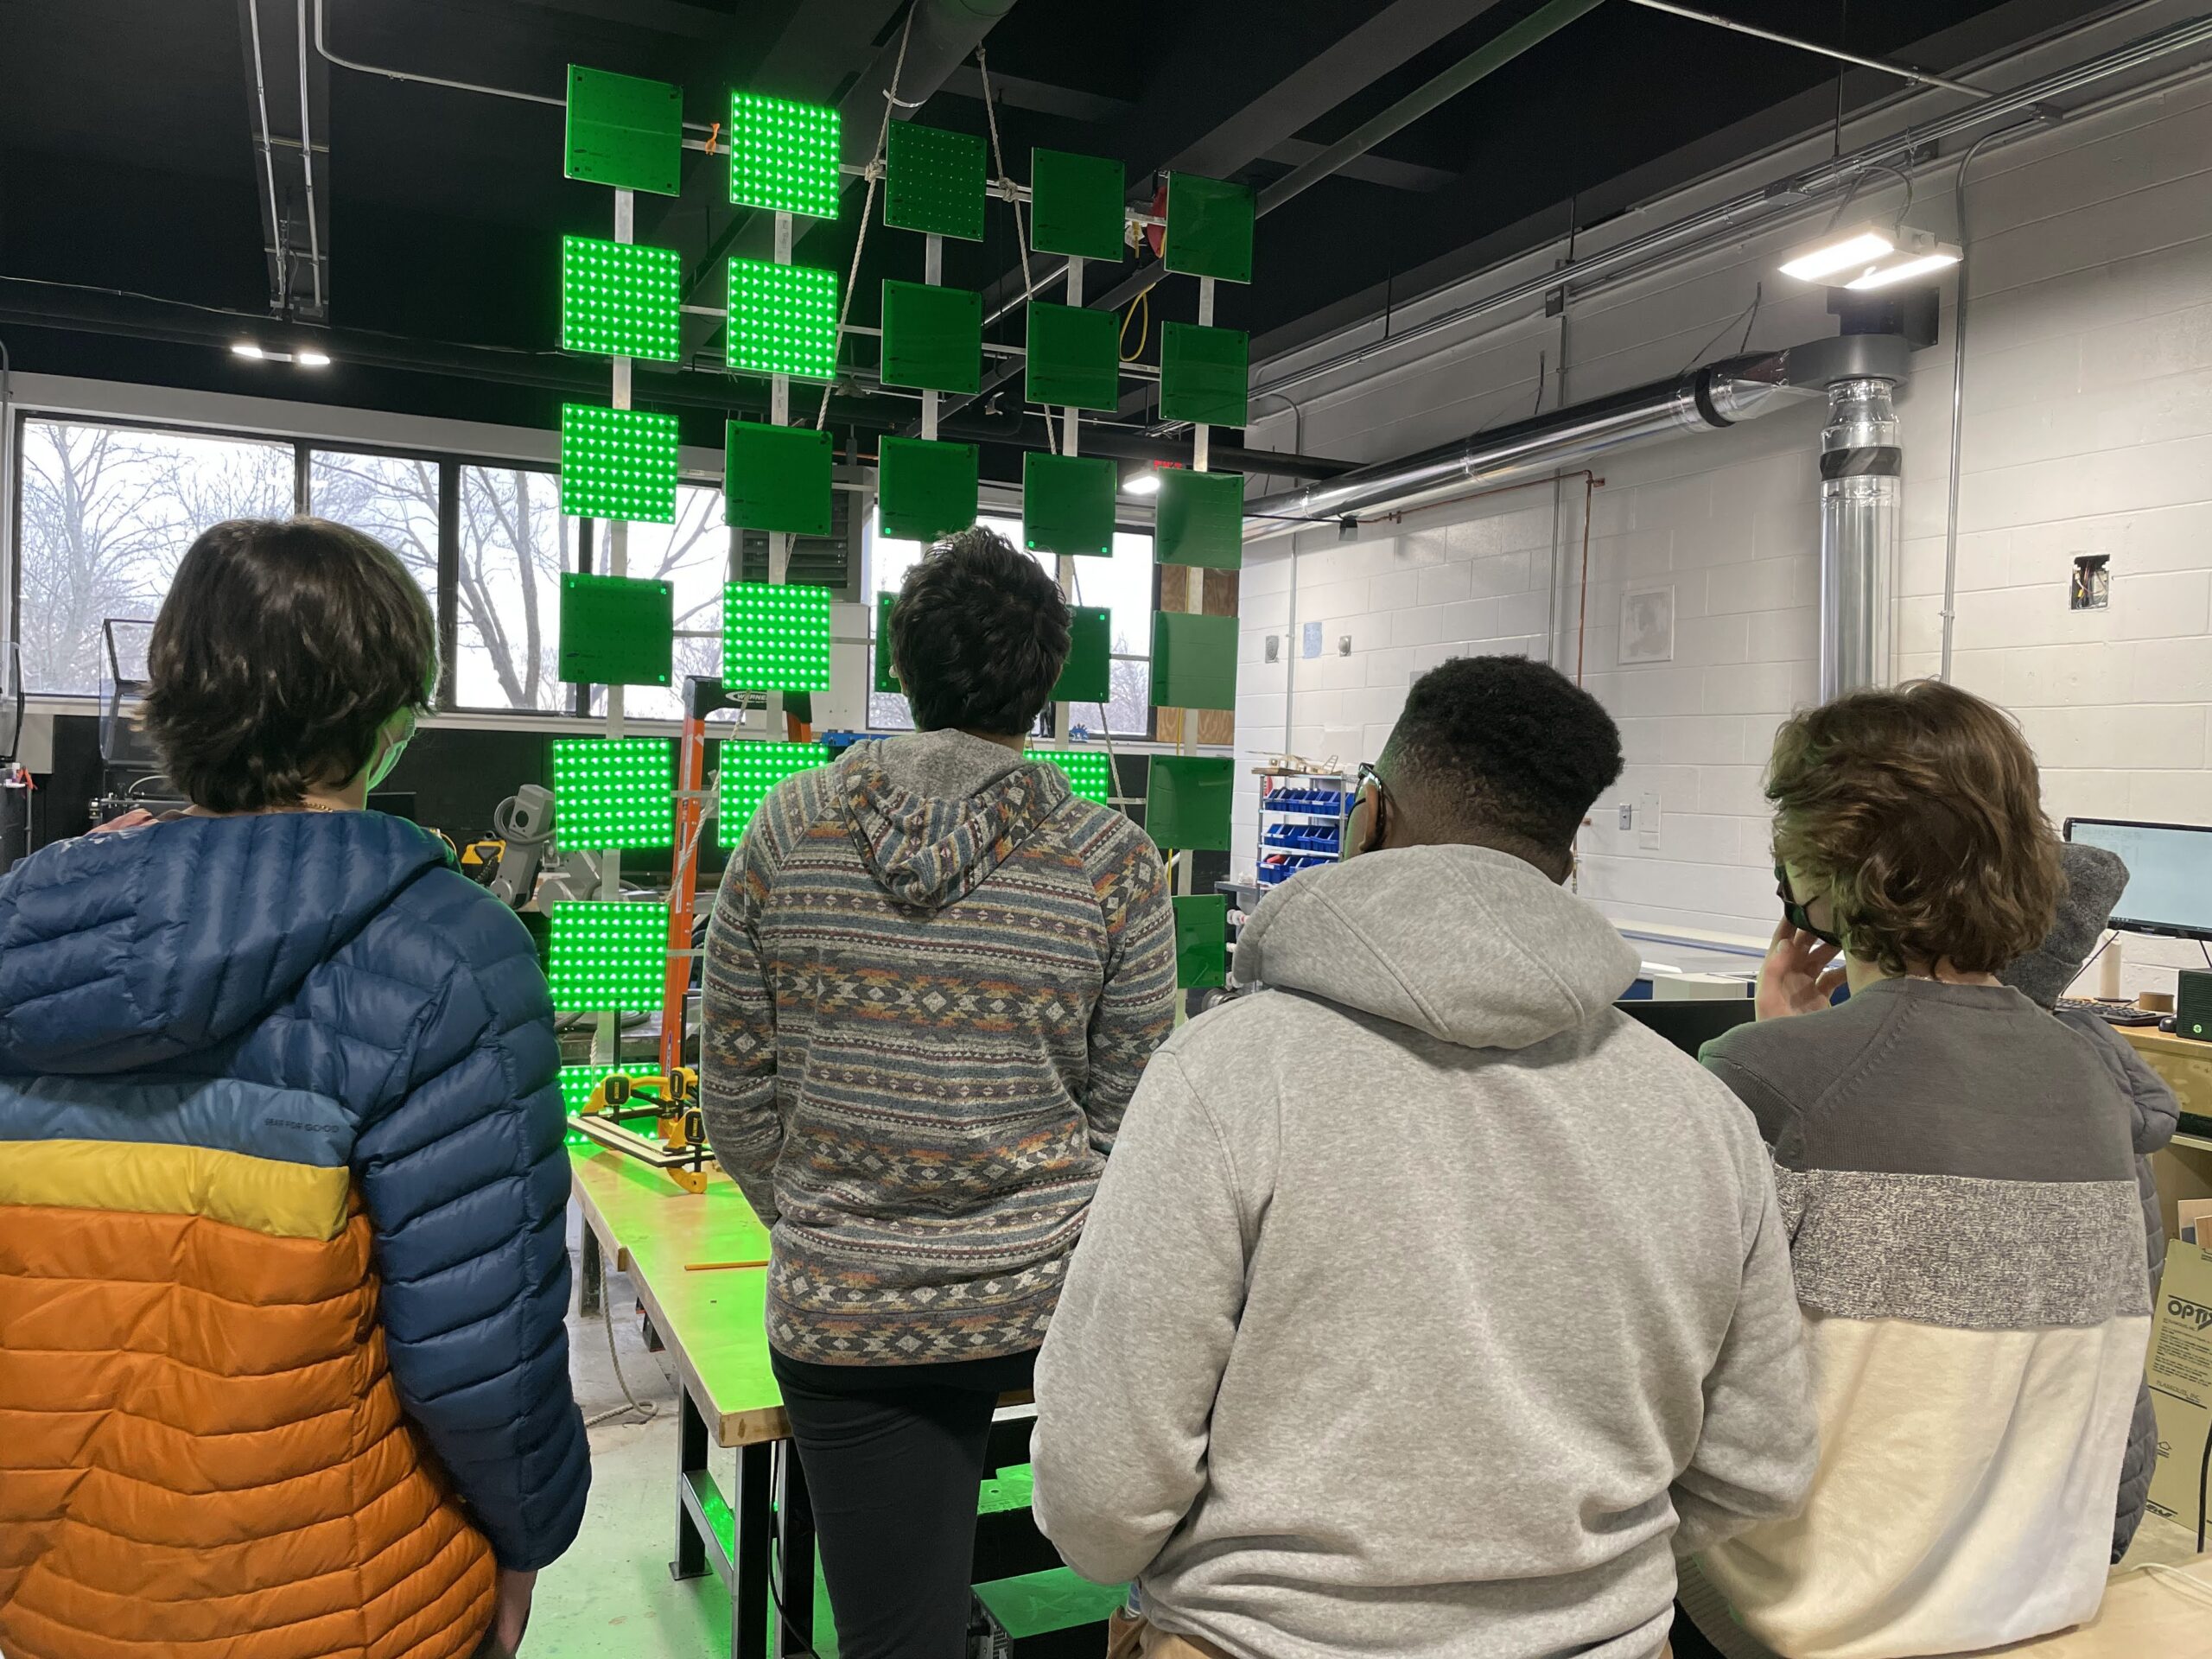
When our current seniors were freshmen we began building a large format Tetris game. They mostly helped with wire organization and basic construction. The basic layout of the project is grid of C channel holding a 5 x 7 matrix of bright LED square panels which were donated to the Robotics shop from the MBTA. With the COVID pandemic the Tetris Rig, as its come to be known, has had little work done to it. This year, however, a senior, who was one of the freshmen who first began working on the rig, decided to return to the project and get it working.
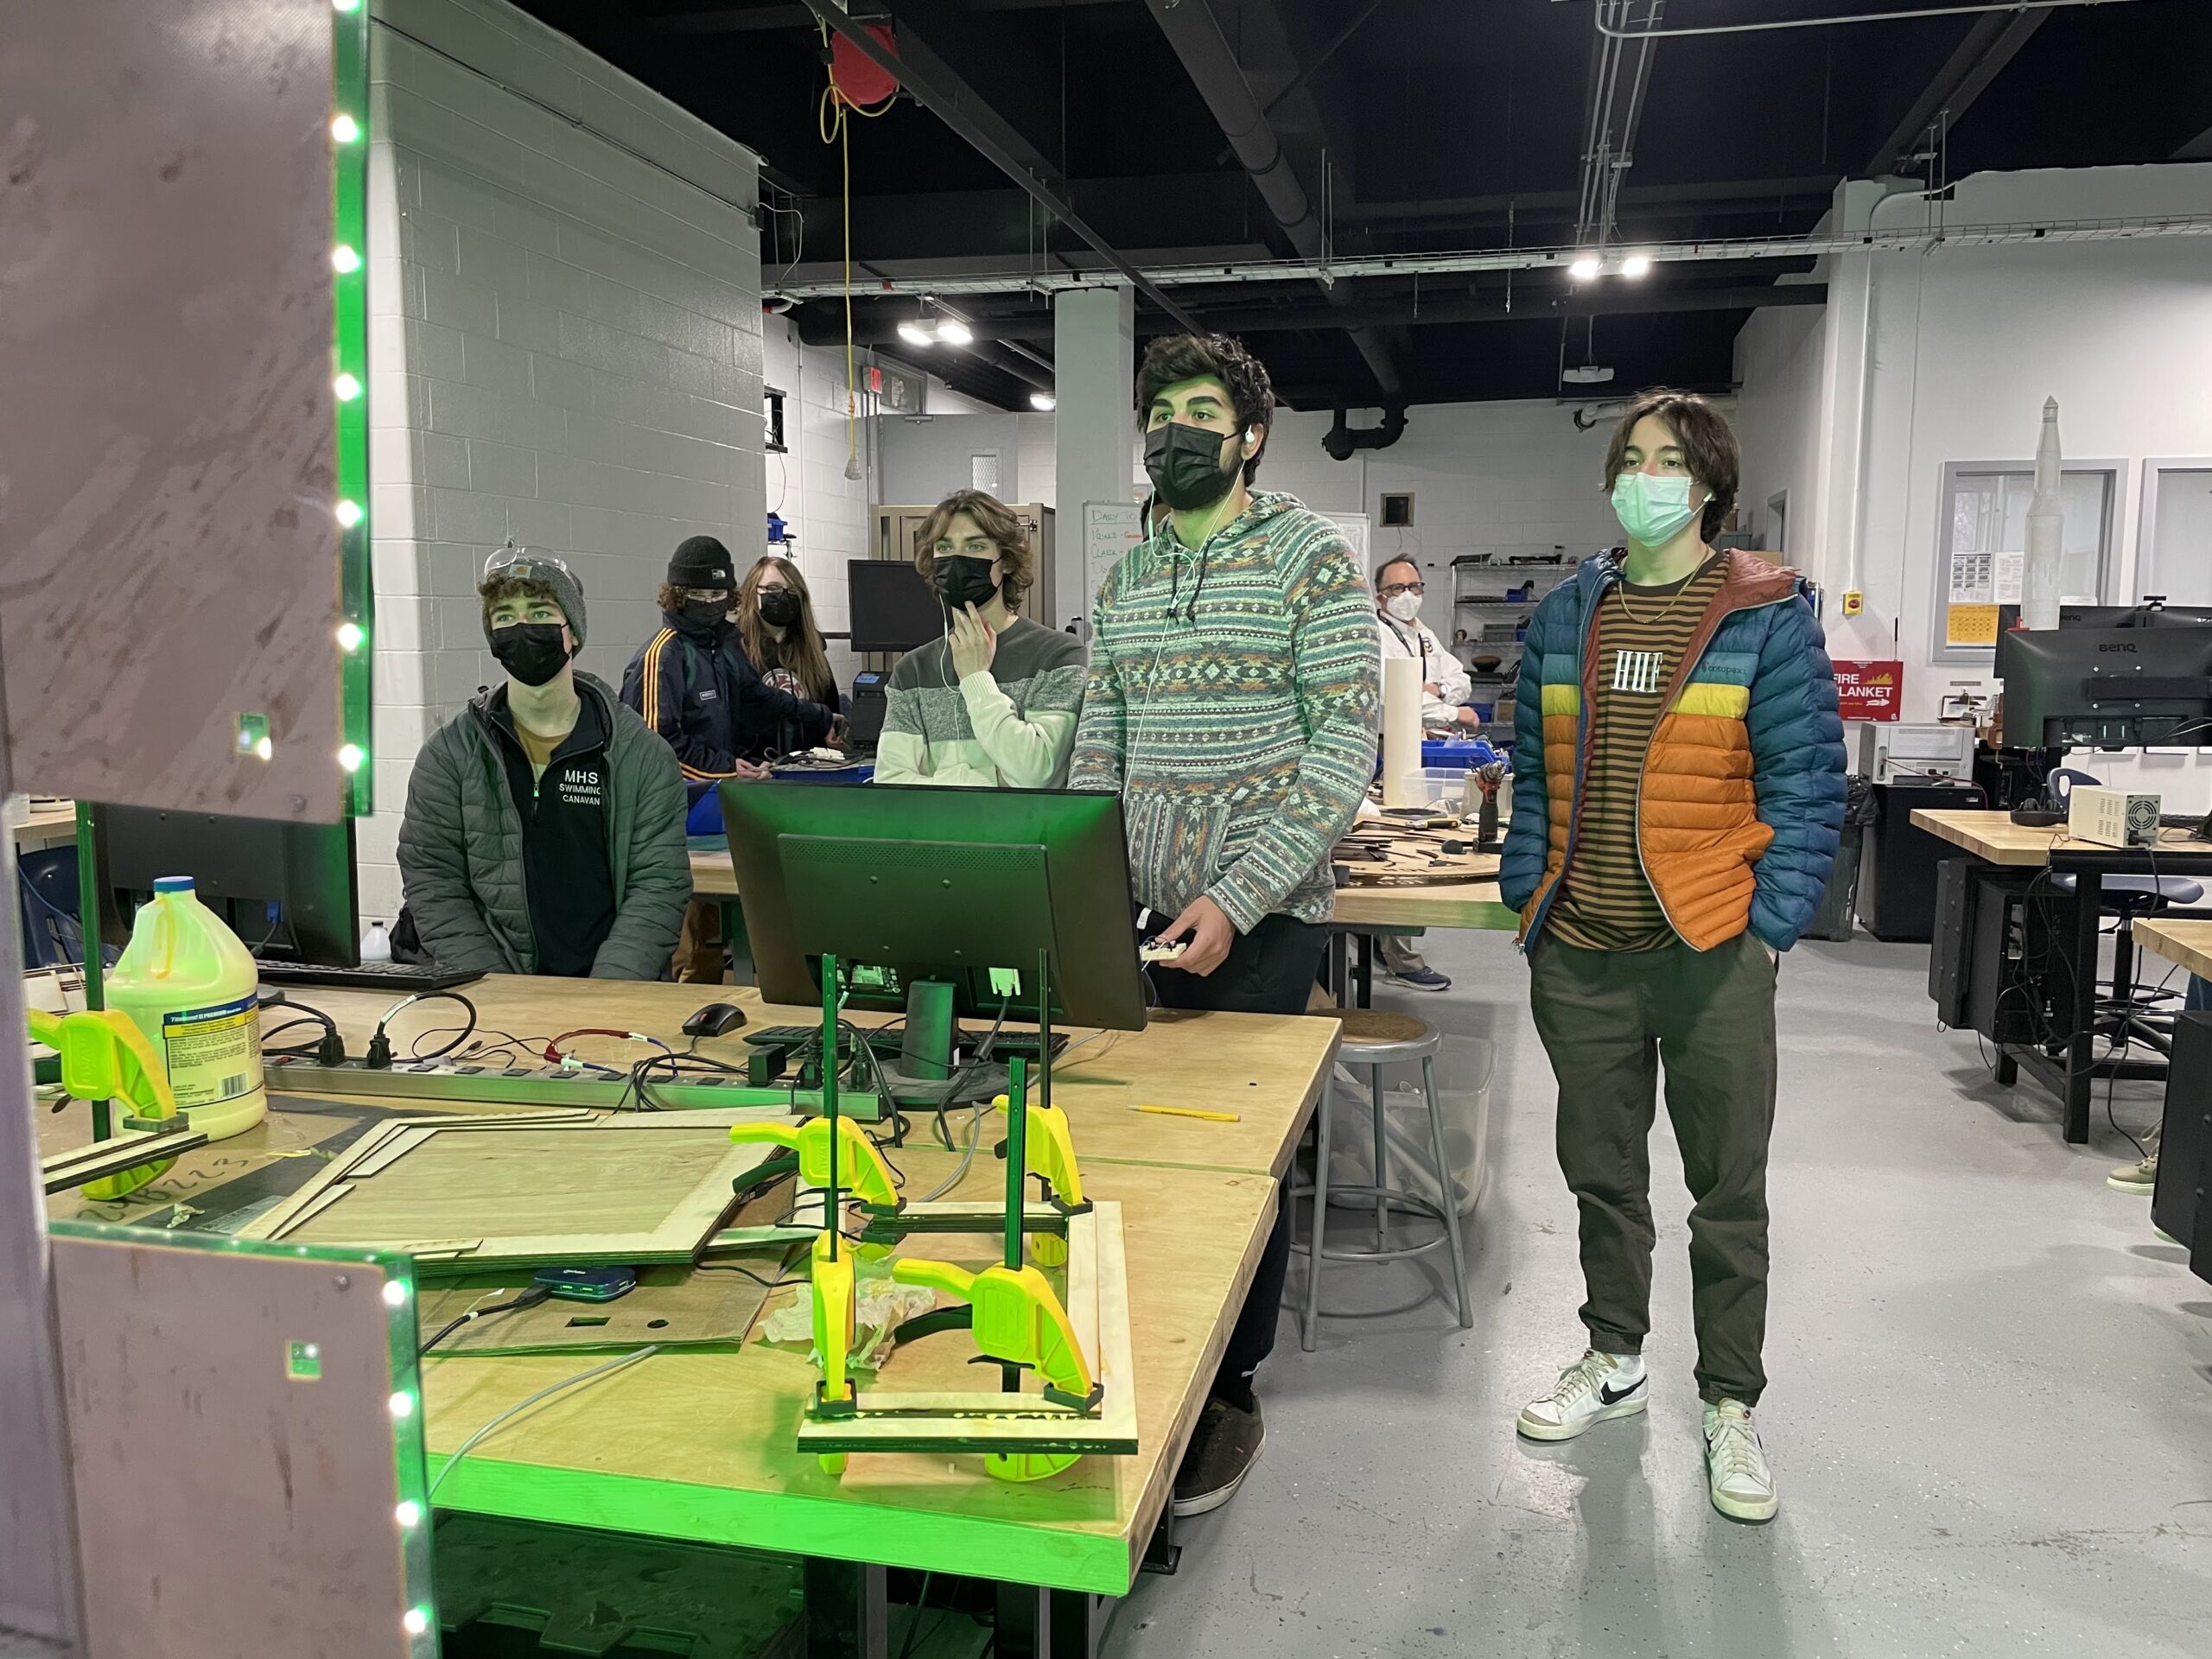
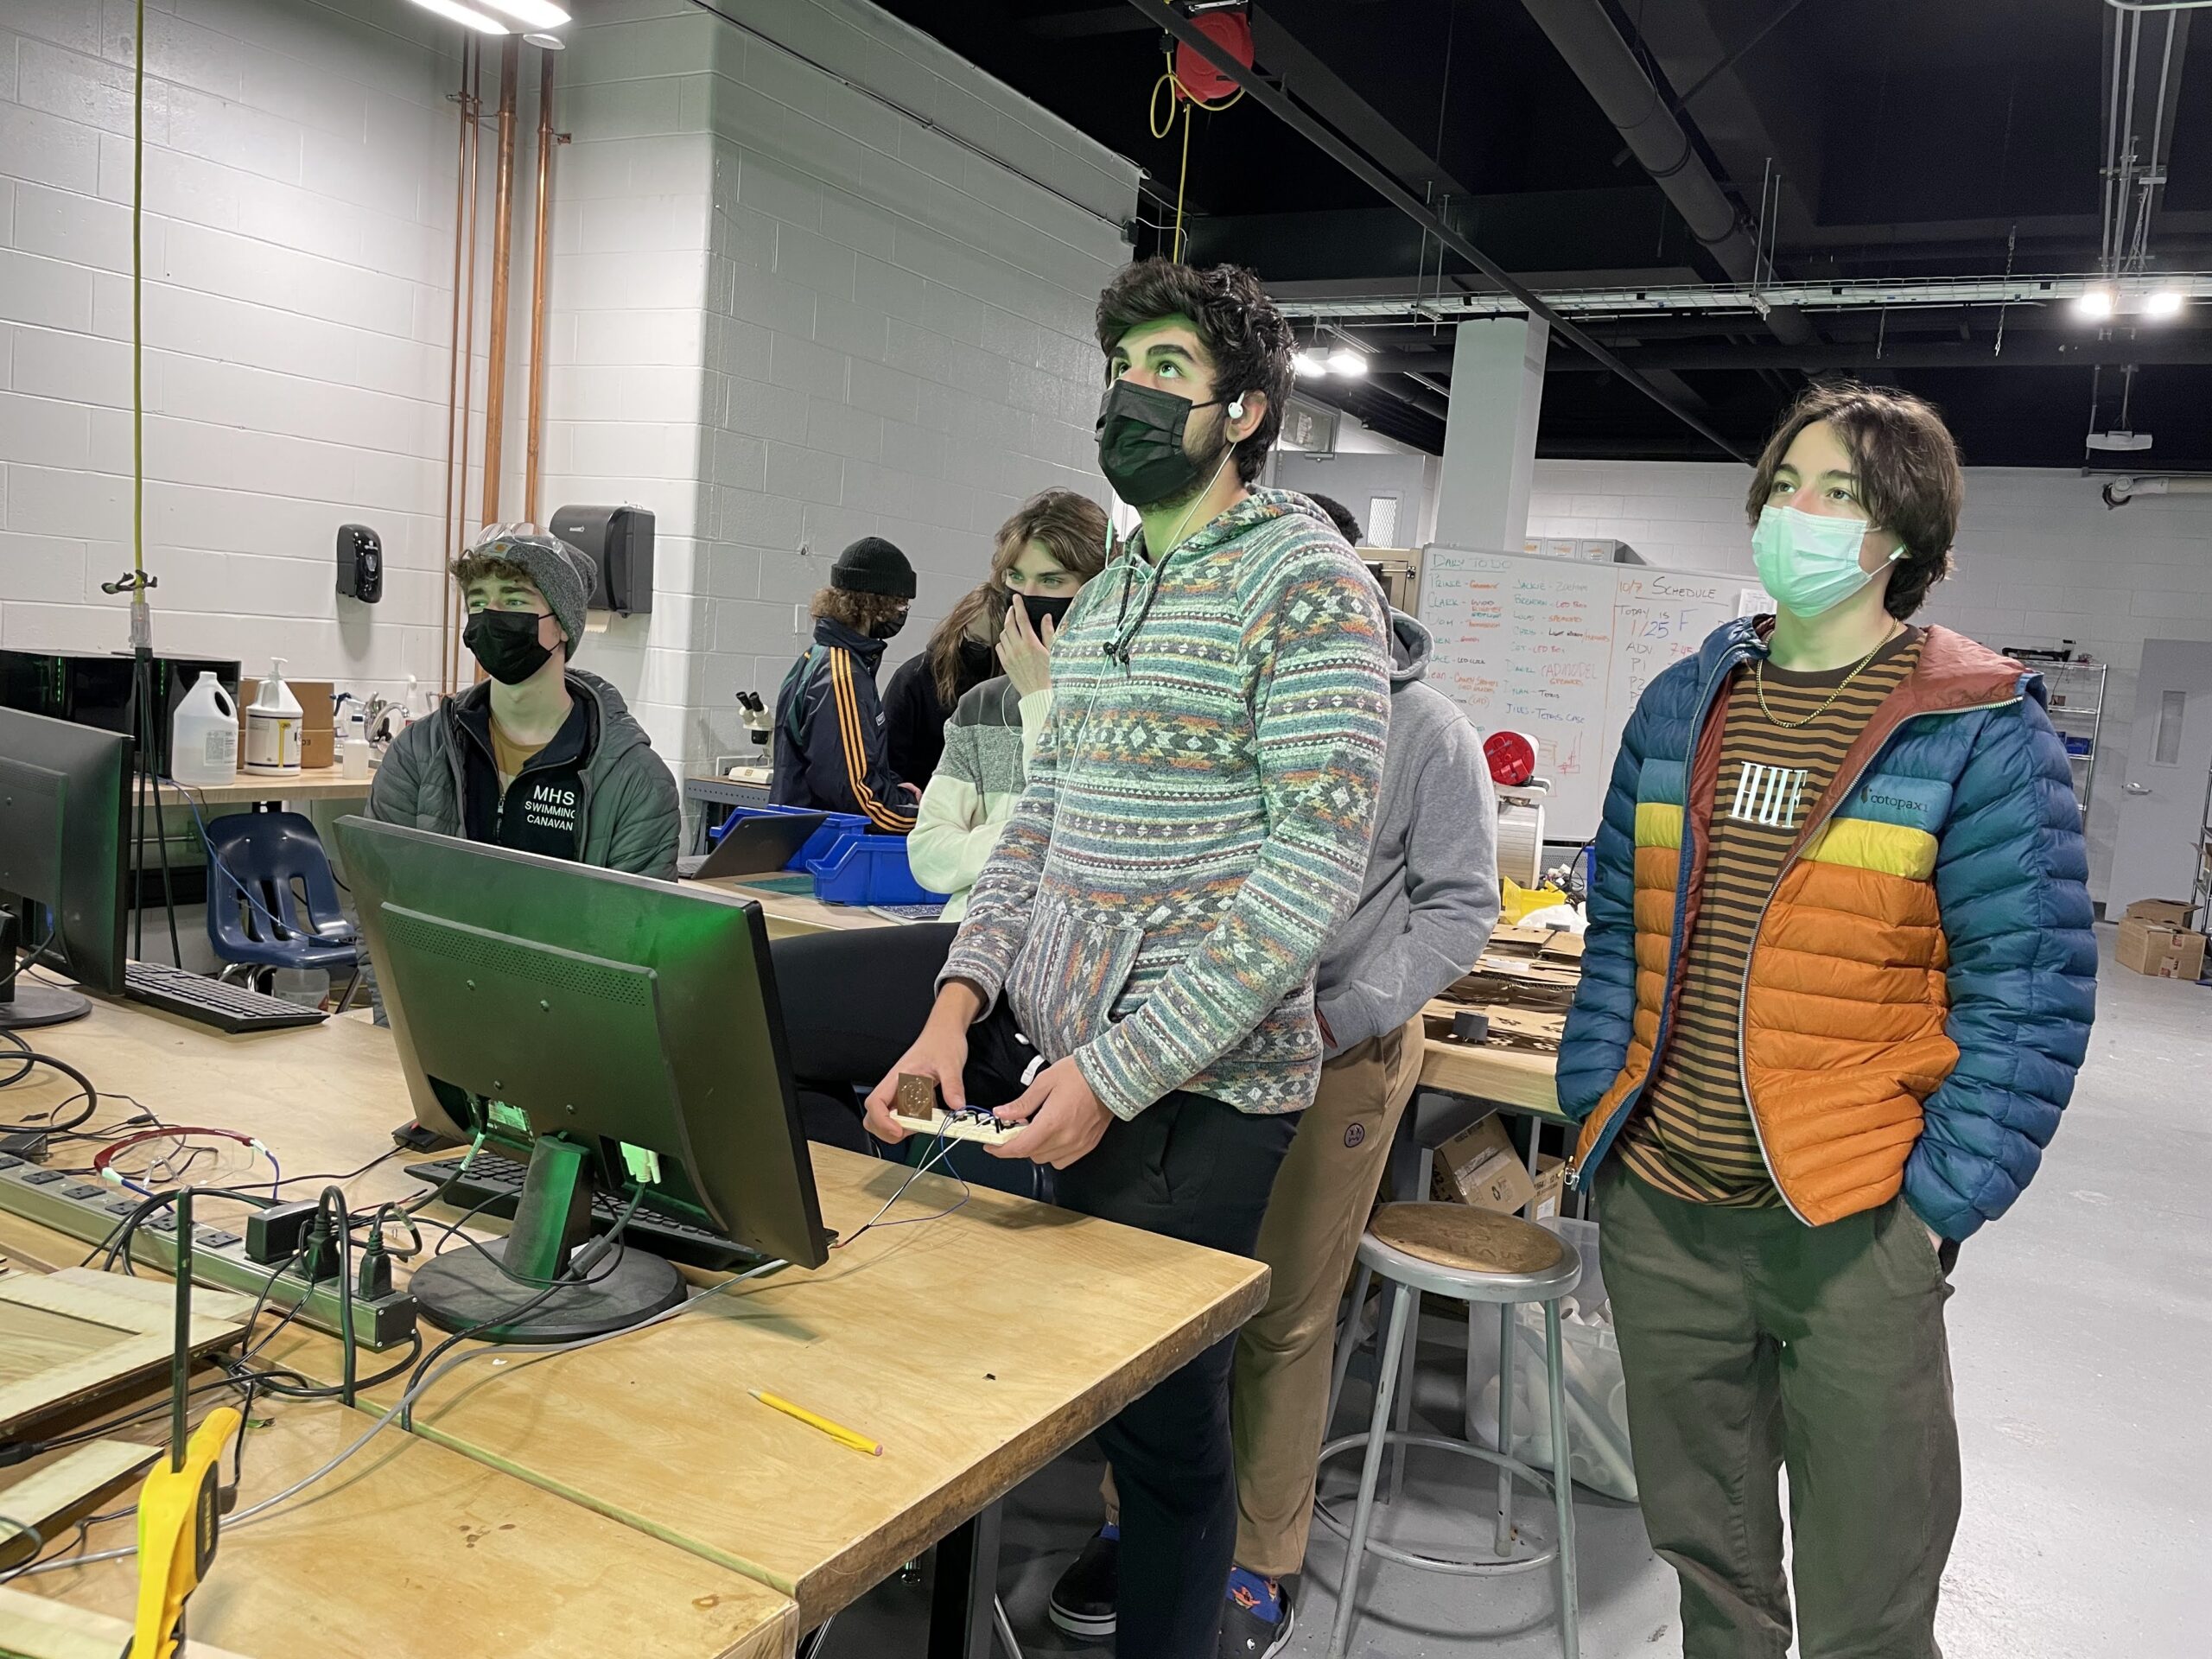
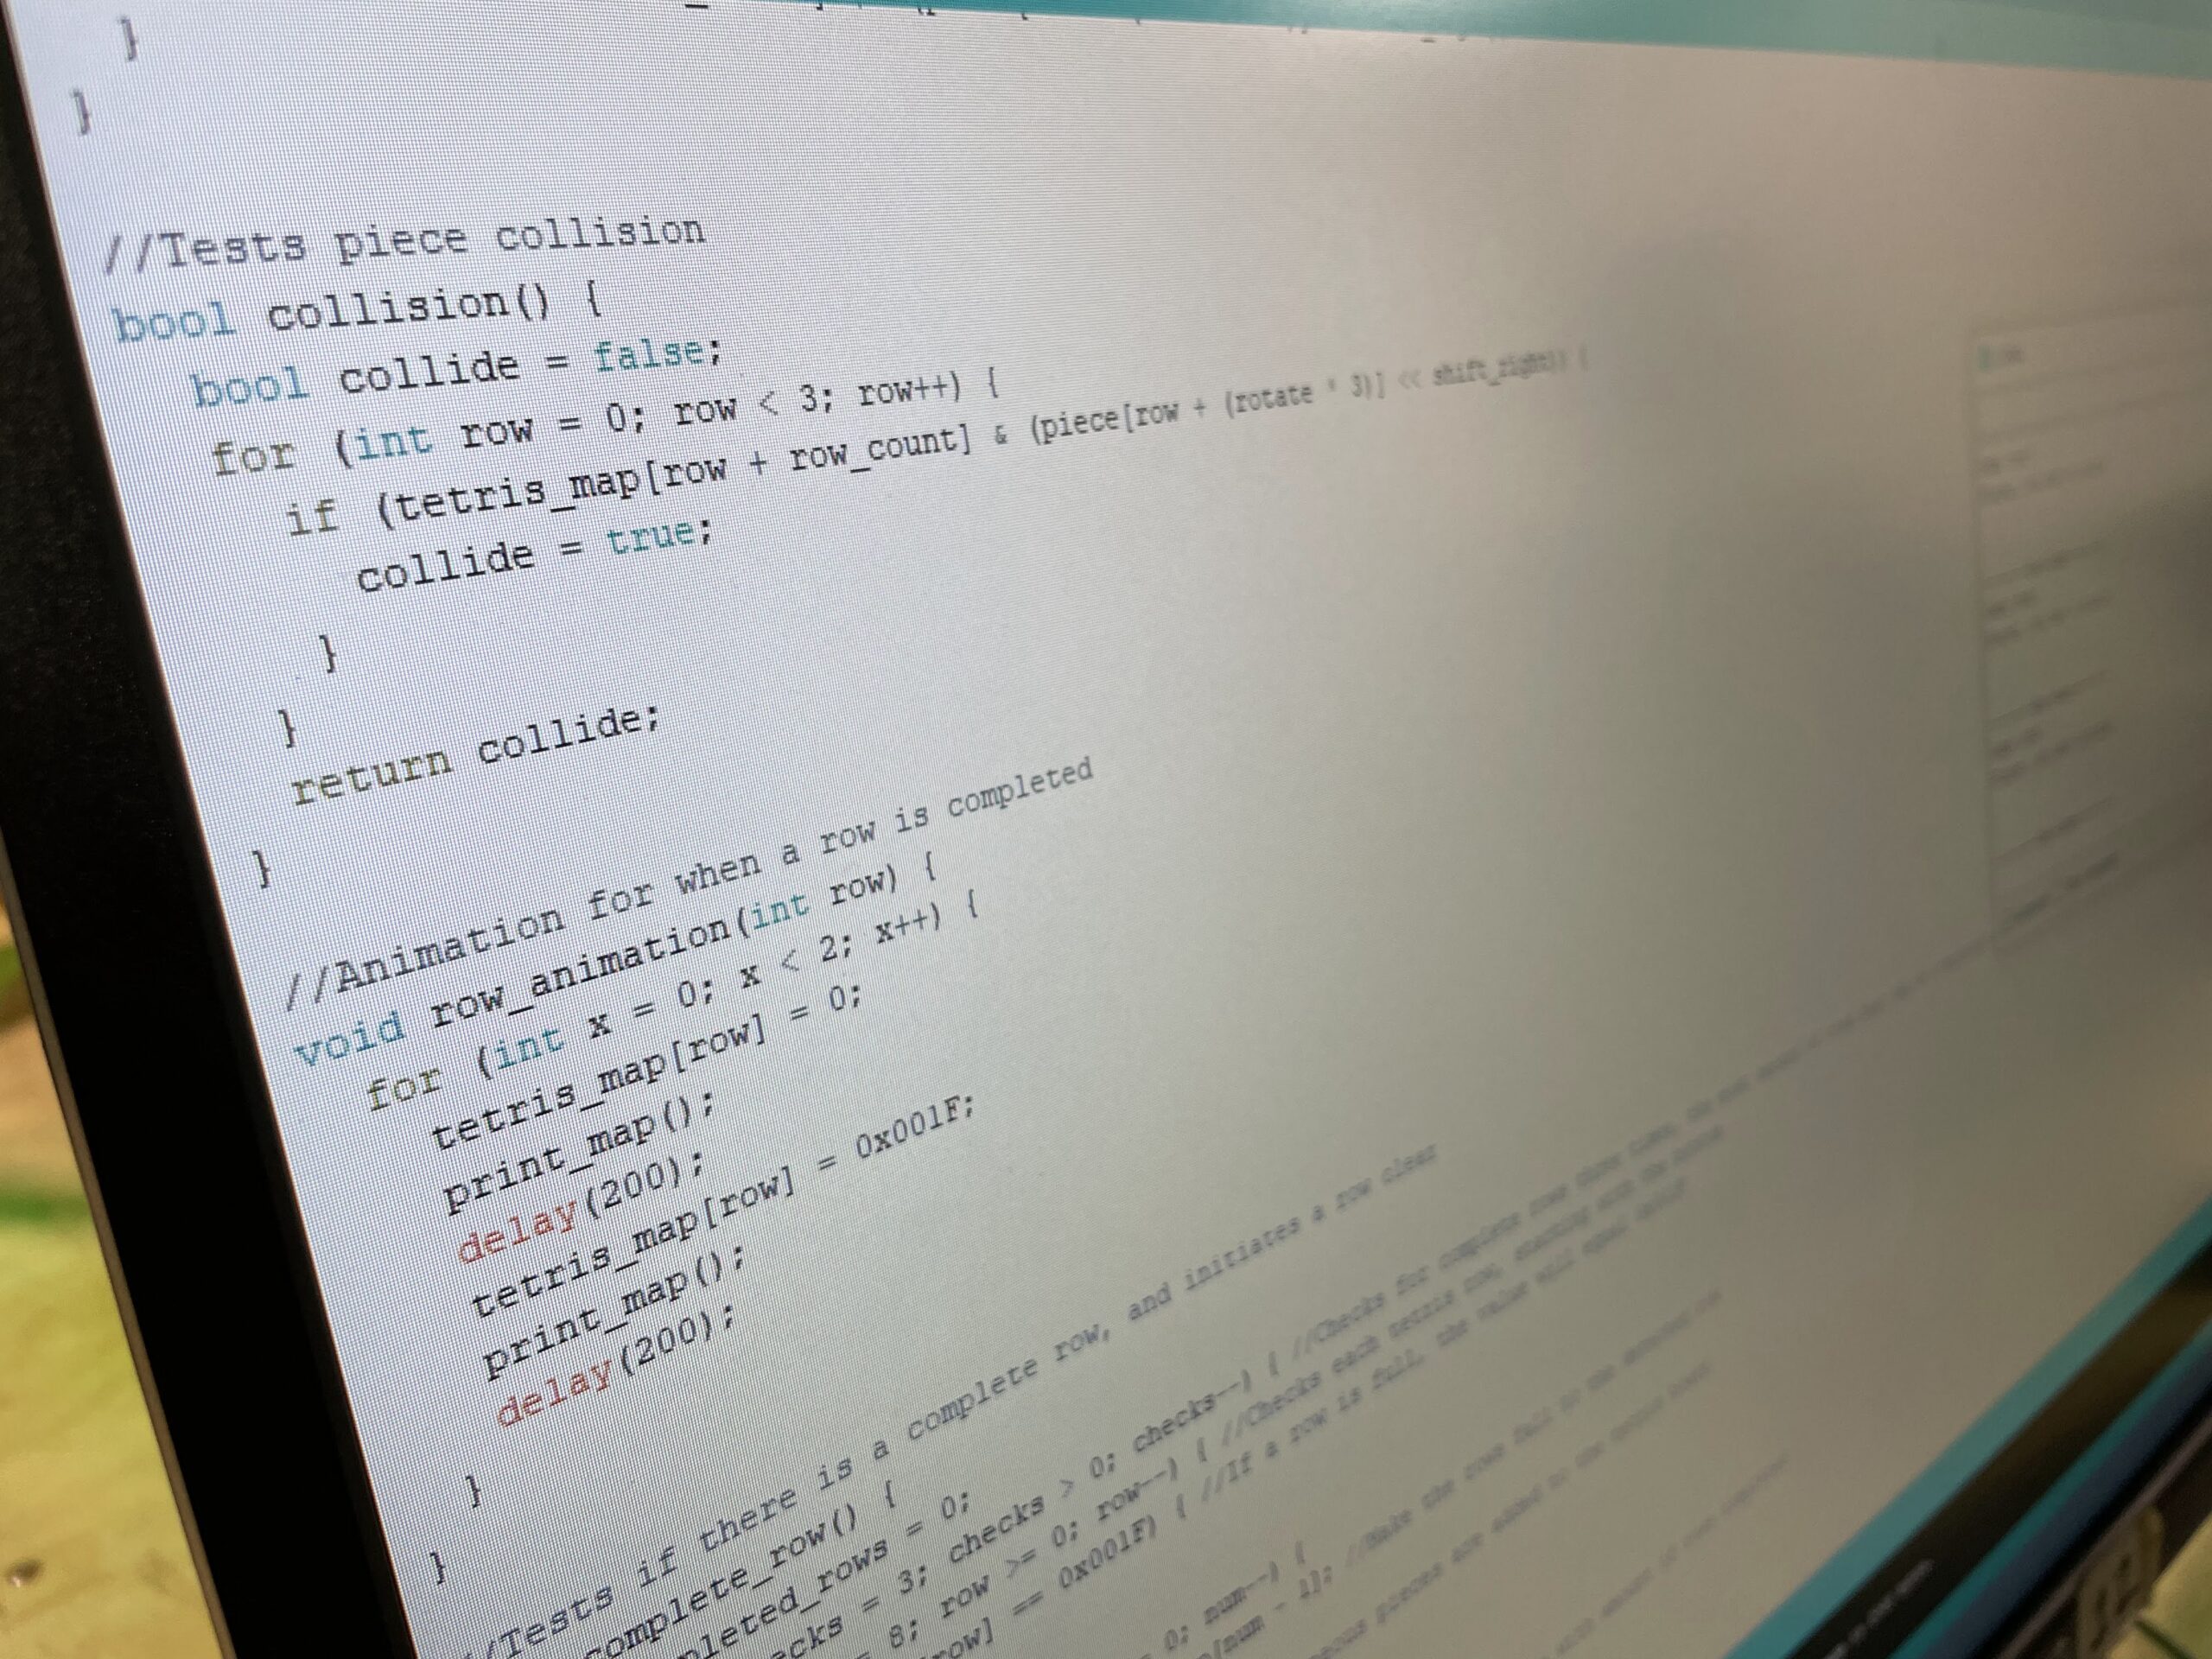
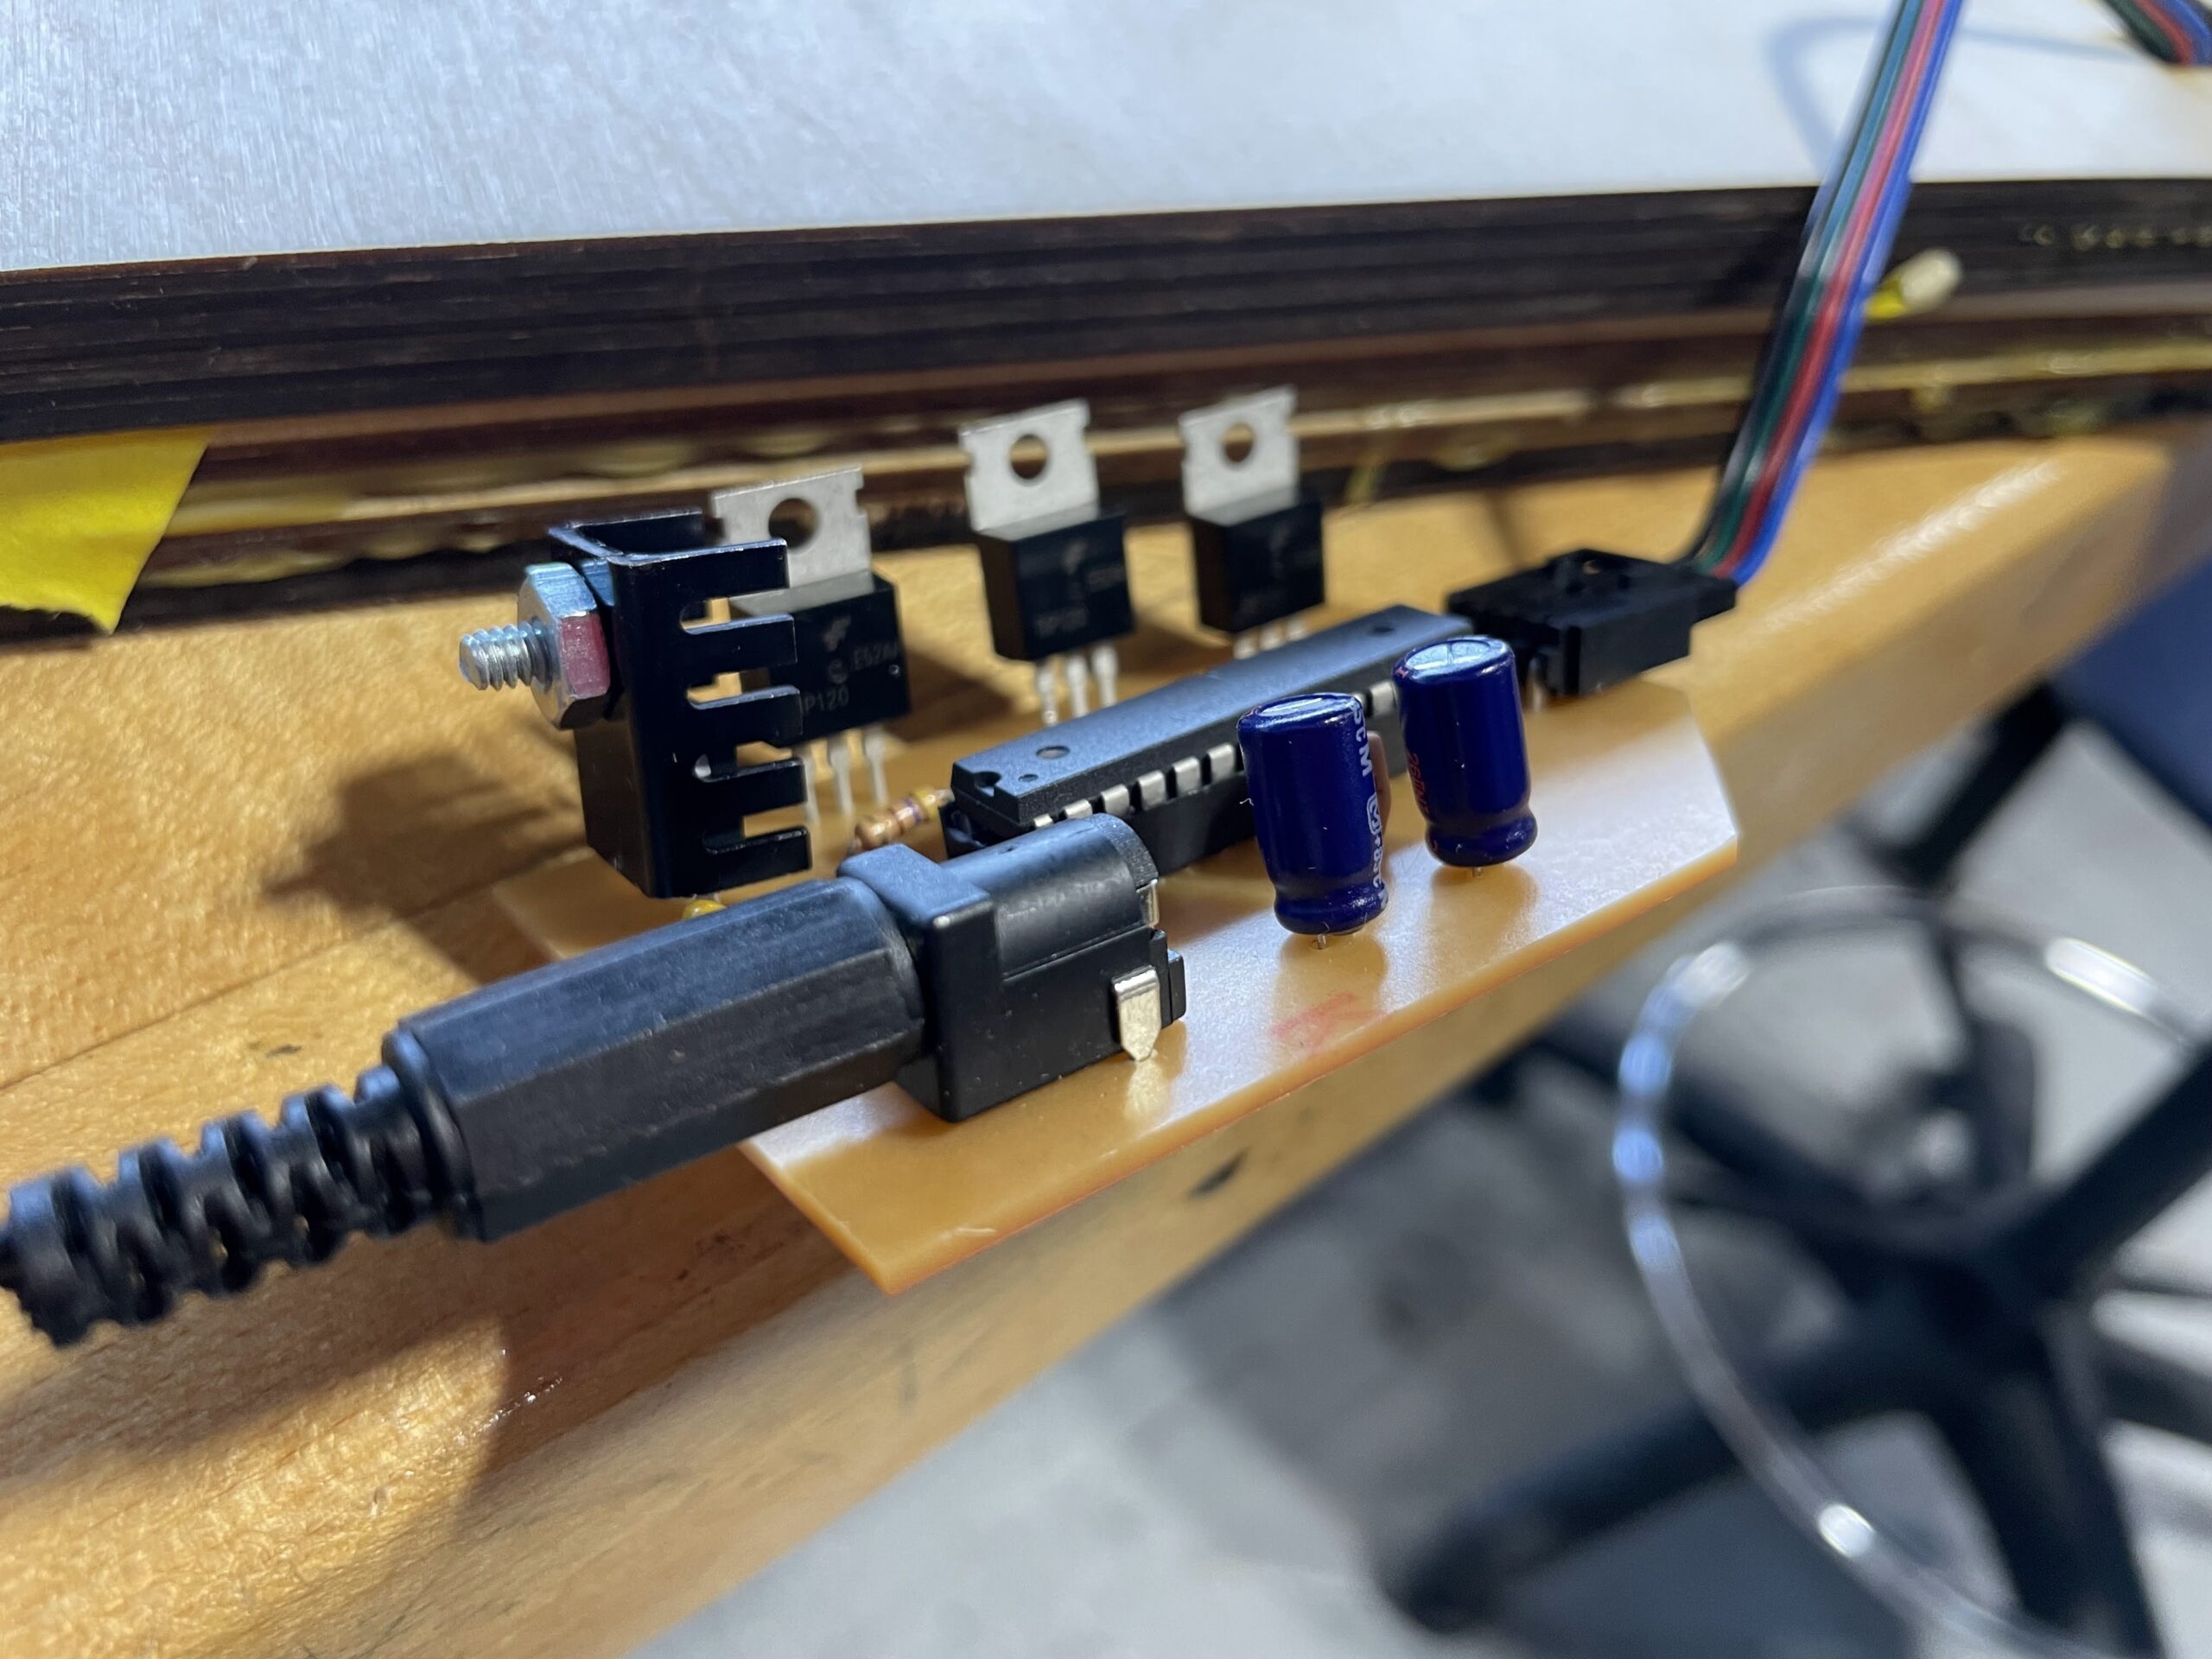
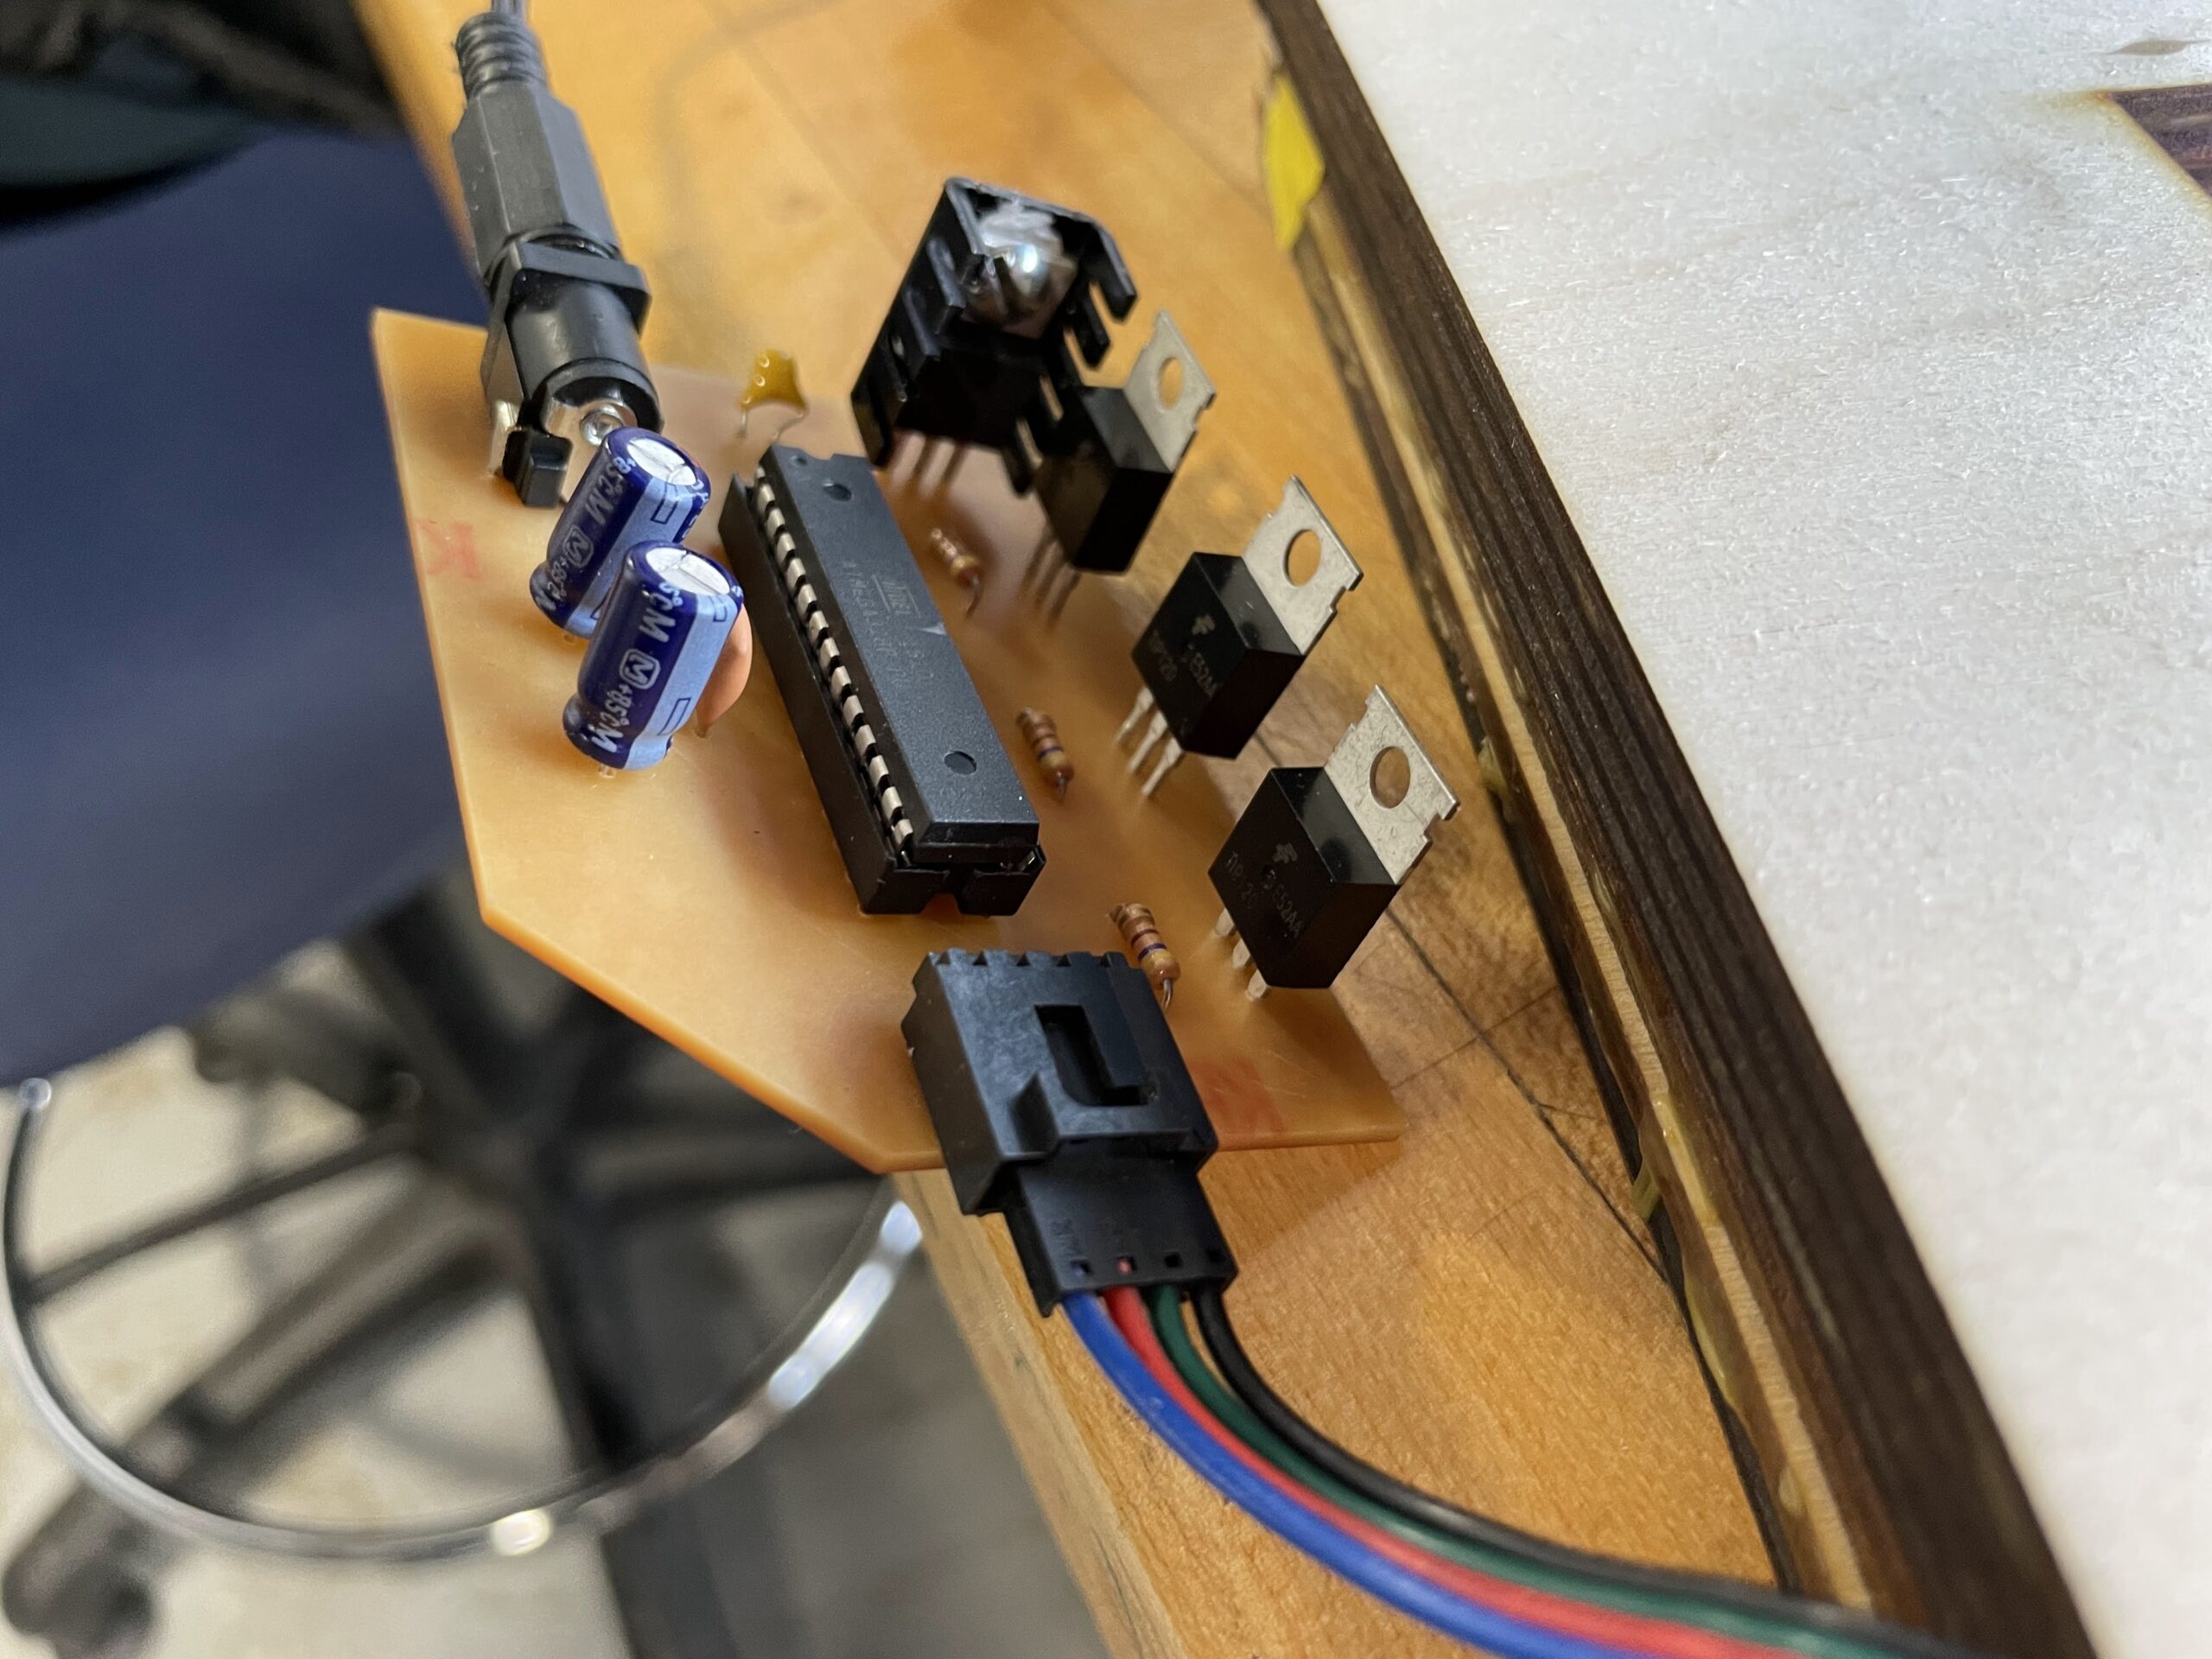
This student, Dylan S ’22 has spent most of the year reorganizing all the wiring, creating new PCBs, and writing code to make the rig fully functional. Today was the first day we were finally able to play the game using a small controller he built. It’s really incredible how much work has gone into this project and how incredibly well it performs. There are still some modifications that are going to be made, but it was a solid milestone to mention for today’s post. Video and images below.
For our sophomores we have a few standard projects they all work on individually. These include the LED Light Box and SumoBot projects. For each project students are expected to complete their projects using their own CAD designs, as well as making their own PCBs and designing the circuitry from scratch.
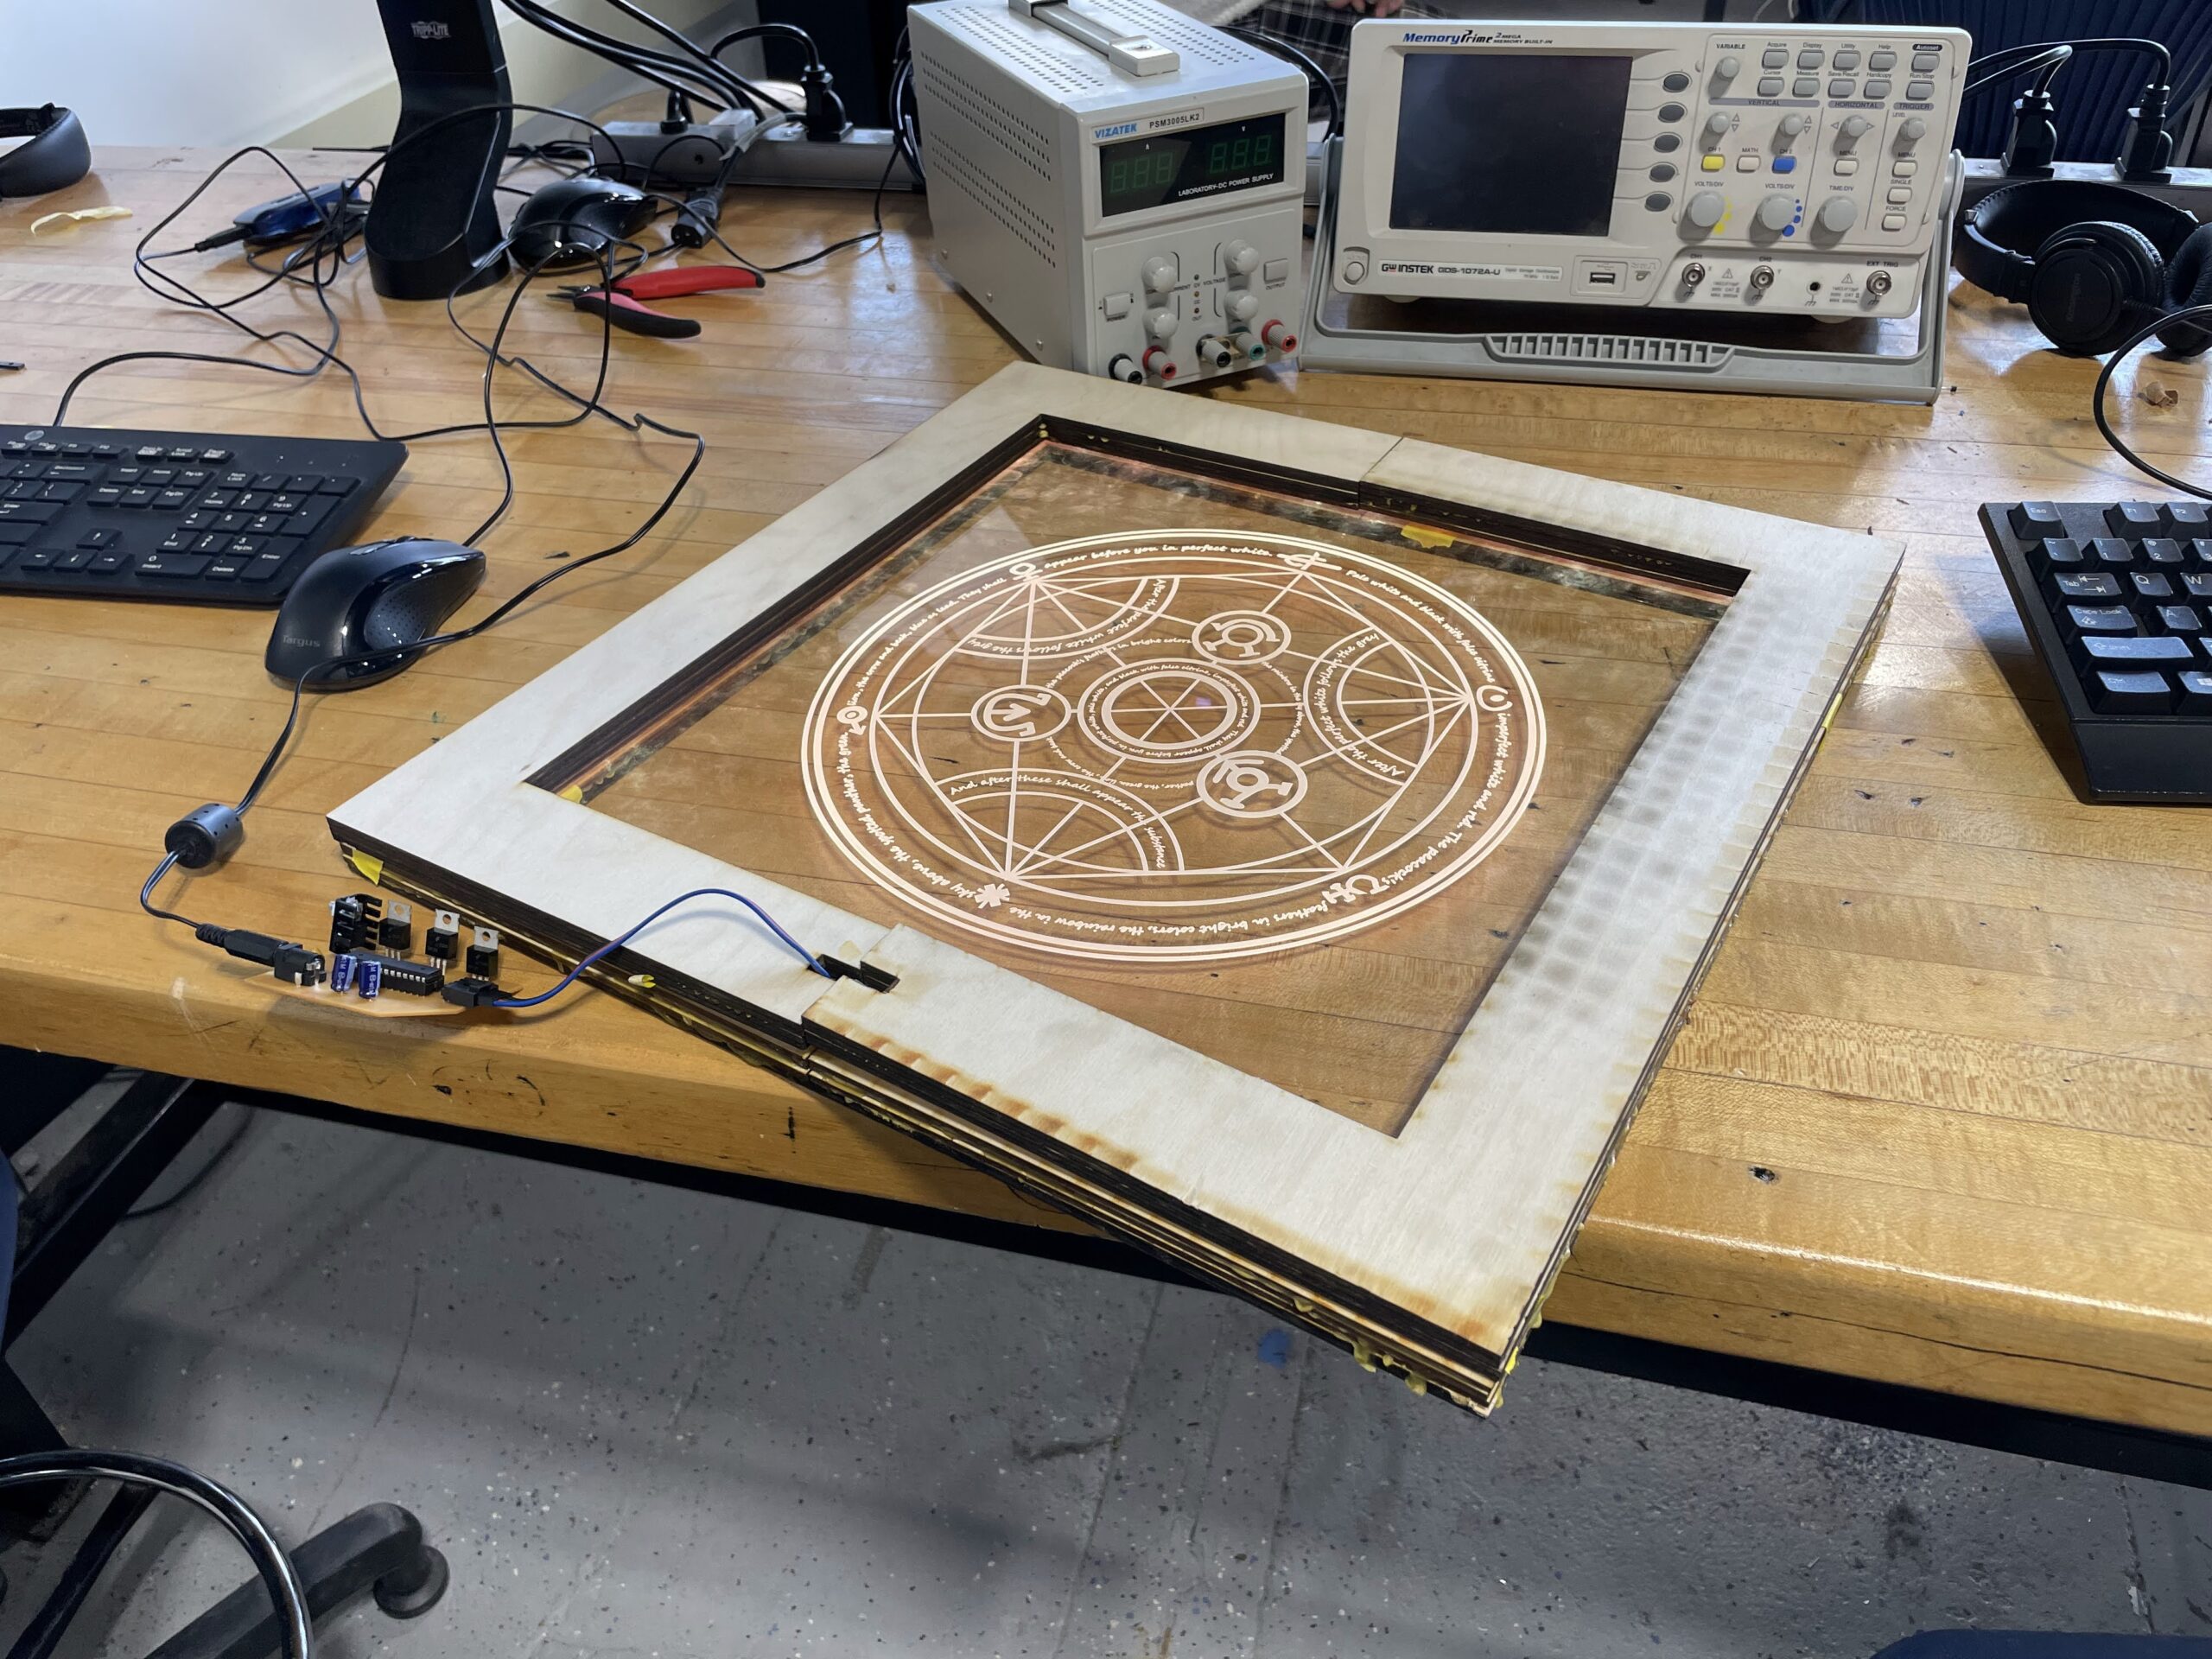
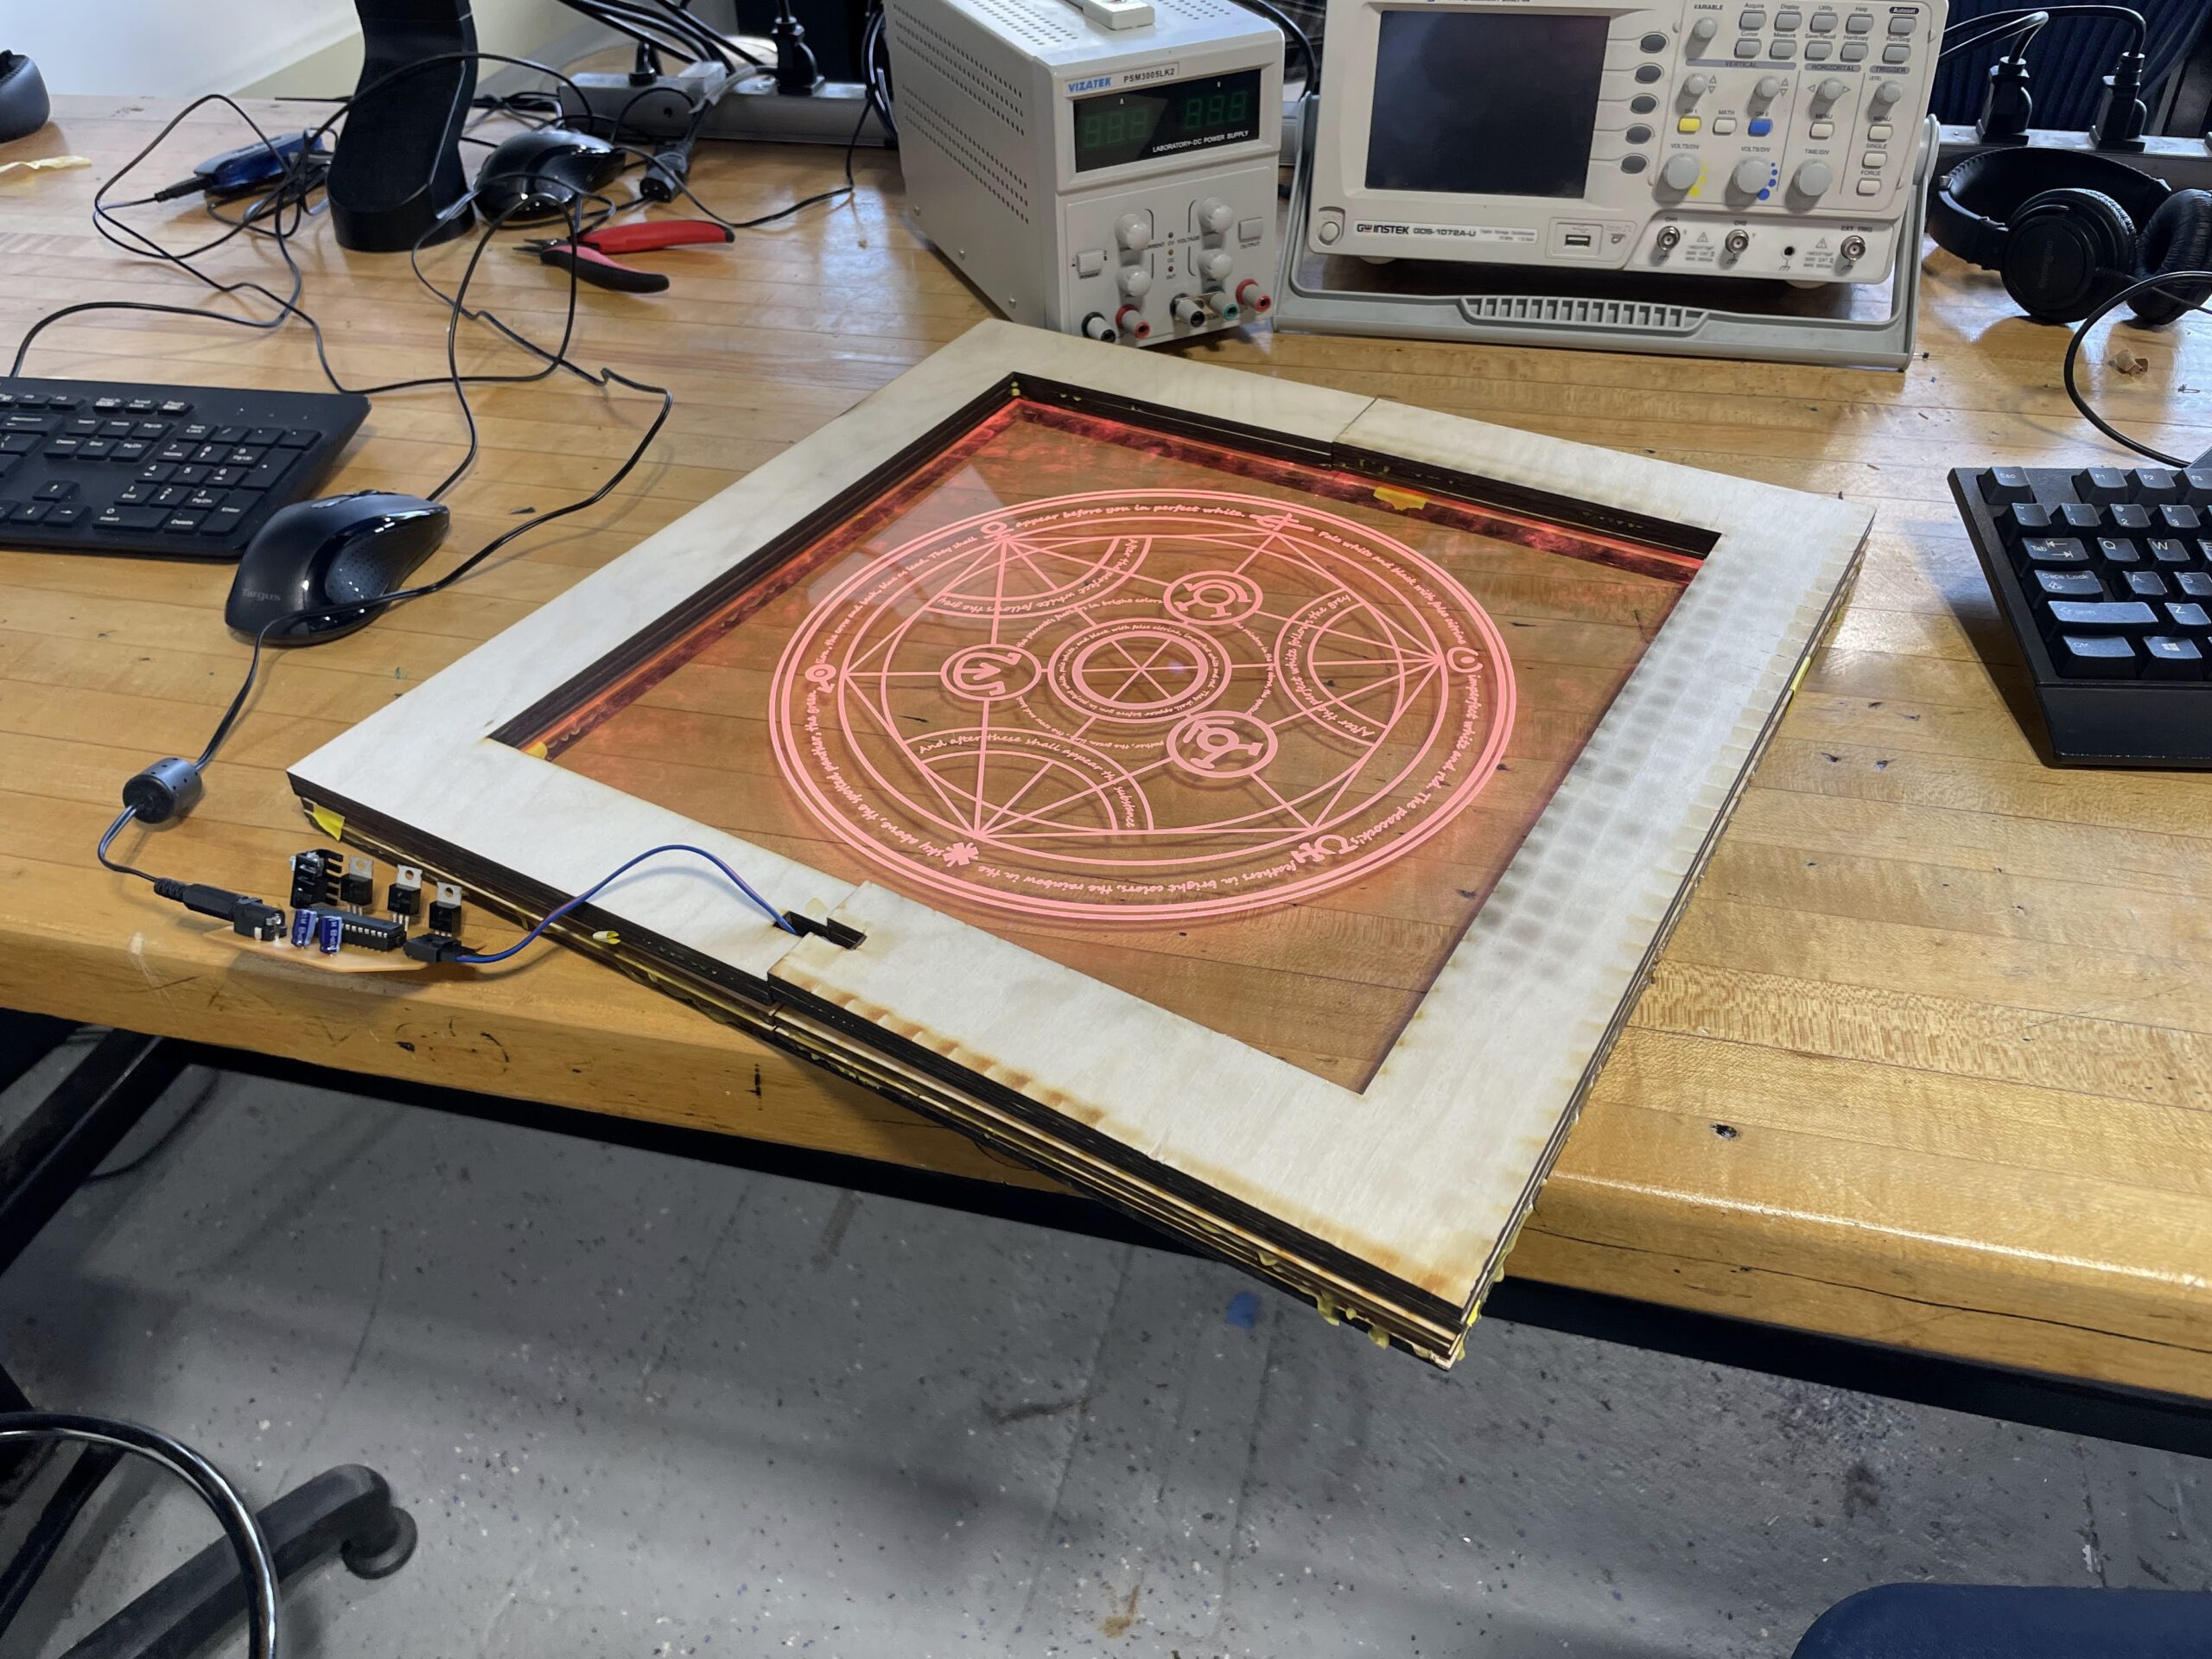
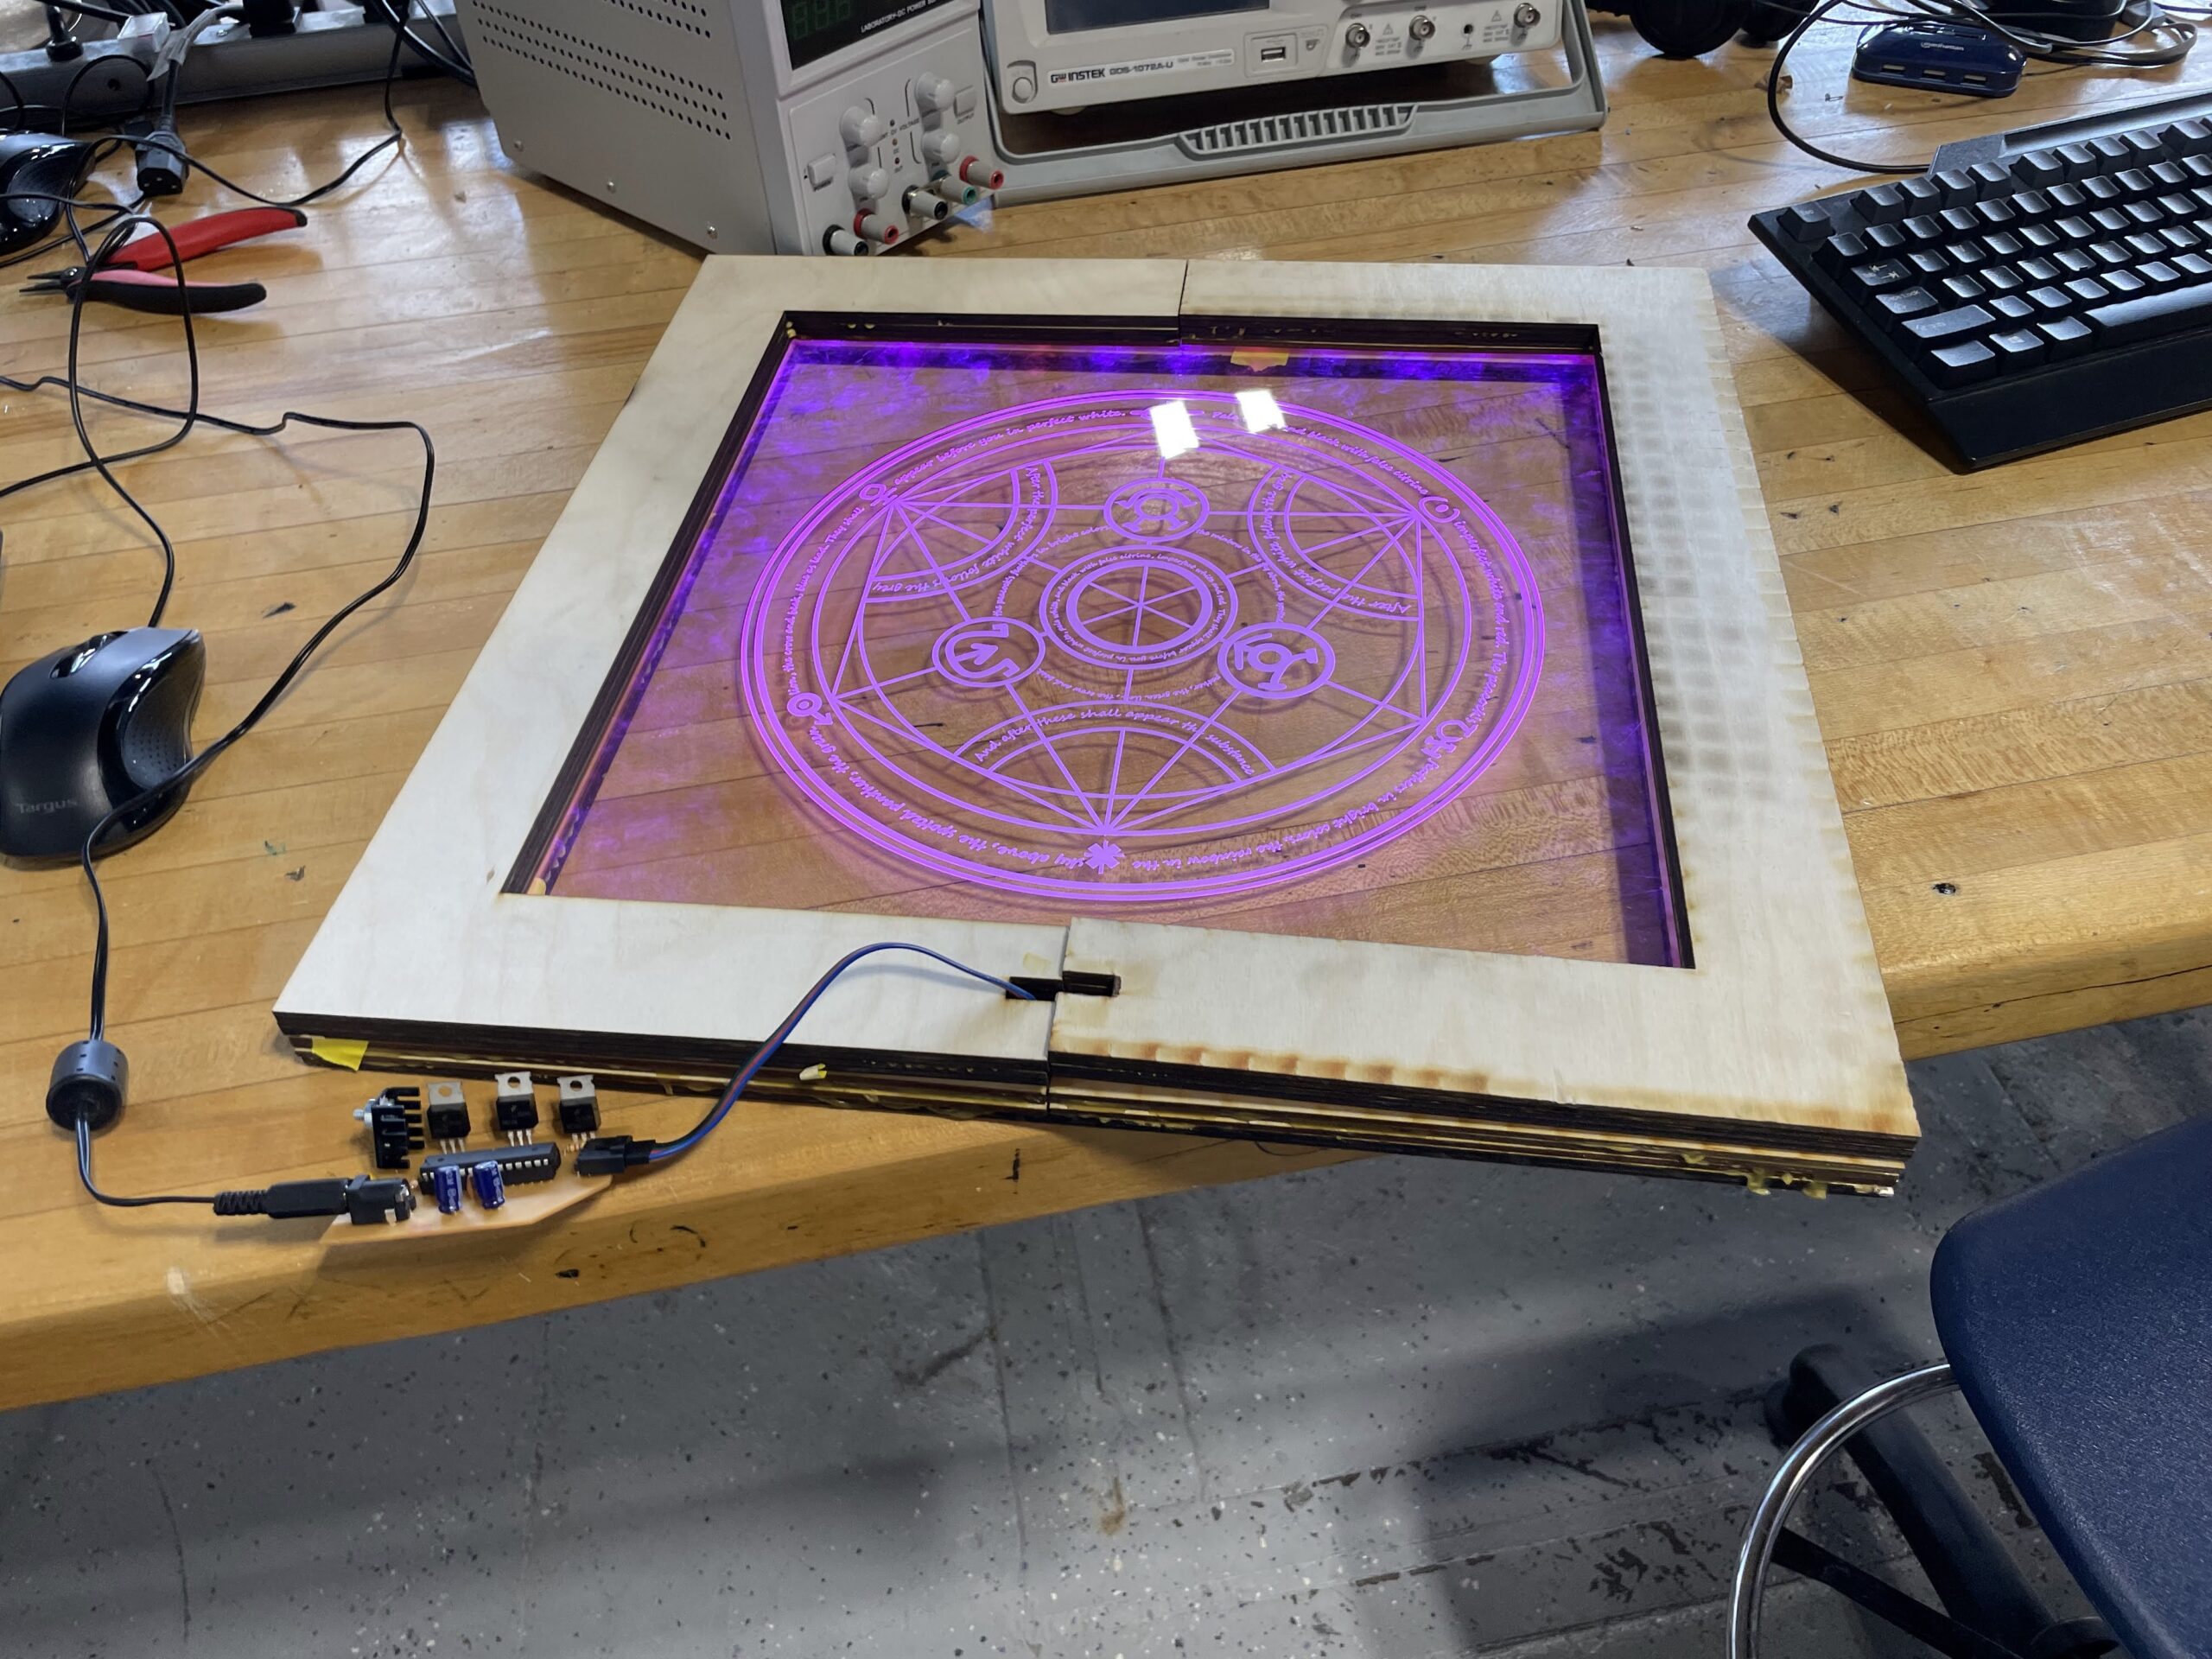
Unfortunately, for our current seniors, due to the COVID pandemic, they were unable to work on either of those projects, as they spent nearly a year and half learning remotely. Luckily, they are back in the building this year, and working hard to catch up on some hands on activities they missed. One student is now close to completing his LED Light Box, and it’s beginning to look very professional. I’m not sure what the inspiration for the acrylic is, but it came out really well. We use a raster technique for student designs on the back side of the acrylic and mirror the design so it looks backwards on the surface it is being laser etched into. When you turn the acrylic over, the design is in the correct orientation, and looks very clean behind a few millimeters of acrylic.
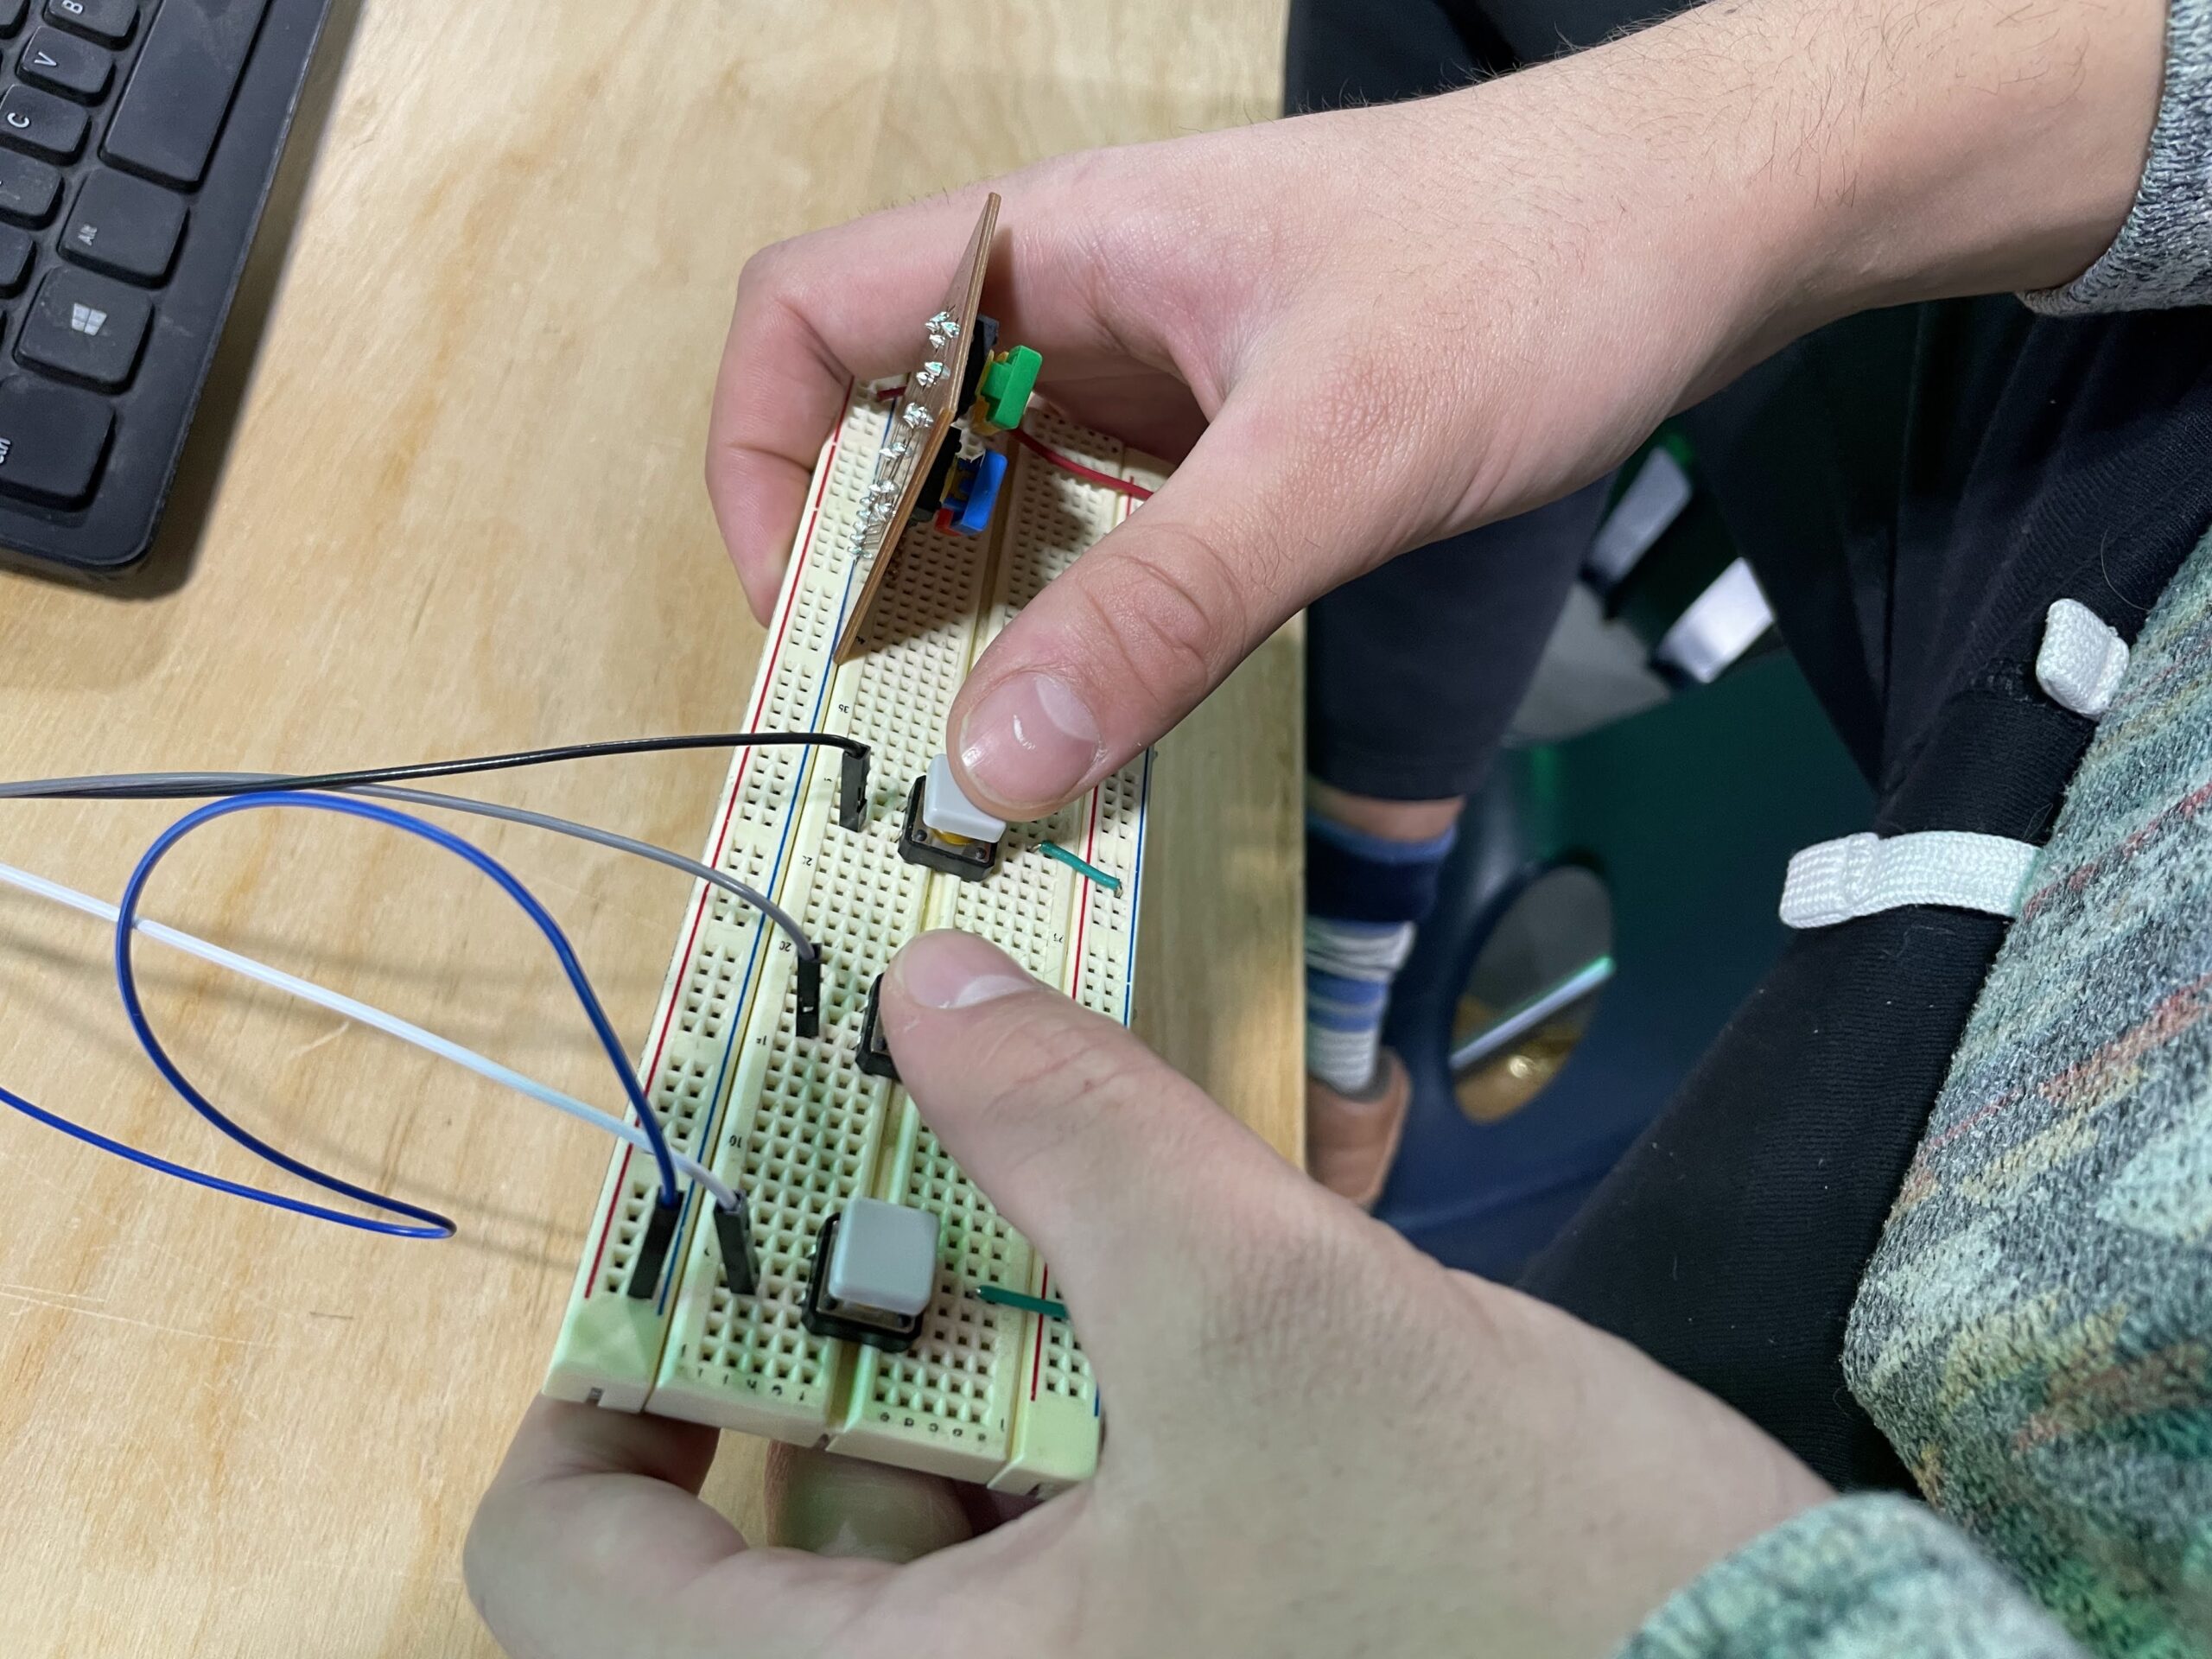
There is still some finishing work to be done on this particular LED Light Box, but it’s a nice example of projects coming out of our shop. Our current sophomore are beginning their lightboxes right now, which generally begins with finalizing their circuitry on breadboards and then milling their PCB boards on our Bantam Tools mills. Enjoy the photos and video of the project below.
Today I began setting up the Raspberry Pi for the internet radio project. I do not know too much about coding, and the instructions from the Instructables website did not always make sense to me. Additionally, the tutorial is from 2017, so some of the information is outdated. For one, the settings options on the pi are slightly different than in the tutorial, but I was able to figure out how to get what I needed.
Additionally, the tutorial asks to upload a specific media player to the pi, yet the when I attempted to do that via SSH, it said it could not find the media player. I was able to upload a different media player, but not sure if it will work. I was also able to upload the python file, which downloaded as html, and I needed to download a python editor in order to save the file. Perhaps there is another way to do this, I just could not figure it out.
I believe that is all that I need on the software side, now I will be adding all the hardware and test it out. Once the hardware is working I will go into the software again and change the radio stations to one I want. Here you can see me using Terminal to talk to my Raspberry Pi.