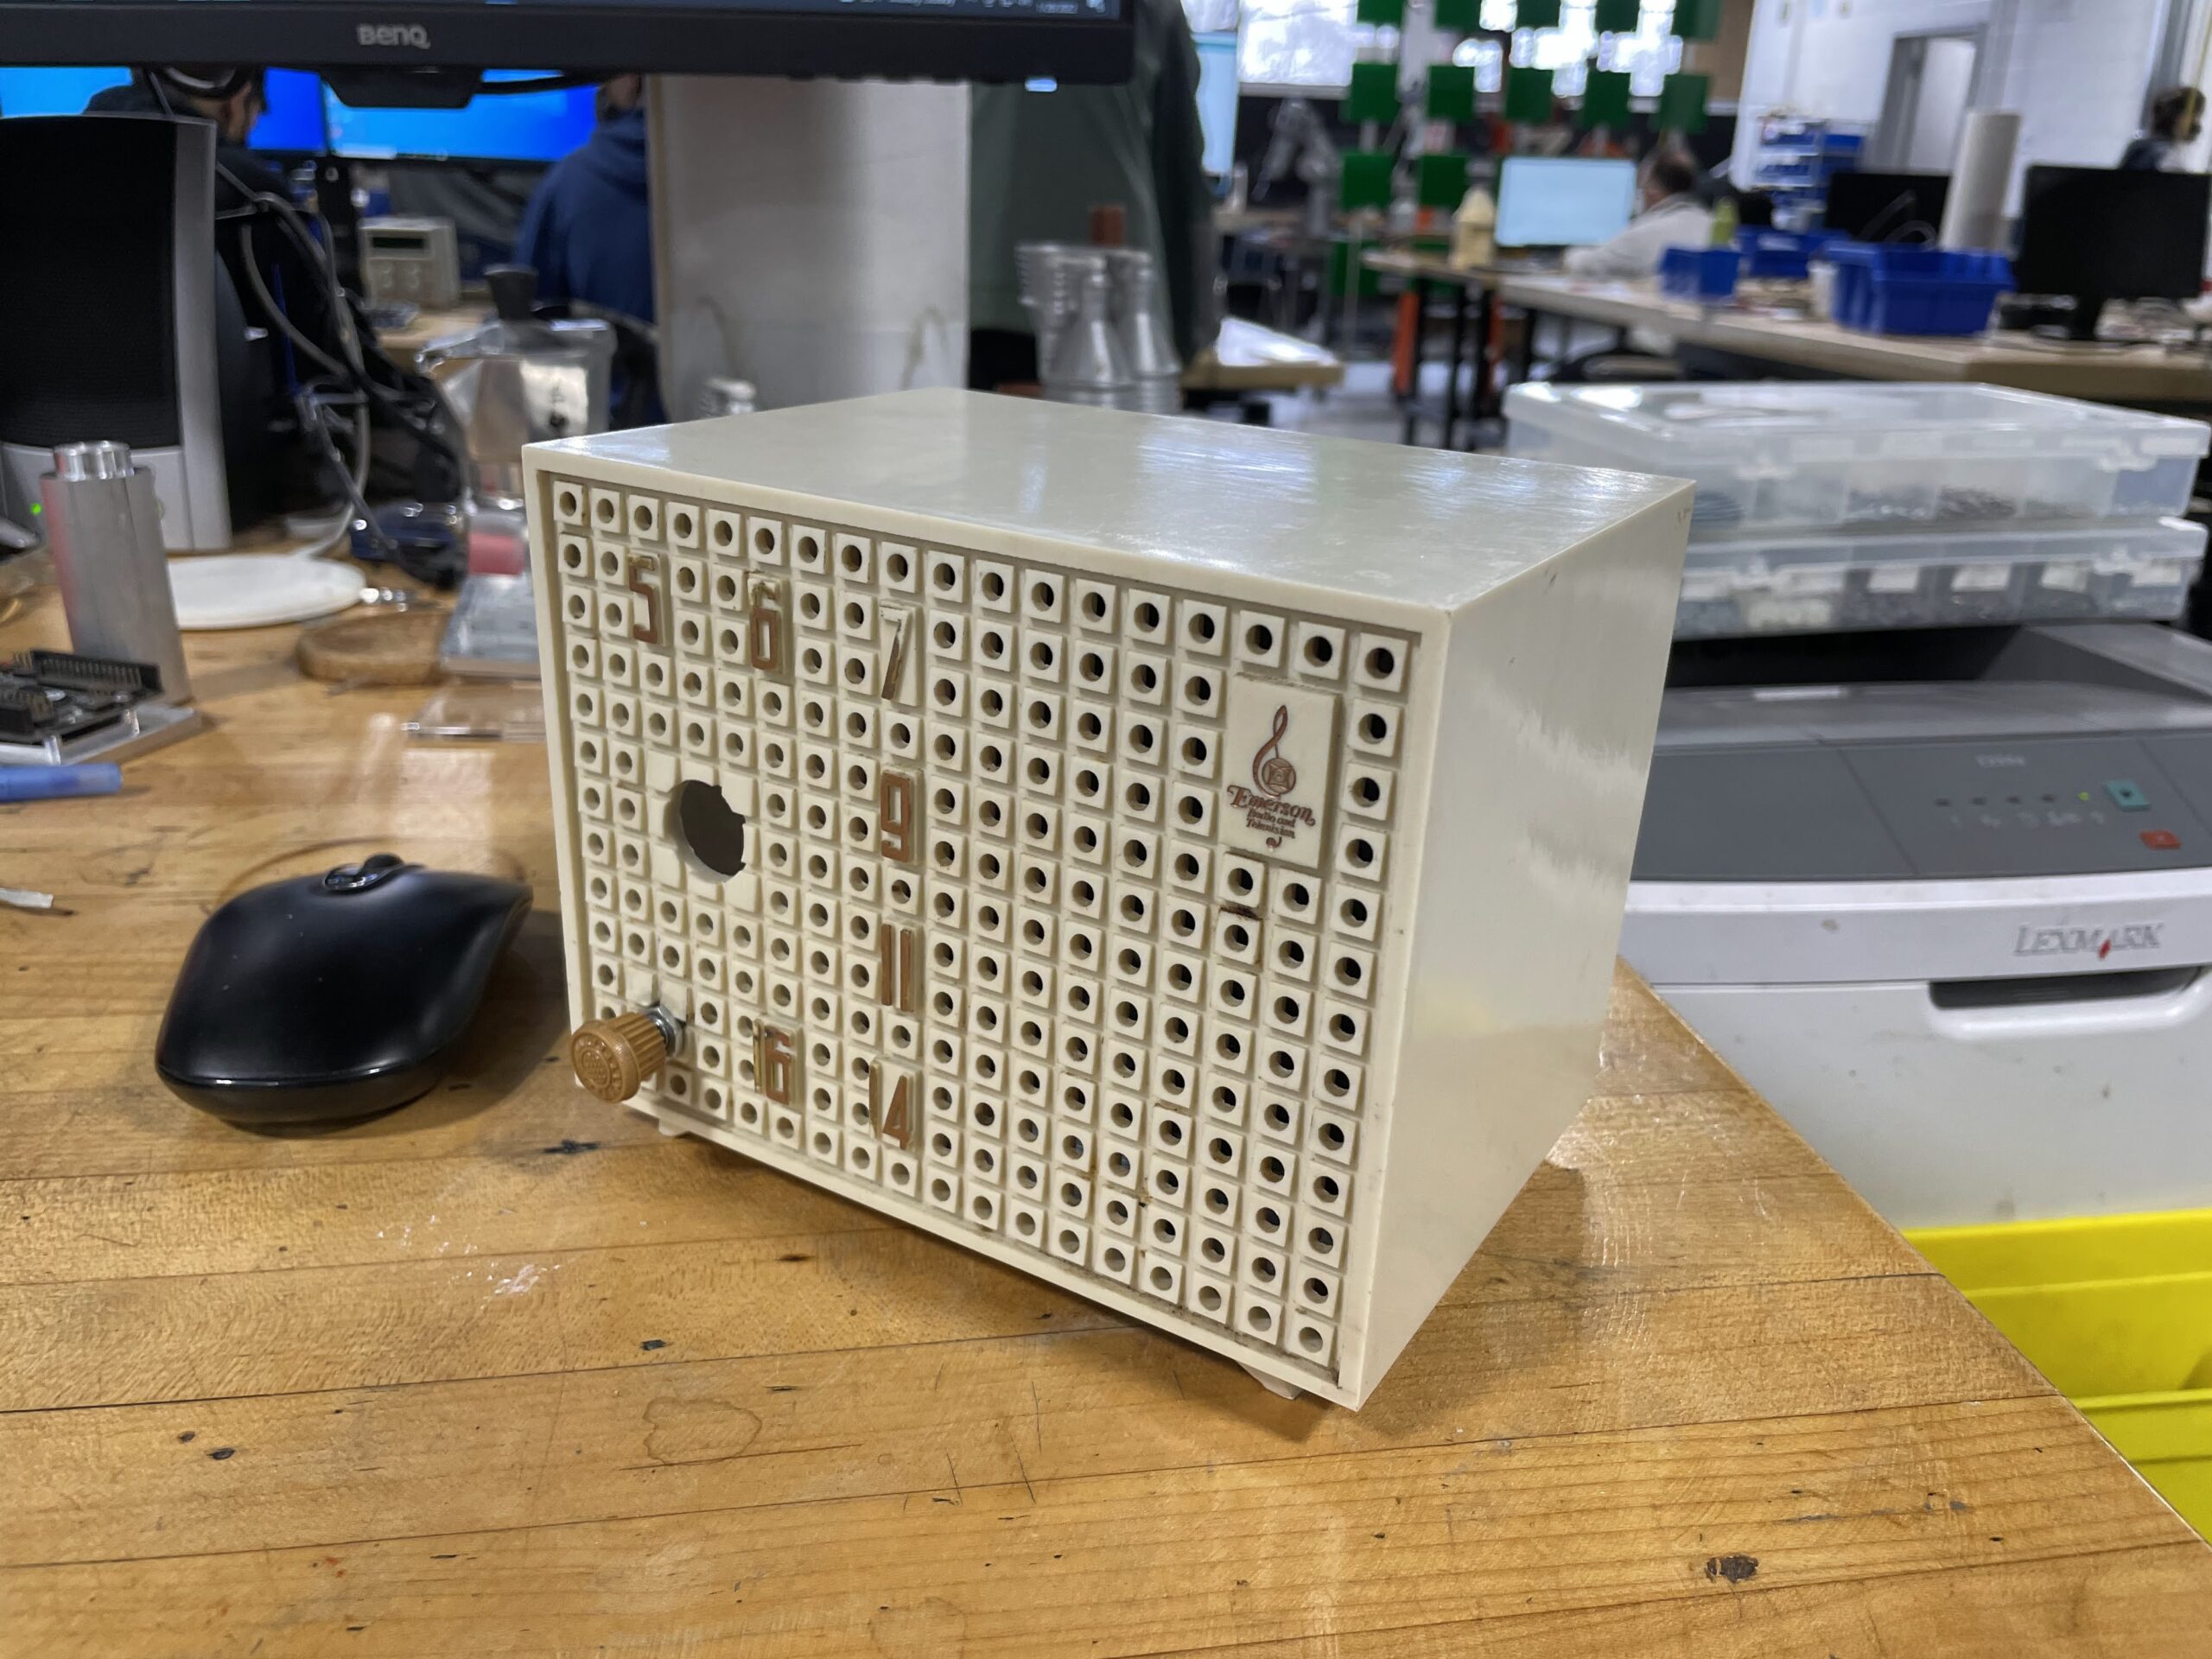
Worked on the Pi Radio today. Needed to do some soldering to create a 3.5 TS audio jack to a 2 pin connector for an amplifier. I used a Raspberry Pi as a 5v power source since it was just sitting at my desk. The audio jack is plugged into my computer speakers and is now playing sound through the speaker in the Emerson radio.
Next thing to do is make sure the code on the Raspberry Pi is working correctly and plug the audio jack into it. I will make final connections for the digital encoders and then take everything apart of repaint the casing. Getting very close. Here is a short video of some audio coming from the radio.
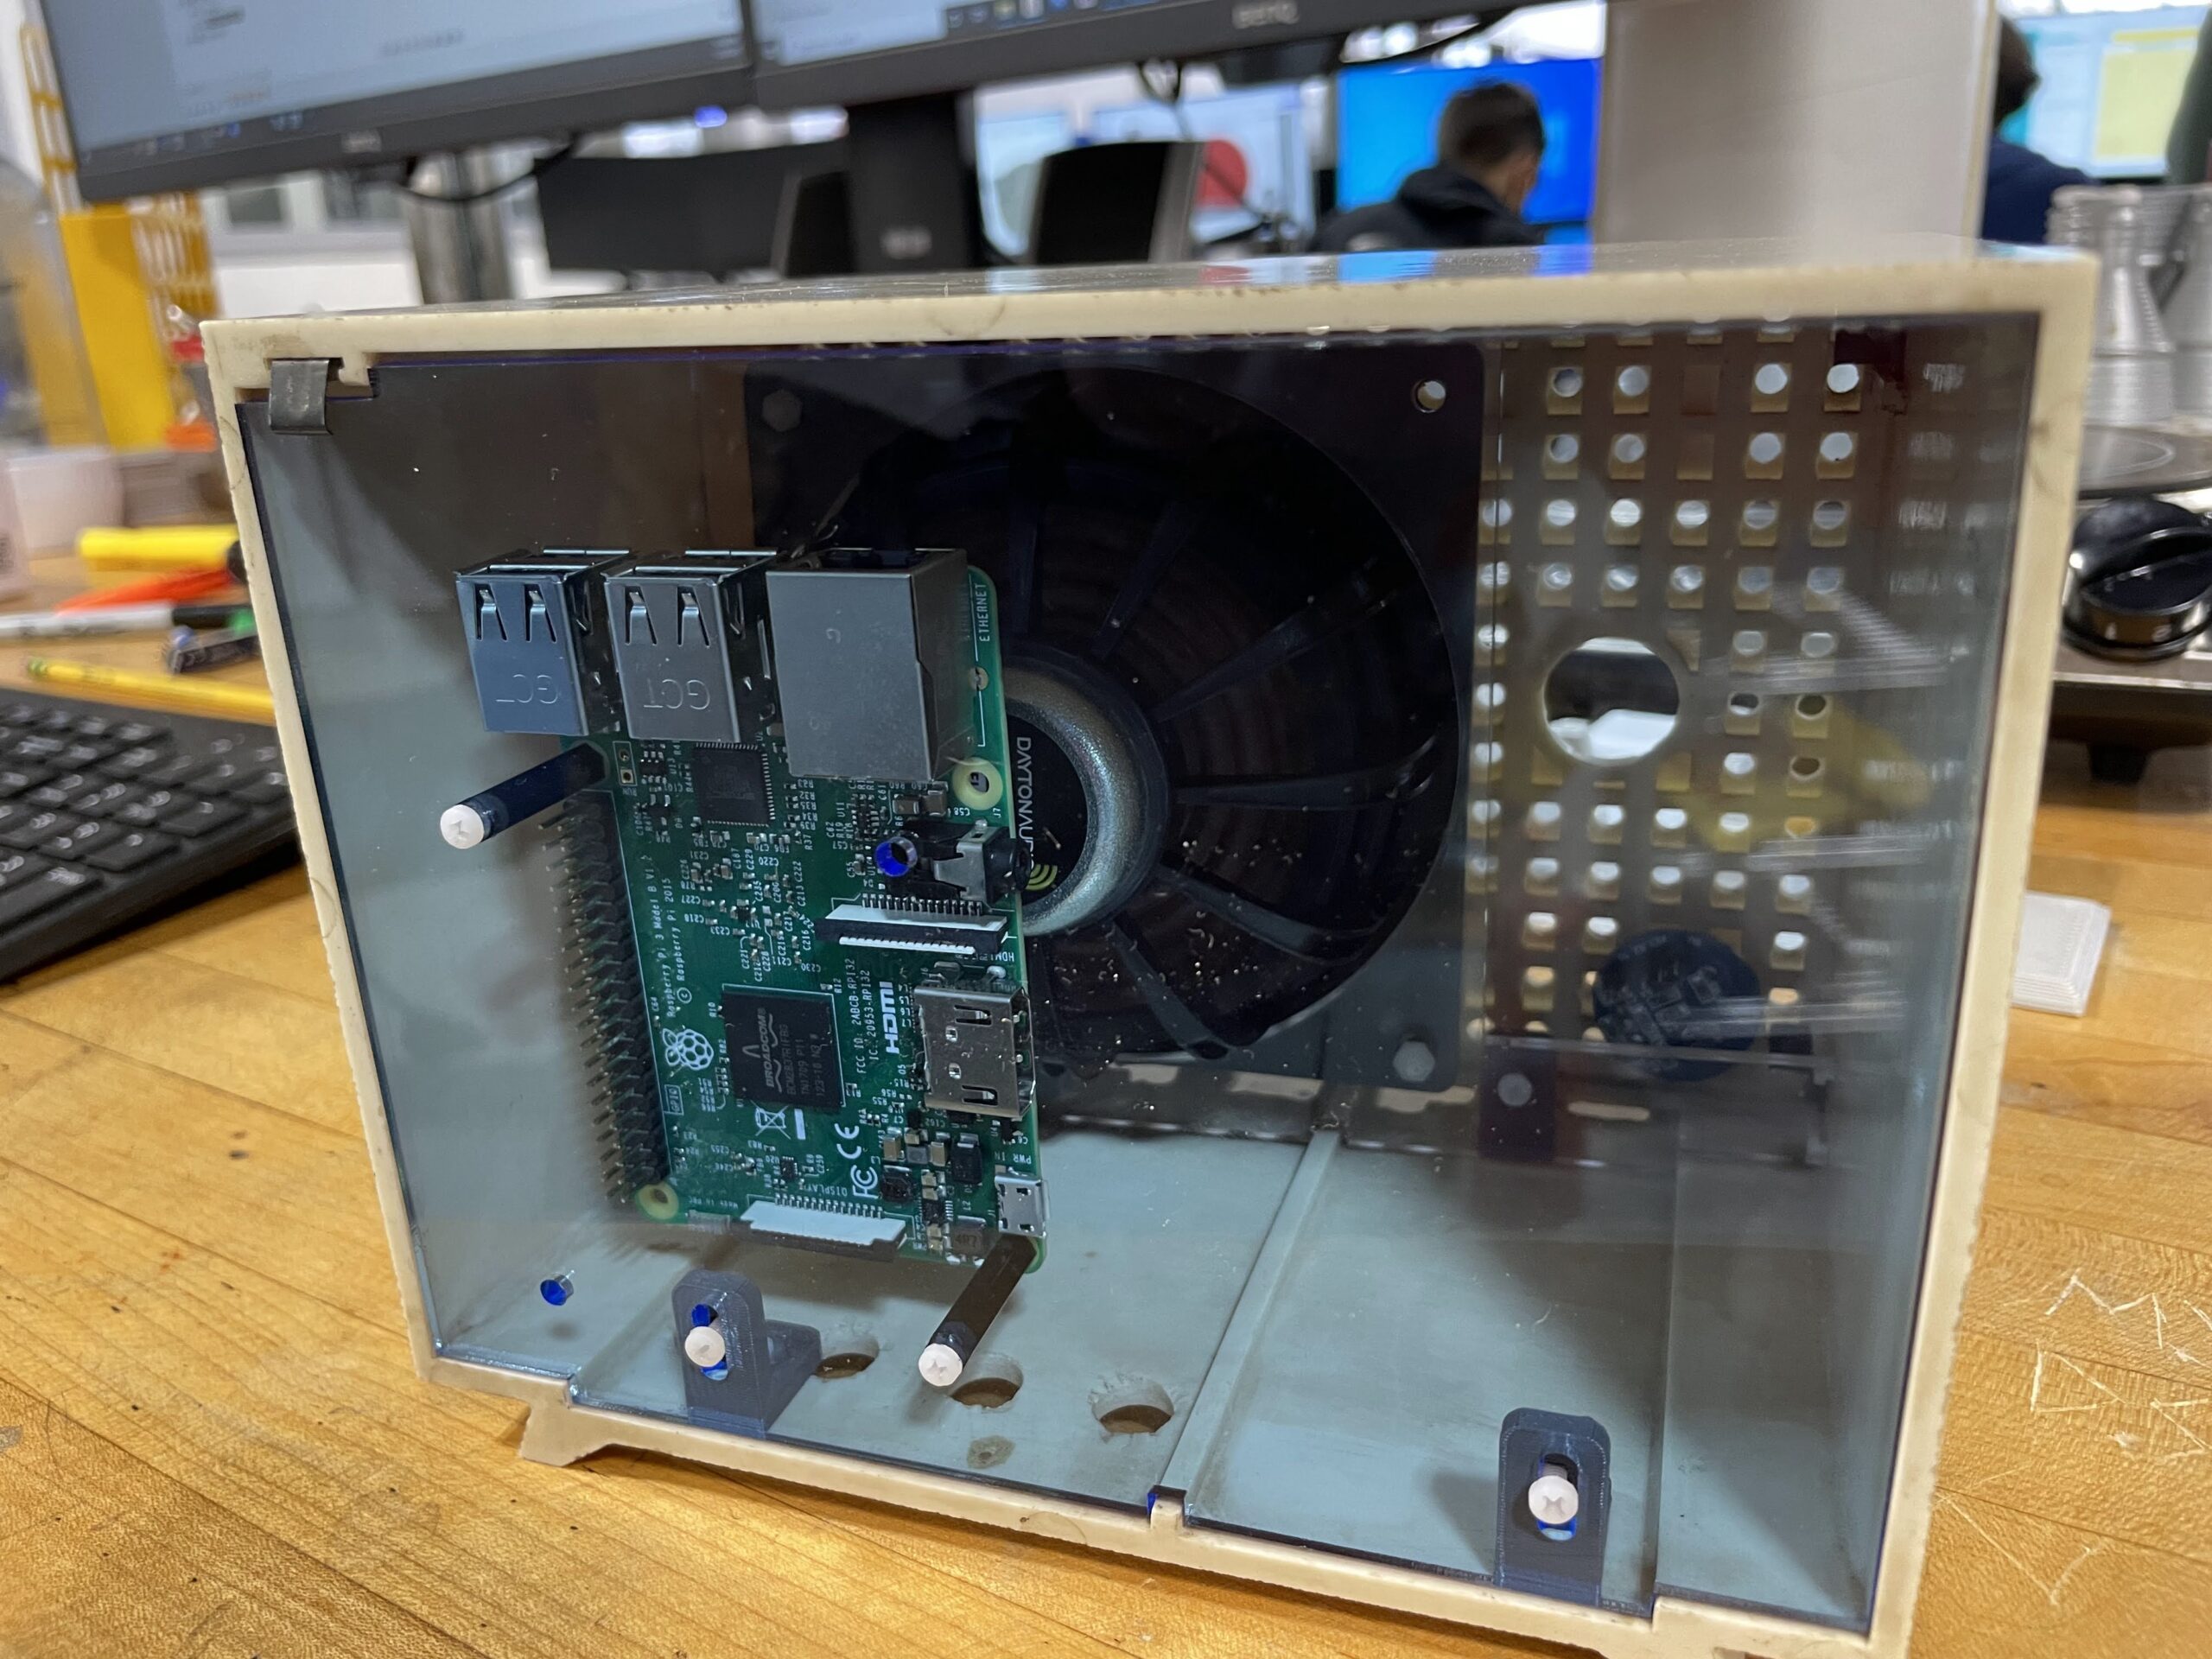
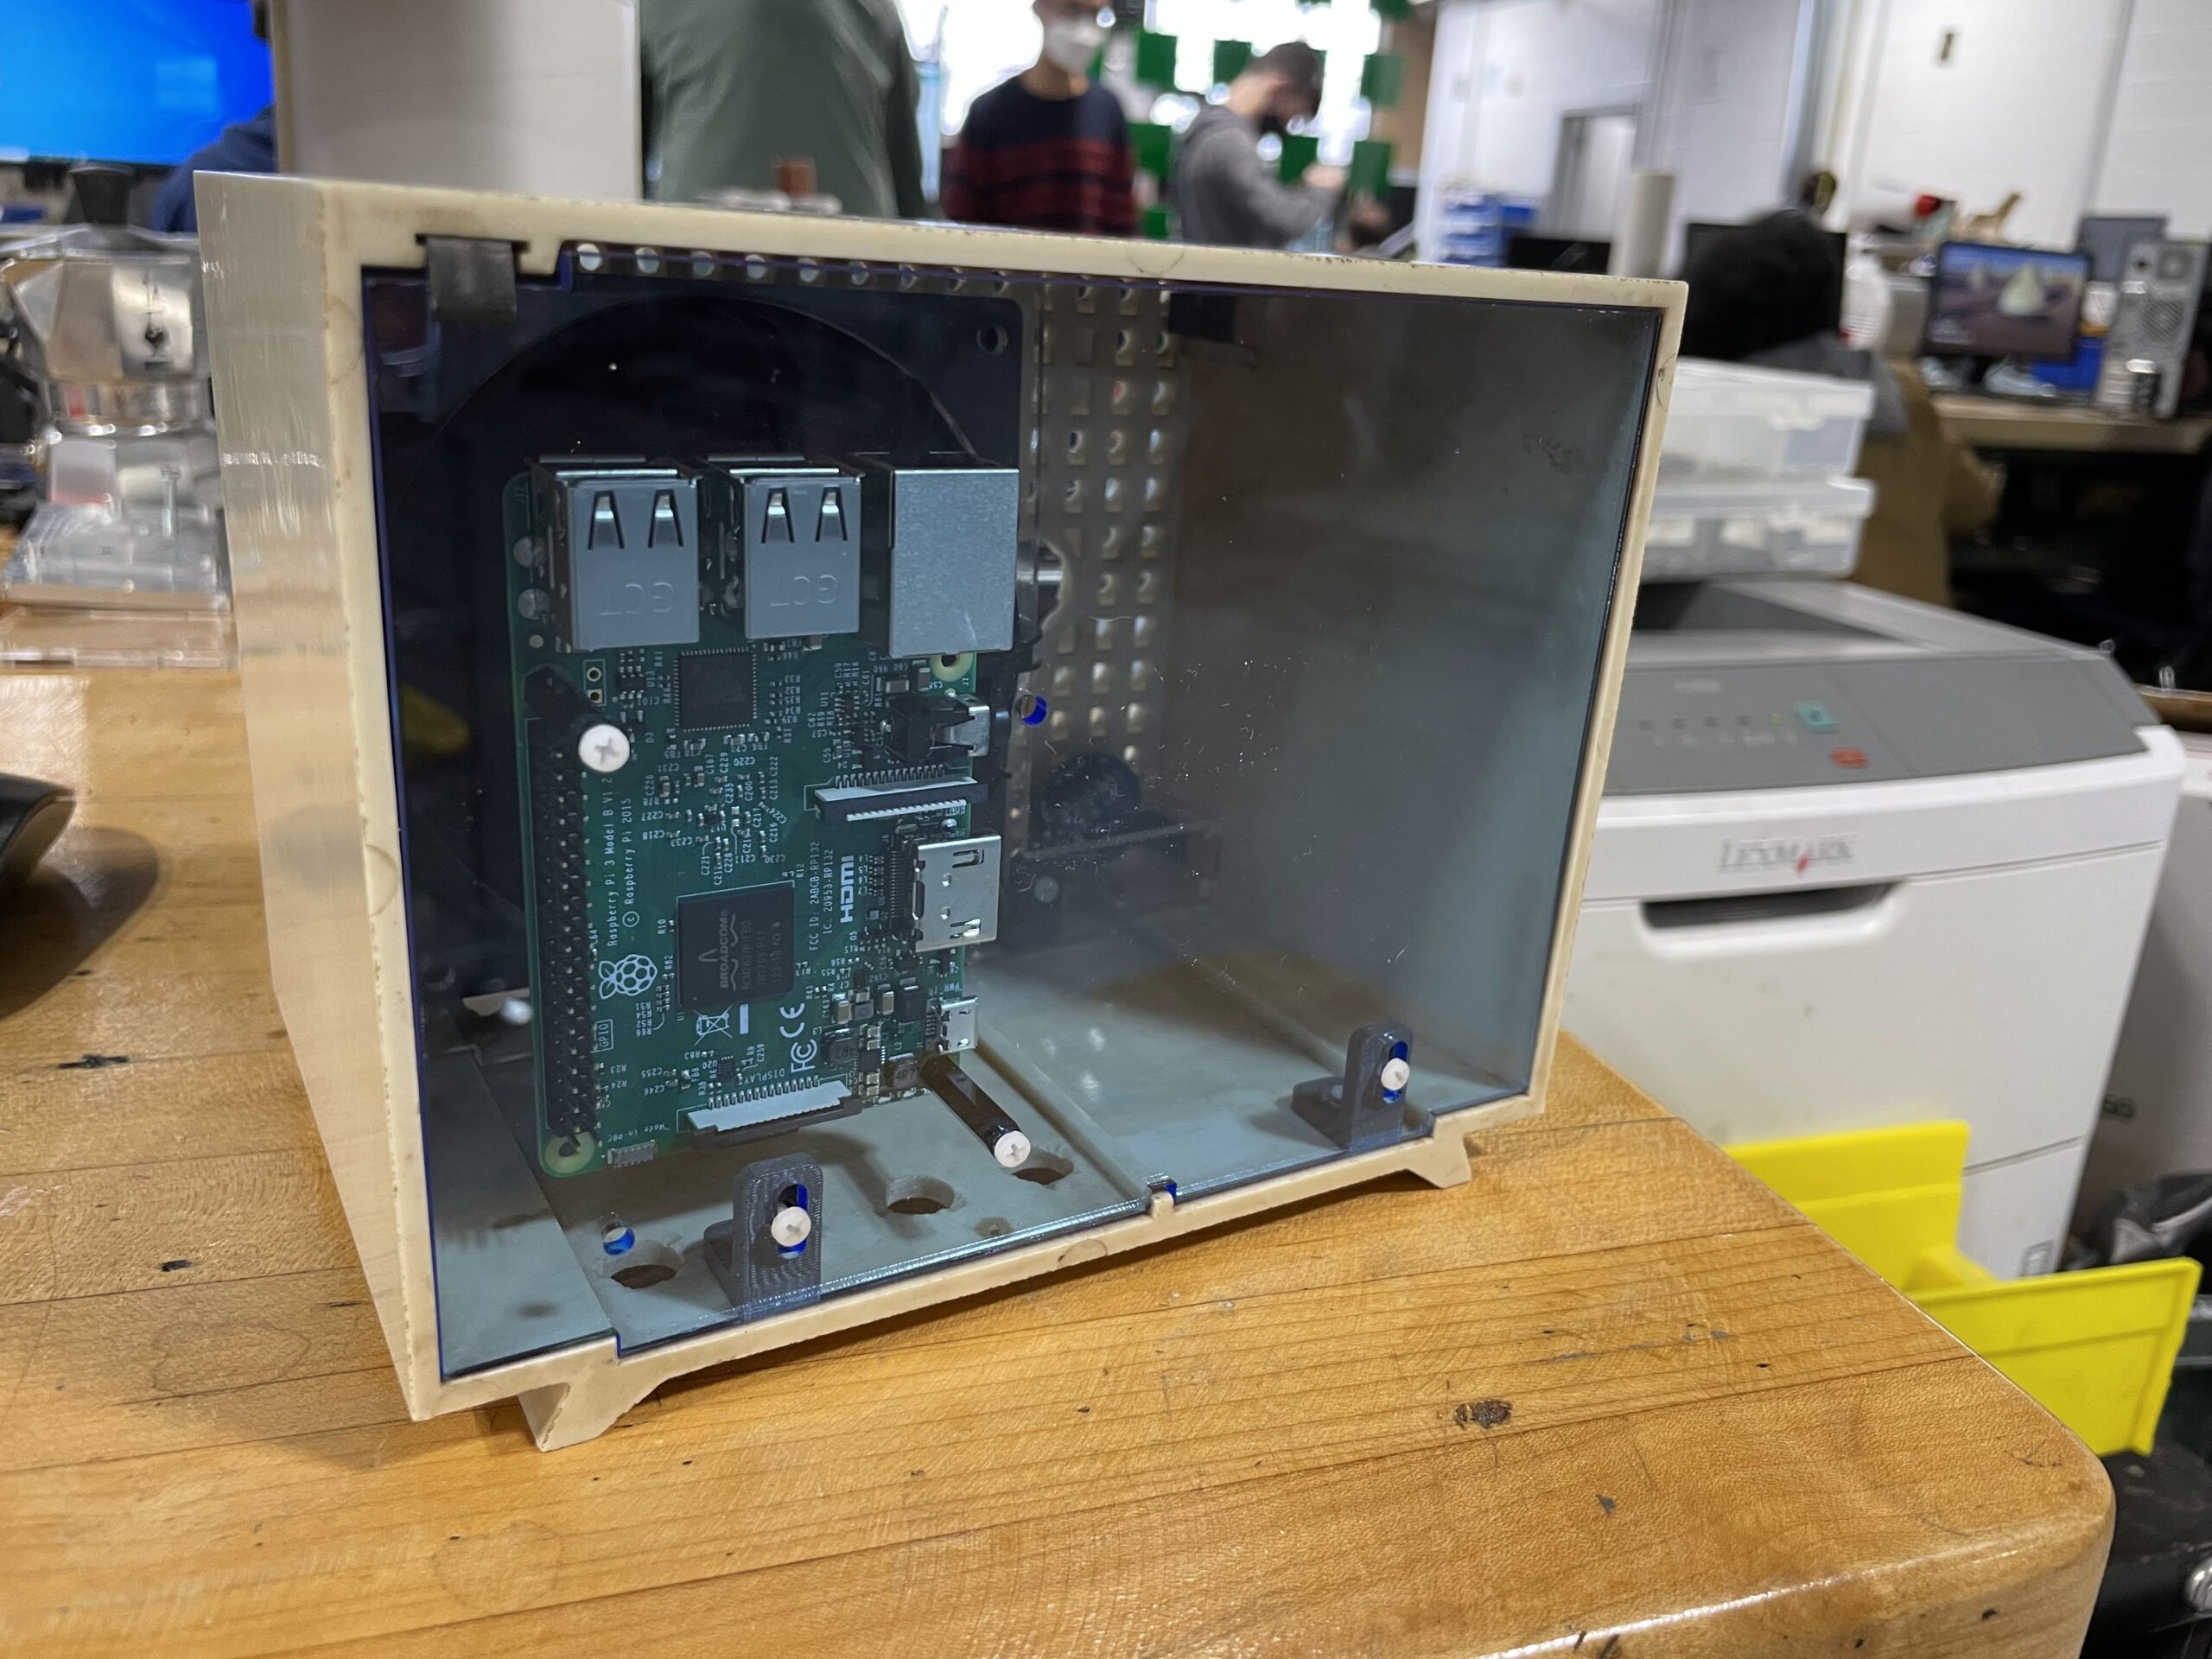
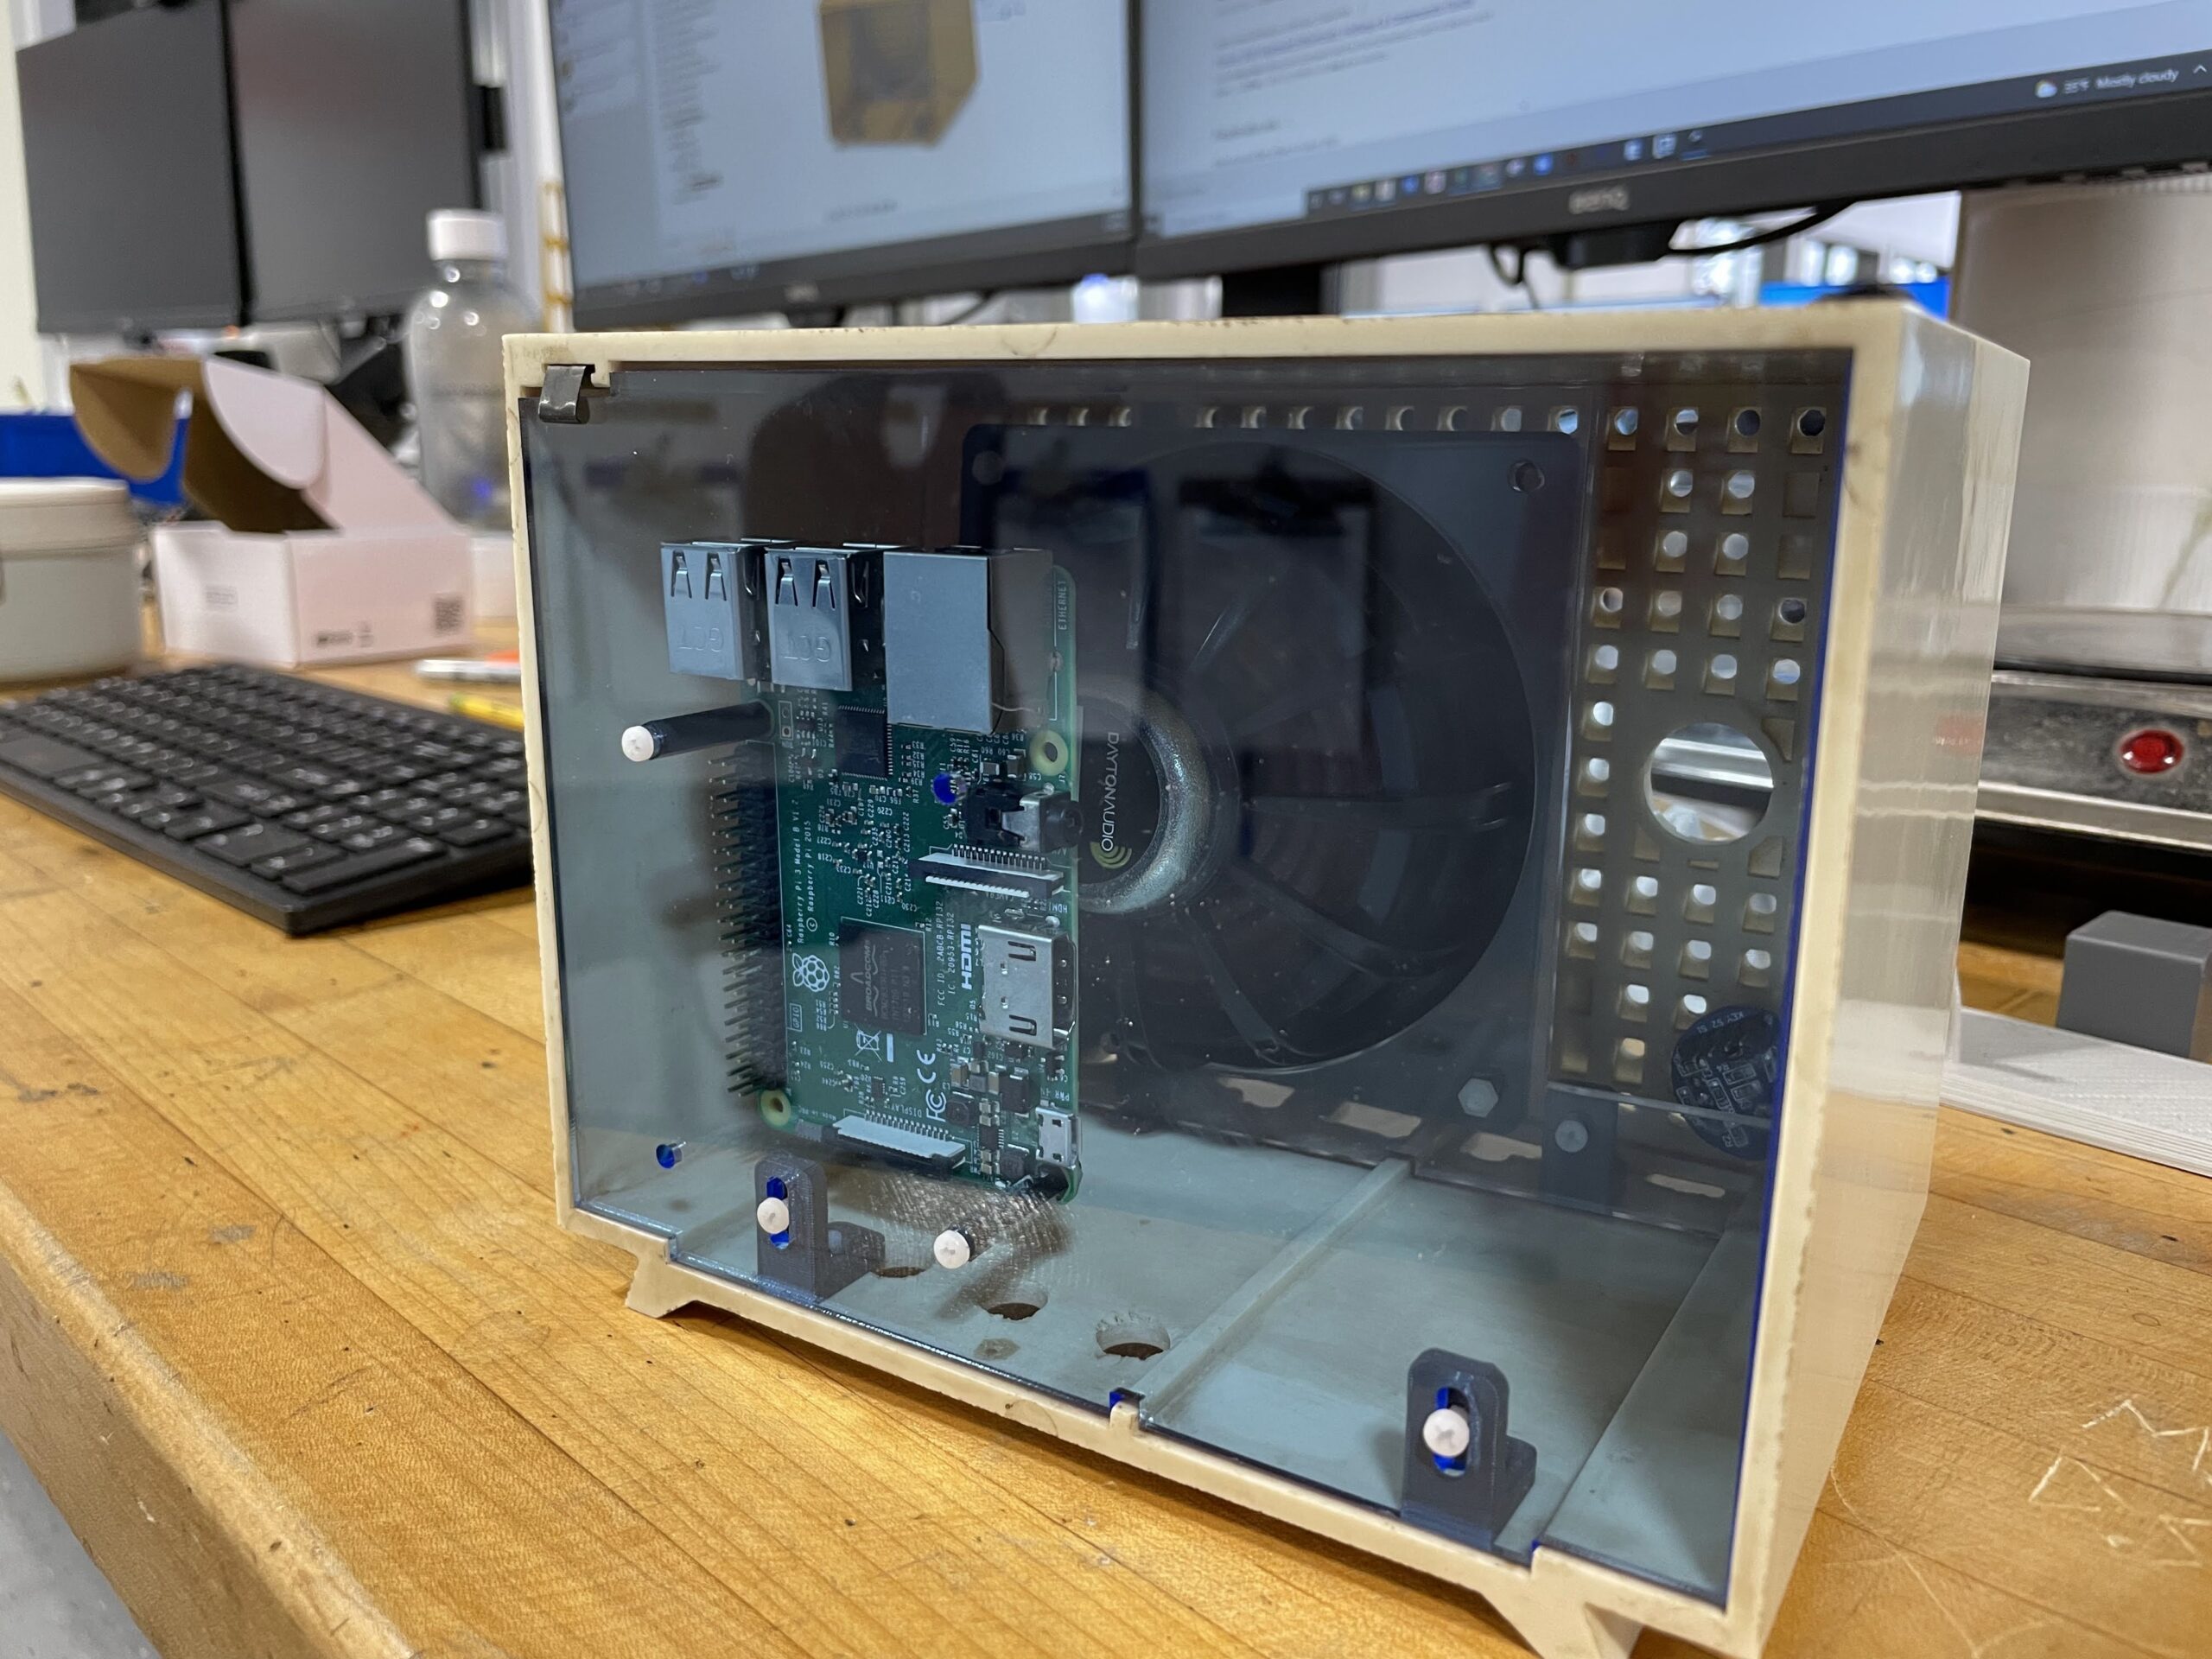
Just a quick update on the Pi Radio. I have been working on the internals and am close to having some nice acrylic mounting panels for the interior of the radio. Additionally, I have chosen a speaker to use, which will replace the old damaged speaker that was in the unit when it was purchased. The new speaker is a 4″ Dayton Audio DMA105 8 ohm, which is also being used by another student for a speaker project they are working on. Will post more on that project once it is further along. My radio needs a few more adjustments to the CAD model, and a couple of more test fits before we can wire it up and test my co-teacher’s coding with the Raspberry Pi. A few photos below showing the updated components inside the radio housing.
For our sophomores we have a few standard projects they all work on individually. These include the LED Light Box and SumoBot projects. For each project students are expected to complete their projects using their own CAD designs, as well as making their own PCBs and designing the circuitry from scratch.
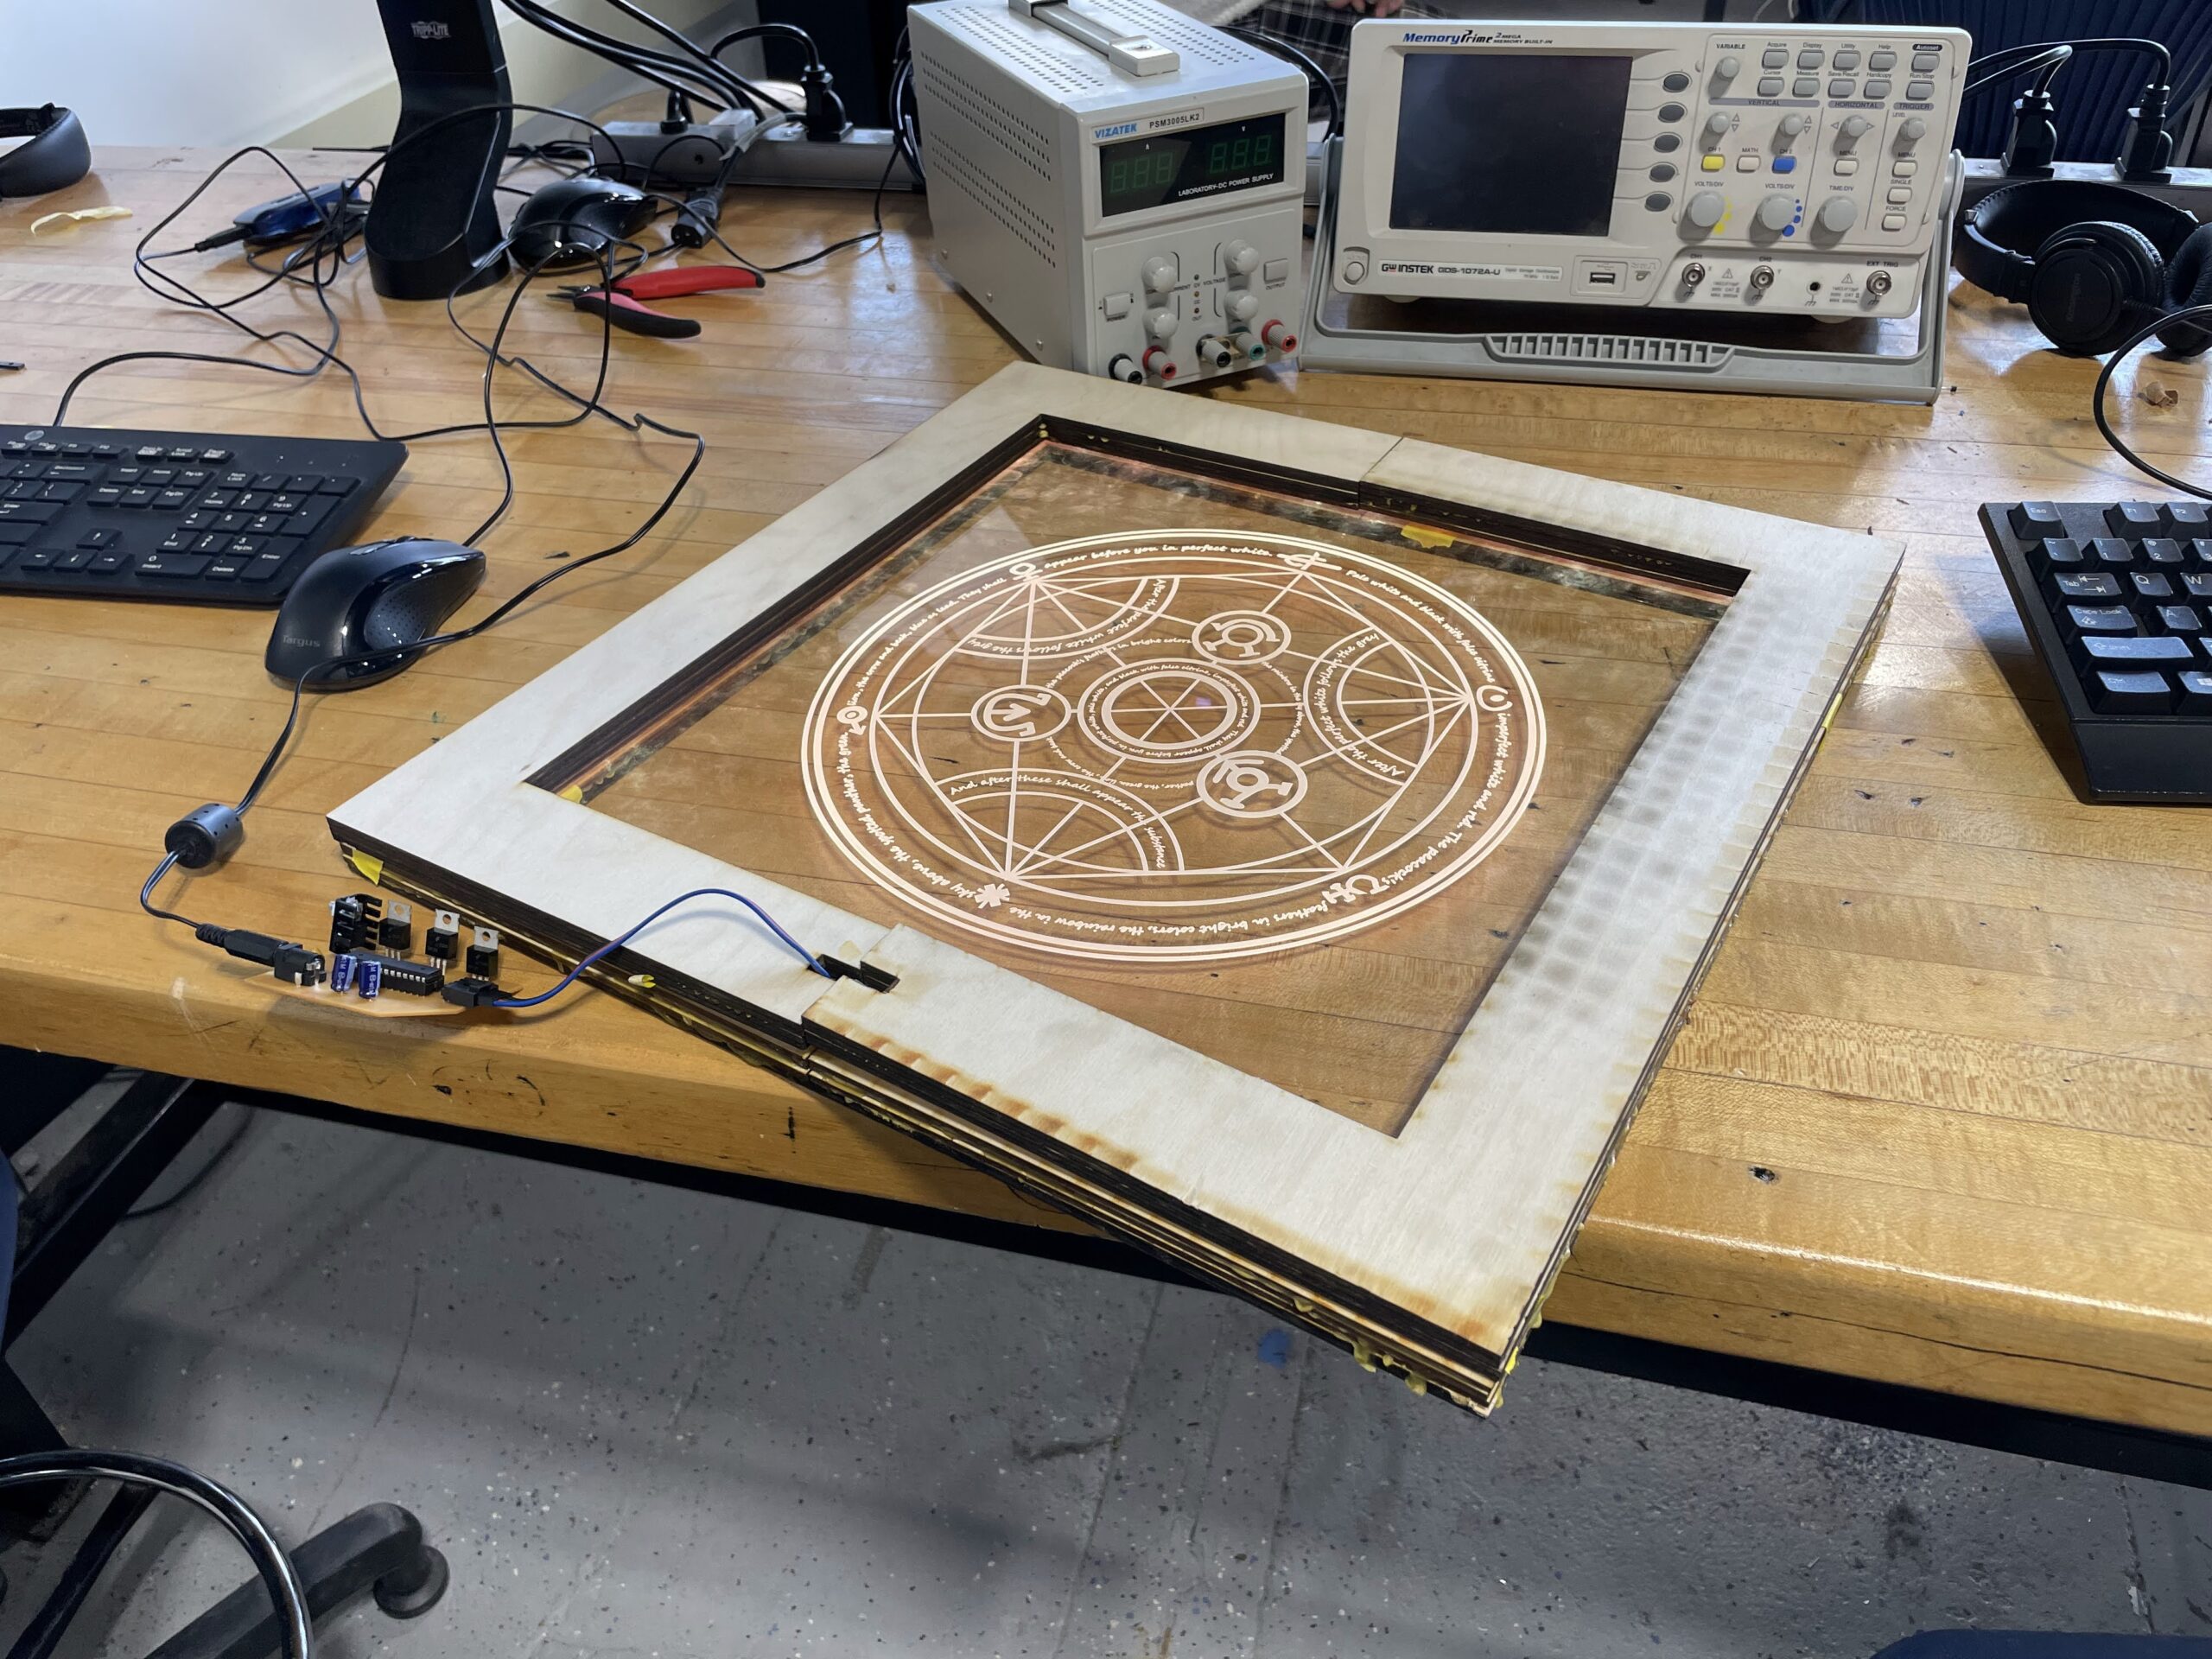
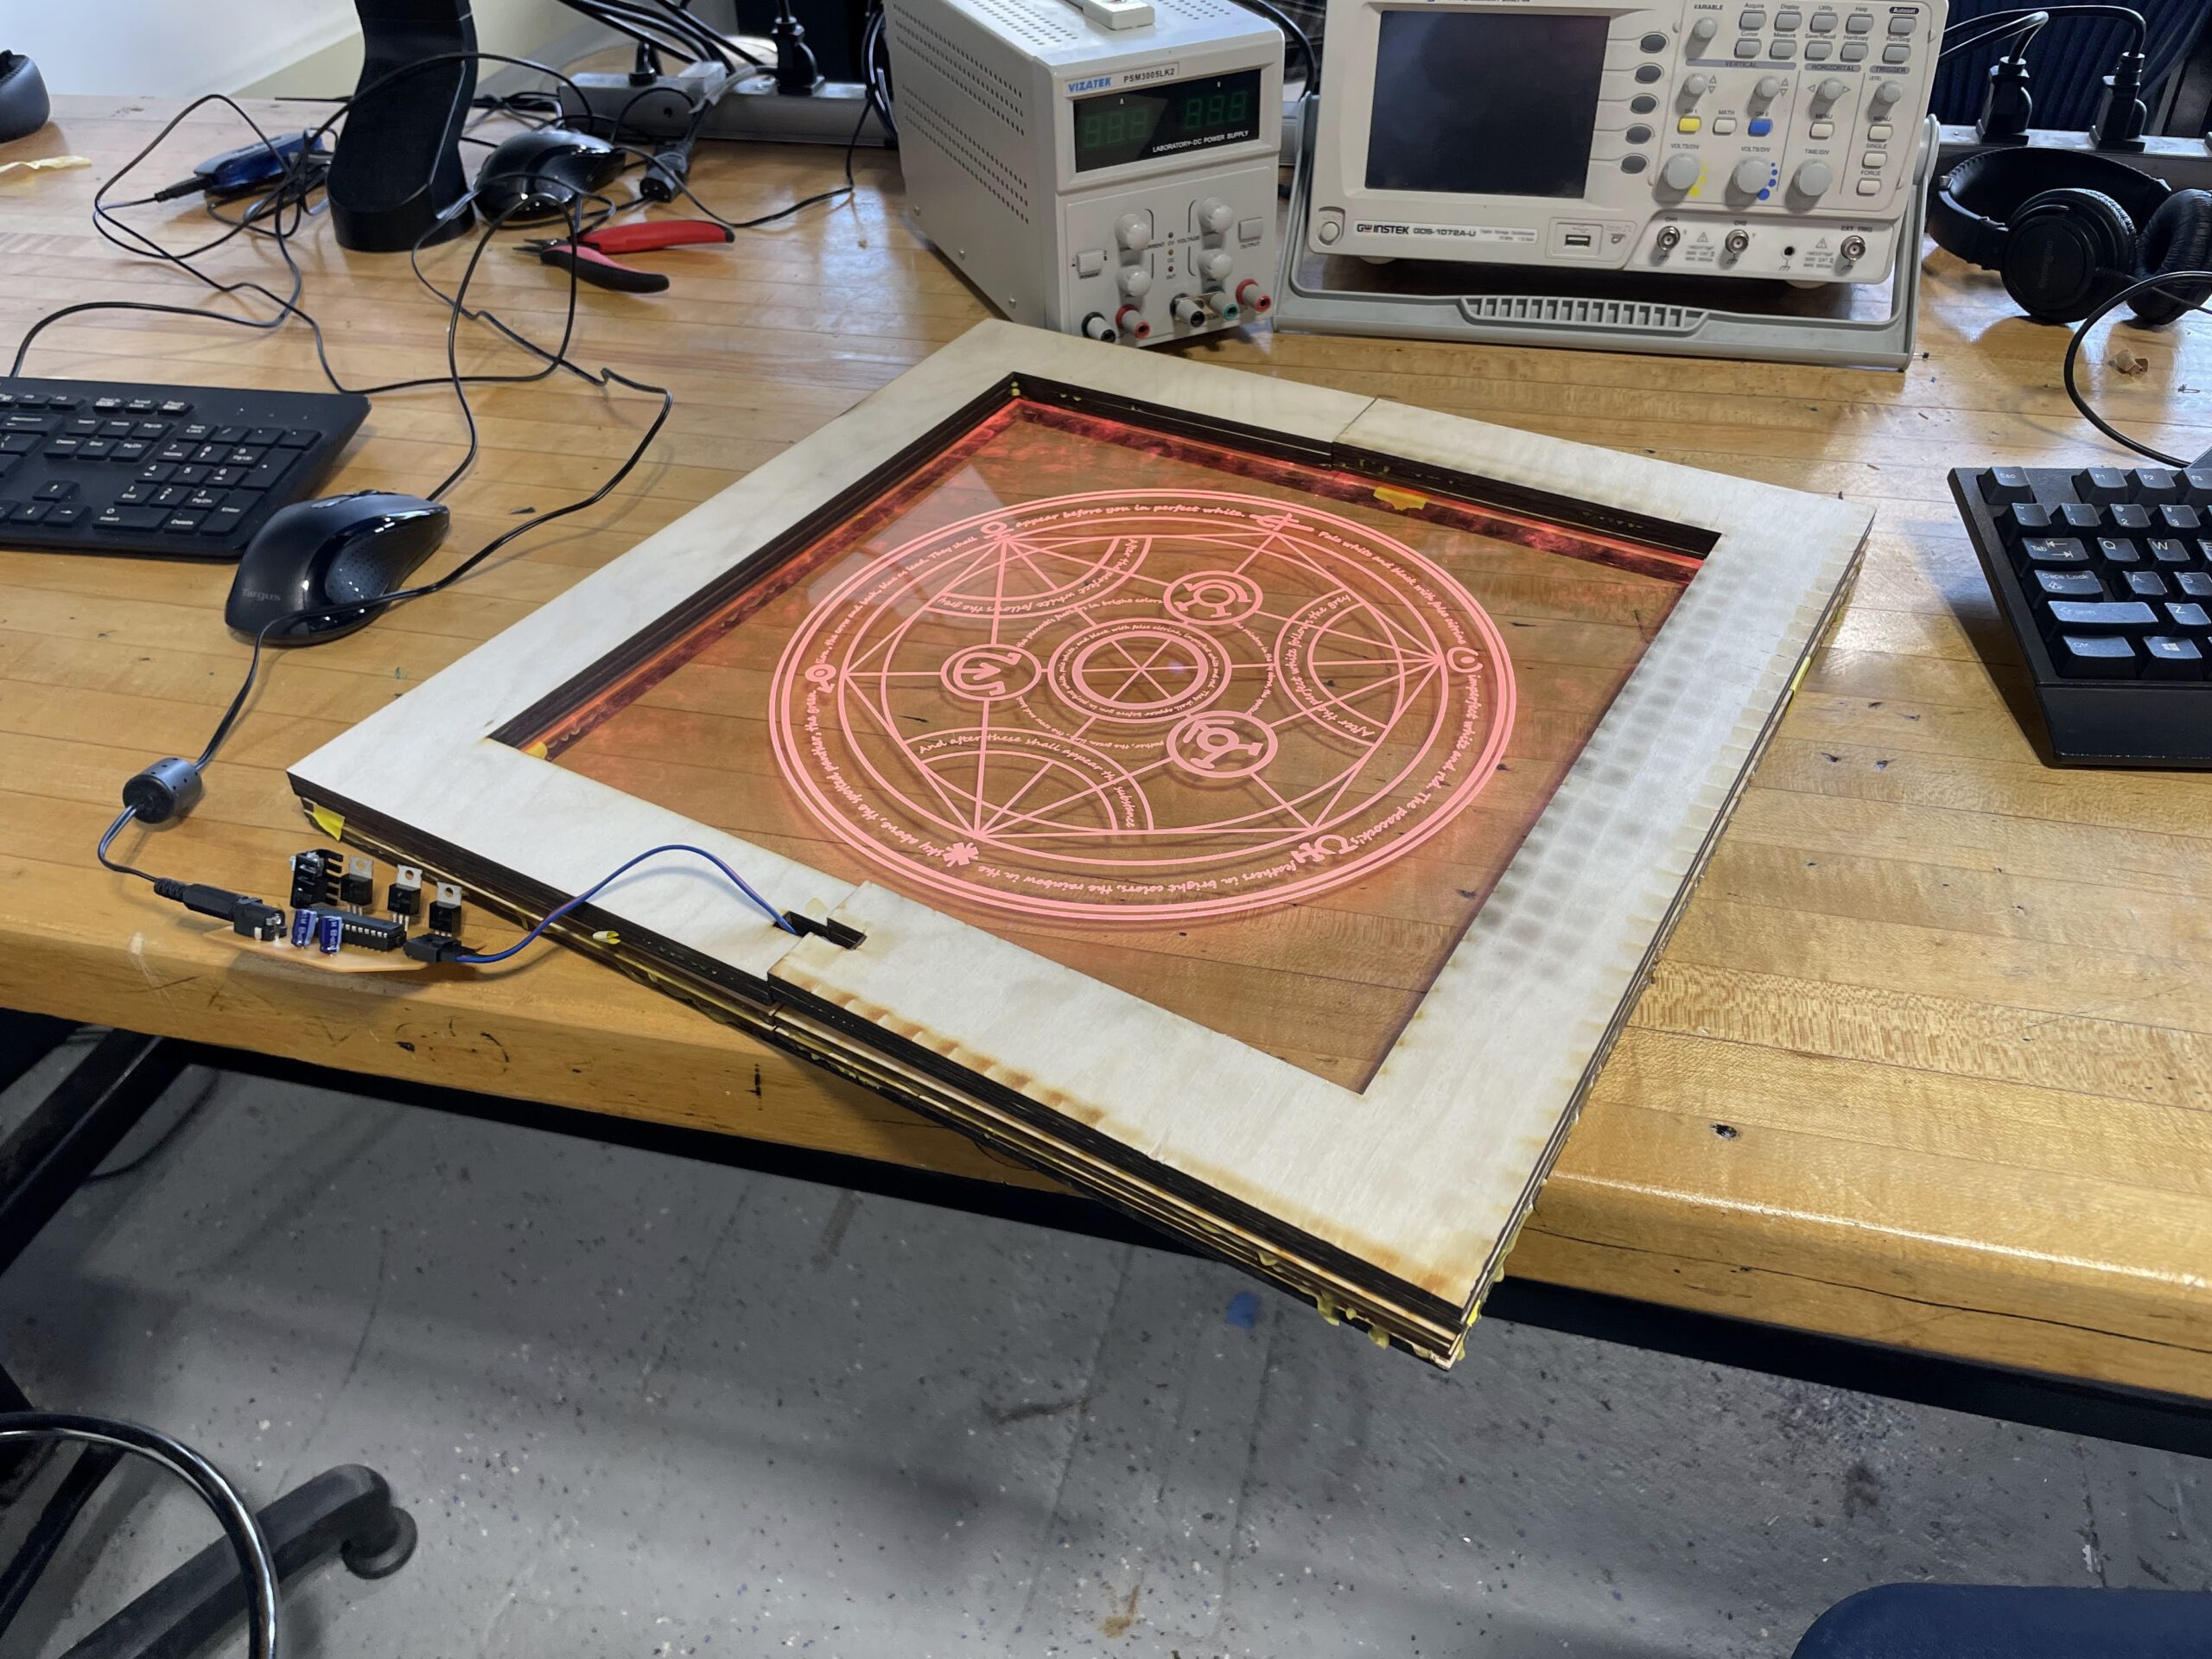
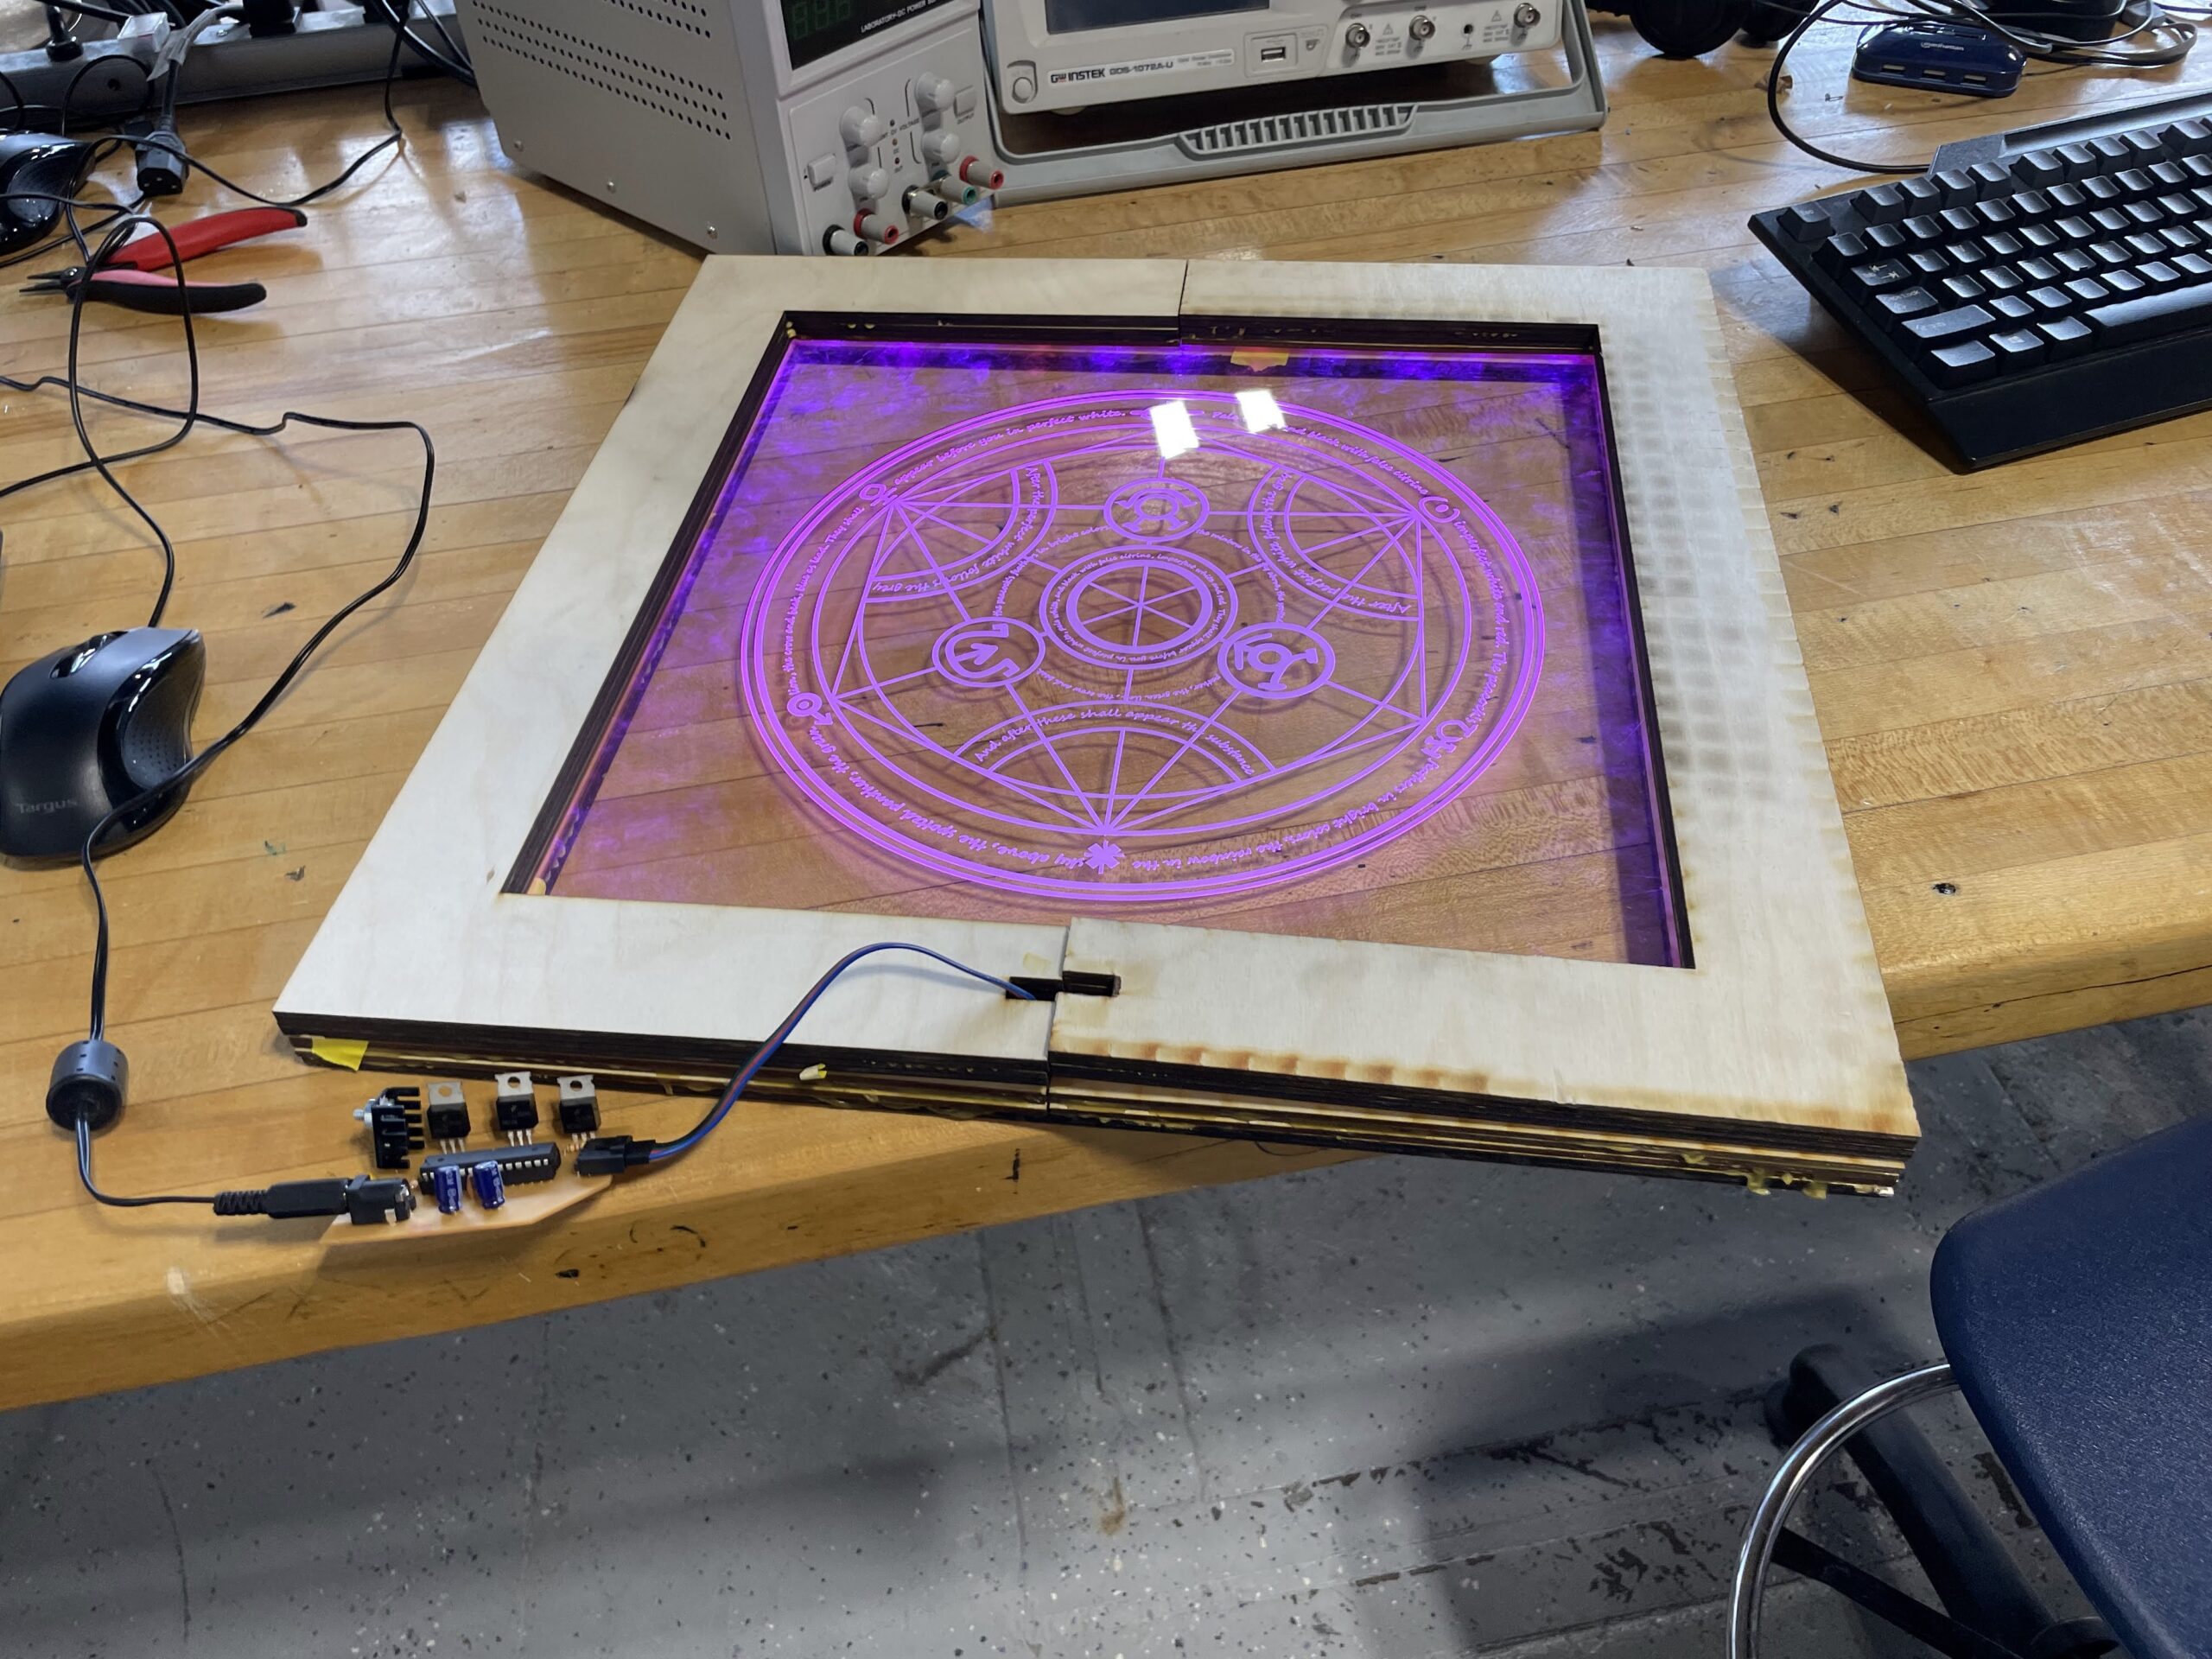
Unfortunately, for our current seniors, due to the COVID pandemic, they were unable to work on either of those projects, as they spent nearly a year and half learning remotely. Luckily, they are back in the building this year, and working hard to catch up on some hands on activities they missed. One student is now close to completing his LED Light Box, and it’s beginning to look very professional. I’m not sure what the inspiration for the acrylic is, but it came out really well. We use a raster technique for student designs on the back side of the acrylic and mirror the design so it looks backwards on the surface it is being laser etched into. When you turn the acrylic over, the design is in the correct orientation, and looks very clean behind a few millimeters of acrylic.
There is still some finishing work to be done on this particular LED Light Box, but it’s a nice example of projects coming out of our shop. Our current sophomore are beginning their lightboxes right now, which generally begins with finalizing their circuitry on breadboards and then milling their PCB boards on our Bantam Tools mills. Enjoy the photos and video of the project below.
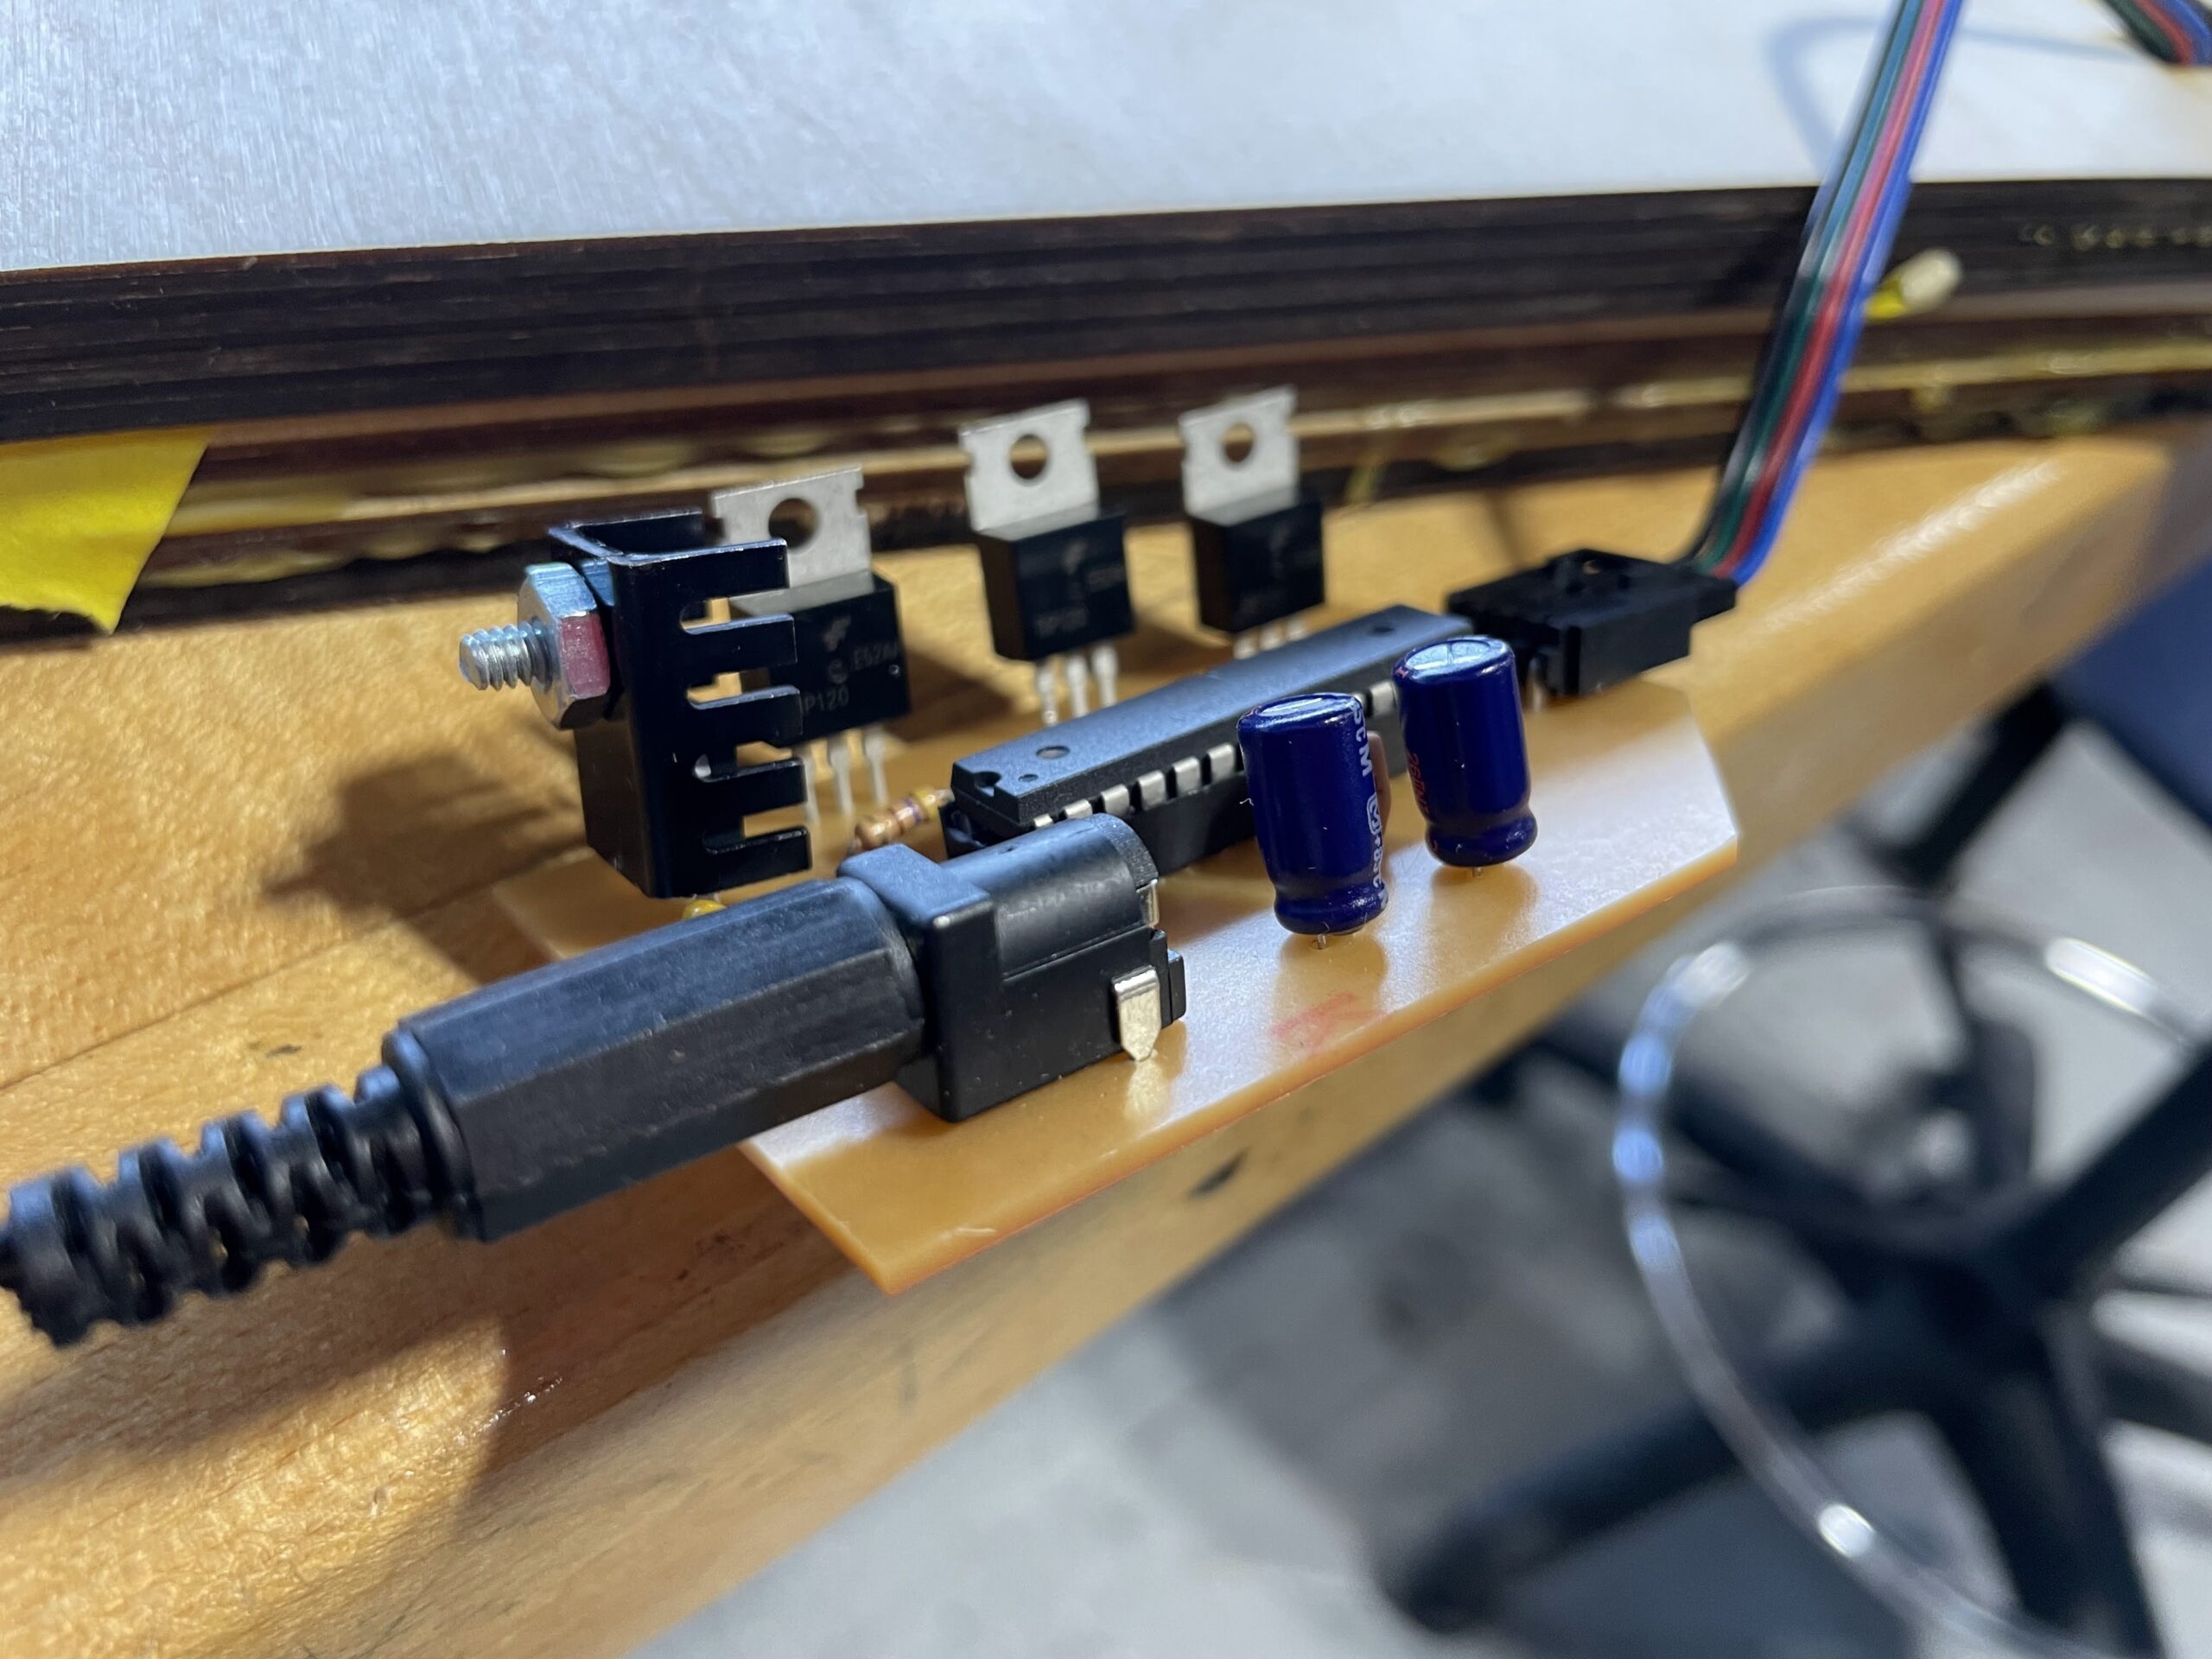
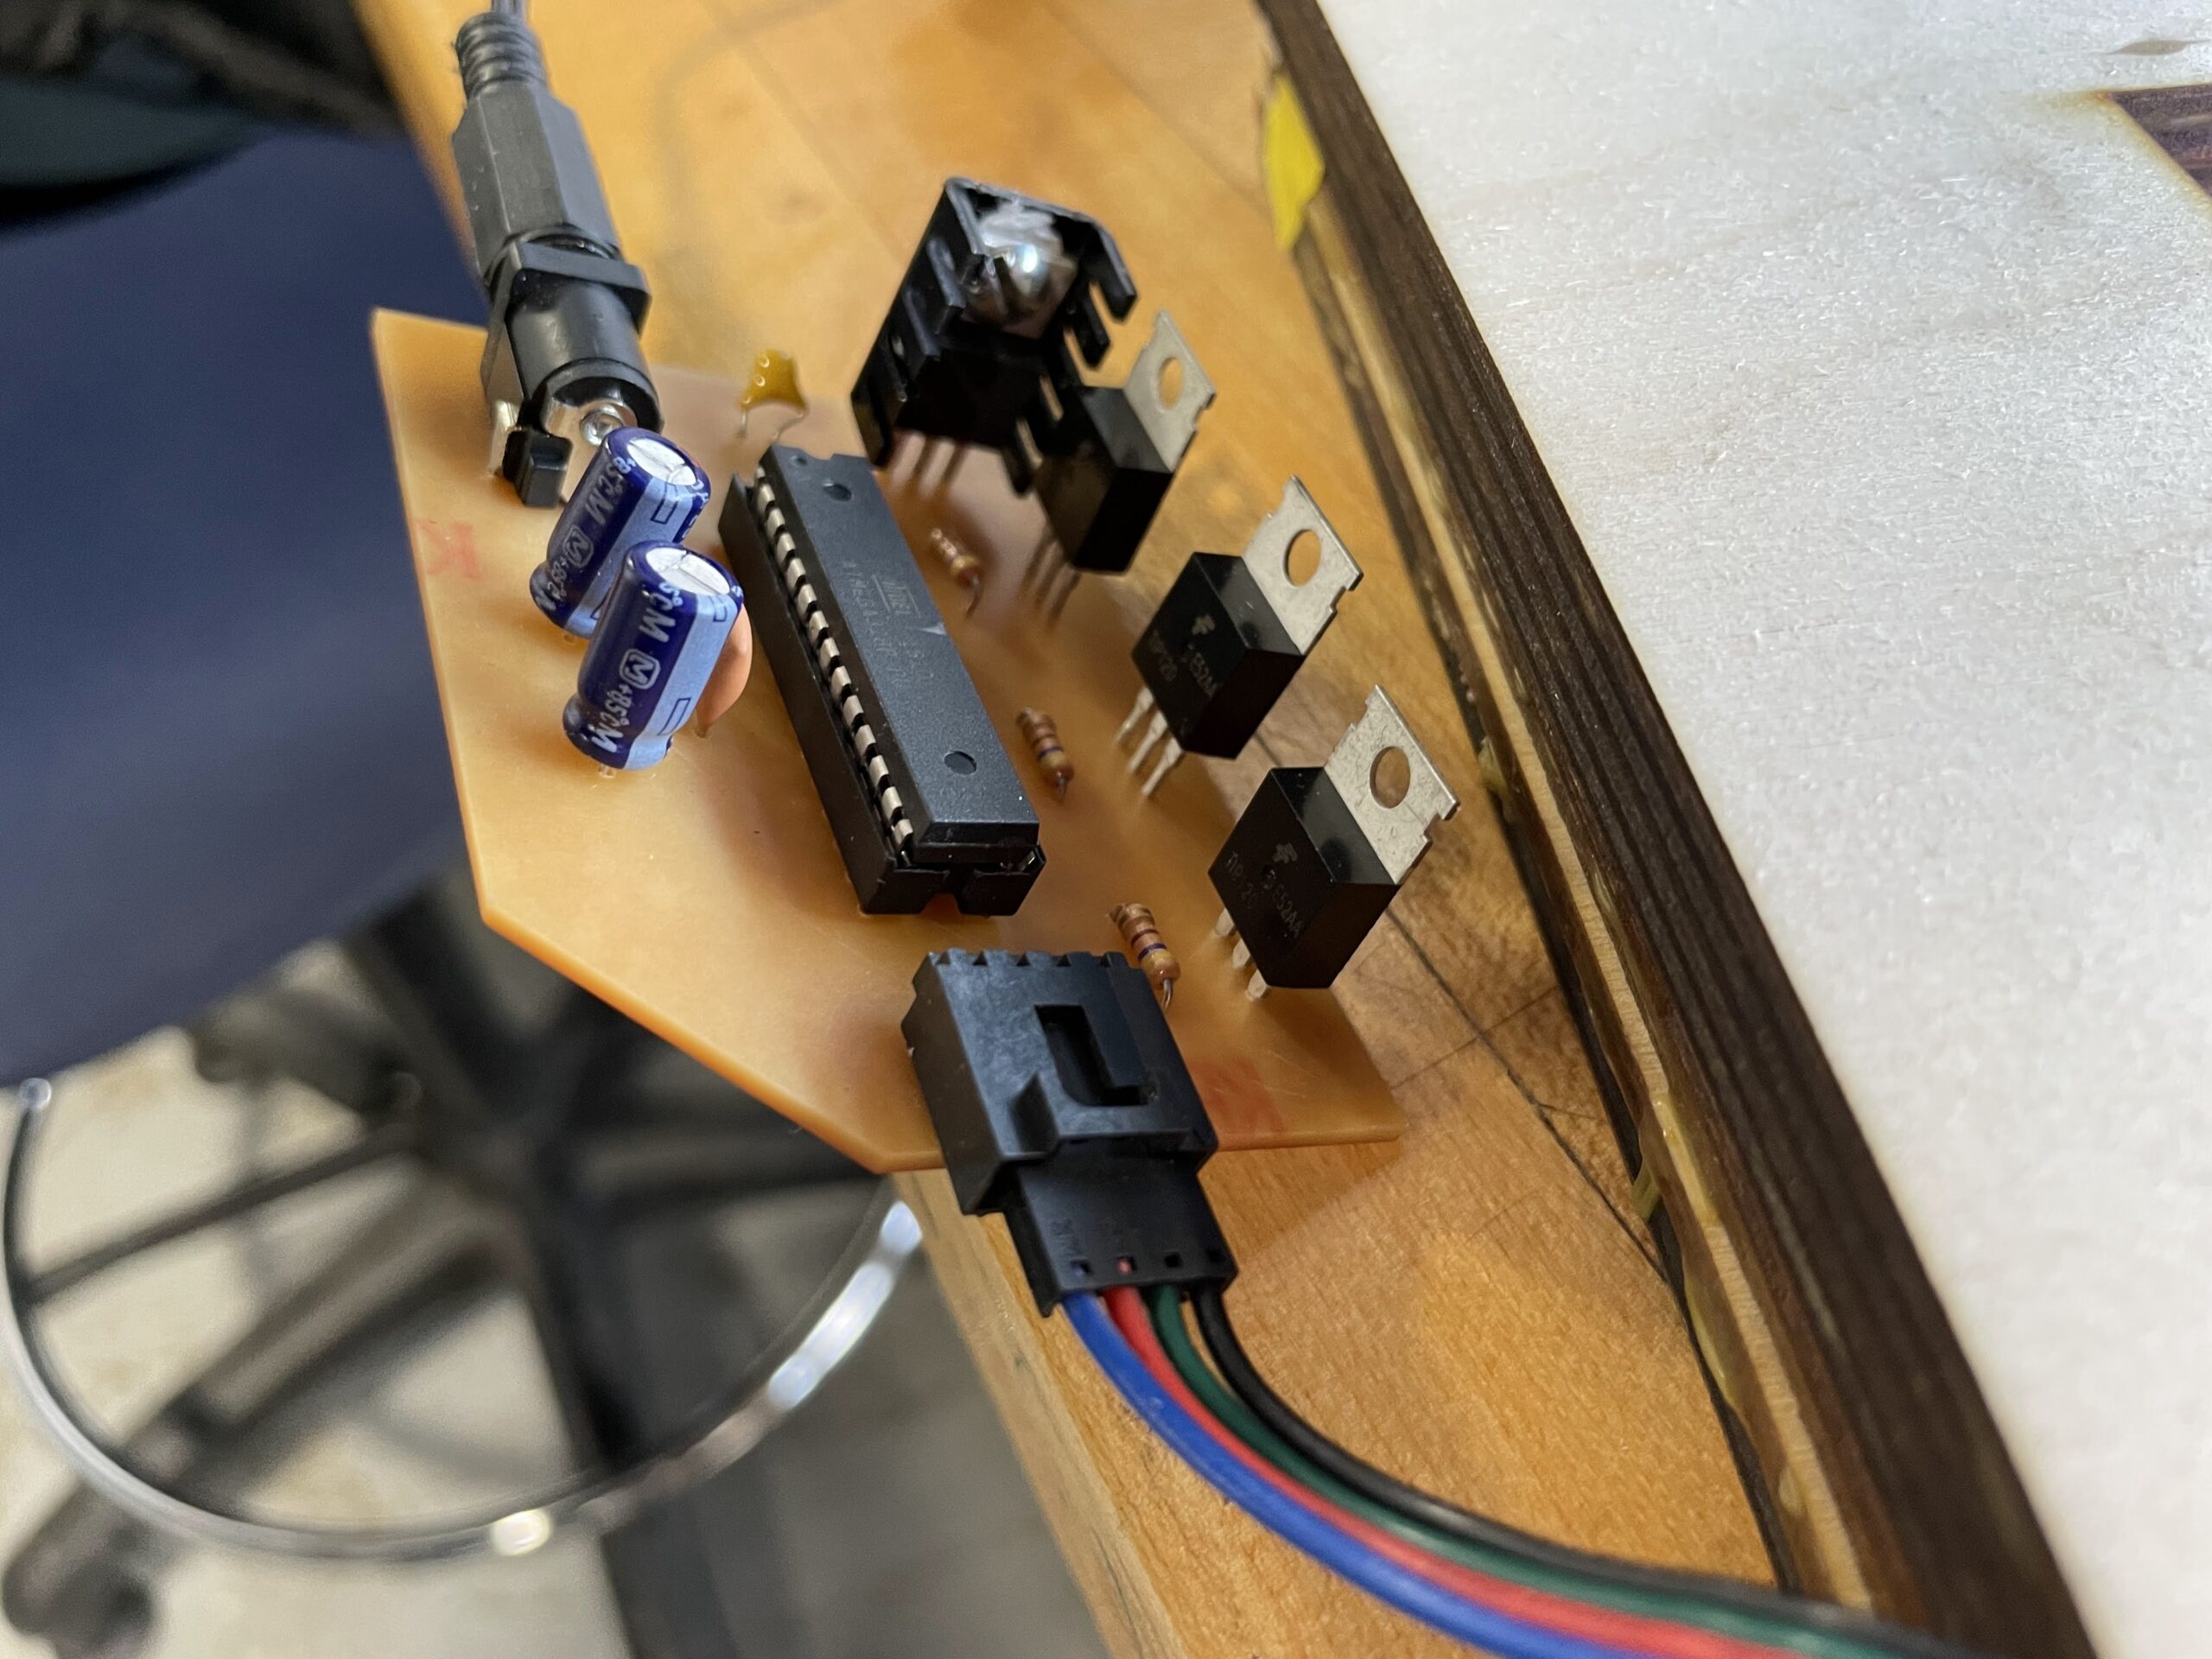
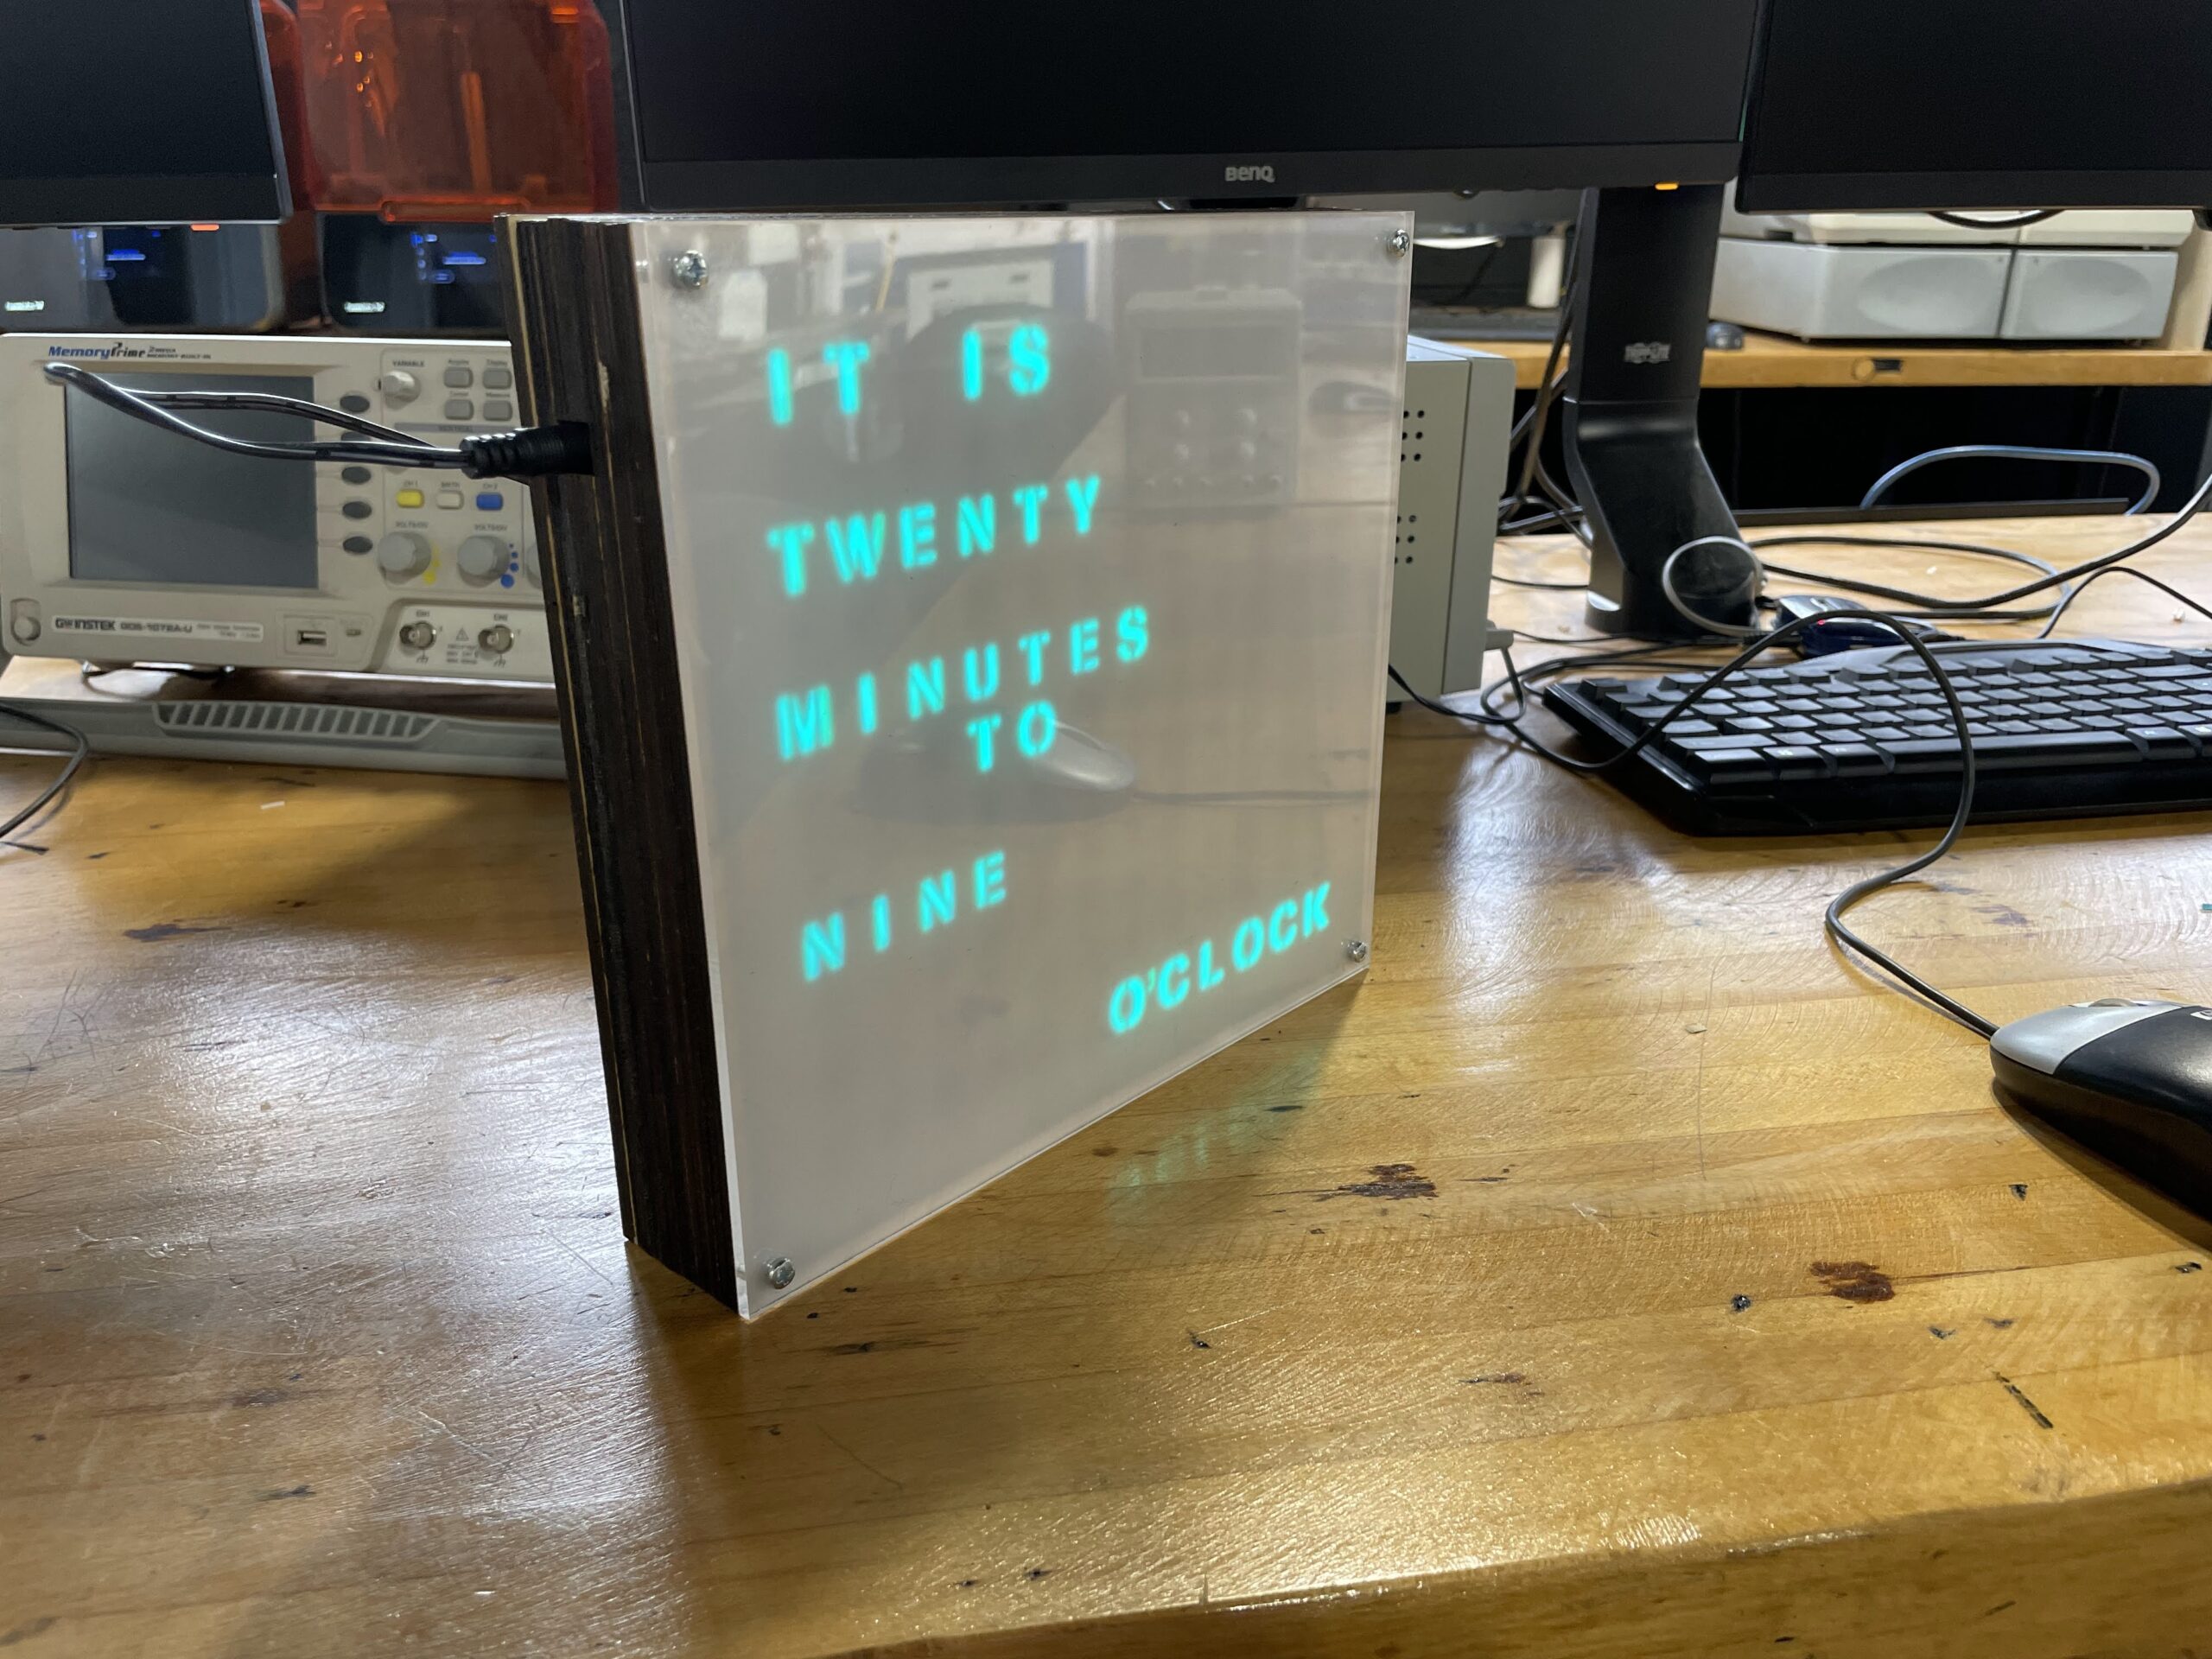
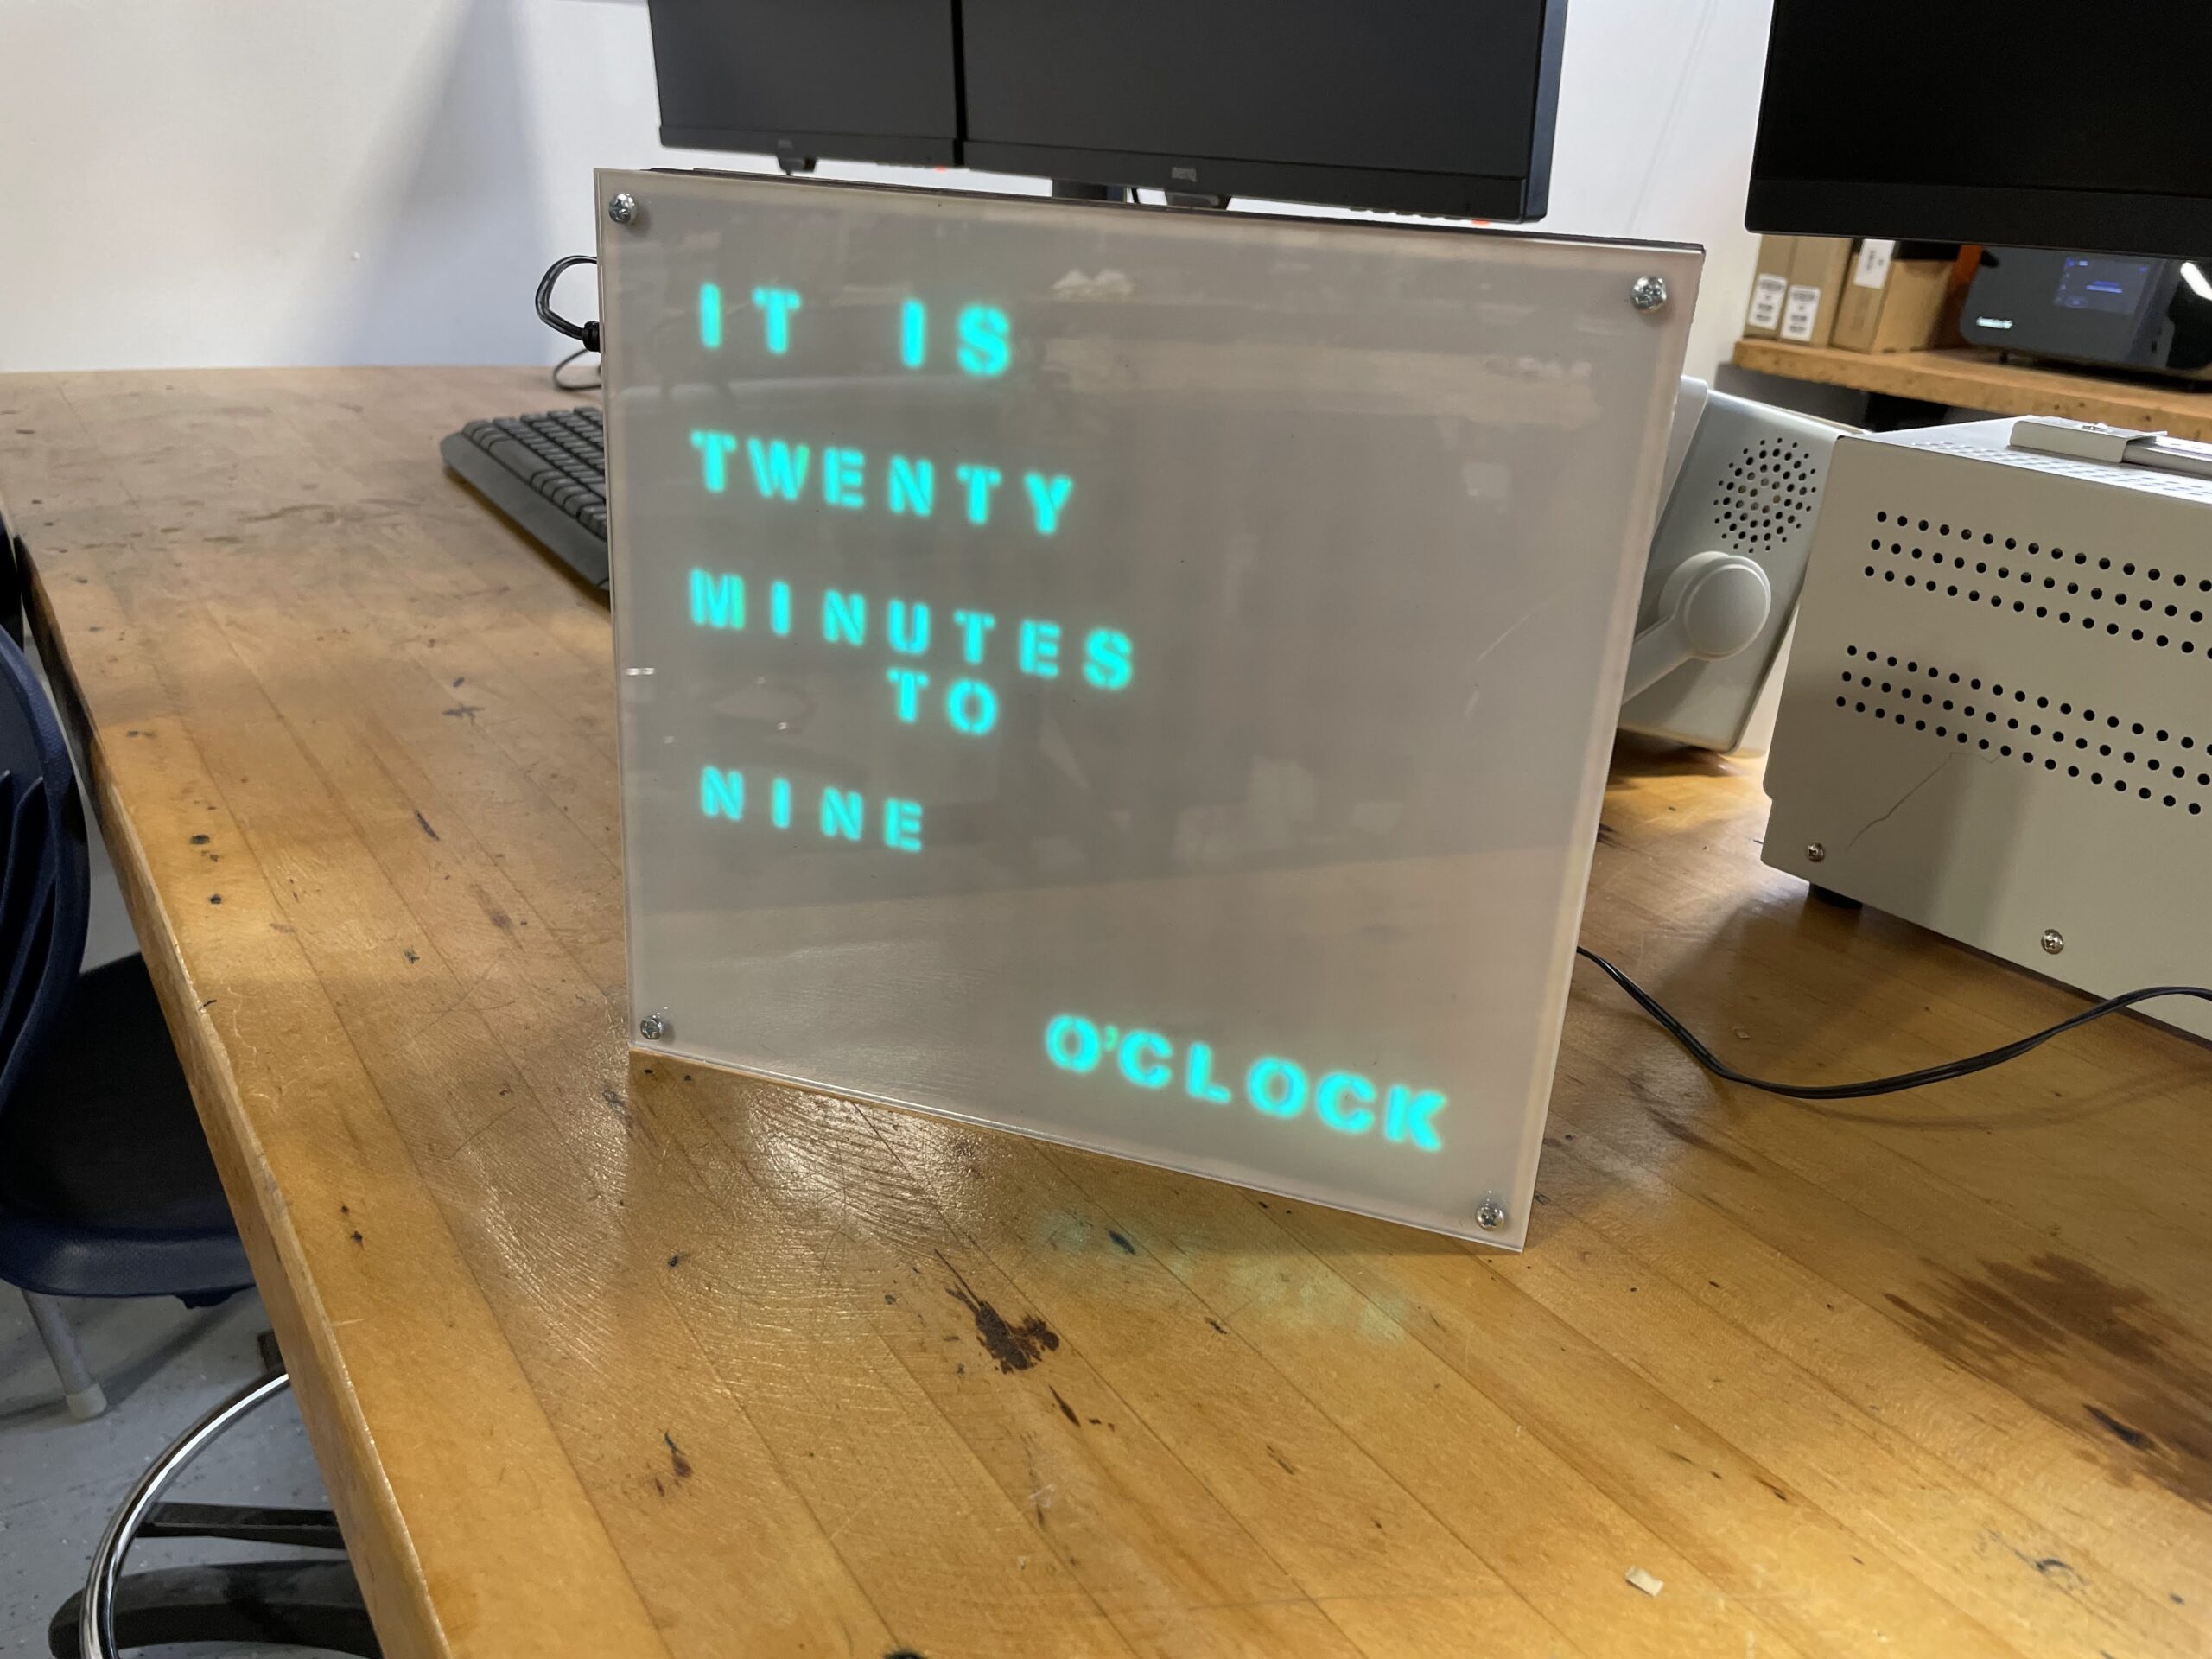
It’s taken quite a while, but the LED Word Clock looks to be finished. This was a project started a few years ago by some students, and then was completely redone by a current Junior from our shop. This student has spent most of the semester putting the project together in a manner that looks professional, like a product off the shelf.
The design uses about 10 layers of lasercut wood to conceal the wiring and house the lettering and spacing pieces. The circuit board is custom made on our Bantam Tools PCB mill, and all the wood and acrylic were cut on our Epilog Fusion Pro. Just a few photos below of the finished product, hoping to have a more detailed writeup of the process from the student.