Tormach Issues

Today I was going to perform some test taps on the Tormach mill to make sure I had my speeds and feeds correct. Unfortunately, when I turned on the machine this morning, the computer screen said No Signal and I could hear rapid beeping coming from the computer underneath the mill. I contacted Tormach and they suggested reseating the memory card in the computer. Seemed strange, but they had a pdf guide on how to do it, which suggested its not an uncommon problem. These machines do vibrate a lot, it is certainly a possibility. After reseating the memory card the computer started up without issue. Problem solved.

Unfortunately, when trying to use the ATC (Automatic Tool Changer), I received a communication error between the ATC and Draw Bar. They error message said to check the ATC to Drawbar cabling and fuses – but I am not really sure where to start for that. I’ve contacted Tormach again and awaiting their response. They have always been good about getting back to me for support issues, so hopefully we can resolve this quickly. I’ll post some photos of the errors I was receiving.

Pi Radio Hardware

Today I spent some time setting up the hardware for the Pi Radio. Unfortunately, I was unable to do a complete test because I did not have a speaker. Usually, I’ll have a few small speakers in my office for testing purposes, but I must have taken them to school for some reason. I will take the components to school tomorrow and try testing them there. Will hopefully have an update tomorrow. Below are some images of the hardware setup, the Arduino is not being used, just using the breadboard. Also, a photo of my safety officer.

Arduino Holder Project

Today I’ll talk a little bit about setting up a part for use on our Tormach PCNC 1100 mill. As I said in a previous post, I’m working on a new project for students, creating a custom arduino holder out of aluminum. I’ve been documenting the process of preparing the stock for the mill.

The project as designed in CAD calls for a 0.8 x 2.6 x 3.2 in block of aluminum stock. I’ve cut a .9″ thick piece of stock from a 6 x 4 inch block and then roughed it to down on the bandsaw to get it close to the dimensions I want. Next, I took it over to our Trax mill and faced off all sides until it was milled to the dimensions mentioned above. I probably do not need to be this precise, but its a good exercise, and will give the students a good beginning in using our manual mills.

Once the block was ready I took it over to our Tormach machine and proceeded to zero out the X, Y, and Z coordinates. This is extremely easy using the Heimer – a measuring tool that provides the zero, or edge, coordinate without the user needing to to any math as might be done with a standard edge finder. See video below.

This project requires a part flip, and for the first attempt, I tried using the same X and Y coordinates – which did not work out. Mostly because the Y coordinates did not match on the flip. Another issue I had was tapping the holes. I did not properly set the RPM and feedrate correctly for the 4-40 tap, and it broke immediately. A silly mistake, but one that will be easily fixed next time I run the job.

There are some photos and videos below of the process, although I forgot to take a photo of the finished product. Will update on the project next week.

Volume Control | Parametric Modeling

One of my favorite aspects of my job is solving a problem we have never before encountered. Luckily, this happens nearly every day as students are building various types of projects of their own design, such as candy shooters and singing toothbrushes. 

A senior was having problems building a box for a bluetooth speaker setup they were working on, as they were trying to understand how to build the box with the proper volume specified for the speakers he was using. He was taking measurements, putting them into CAD, but when things changed within his project, he would have to change all his dimensions again and it was a real tedious task. 

Working together we were able to solve the problem using parameters in Fusion 360. We utilize Fusion 360 for all our CAD needs in the classroom. It’s an easy to learn, robust software with built-in CAM that enables us to send our models to all the different machines we have in the shop – 3D printers, waterjet, plasma cutter, mills, lathes, etc. It’s also free software, and I have the ability to setup an educational account and give access to all my students, rather than having each student setup their own personal account. I really like the way they have the new educational account setup for teachers and students, makes life much easier than before where students needed to verify their accounts which was often problematic.

Back to the parameters discussion. By utilizing parameters in Fusion 360 along with an organized modeling strategy, we found a way to control the volume of the box so it always remains constant, even when we change the length, width, or size of material. Below is a screenshot of the parameter setup for the project. You’ll notice some odd math happening, as there are several instances of multiplying 1 in within an expression. This is because Fusion 360 does not have in² or in³ within its parameters framework, so you need to use the 1 in to cancel out parts of an expression so it has the same units Fusion 360 can work with. 

I went ahead and created a quick modeling video for students, so in the future I can just point them to the video instead of showing them directly, which frees me up to help other students in our classroom. Video below.

Educational Philosophy

During the last few years of teaching at a vocational high school, I can’t recall ever being asked about my teaching philosophy. In fact, in my 10+ years of teaching, I don’t remember another administrator or even fellow teacher asking to describe my teaching philosophy. Because, of this, as you can imagine, I never put a lot of mental effort into working out just exactly what is my philosophy. Essentially, when hired, teachers are often given the keys to a classroom and expected to teach without much help or guidance.

My previous teaching job did not require a teaching license, however, now that I work in a public school, I’ve had to go through a rather tedious process of getting a teaching license – much harder I must say than the architecture license I have, which was quite difficult indeed. The vocational teaching license required necessitates at least 7 college level classes specific to teaching. During some, if not all, of these classes you are  asked about your teaching philosophy, and for me, this was the first time I’ve had to give the subject much thought. 

The other day, a former colleague and friend of mine wrote a short blog post about his teaching philosophy, and since I’ve always admired this teacher for his dedication to creating content and adaptation of new ideas, I wanted to see how his thoughts aligned with mine, and more importantly, what should be included in one’s teaching philosophy.

You can read his blog post regarding his teaching philosophy here, but one point I find most similar to my style of teaching is his paragraph on grading.

“I see feedback, not judgmental grading, as a key to unlocking a student’s willingness to adapt and improve. Grading without feedback turns education into a scavenger hunt for “points.” Feedback without grades primes a student’s growth mindset.”

I’ve never enjoyed grading, and as a project based teacher, my interest is in helping students complete projects and less about curriculum and lesson plans. I don’t tell students how to complete projects or expect specific types of projects from my students. I give guidance and feedback. Some projects are certainly better than others, but my hope is to encourage iteration in an effort to improve. I believe this is where my former colleague and I converge most in our educational philosophy.

Further on in his evolving piece, he writes:

“I am known for planning every minute, experimenting with educational technology, tantalizing students with my own enthusiasm for content, providing differentiated feedback, and embedding contemporary events into the curriculum in real time.”

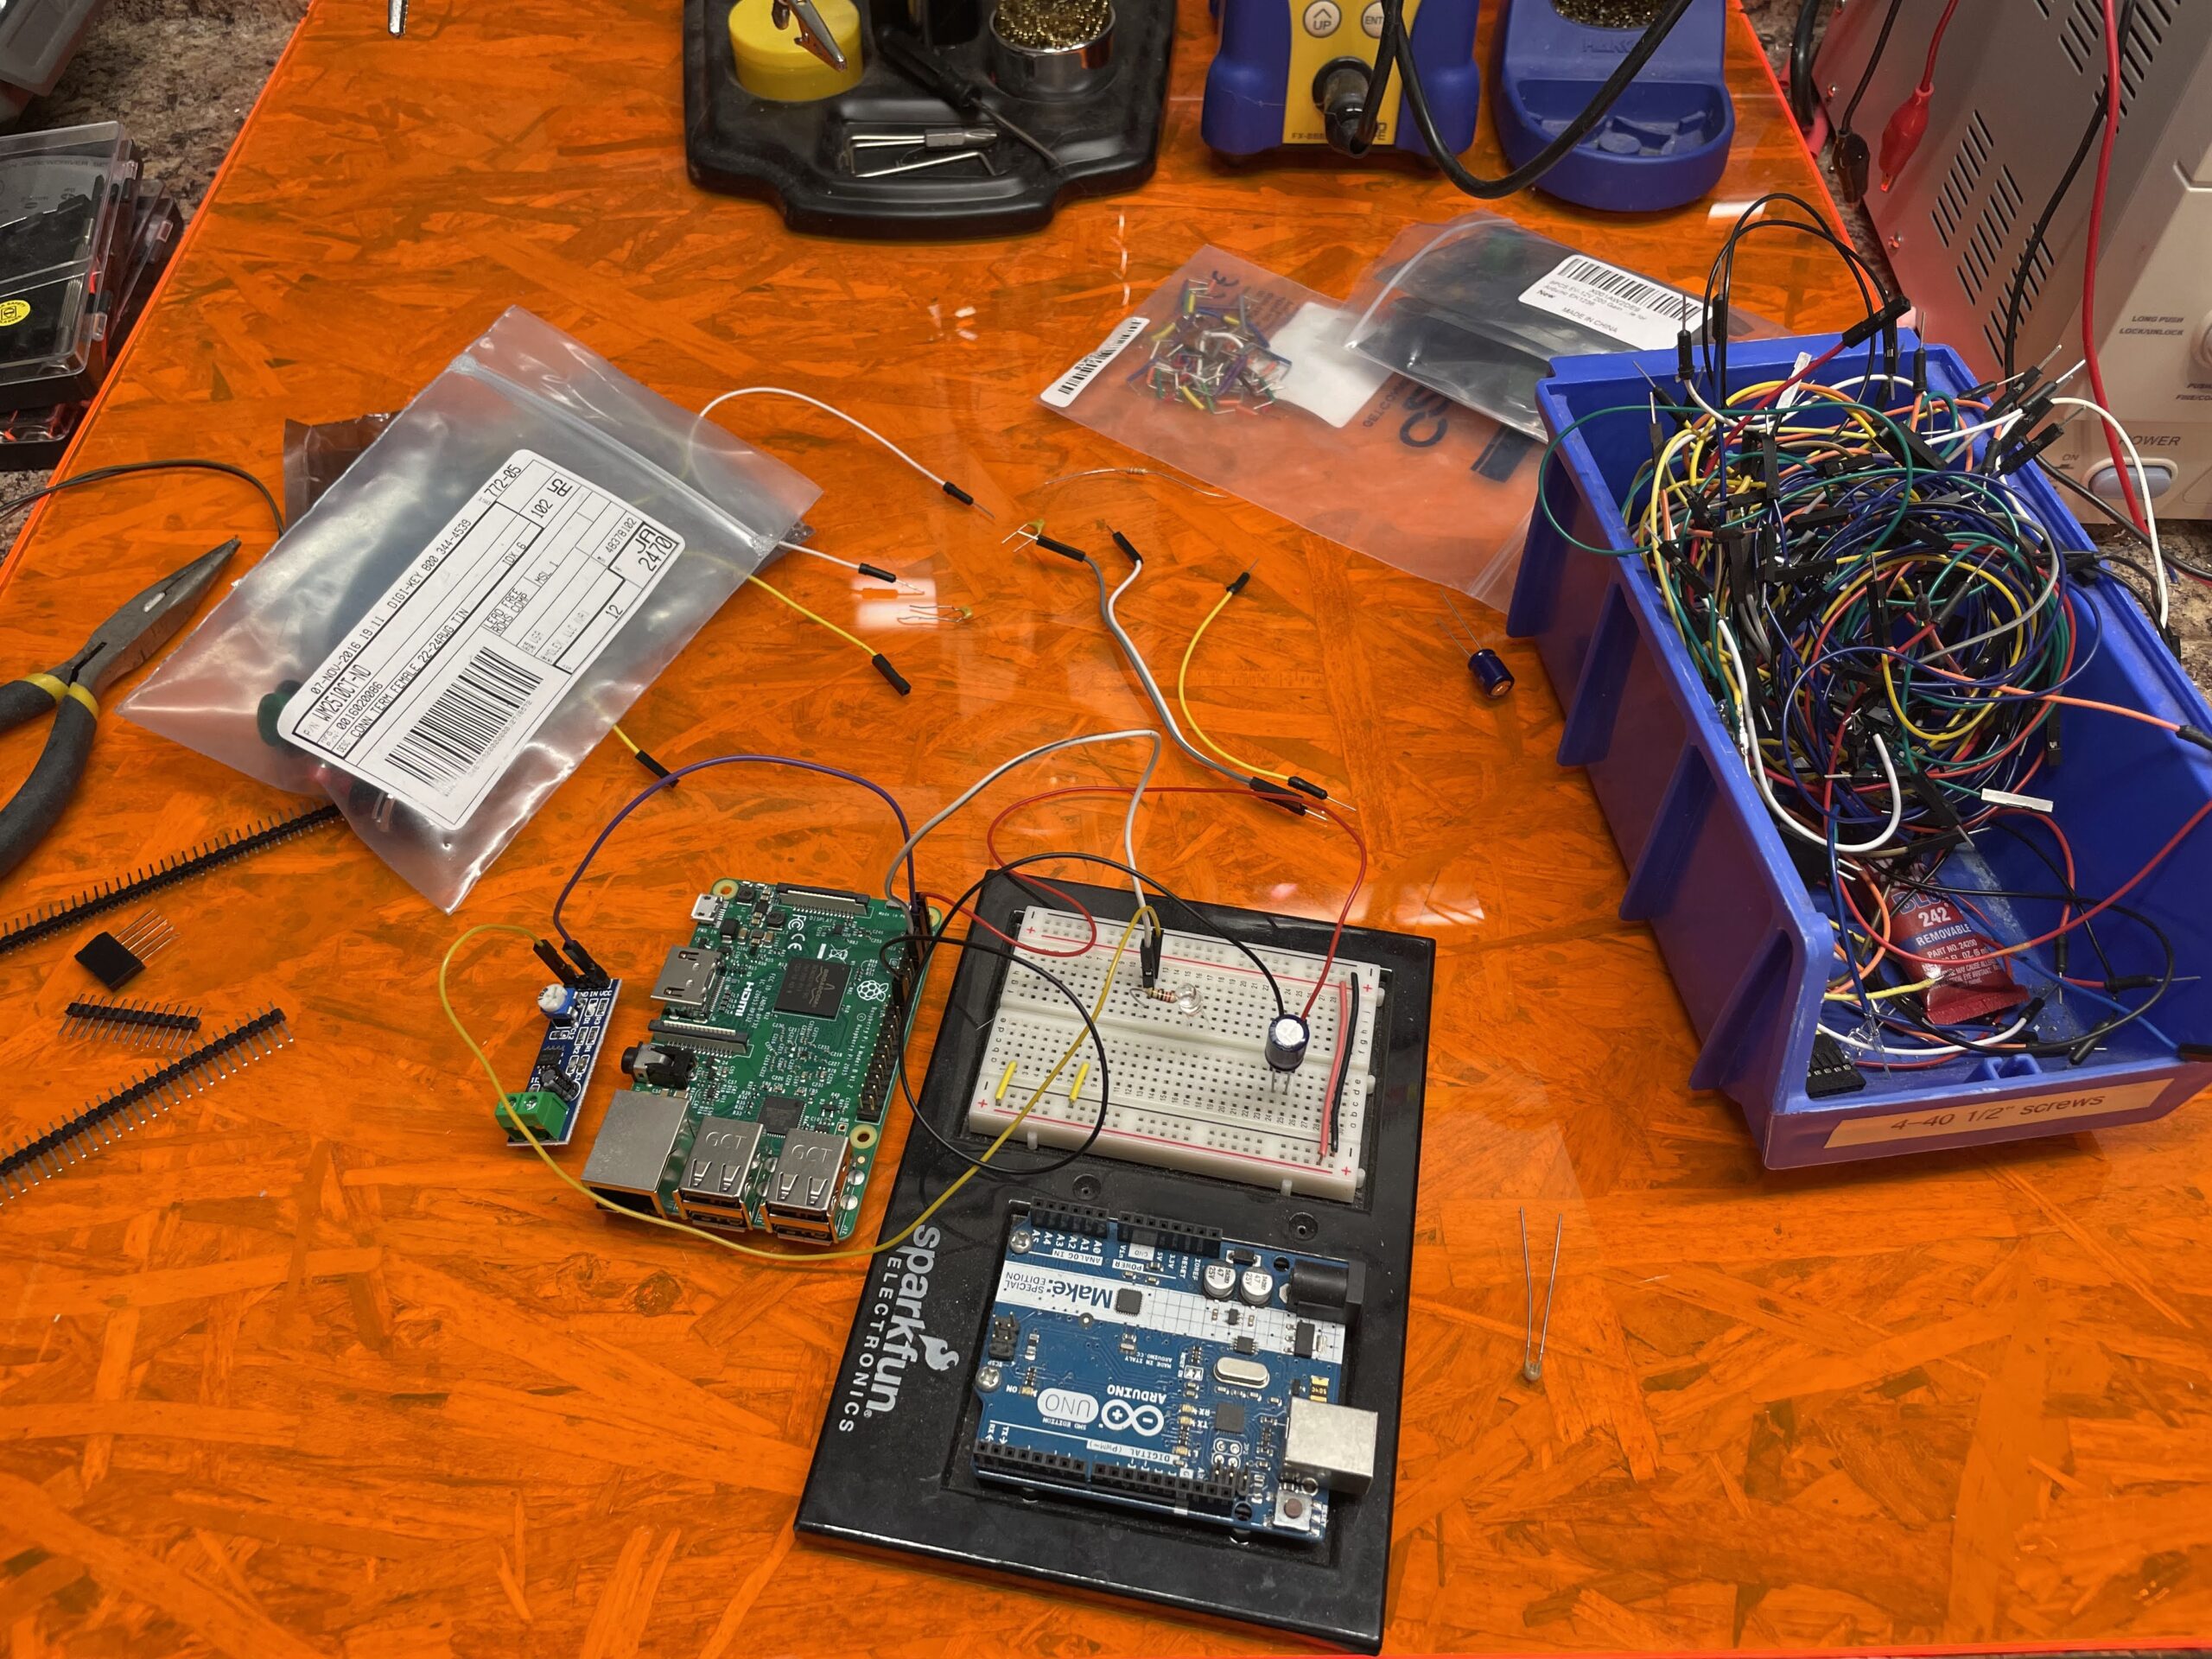
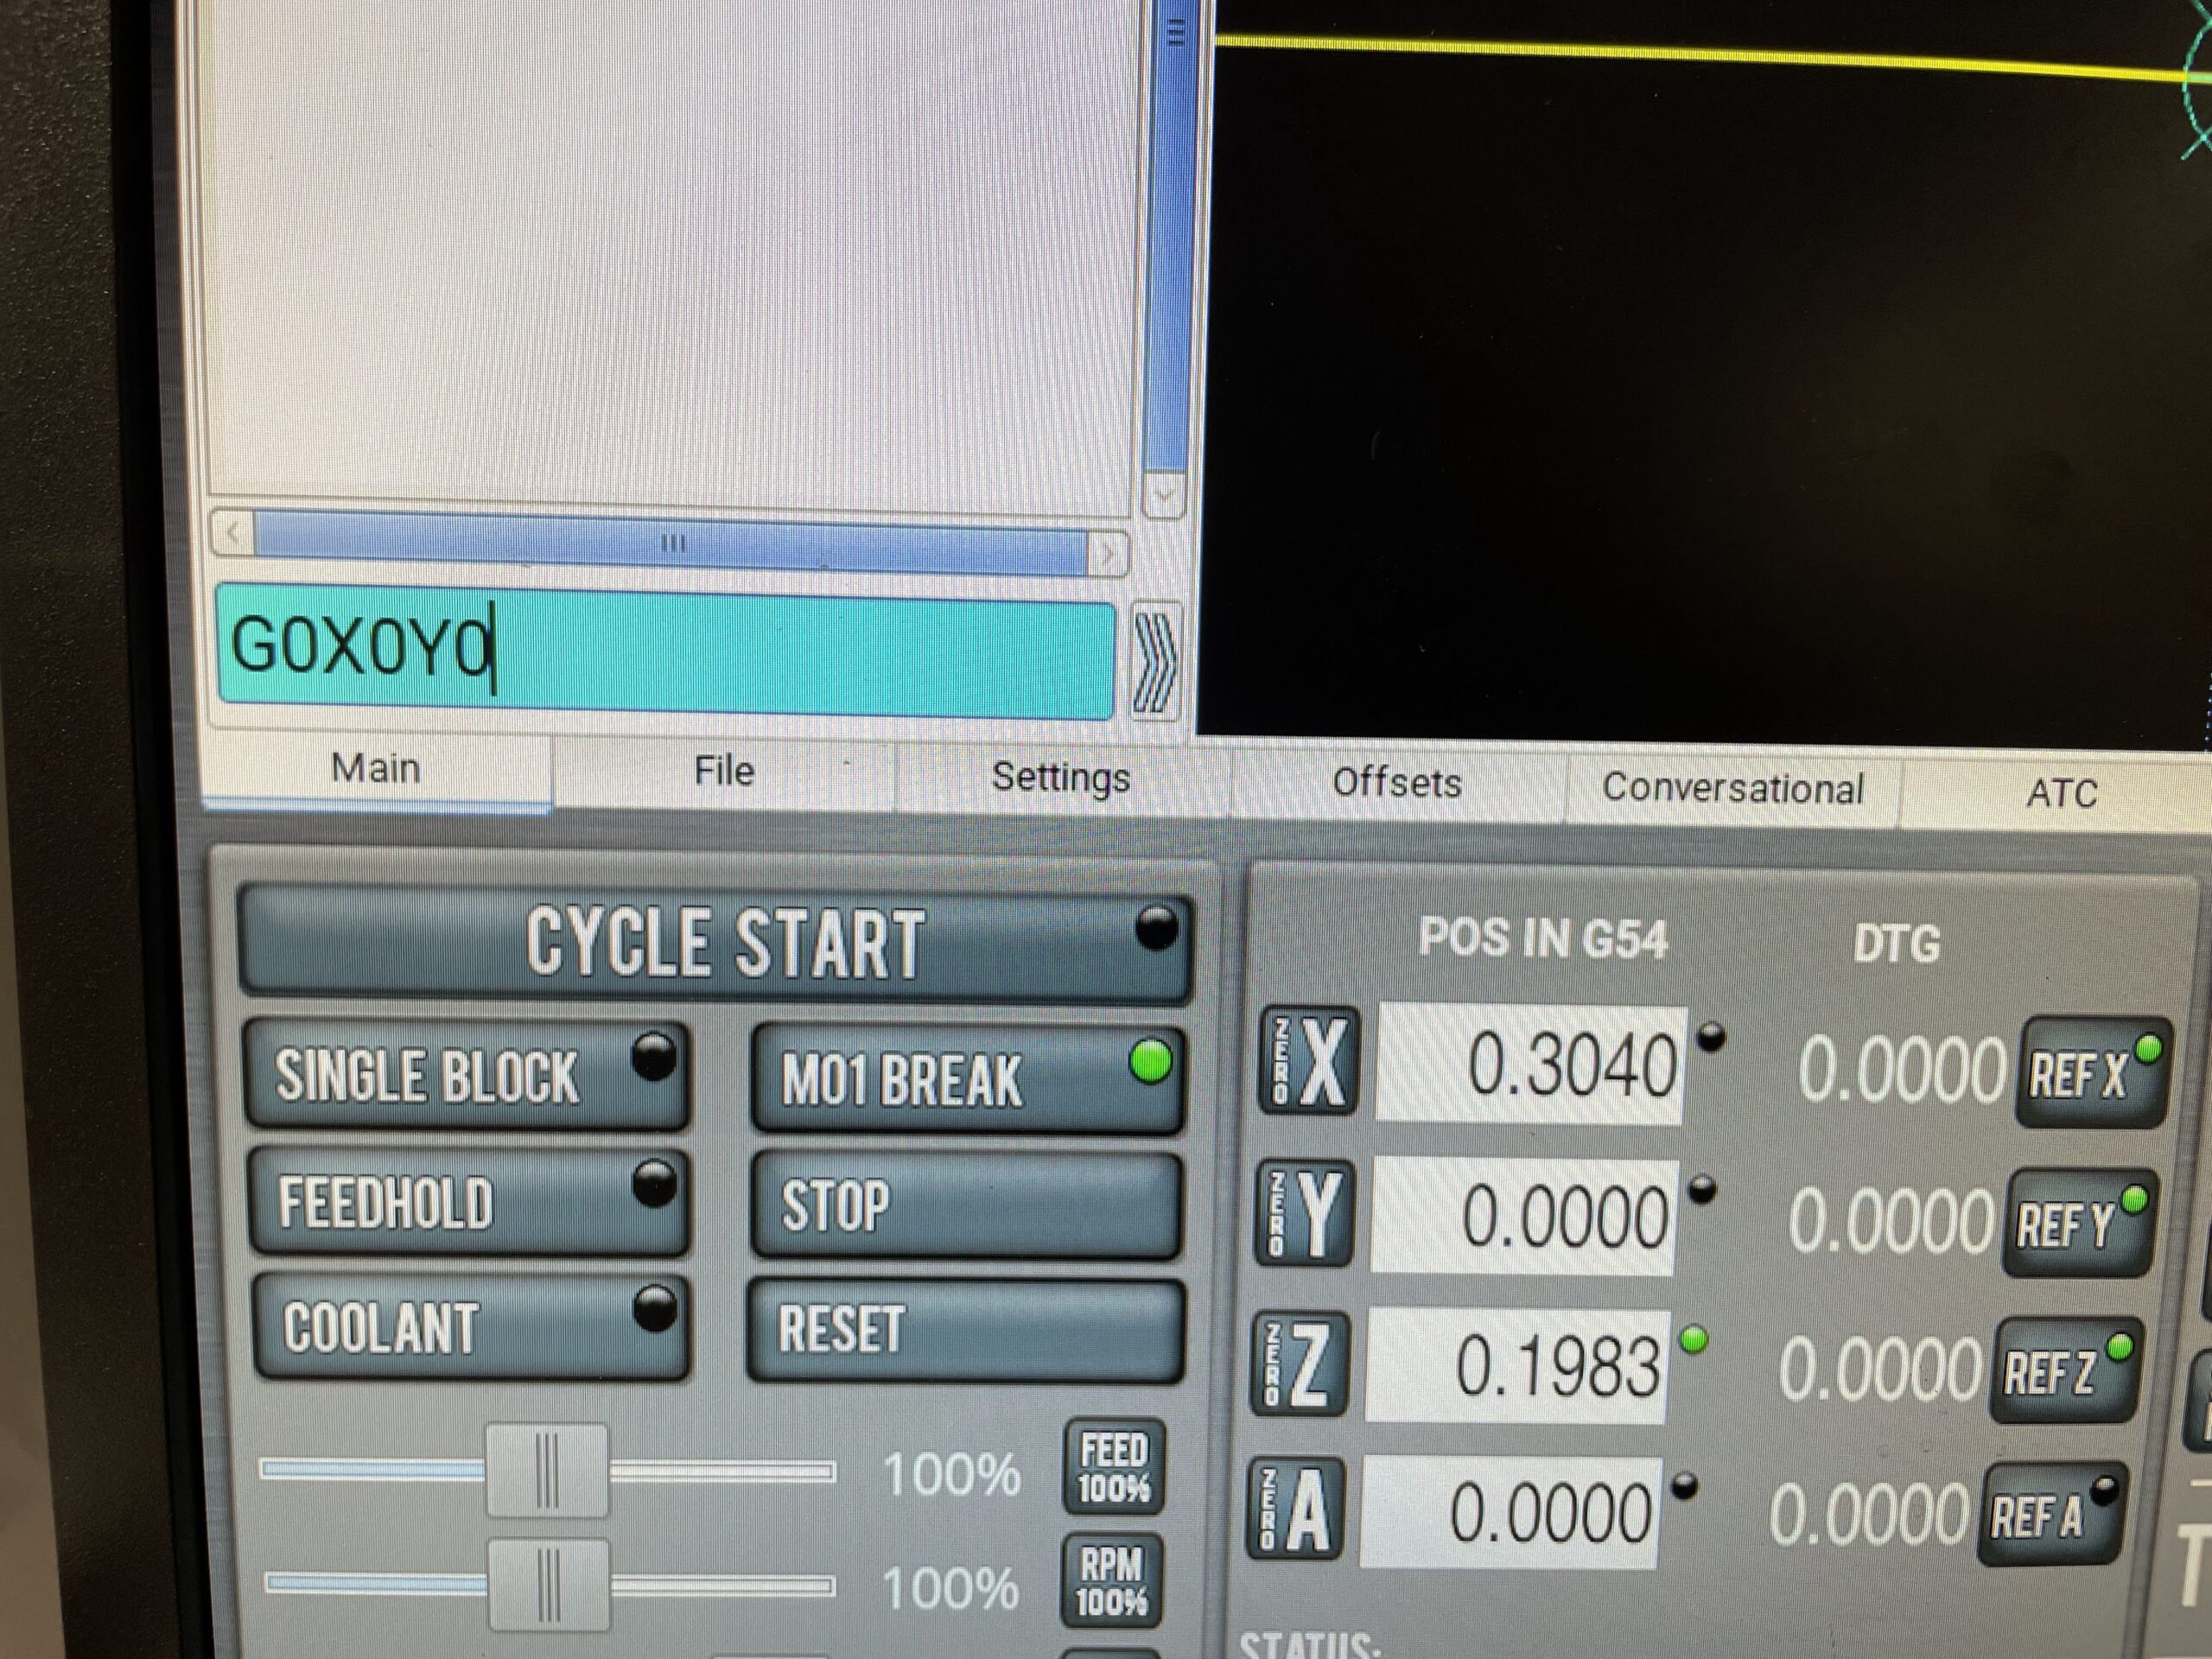
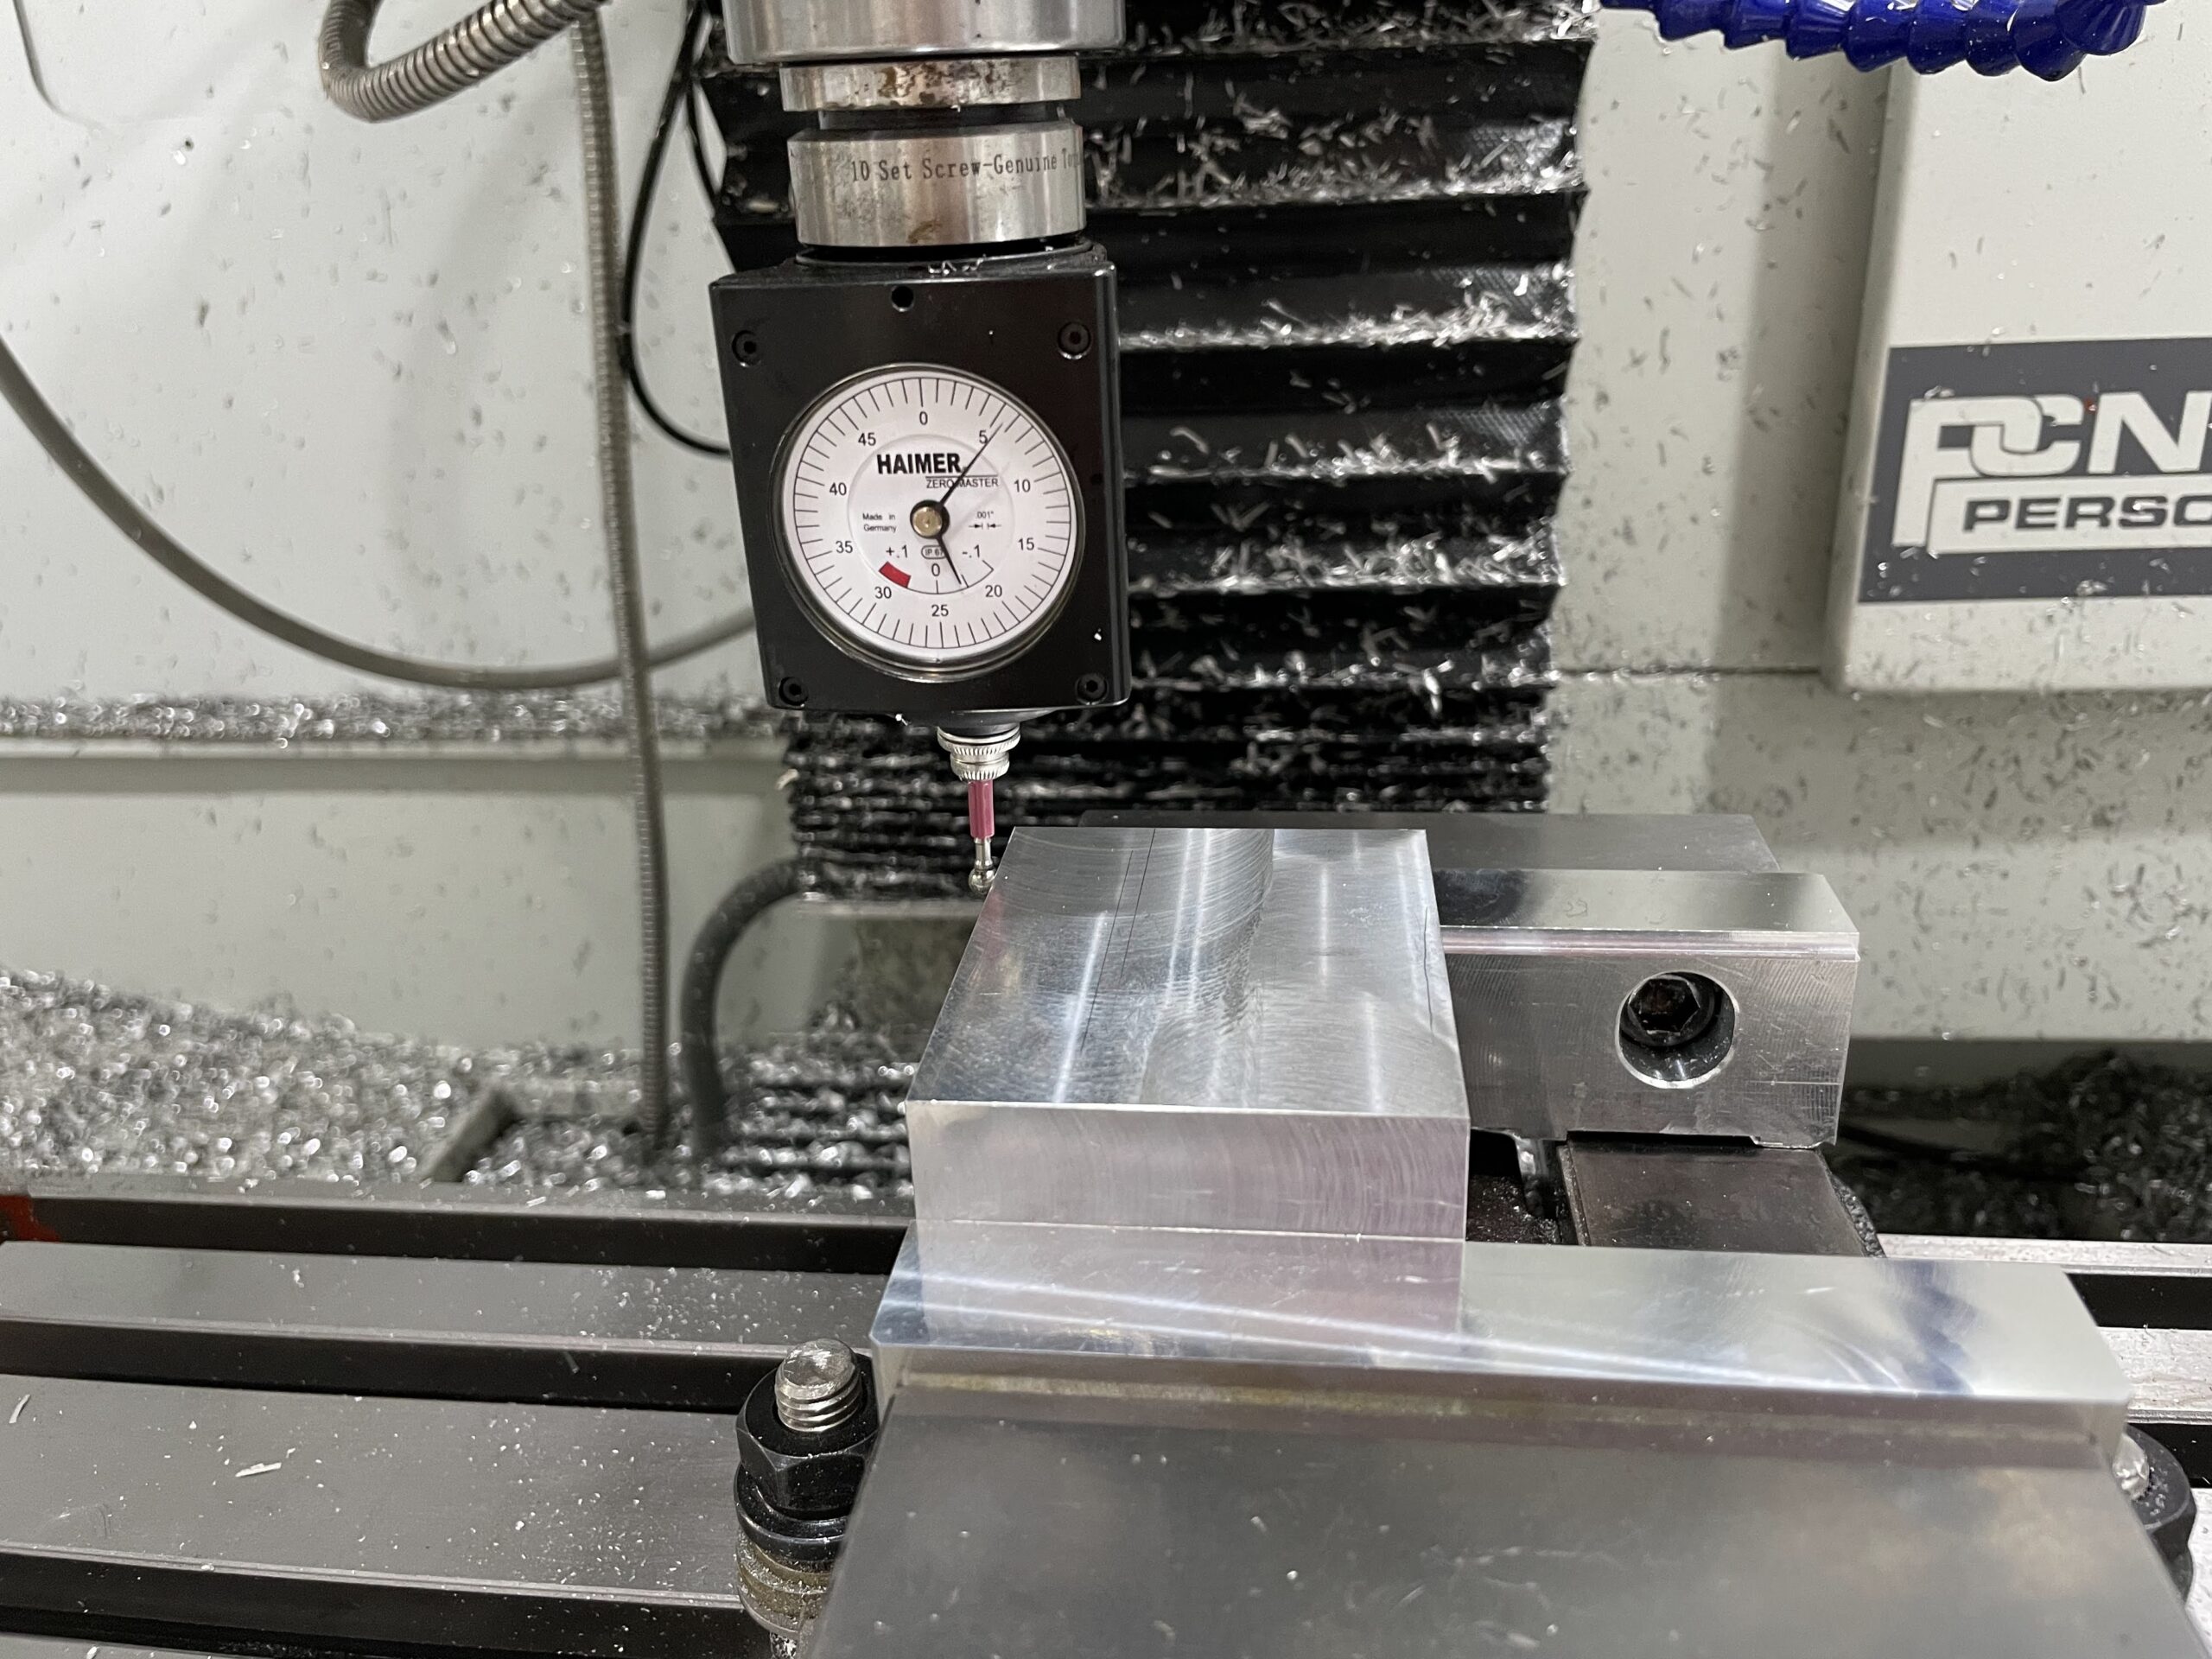
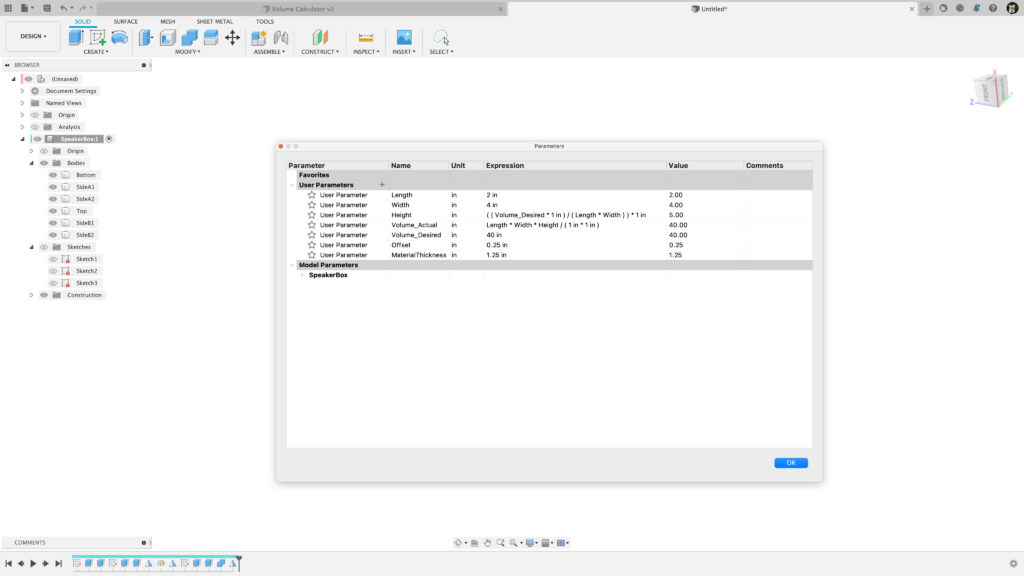
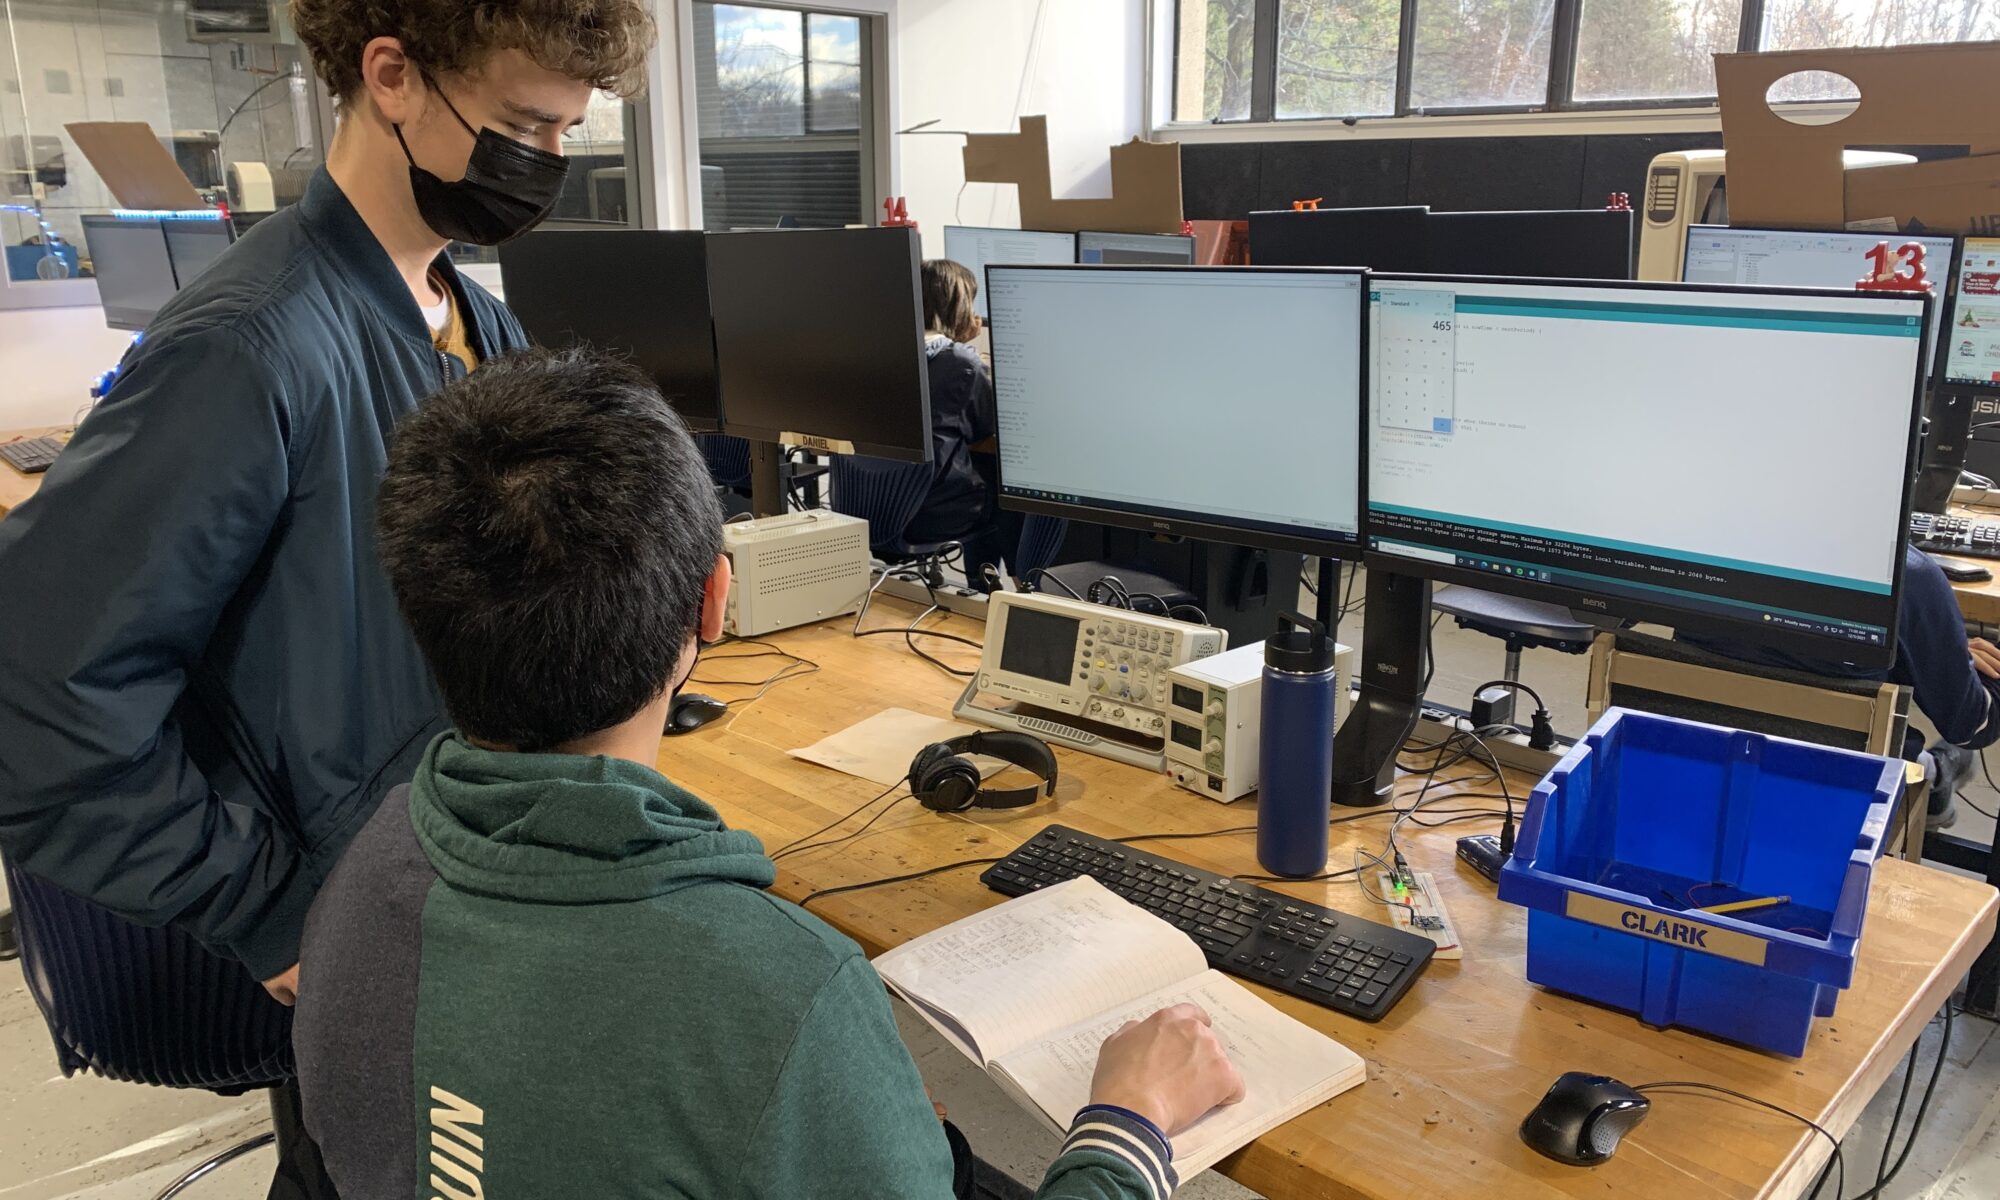
I know my strengths and weaknesses, and planning every minute of a class day is just not how I like to teach. Better planning each day is certainly something I should inject more into my curriculum, it’s just something I’m not as good at implementing. My day to day in the classroom is more informed by seeing what issues/problems students are encountering with their work and then working out how to help them fix these issues. One difference between my friend’s work and mine, is my students tend to work on a variety of different projects, CAD, coding, plamsa cutting, 3d printing, lasercutting, milling, etc. My students are all having very different problems each day. 

His statement above does, however, hit home with me regarding his enthusiasm for content and sharing that with students. I could not agree more, whether or not students are interested in my passions, I try to share those things with students so they see I have passion for something. Hopefully, they will find something they feel strongly about. This is one reason why we let students choose their own projects. Often students try and choose projects they think I will like. My response to them is that they need to work on a project that excites them, it’s the only way they will do a good job, they must be invested in their work. 

I encourage you to read the full post from my friend, it offers some very good insights, and is a starting point for beginning to come up with your own educational philosophy. I’ve not written mine down yet, but in the next few weeks I expect to create a similar evolving document. 

All for now.