Pi Radio – It’s Alive

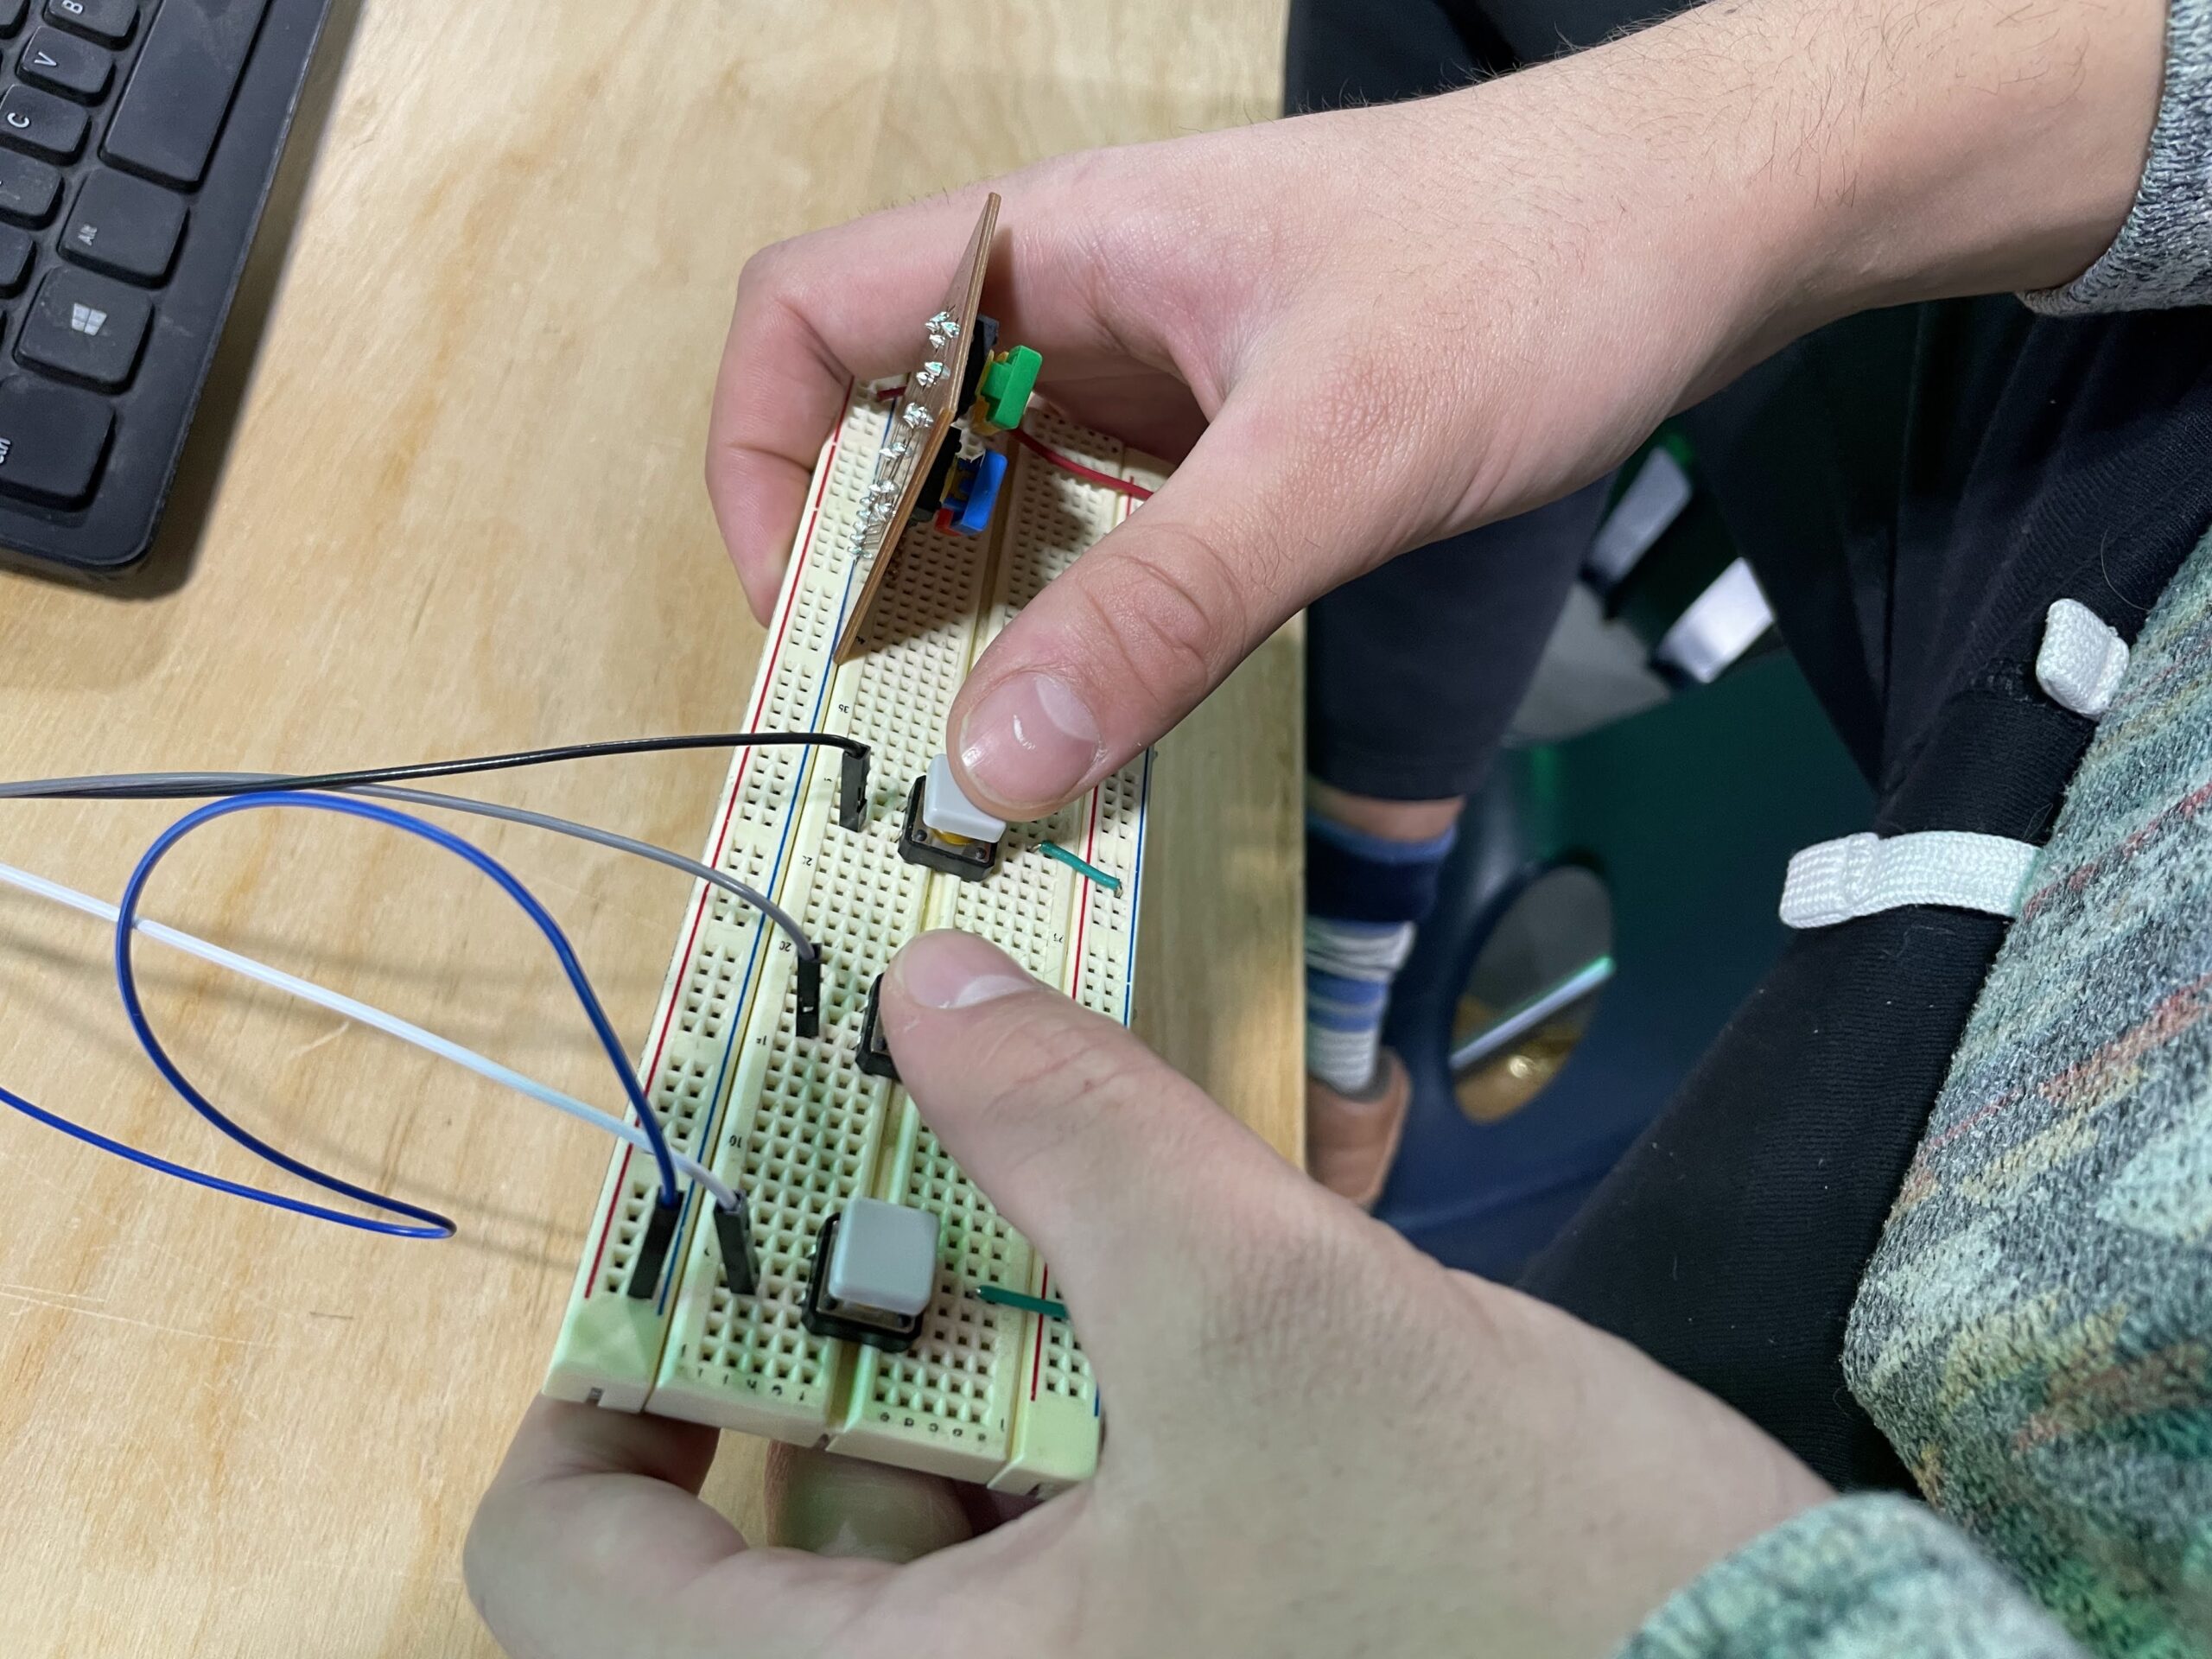
I had mentioned the Pi Radio project to my co-teacher and he was pretty enthusiastic about working on it. Since he is the coding expert, I decided to let him work out those specifics, while I work on the CAD aspects and building the project once the electronic portion is complete. Today he successfully coded the Raspberry Pi to tune to different internet radio stations using a rotary encoder, which will mimic using the tuner from the radio to ‘tune’ to different stations. Additionally, he has incorporated a second rotary encoder for volume control. Everything seems to be working now, but still some work finalizing the code and electronics.

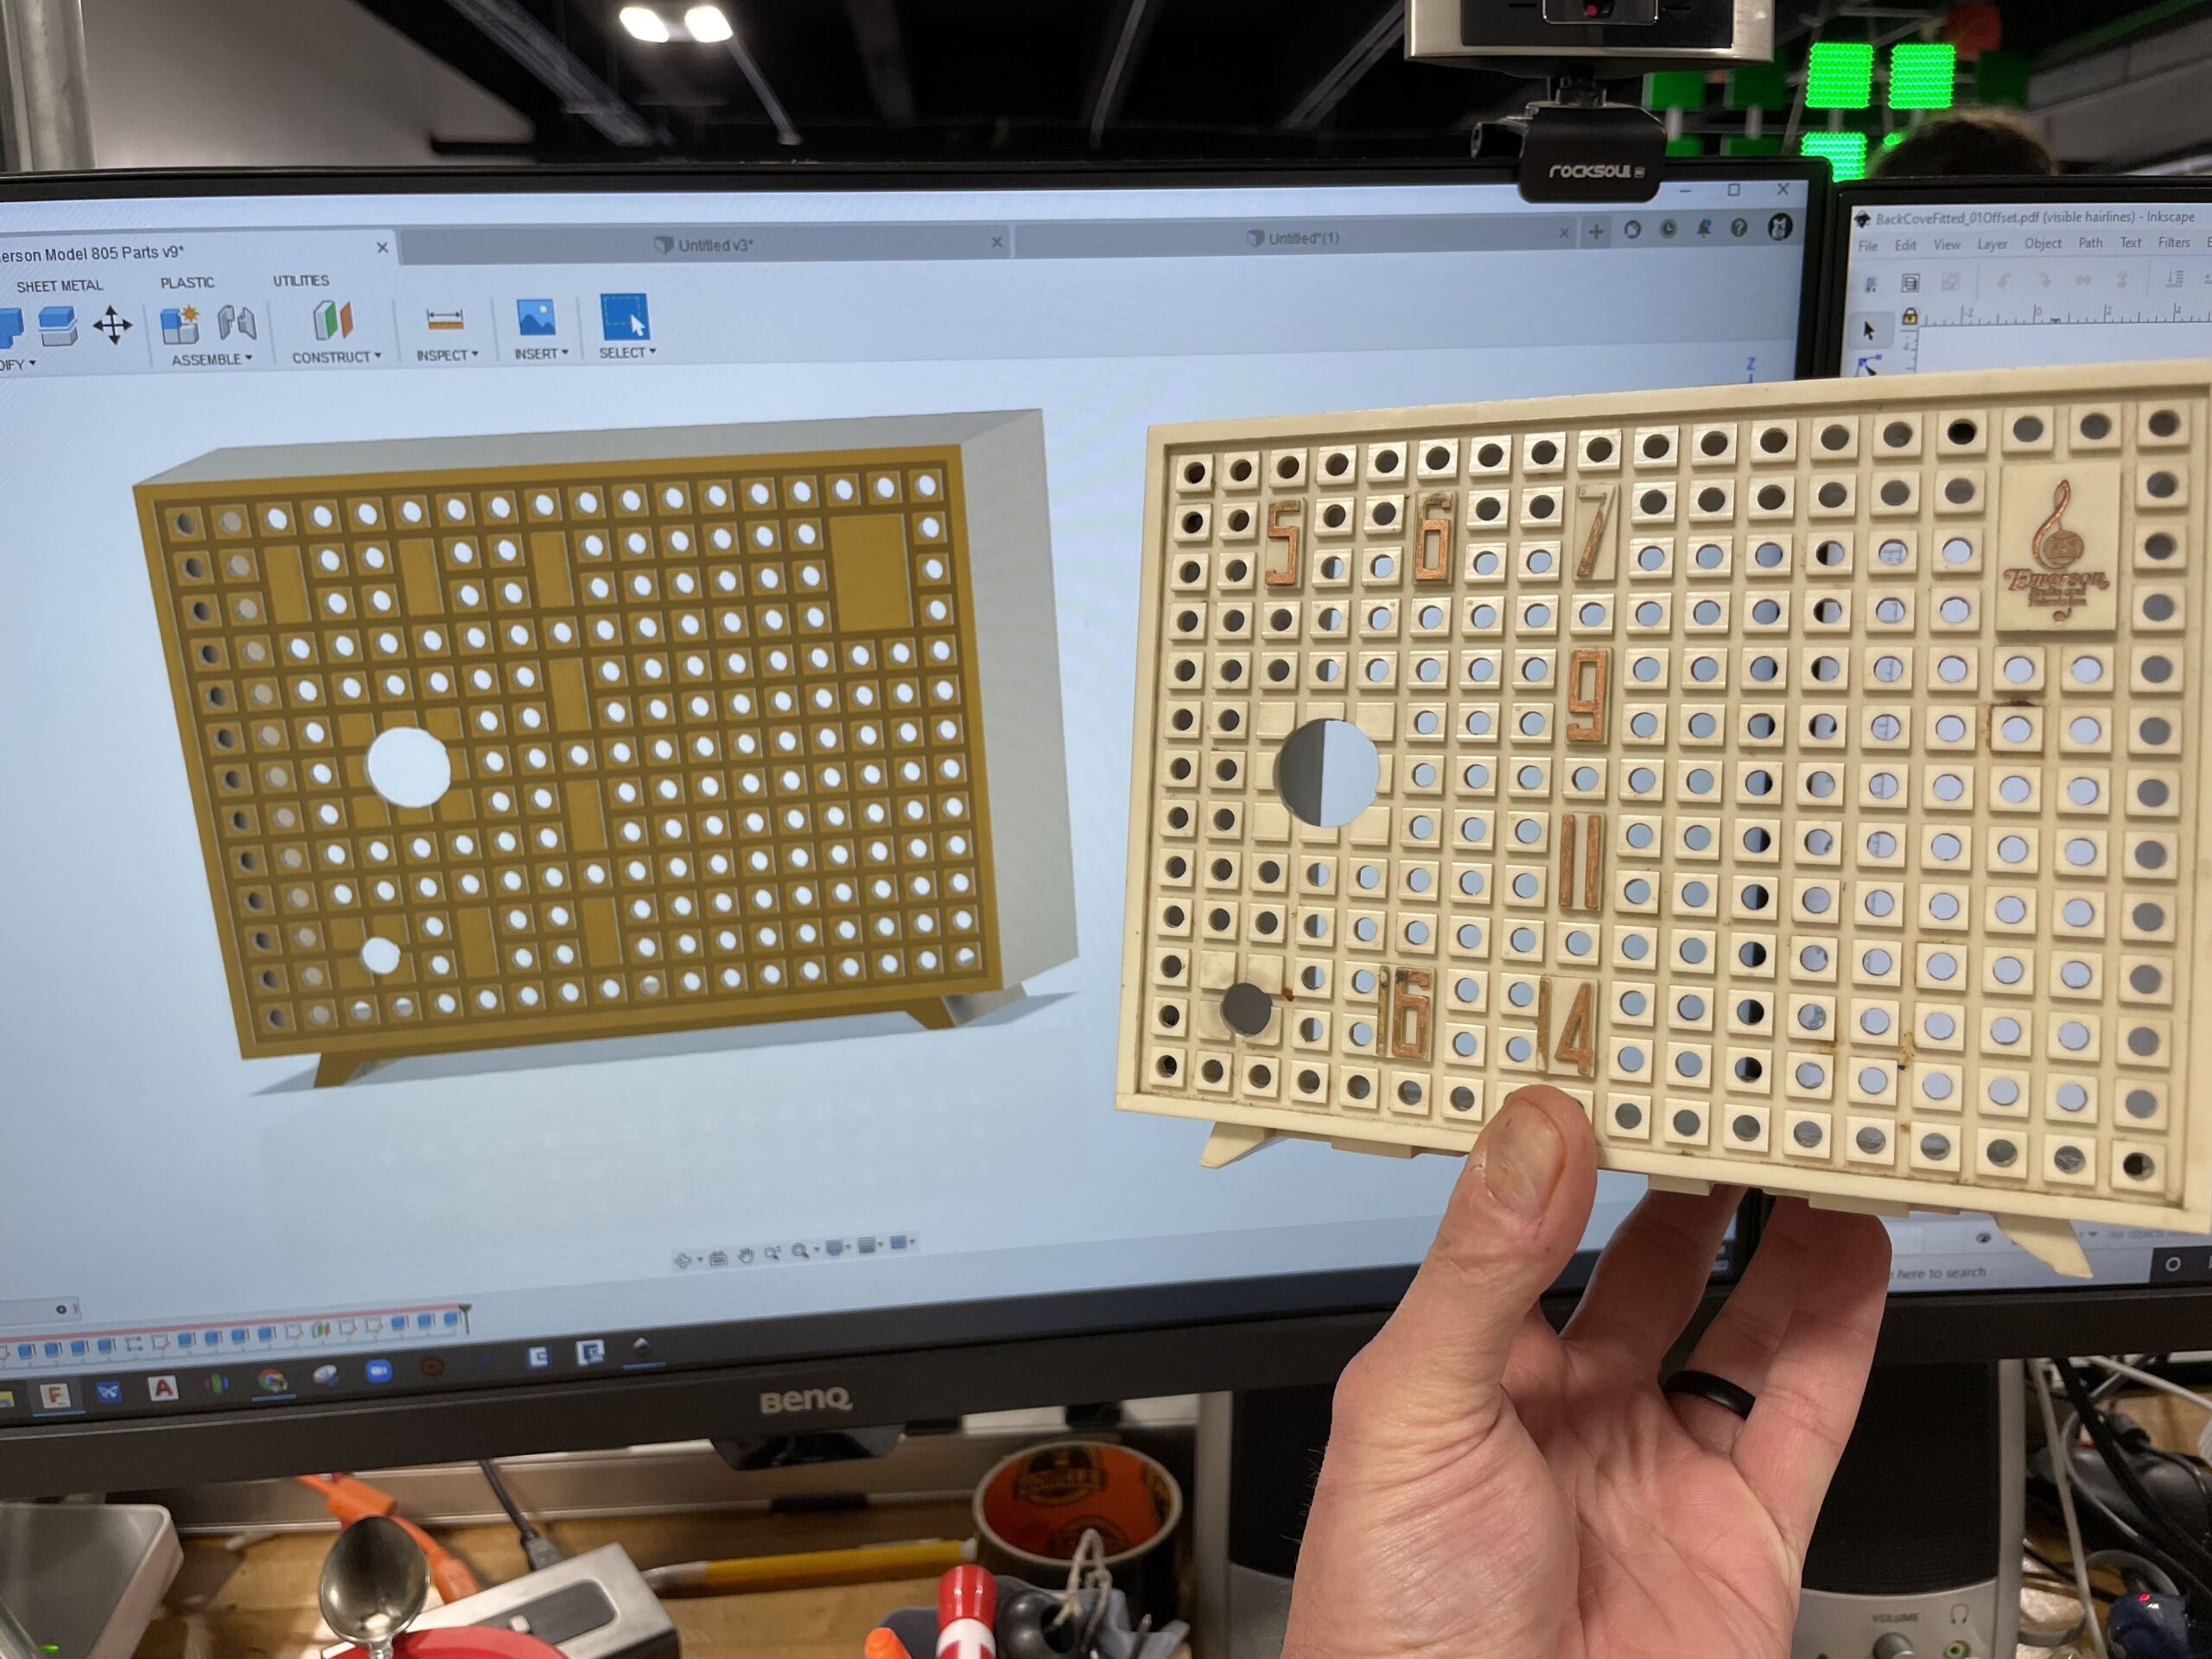
For my part, I’ve started putting the entire radio into CAD in order to make all the new interior components to hold the new electronics. I’ve finally finished recreating the outer housing, and took a quick photo to show how well it came out. Looks just like the real thing. Next, I need to create some new components for lasercutting and 3D printing.

Tetris

When our current seniors were freshmen we began building a large format Tetris game. They mostly helped with wire organization and basic construction. The basic layout of the project is grid of C channel holding a 5 x 7 matrix of bright LED square panels which were donated to the Robotics shop from the MBTA. With the COVID pandemic the Tetris Rig, as its come to be known, has had little work done to it. This year, however, a senior, who was one of the freshmen who first began working on the rig, decided to return to the project and get it working.

This student, Dylan S ’22 has spent most of the year reorganizing all the wiring, creating new PCBs, and writing code to make the rig fully functional. Today was the first day we were finally able to play the game using a small controller he built. It’s really incredible how much work has gone into this project and how incredibly well it performs. There are still some modifications that are going to be made, but it was a solid milestone to mention for today’s post. Video and images below.

LED Light Box

For our sophomores we have a few standard projects they all work on individually. These include the LED Light Box and SumoBot projects. For each project students are expected to complete their projects using their own CAD designs, as well as making their own PCBs and designing the circuitry from scratch.

Unfortunately, for our current seniors, due to the COVID pandemic, they were unable to work on either of those projects, as they spent nearly a year and half learning remotely. Luckily, they are back in the building this year, and working hard to catch up on some hands on activities they missed. One student is now close to completing his LED Light Box, and it’s beginning to look very professional. I’m not sure what the inspiration for the acrylic is, but it came out really well. We use a raster technique for student designs on the back side of the acrylic and mirror the design so it looks backwards on the surface it is being laser etched into. When you turn the acrylic over, the design is in the correct orientation, and looks very clean behind a few millimeters of acrylic.

There is still some finishing work to be done on this particular LED Light Box, but it’s a nice example of projects coming out of our shop. Our current sophomore are beginning their lightboxes right now, which generally begins with finalizing their circuitry on breadboards and then milling their PCB boards on our Bantam Tools mills. Enjoy the photos and video of the project below.

LED Word Clock Complete

It’s taken quite a while, but the LED Word Clock looks to be finished. This was a project started a few years ago by some students, and then was completely redone by a current Junior from our shop. This student has spent most of the semester putting the project together in a manner that looks professional, like a product off the shelf.

The design uses about 10 layers of lasercut wood to conceal the wiring and house the lettering and spacing pieces. The circuit board is custom made on our Bantam Tools PCB mill, and all the wood and acrylic were cut on our Epilog Fusion Pro. Just a few photos below of the finished product, hoping to have a more detailed writeup of the process from the student.

Tormach Resolved

I believe it was Tuesday when I reported having some issue with my Tormach. You can read about the initial symptoms here. Fortunately, Tormach has very good support, at least in my opinion. I had also let Tormach know the automatic draw bar was not functioning, the lock and release buttons were not doing anything despite having good air pressure, and other air pressure related functions working properly. This led them to believe that the draw bar control board may not be receiving power, which would then affect the ATC, as both are used together during tool changes.

I put a multimeter on the draw bar control board and was not reading any voltage. I traced the wires back to their source at the electrical cabinet and also received not voltage at that point, which suggested perhaps a fuse had blown. However, while looking at the fuse board in the electrical cabinet I did notice a few small chips of aluminum on the board, which might be shorting out the board and causing the issue. I brushed those chips away and retested the wires numbered 501 and 502. 11.92 V showing on the multimeter, problem solved.

Looks like some chips somehow made it into the electrical cabinet and shorted out the fuse board, specifically the 501 and 502 wires to the draw bar control board. It took a day or so to track down the issue, but luckily it was an easy and cheap fix. Some photos below.