This week I have the freshmen. My co teacher and I switch each week who is teaching them. Since our classroom has lockers, we decided to have them make their own locker badges. We created a template file for Inkscape, and then I created a video to show them how to complete the file and send it to the laser cutter. The video includes how to vectorize a photo of themselves to place on the locker badge as well as adding text for their name. It’s a relatively quick little project, but gives them a sense of ownership within the shop. I’ll take some more photos of all the completed badges in the next few days. For now, here is a link to the project page.
Cardboard Canoes
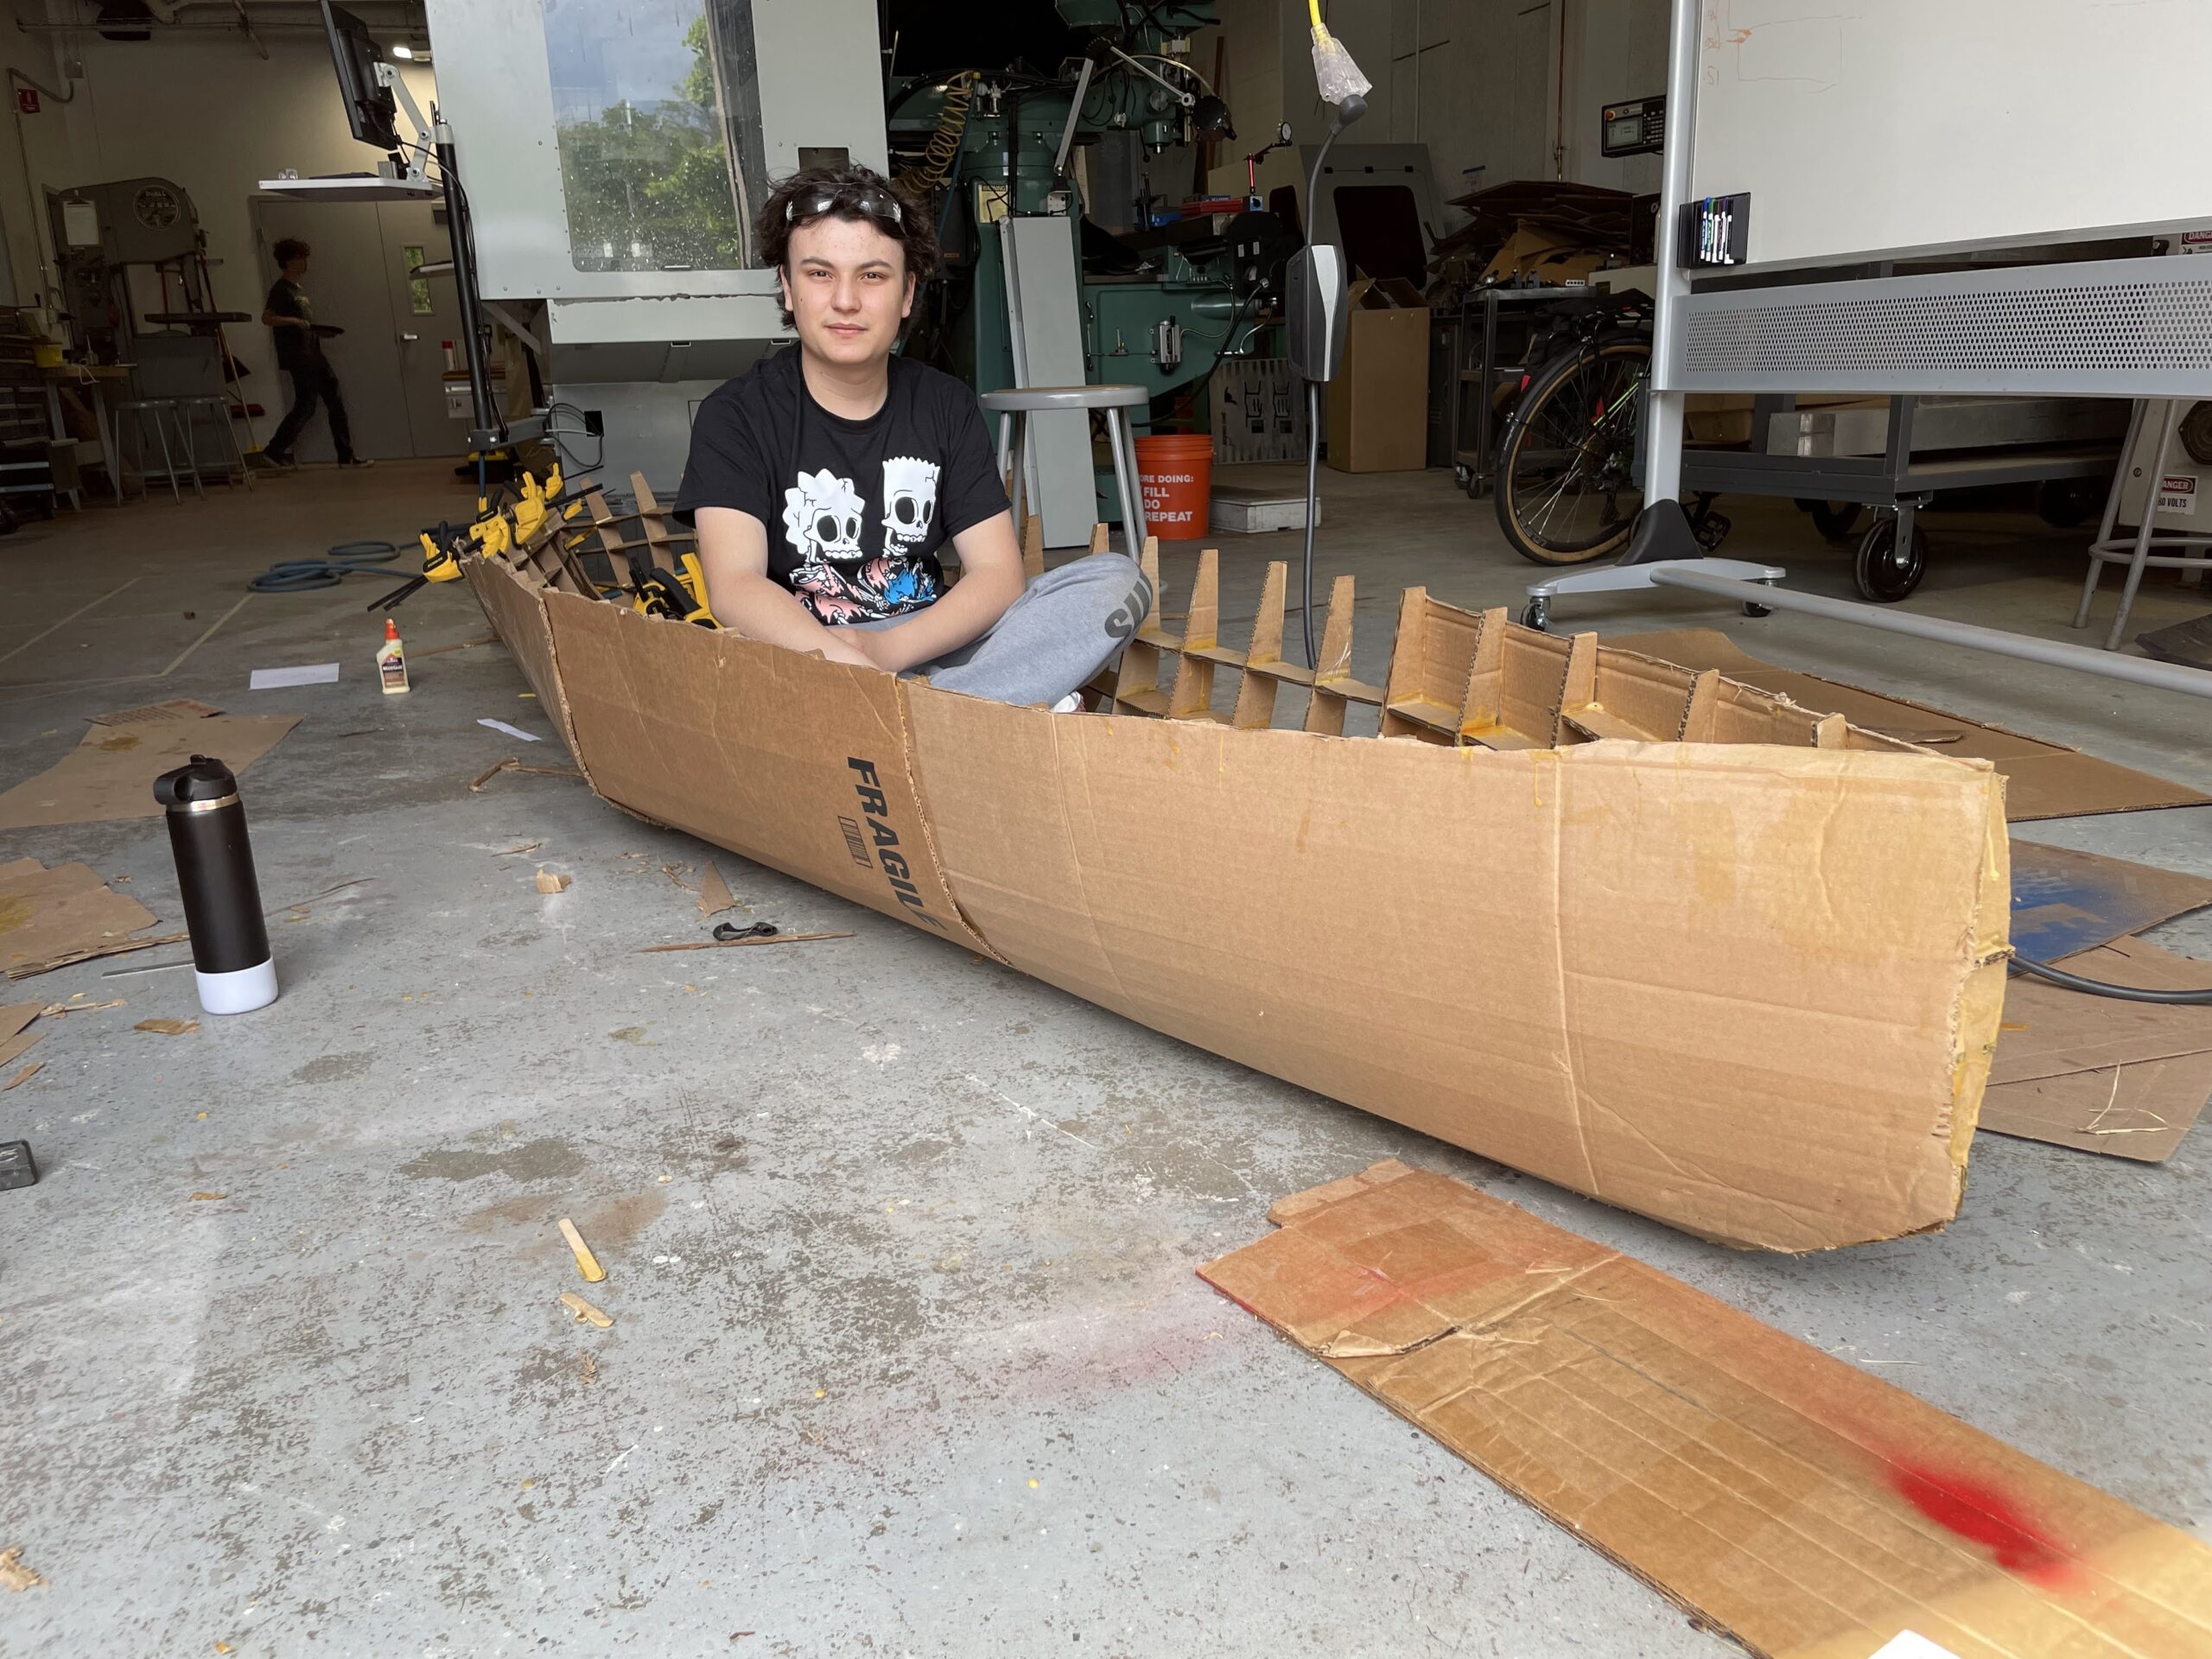
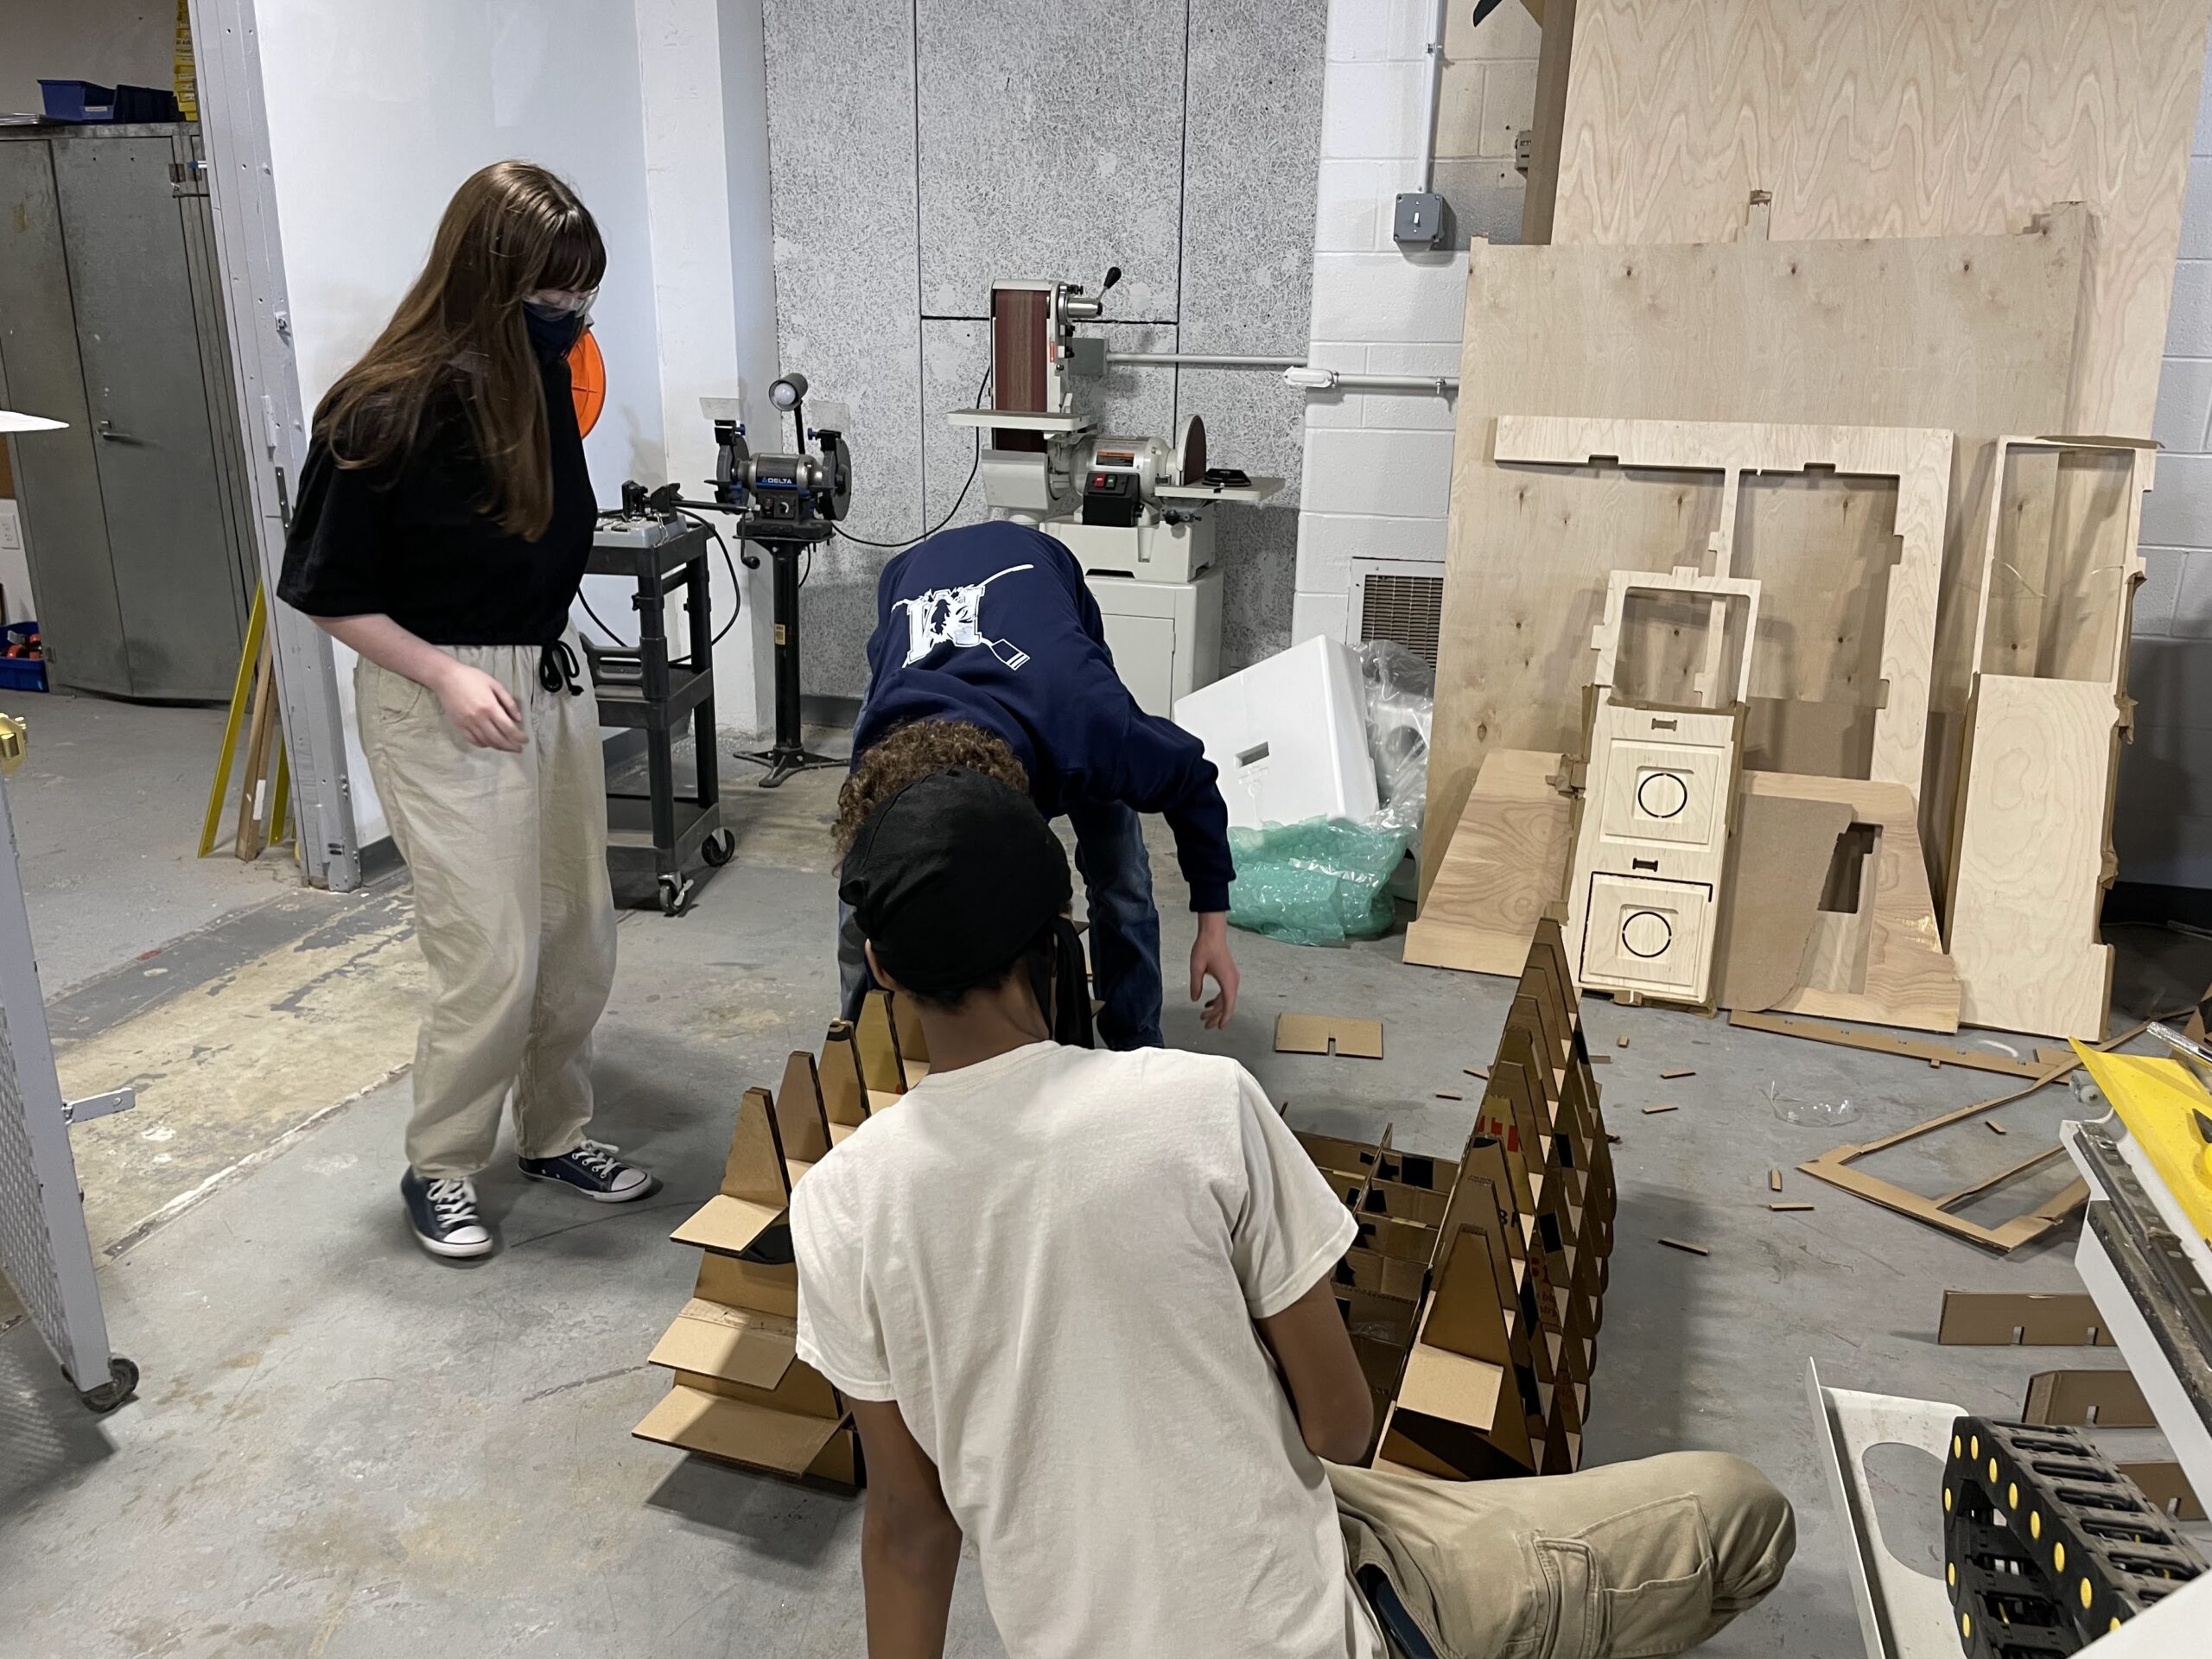
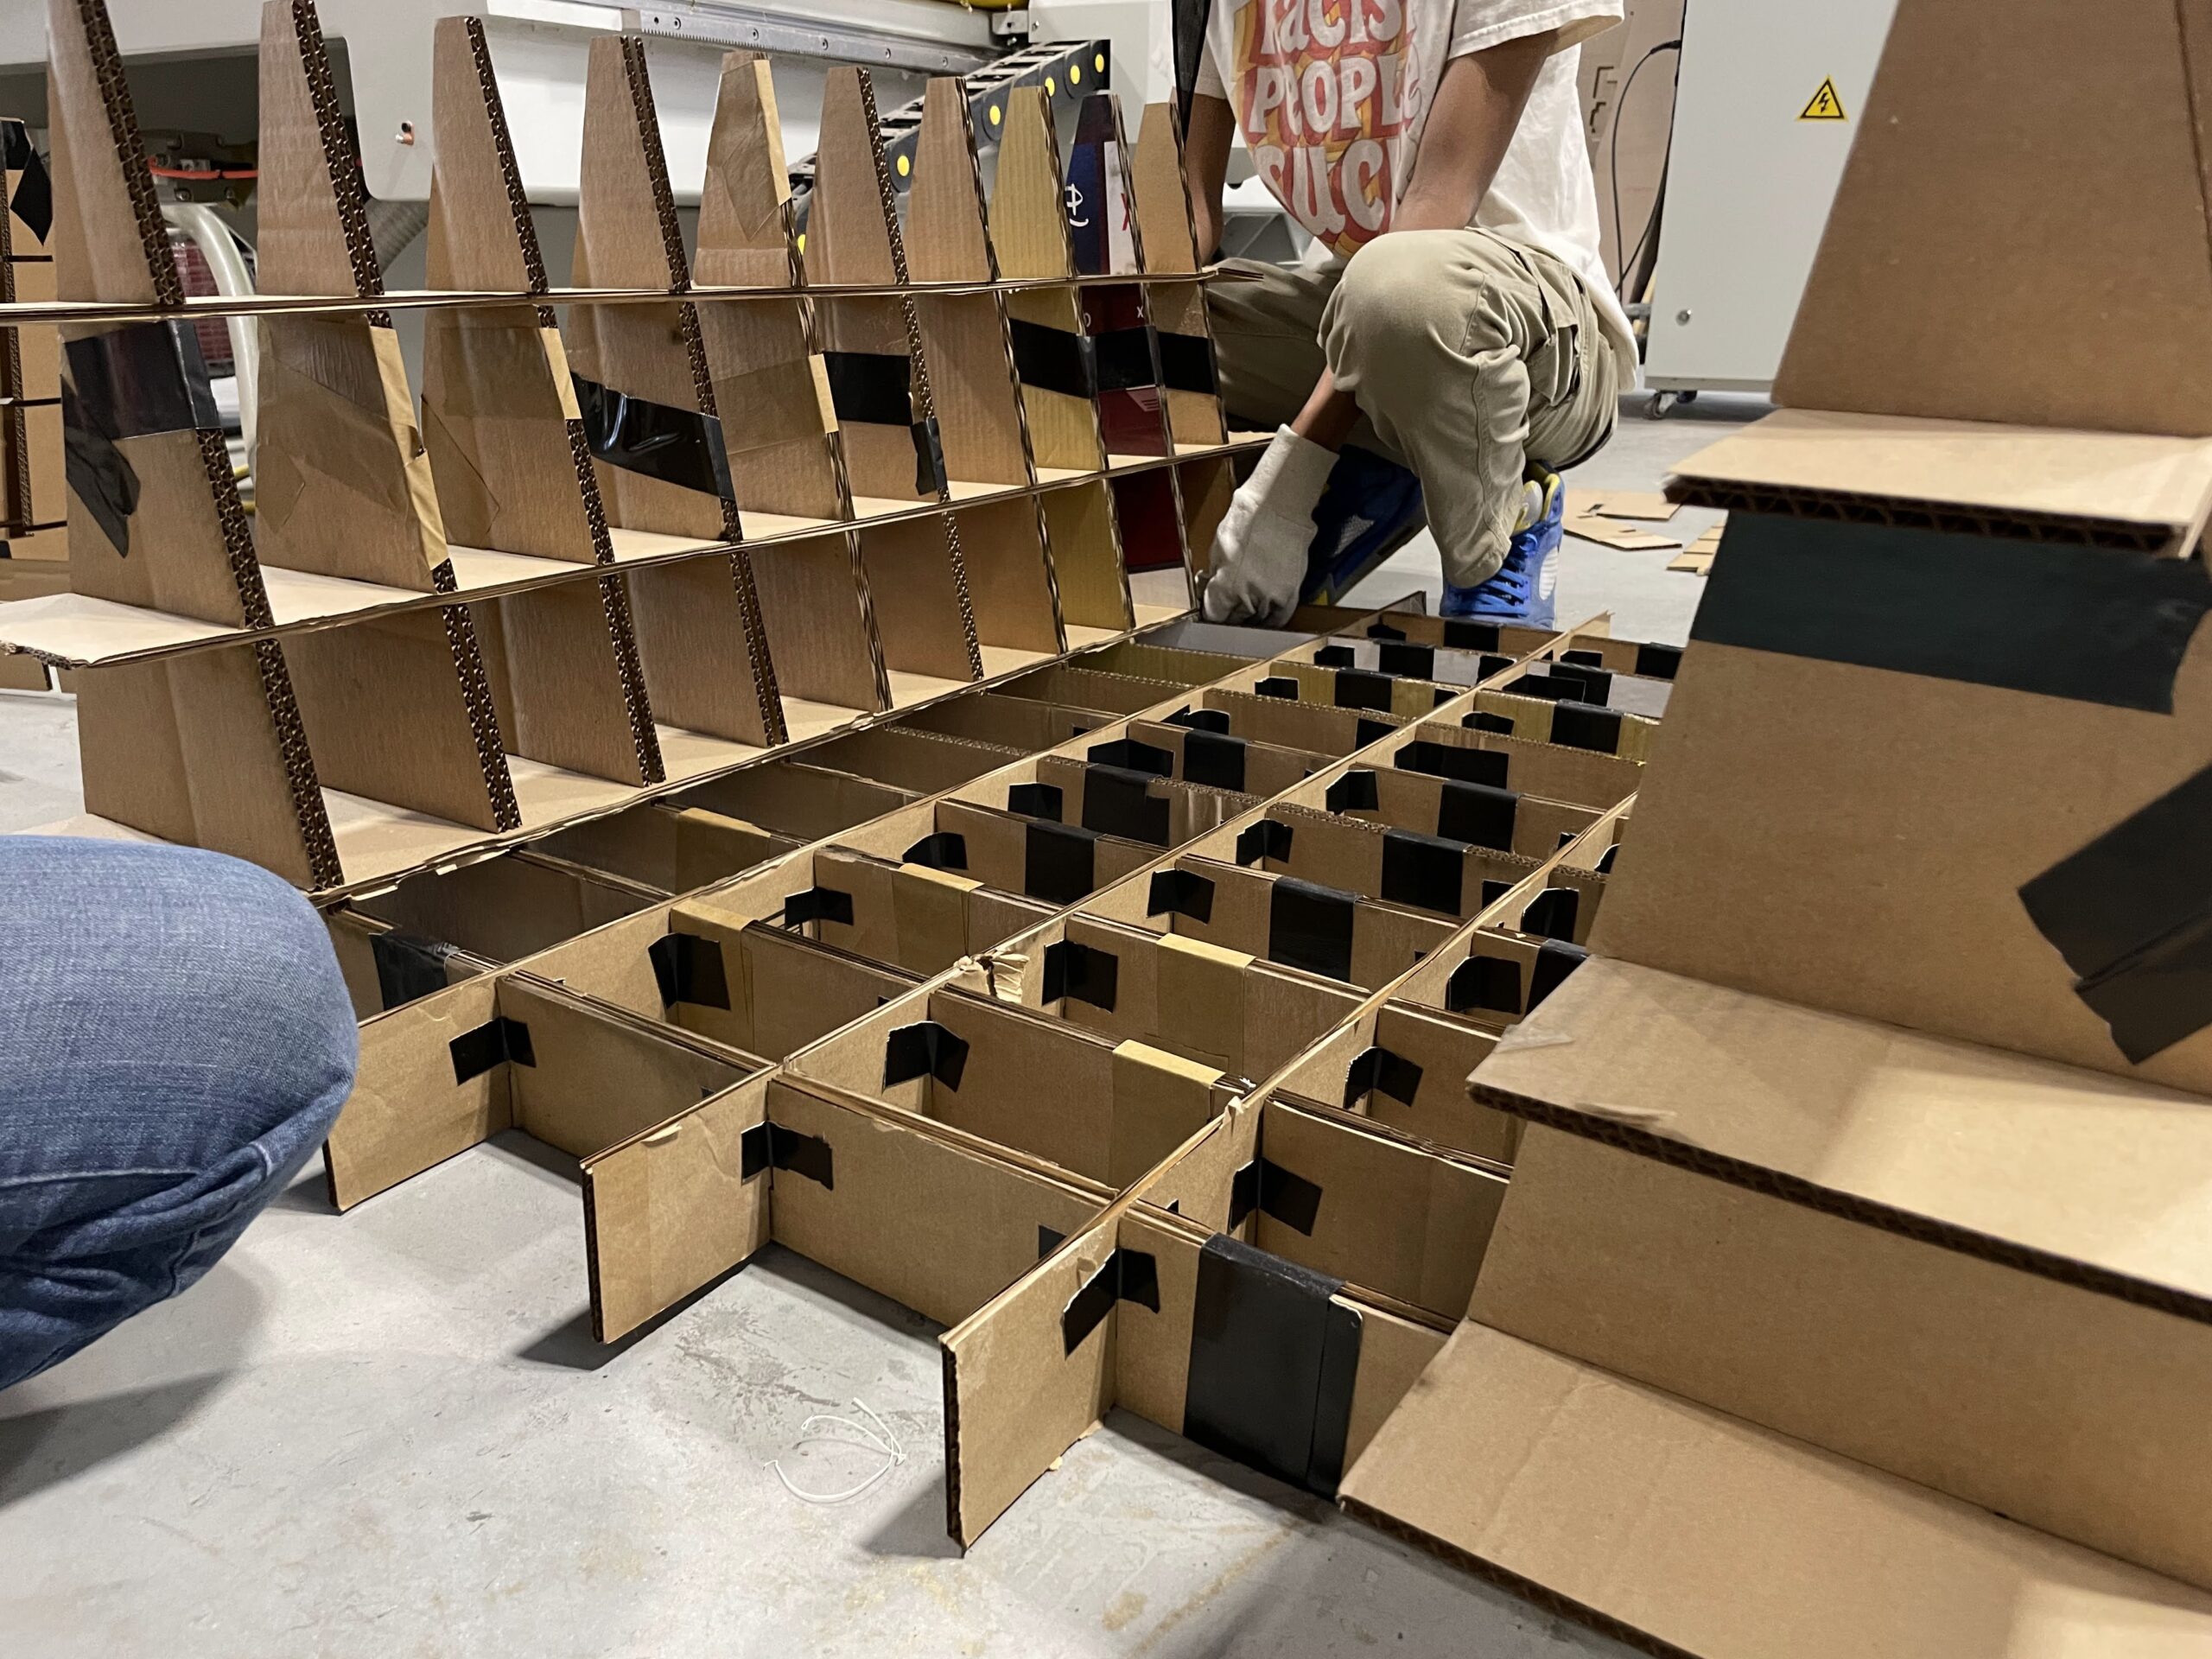
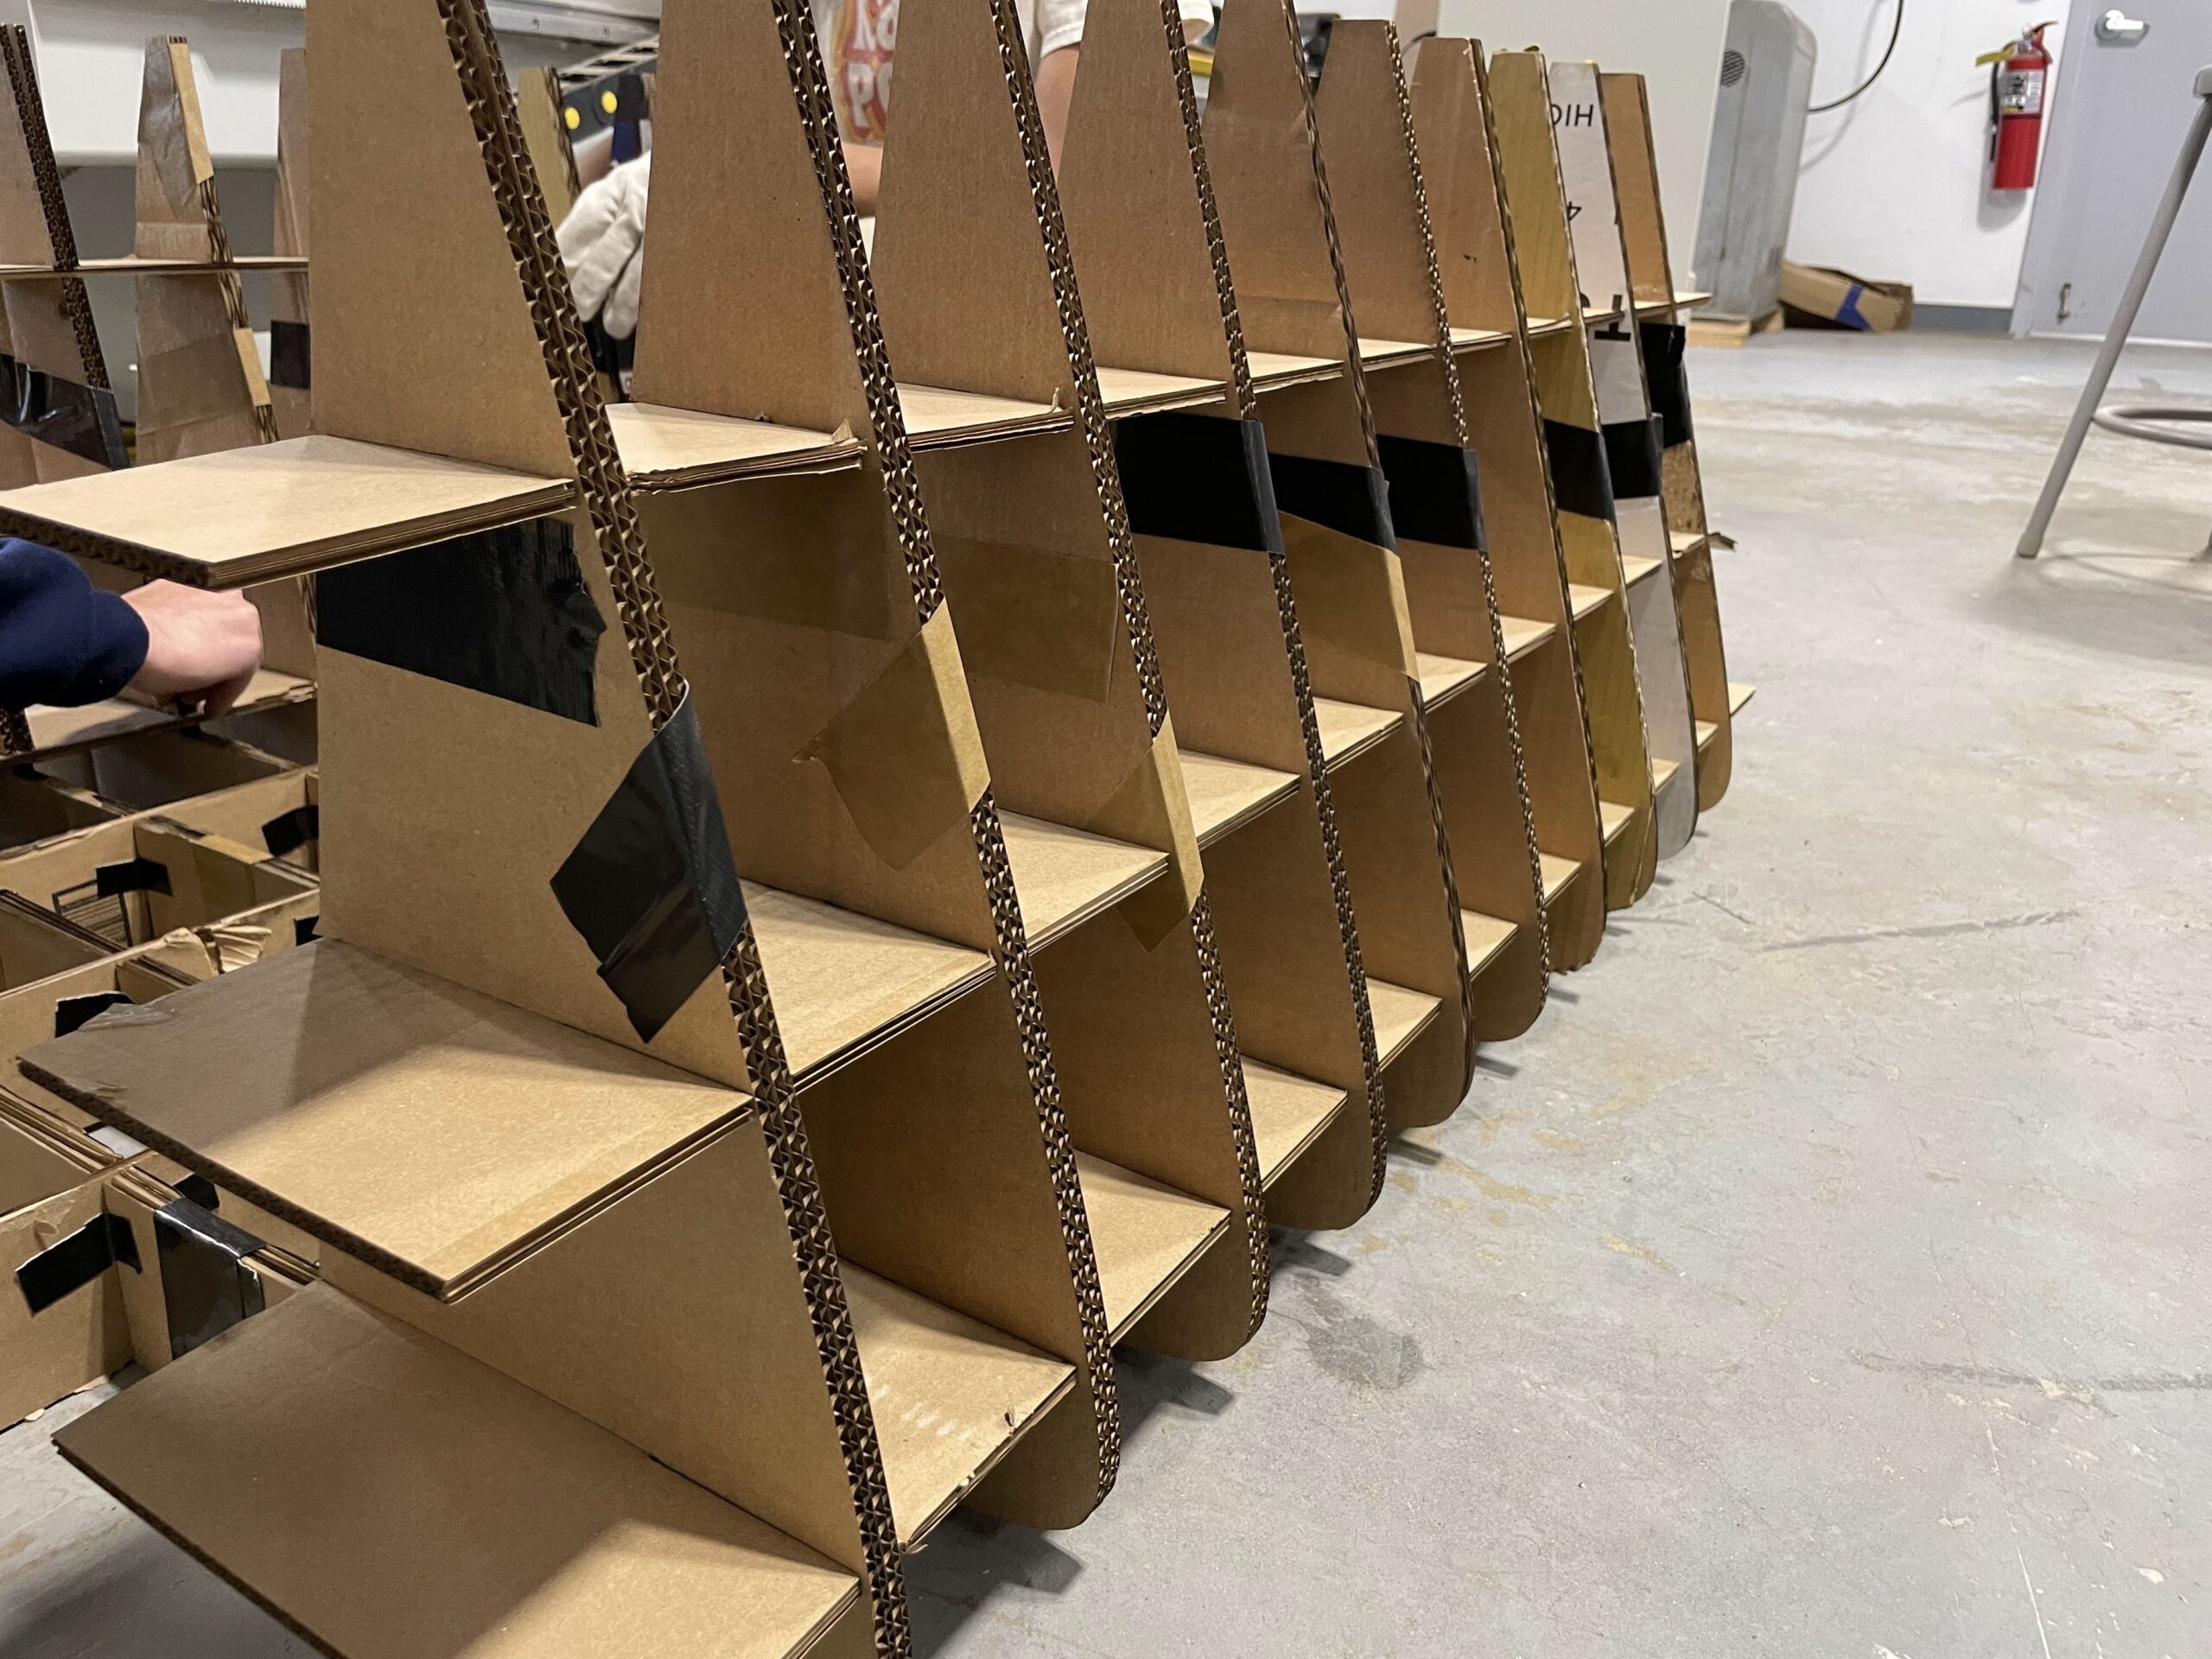
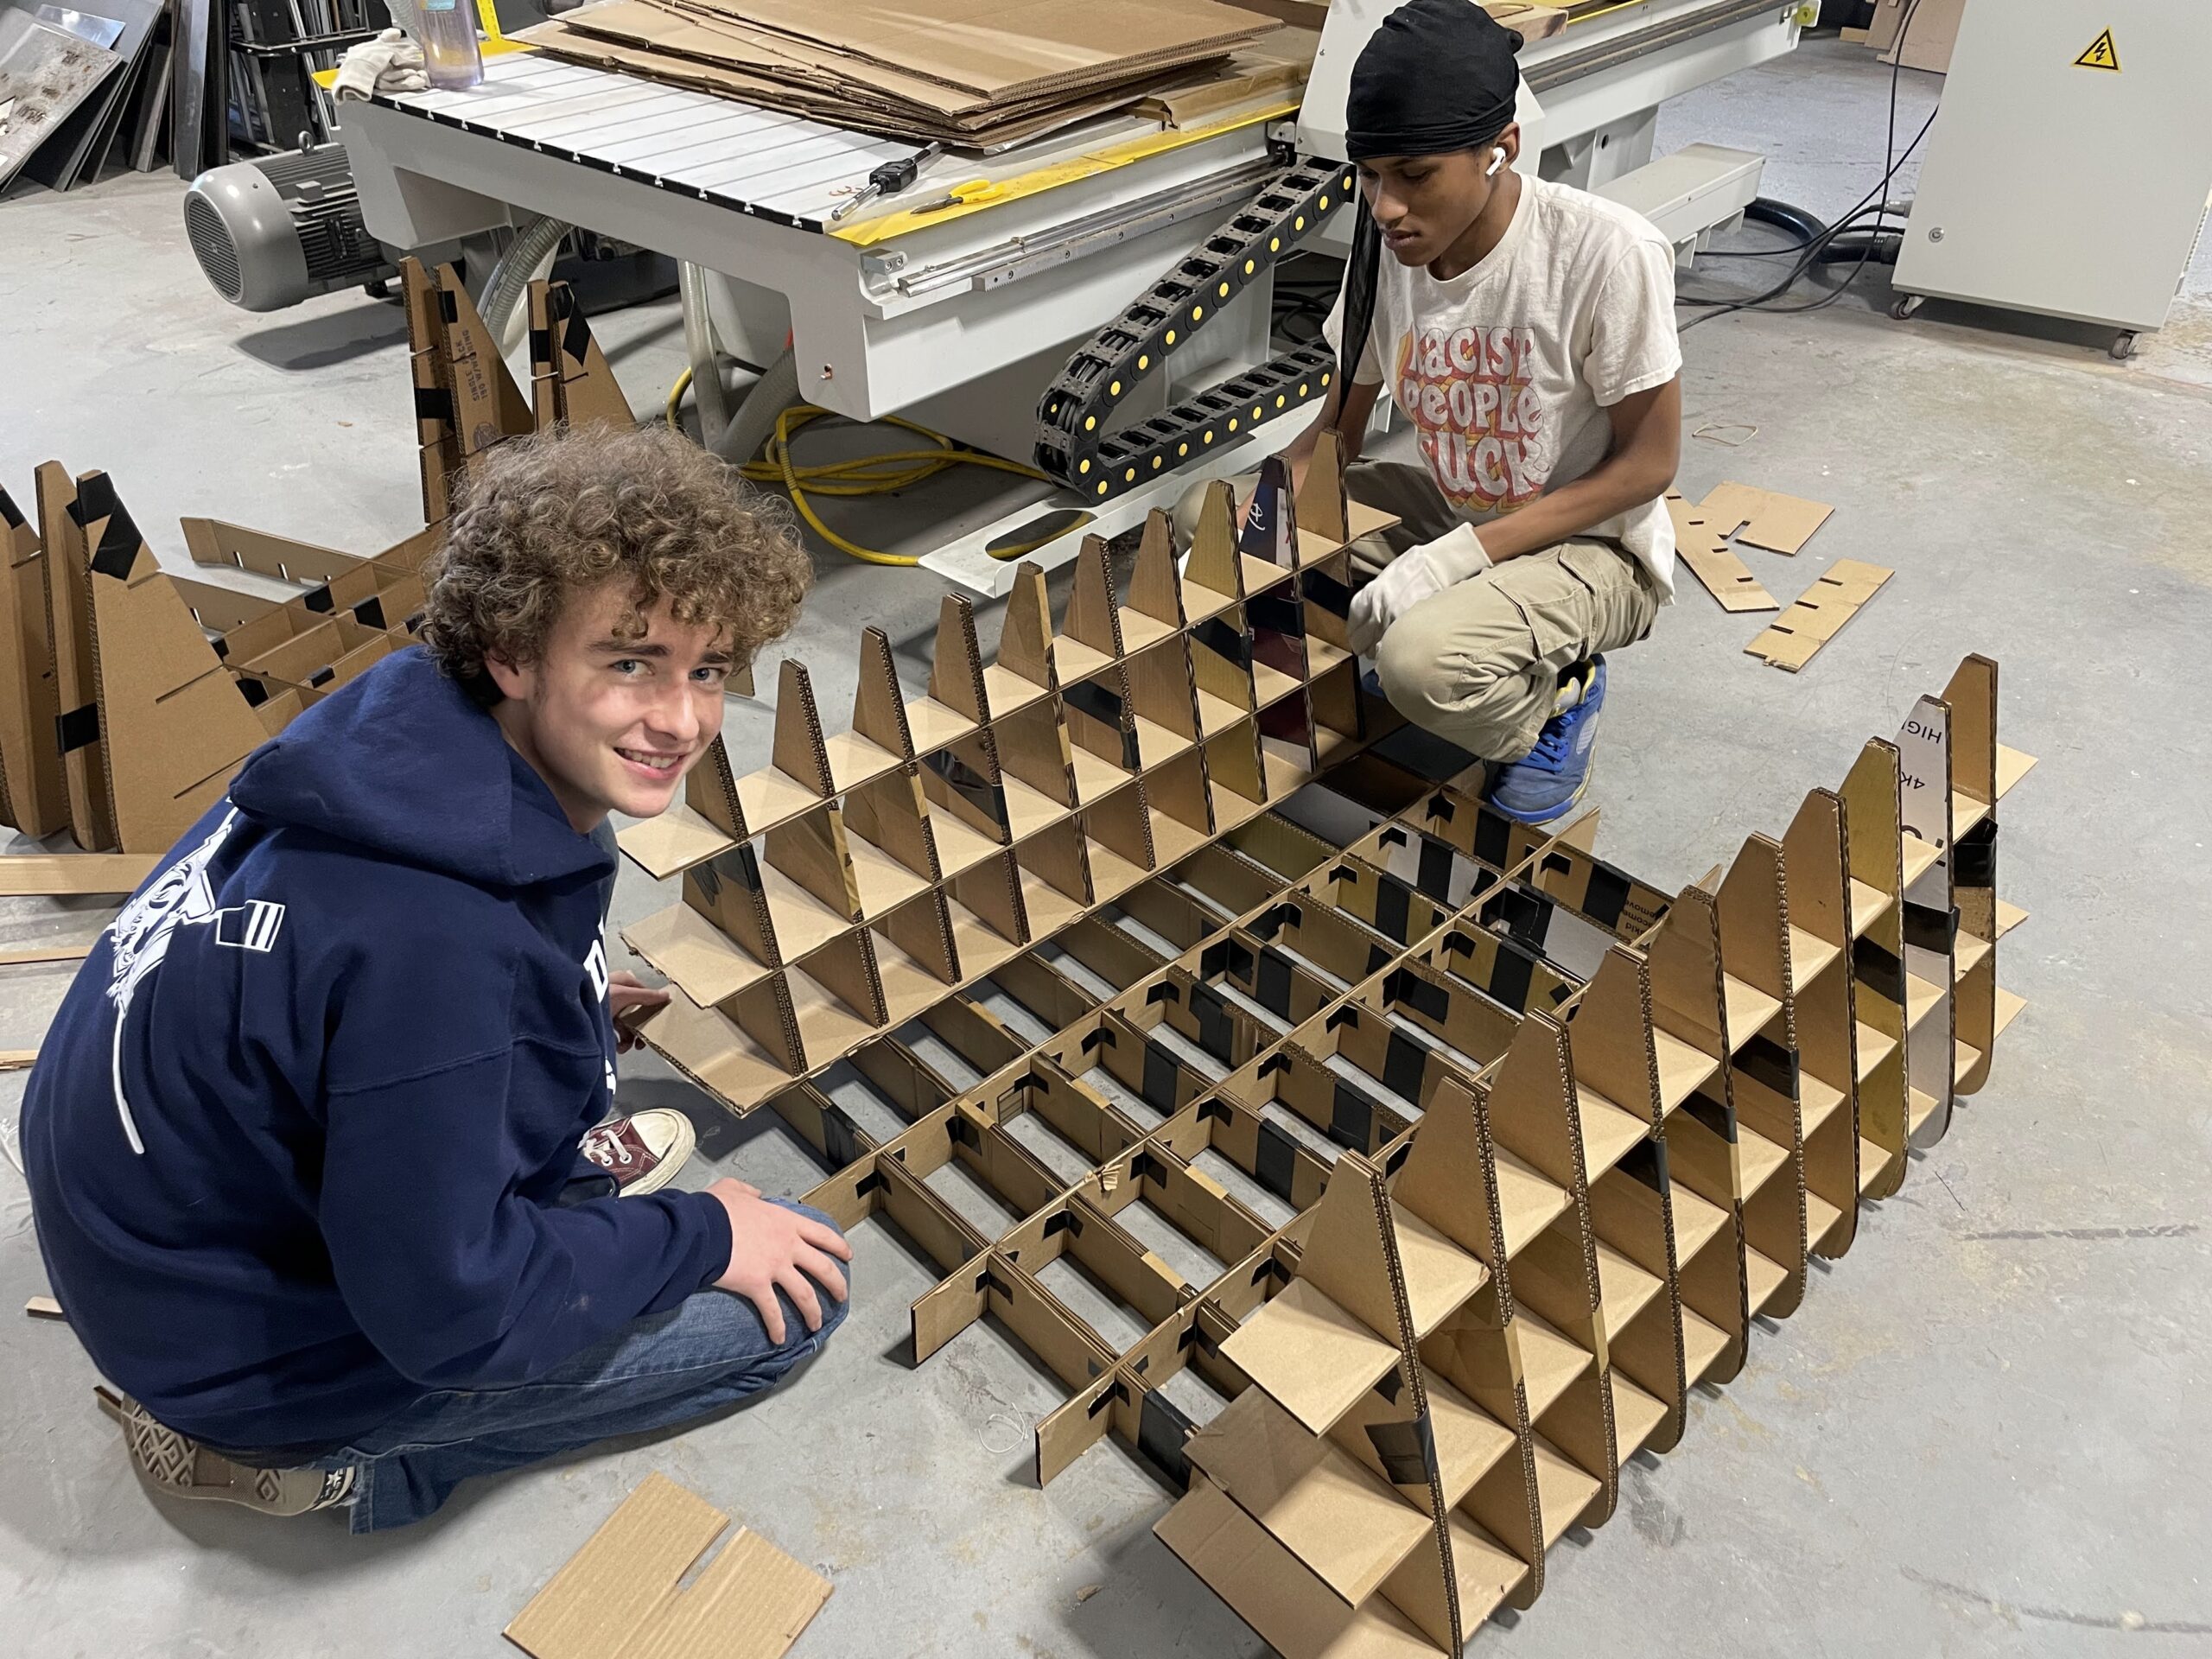
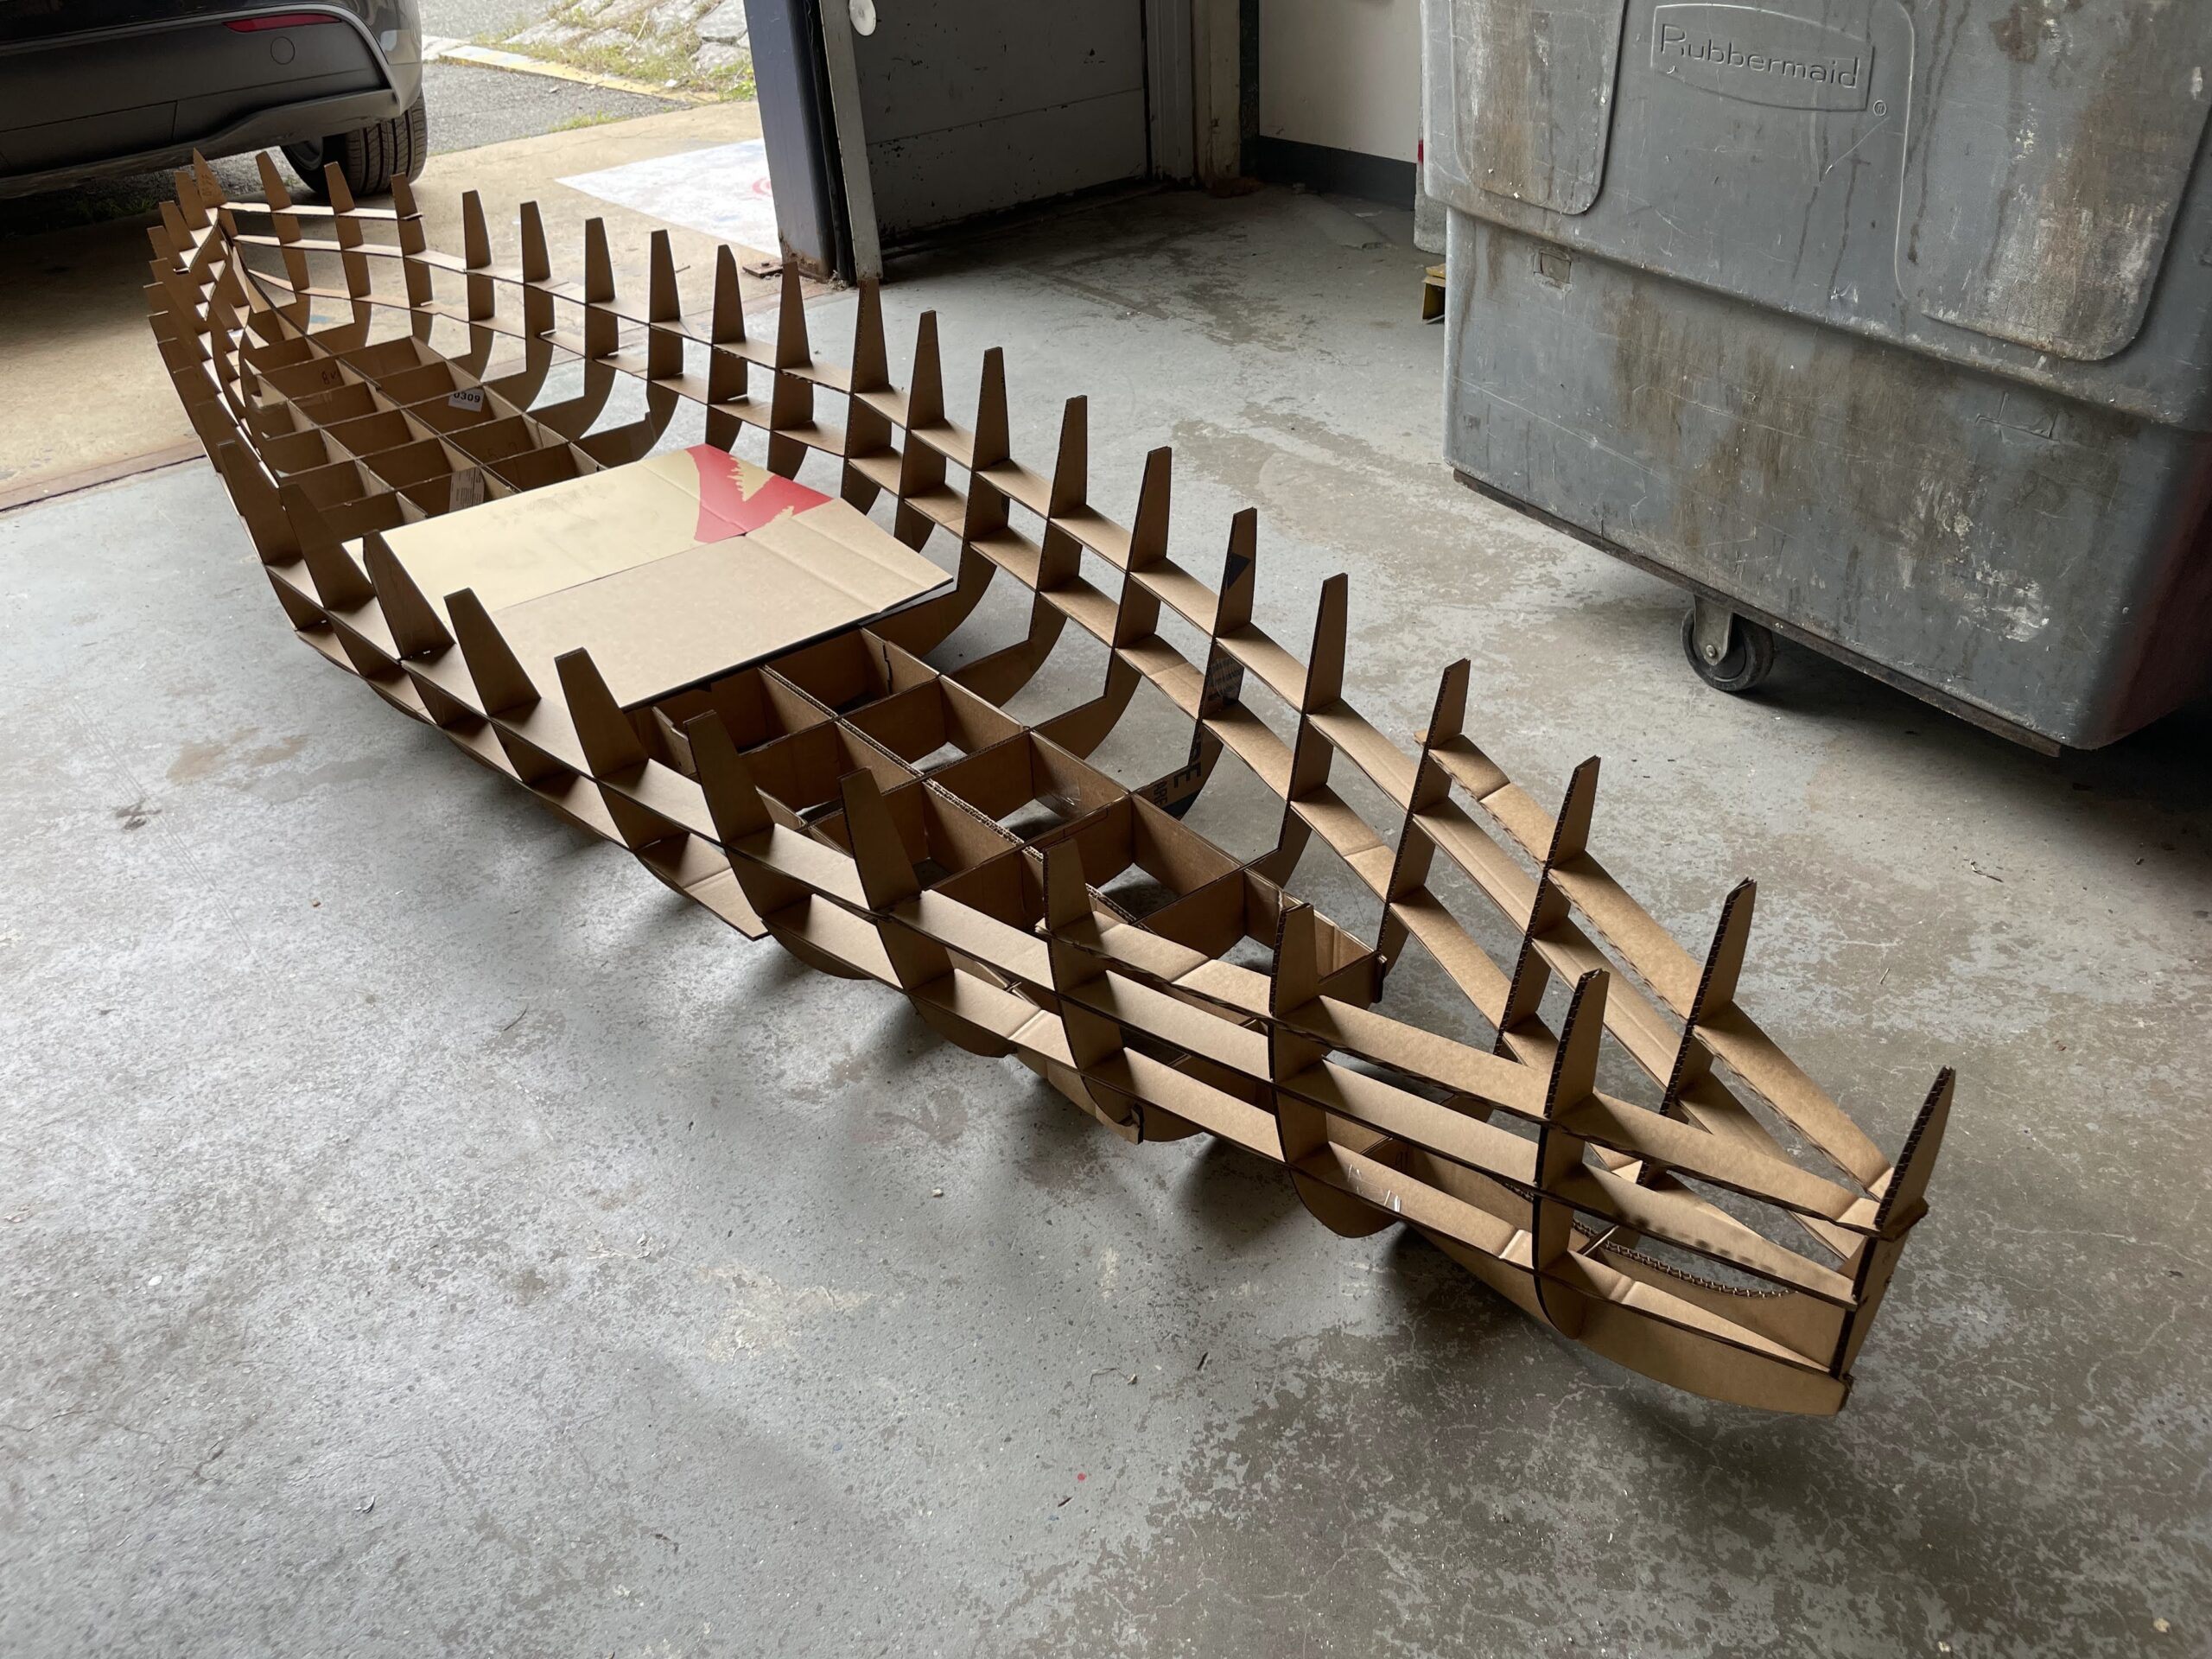
It has been 4 years since we last competed in the Cardboard Canoe races, and while we had a very sturdy boat, it was almost too sturdy. It tipped over too easy because if floated so well and was not easy for our students to control. Those freshmen who built the canoe are now seniors and are working on a new boat for this years races. Our shop has 2 entrants a senior team and a junior team. It’s exciting to see their work, and to see how far our shop has come in providing our students with the tools to make these incredible objects. A few photos below of the construction process. The event is June 12th, and I will post more info as we approach the date.
Camp Mustang
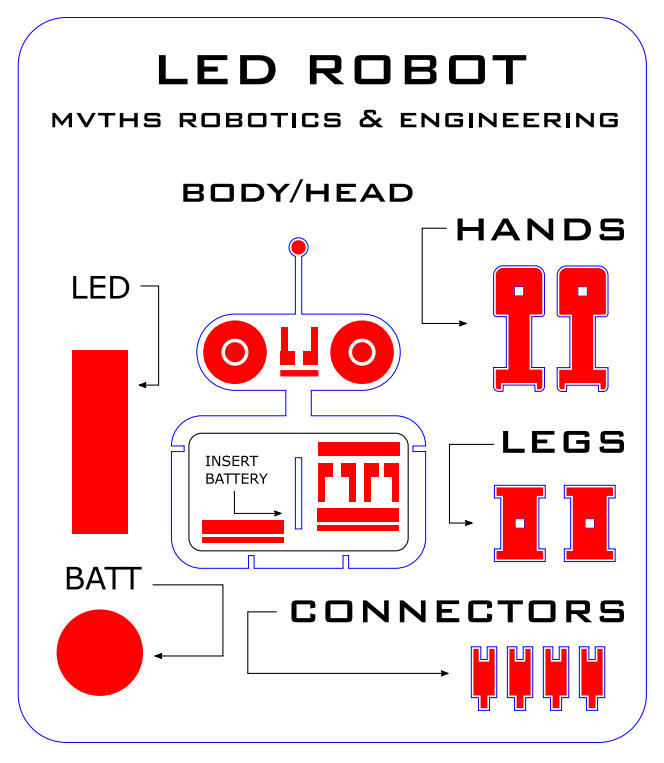
Today I needed to work on a lasercut project for the Camp Mustang that will be happening next week at the high school. Camp Mustang is a 2 day in school event for elementary and secondary school students within the Medford school district. I will be offering students CAD lessons, lasercutting, and some basic electronics. Several years ago, at my previous teaching job, I created a lasercut bug that could be assembled and then an LED and battery press fit into it so it lit up. I’ve created something similar for students but more of a robot shape. I’m still waiting on some material to cut each one out on, hoping that arrives today – otherwise I will be rushing around next week to get these cut for the students to assemble. For now, you can see the image that is used to lasercut on our Epilog Fusion Pro lasercutter.
LED Light Box
For our sophomores we have a few standard projects they all work on individually. These include the LED Light Box and SumoBot projects. For each project students are expected to complete their projects using their own CAD designs, as well as making their own PCBs and designing the circuitry from scratch.
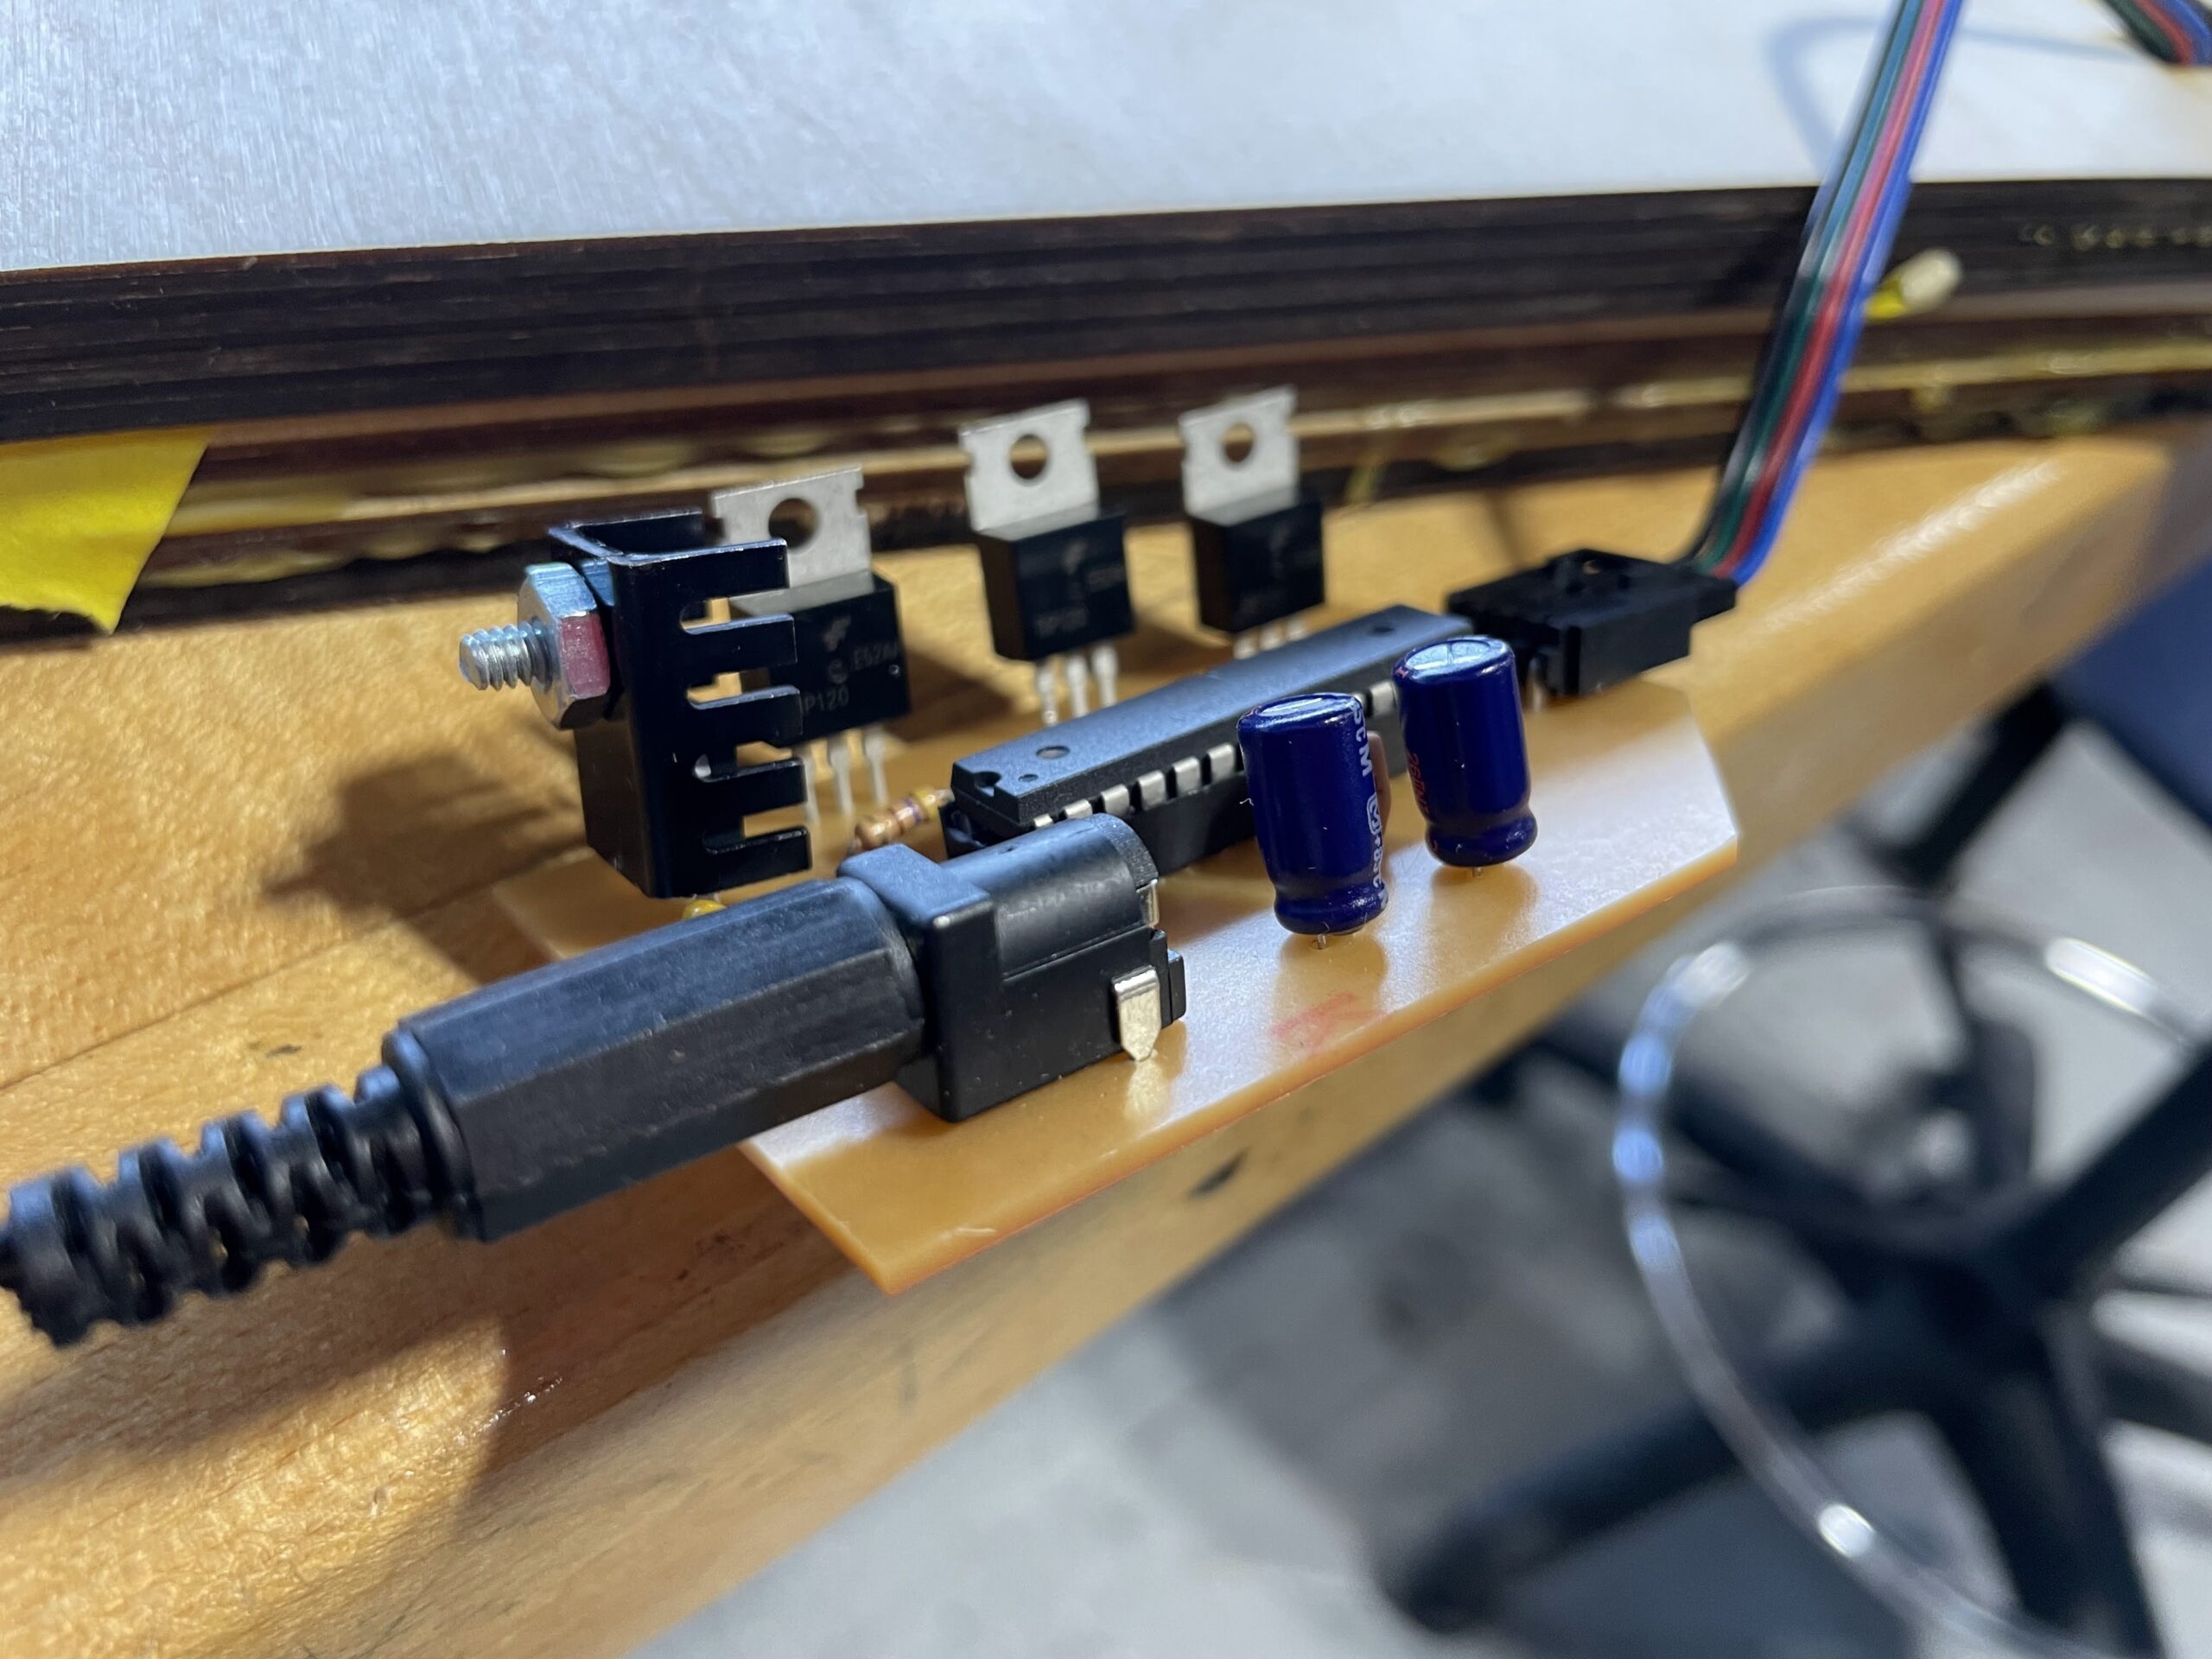
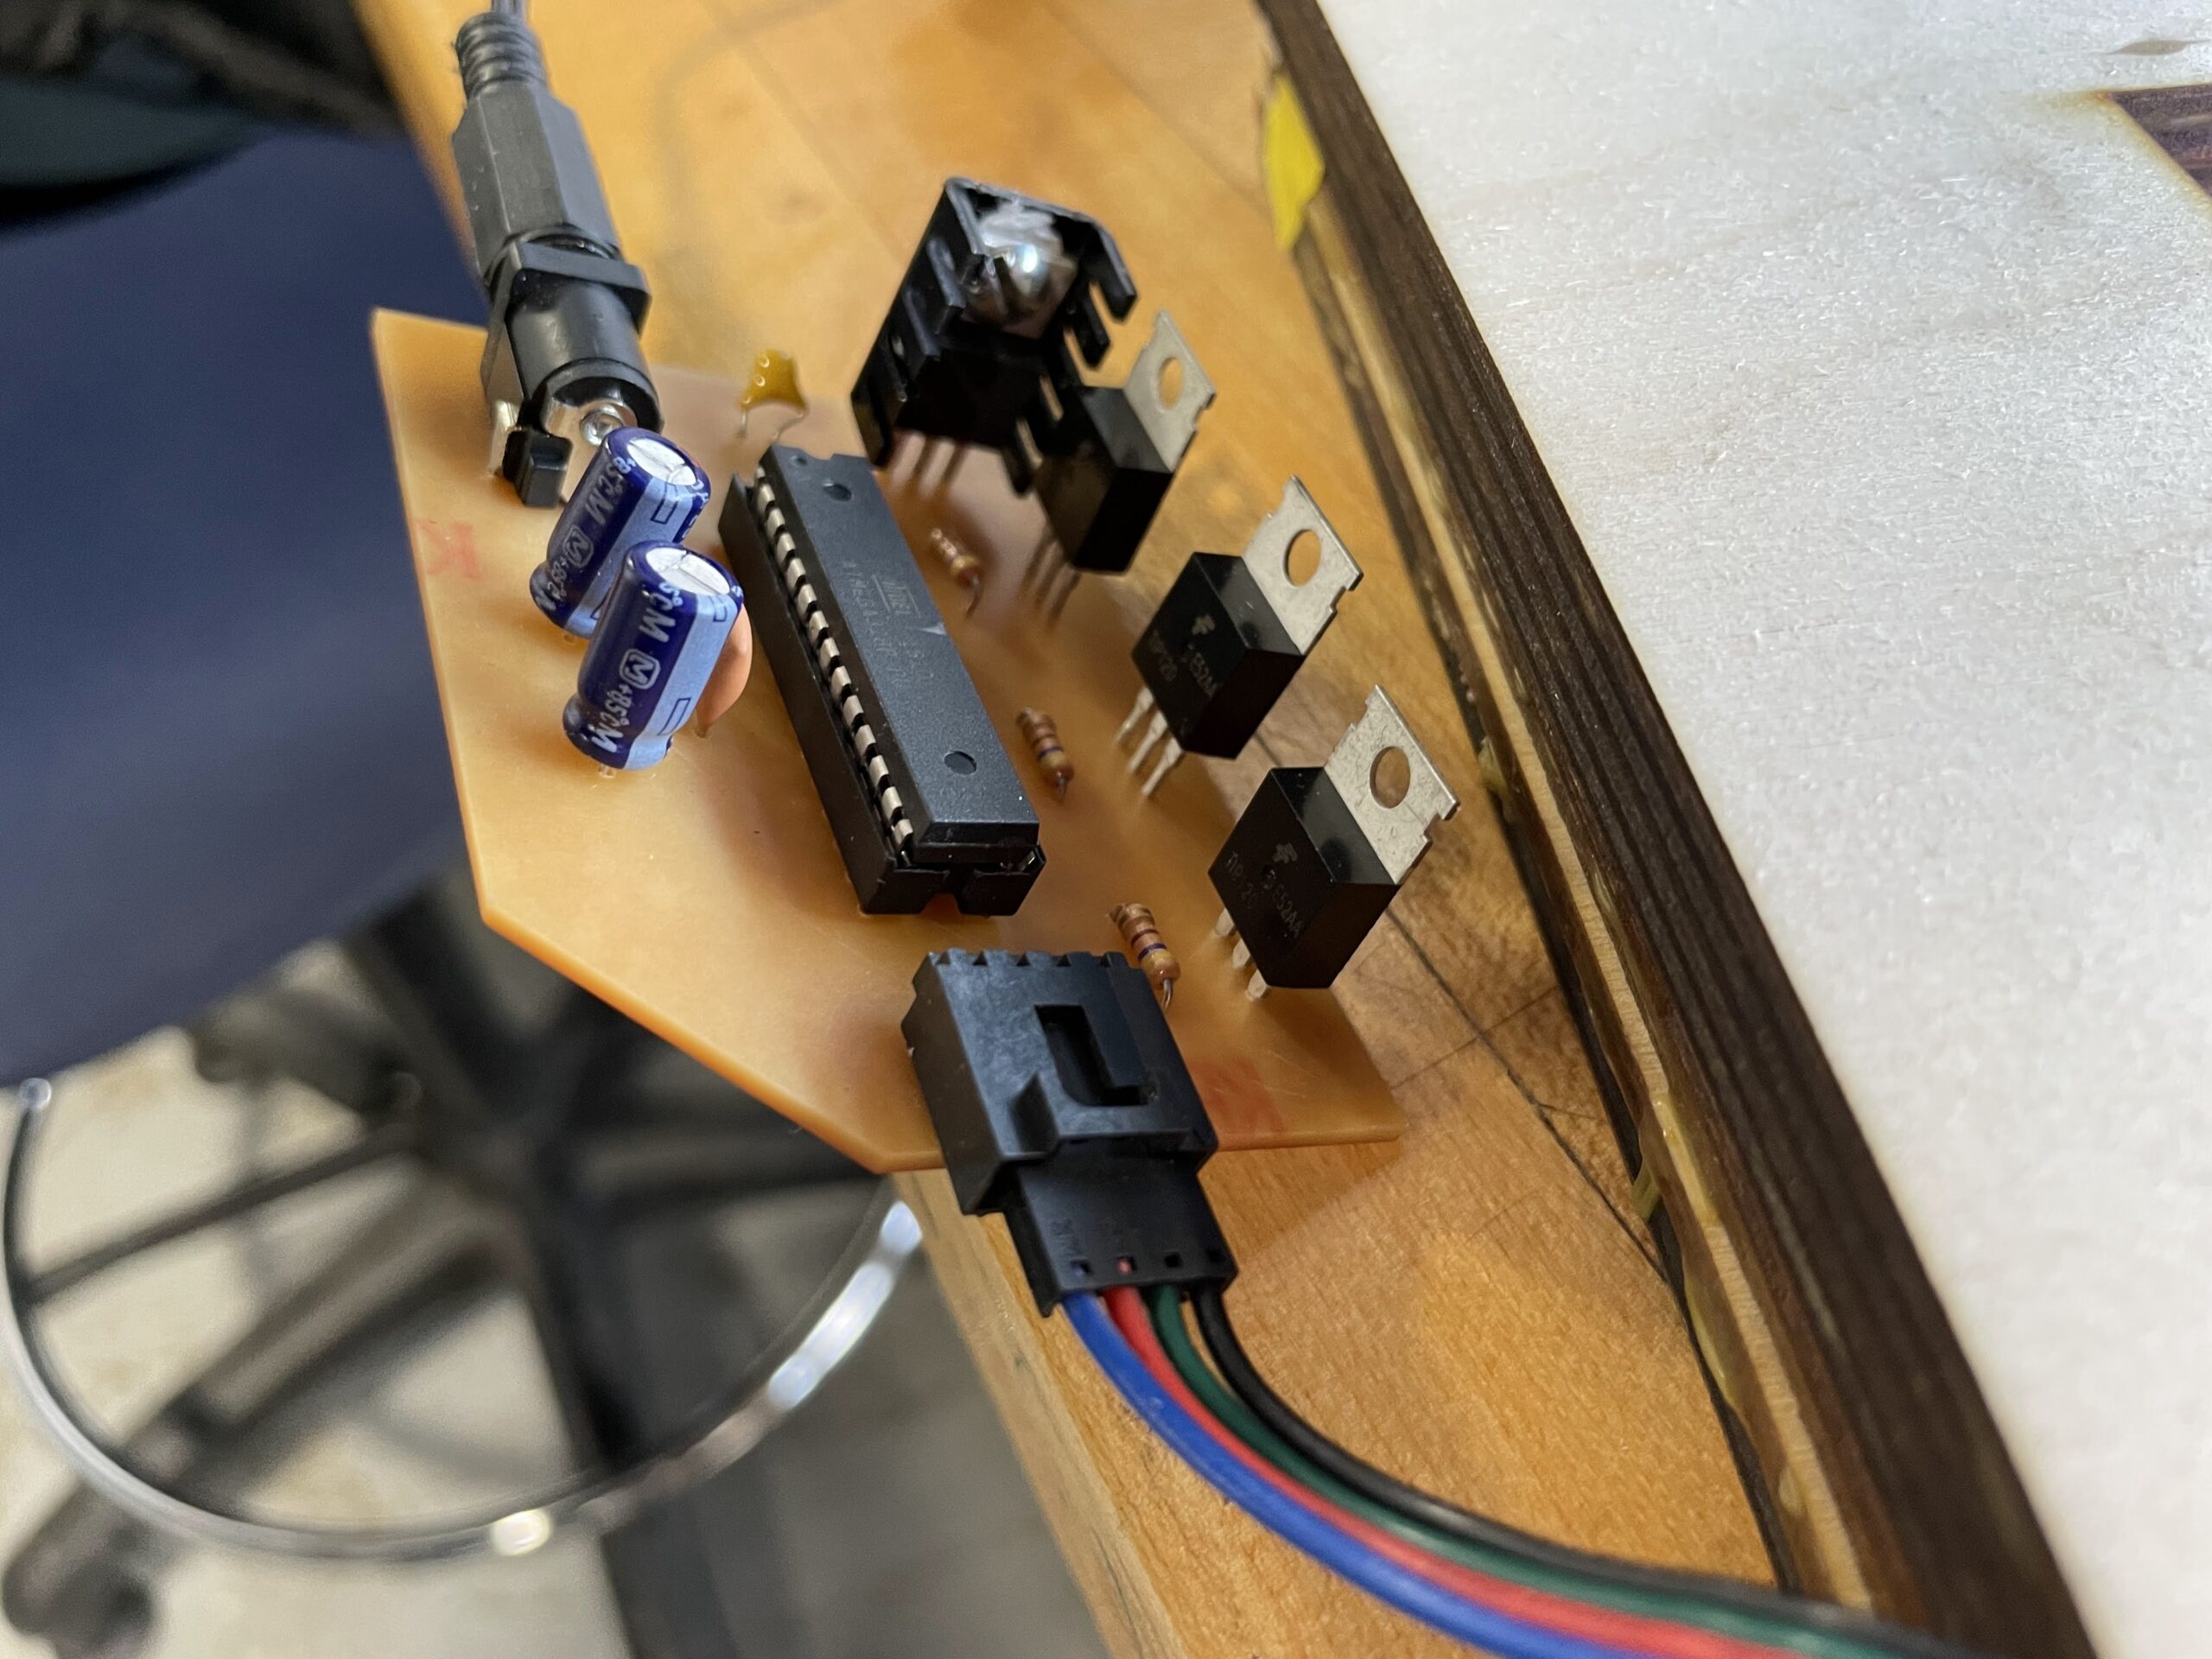
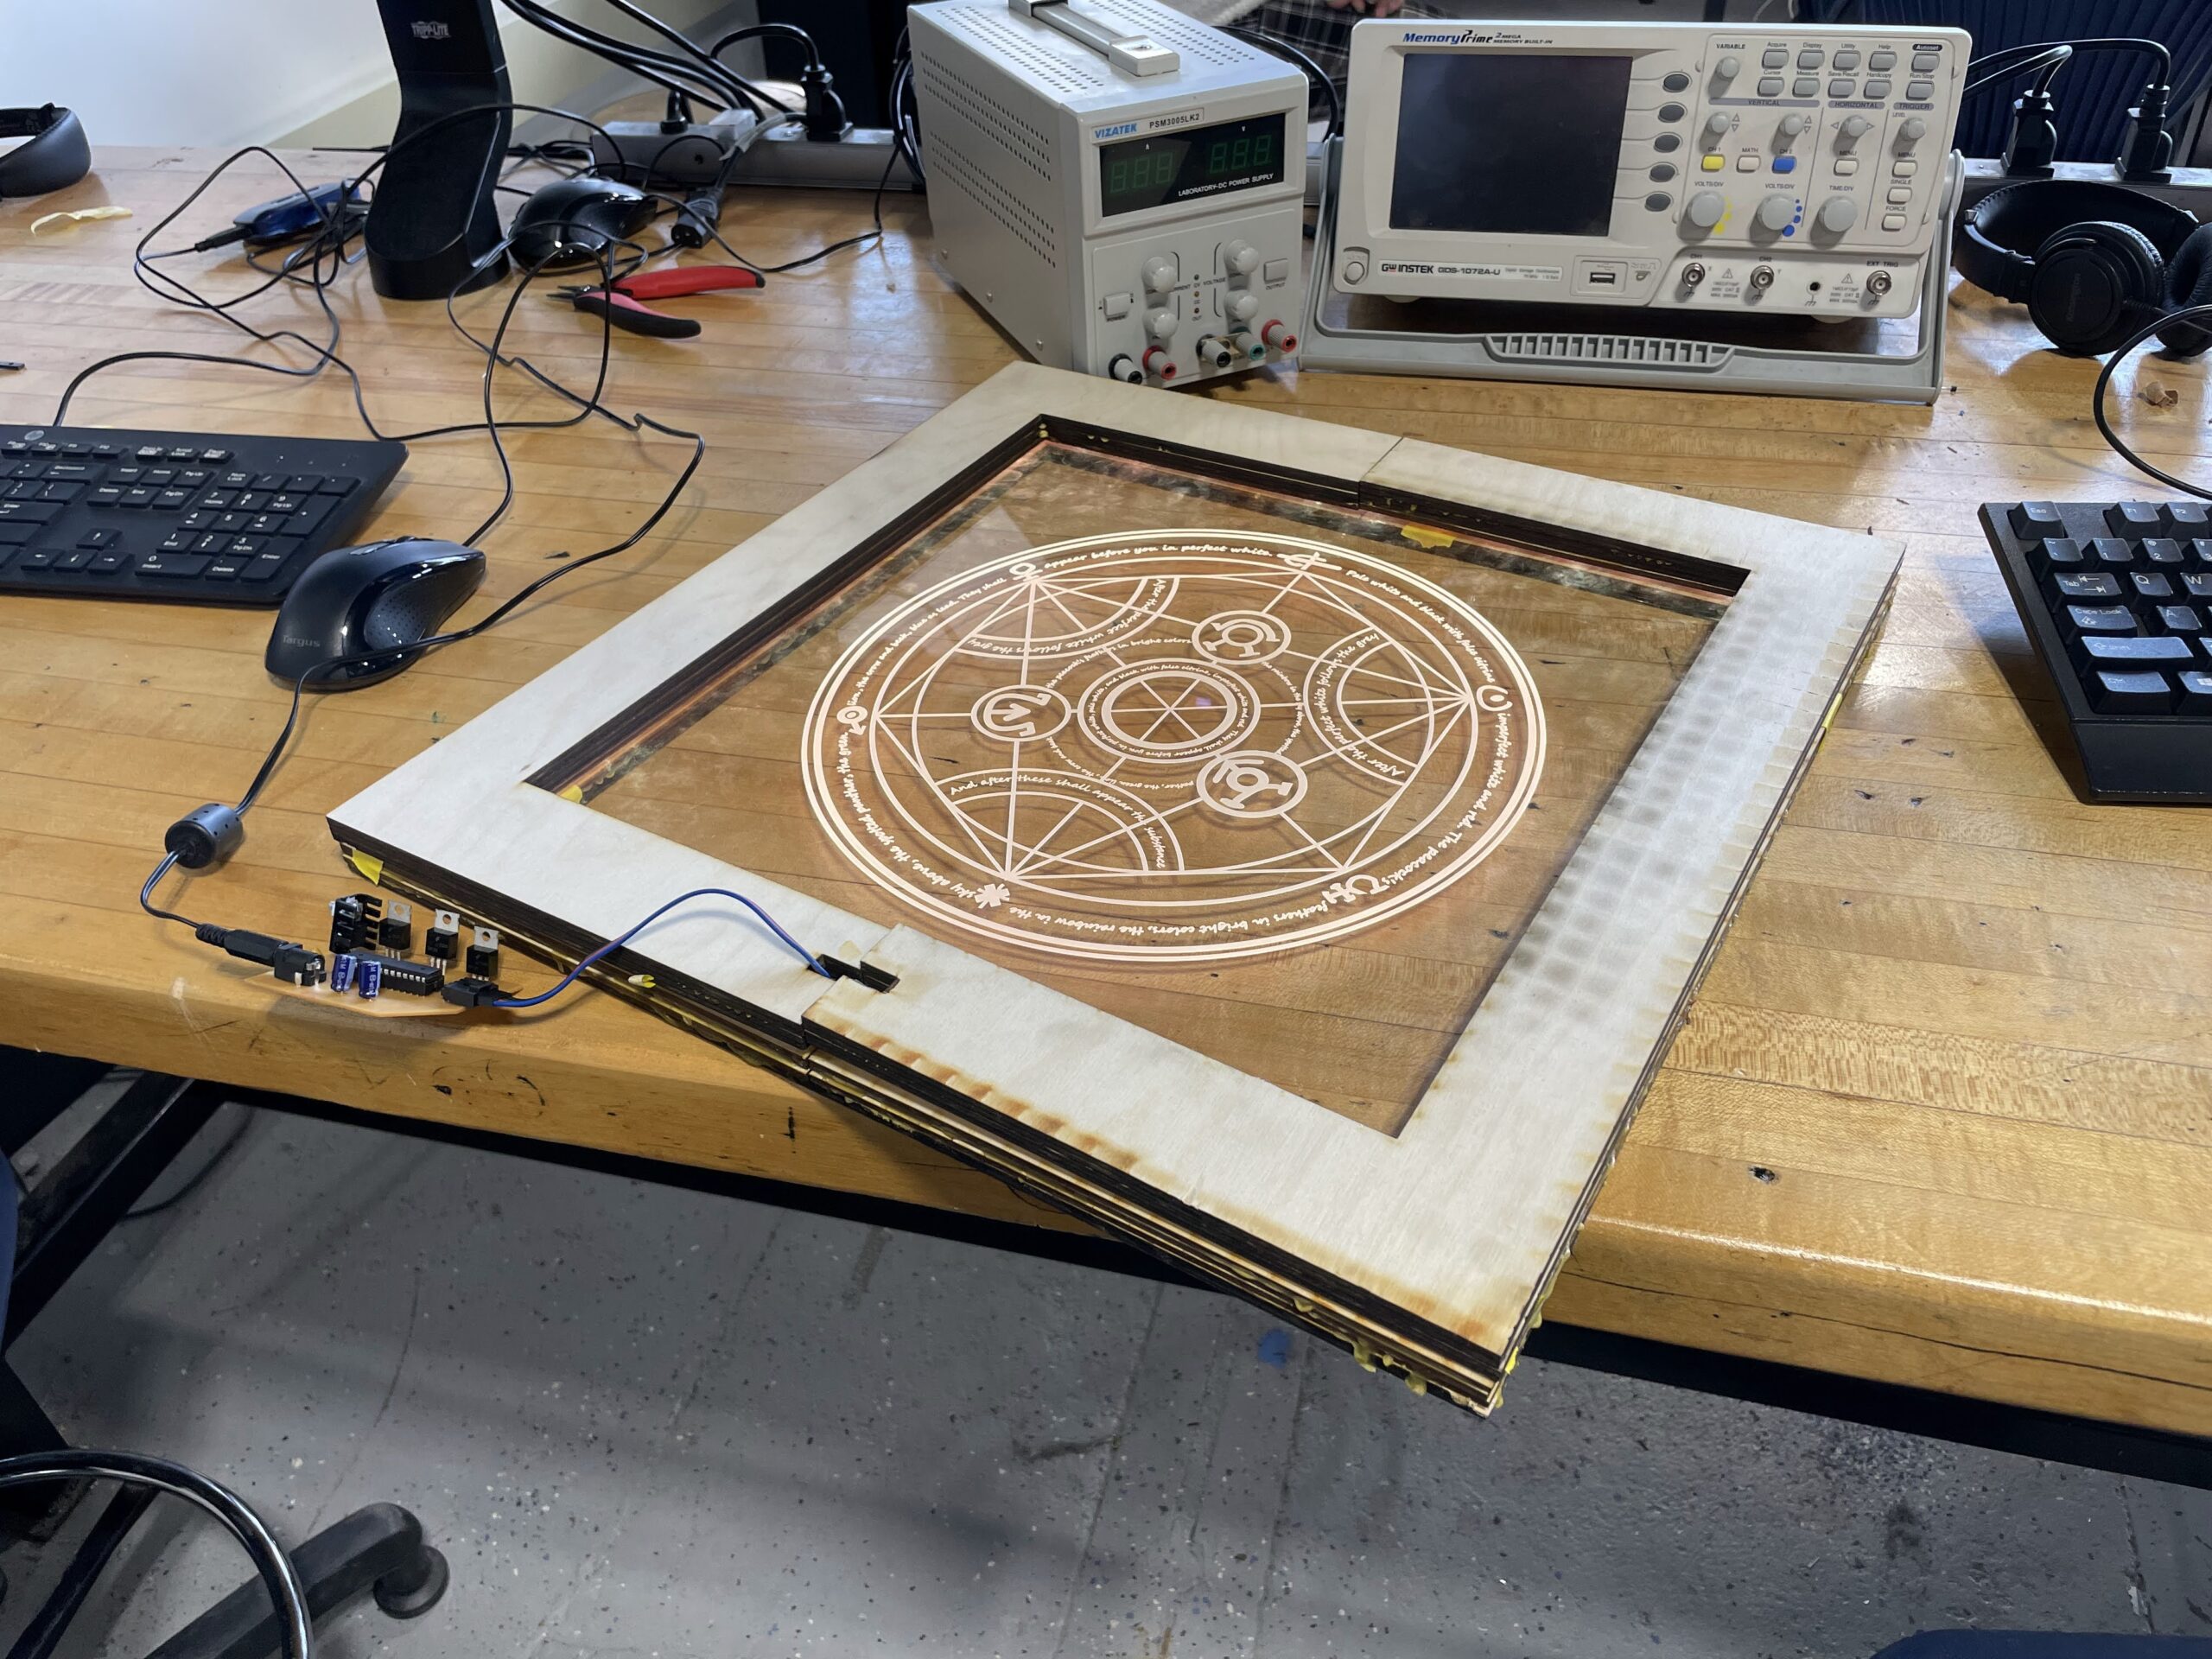
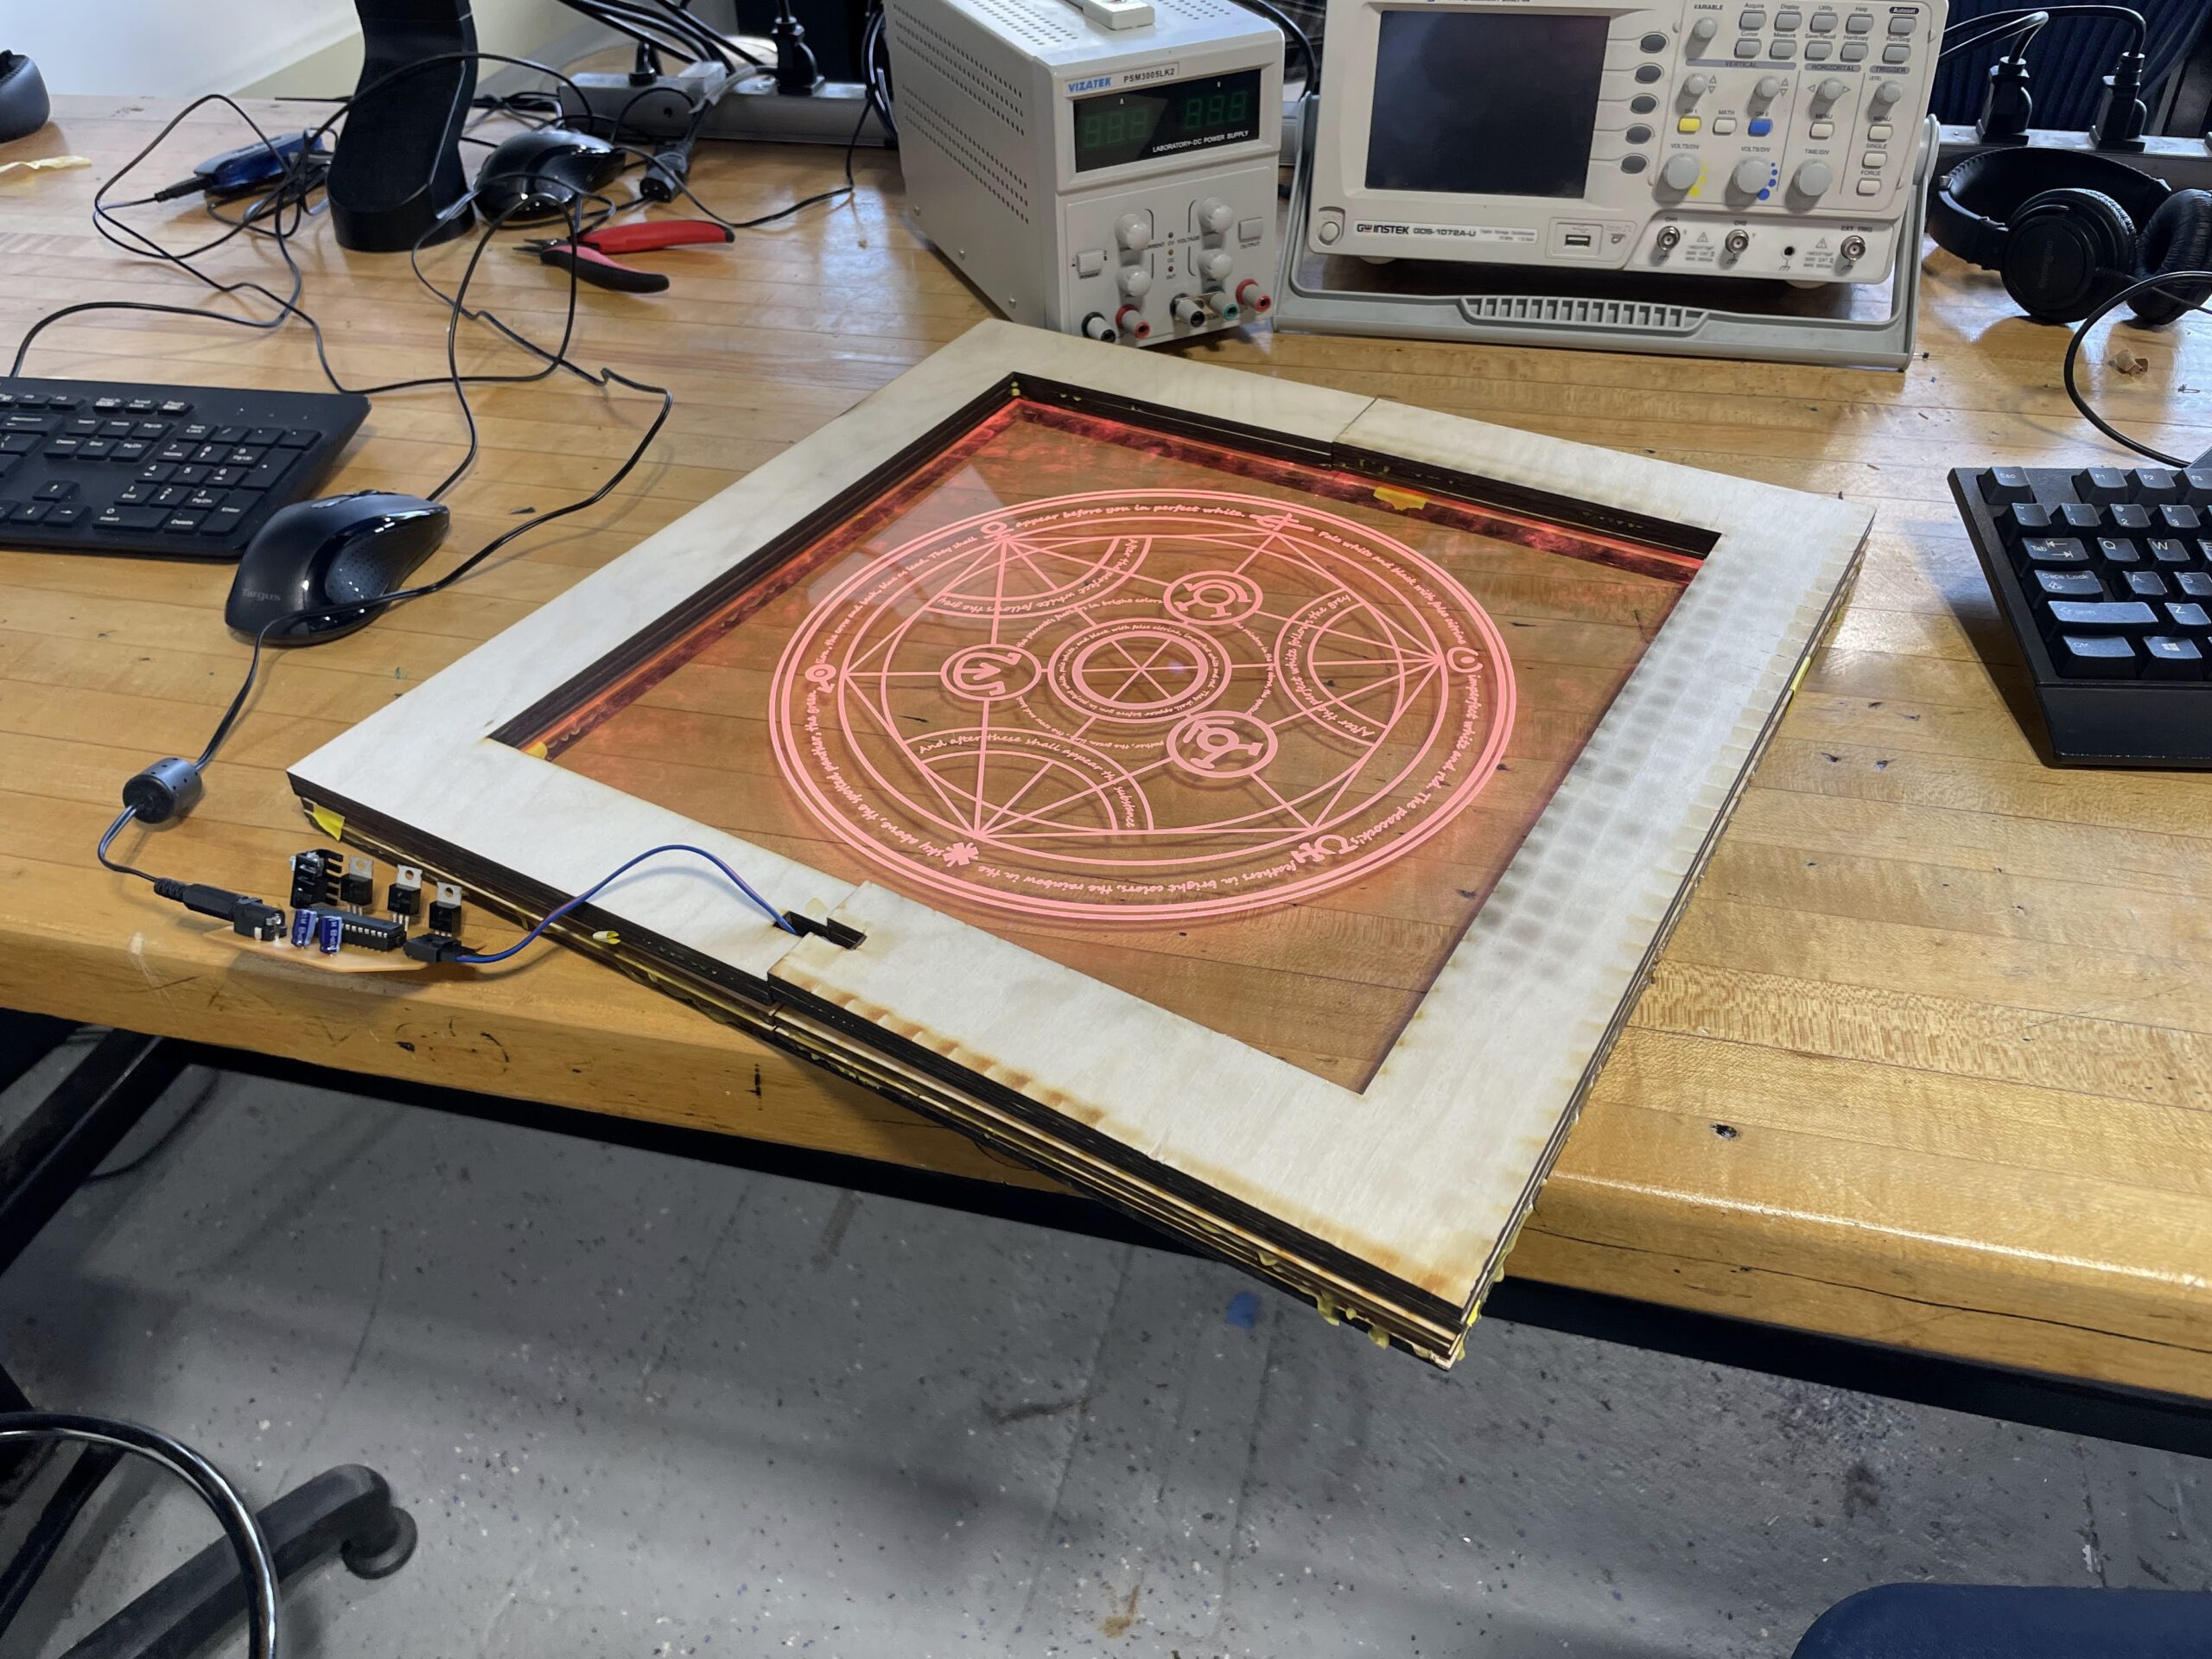
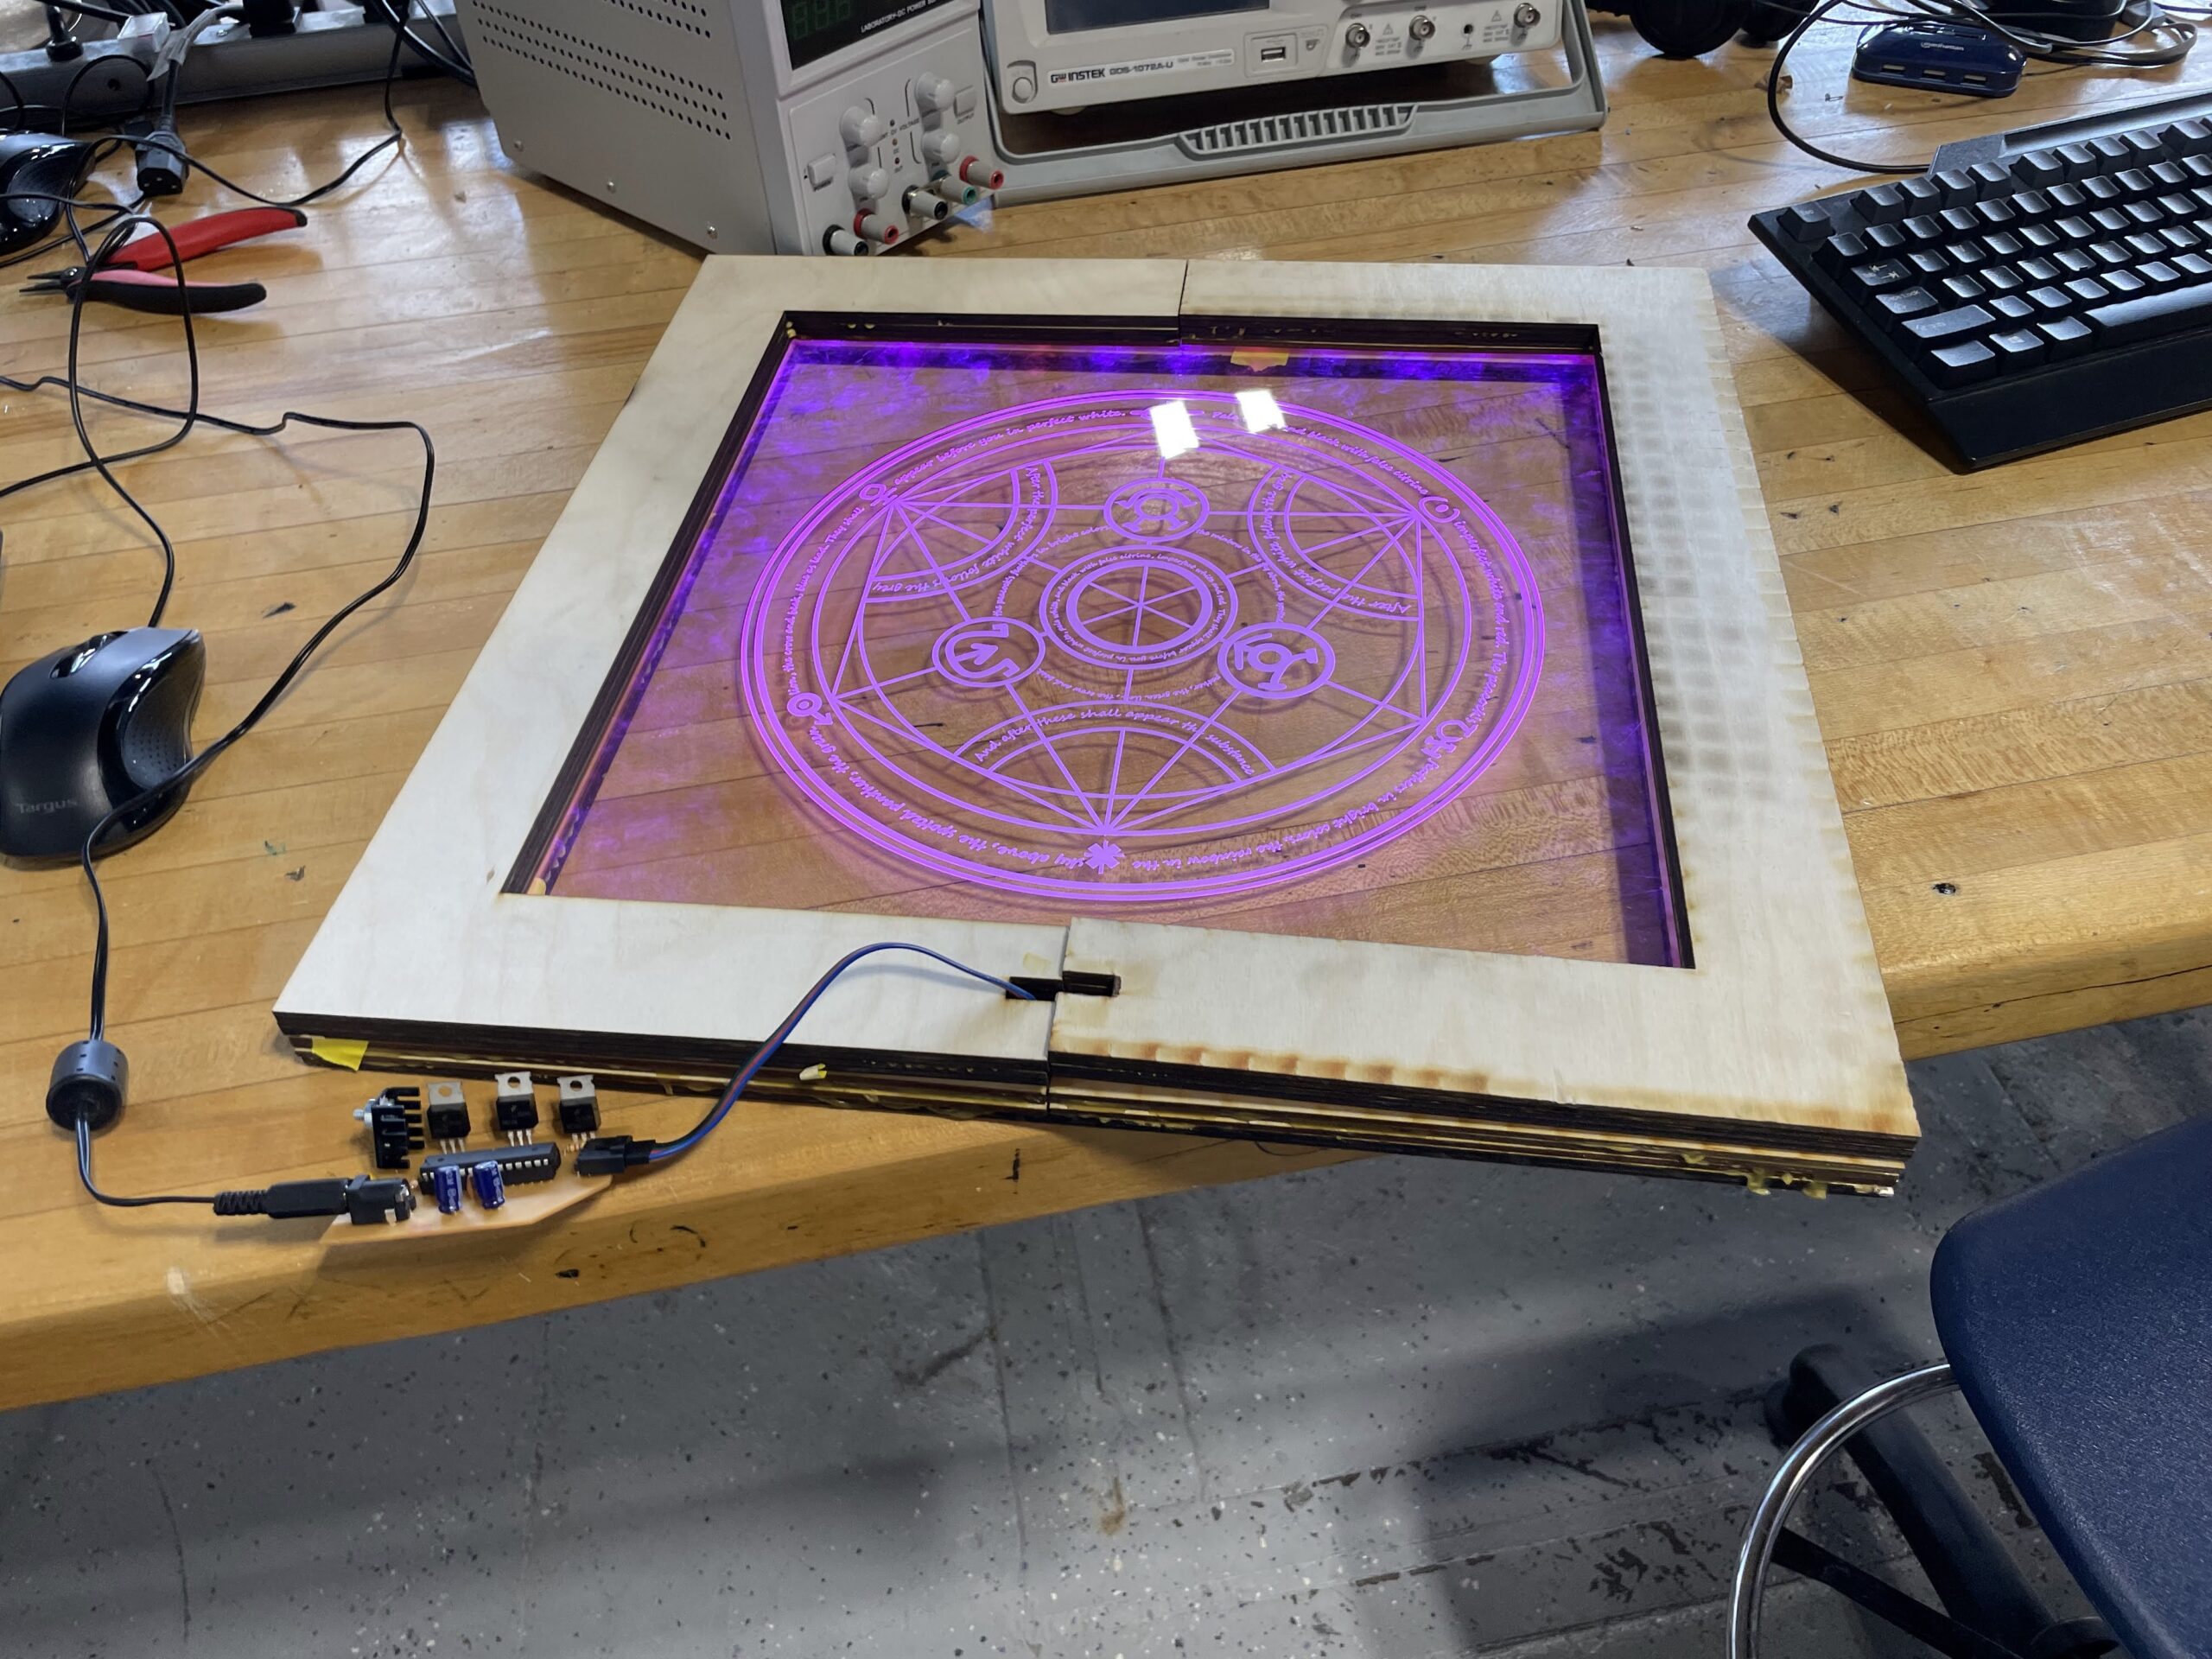
Unfortunately, for our current seniors, due to the COVID pandemic, they were unable to work on either of those projects, as they spent nearly a year and half learning remotely. Luckily, they are back in the building this year, and working hard to catch up on some hands on activities they missed. One student is now close to completing his LED Light Box, and it’s beginning to look very professional. I’m not sure what the inspiration for the acrylic is, but it came out really well. We use a raster technique for student designs on the back side of the acrylic and mirror the design so it looks backwards on the surface it is being laser etched into. When you turn the acrylic over, the design is in the correct orientation, and looks very clean behind a few millimeters of acrylic.
There is still some finishing work to be done on this particular LED Light Box, but it’s a nice example of projects coming out of our shop. Our current sophomore are beginning their lightboxes right now, which generally begins with finalizing their circuitry on breadboards and then milling their PCB boards on our Bantam Tools mills. Enjoy the photos and video of the project below.